Diseñar un circuito impreso parte 2 // Design a printed circuit part 2
Hola compañeros de hive en esta segunda parte del tutorial, vamos a detallar el paso a paso para fabricar un circuito impreso (PCB) con mayor profundidad y detalle.
Los pasos son los siguientes:
Diseño del Circuito:
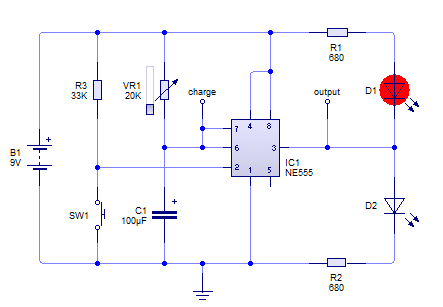
Esquemático del Circuito:

Utilizar un software de diseño de PCB o hacerlo a mano al diseño en la placa de cobre virgen.
Preparación del Diseño para la Fabricación
Verificación del Diseño:
Revisa el diseño para asegurarte de que no hay errores, como rutas cortadas o componentes mal conectados.

Compra de Materiales:
Si vas a hacer el PCB de forma casera, necesitas placas de cobre, ácido para grabado (cloruro férrico o percloruro de hierro), impresora láser, plancha, y otros materiales.
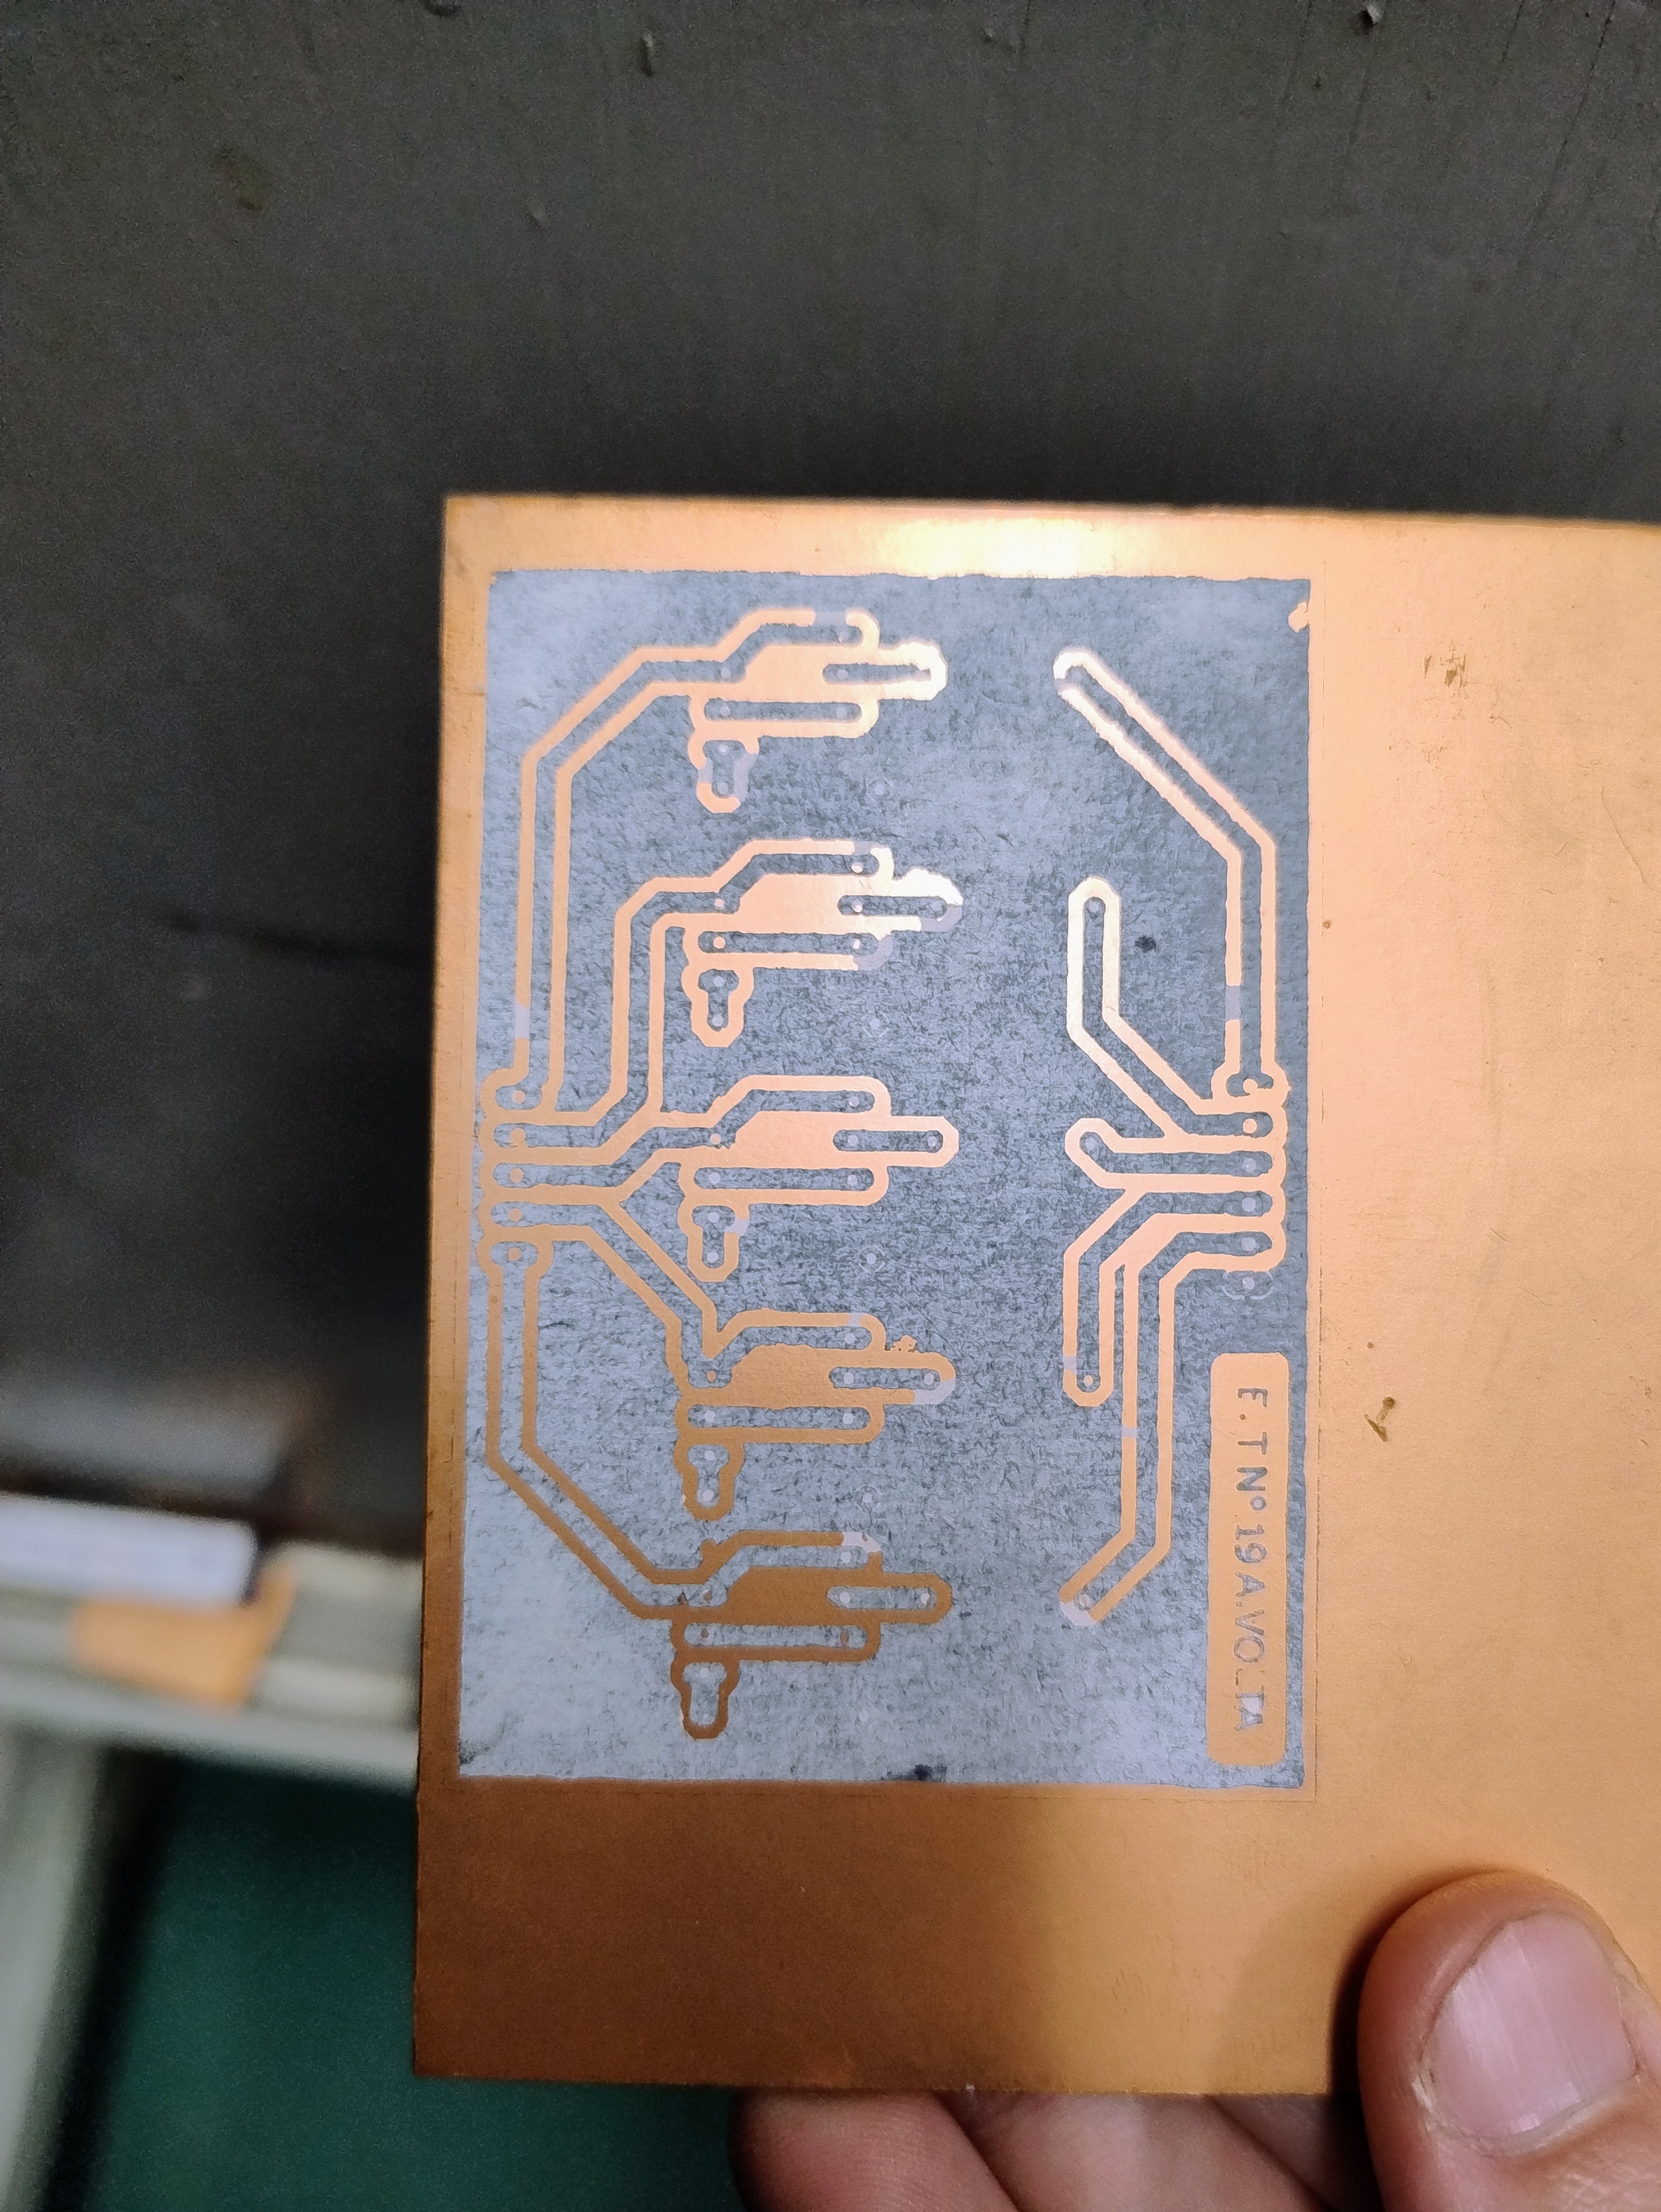
Transferencia del Diseño a la Placa:
Método de Transferencia Térmica:
Imprime el diseño en papel fotográfico usando una impresora láser.
Transfiere el diseño a la placa de cobre usando una plancha caliente.

Método manual:
Dibuja el diseño de tu circuito en la placa de cobre virgen utilizando un marcador indeleble. Se consigue el mismo resultado que el otro método pero la diferencia es que no queda tan prolijo , pero si funcional.
Grabado de la Placa:
Sumerge la placa en percloruro férrico (ácido) para eliminar el cobre no deseado, dejando solo las pistas de cobre necesarias.
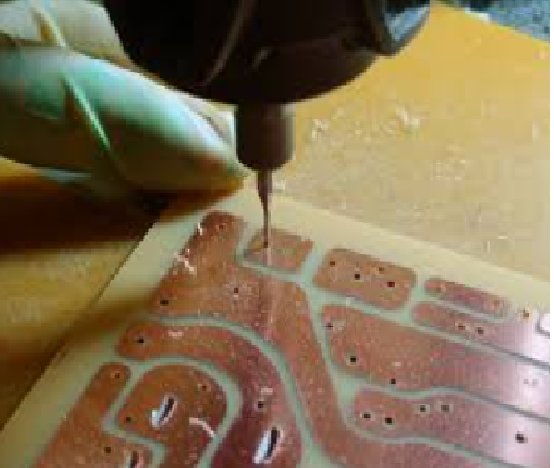
Perforación:
Usa un taladro de precisión para hacer los agujeros para los componentes.

Aplicación de Serigrafía (opcional):
Aplica serigrafía para identificar componentes y facilitar el ensamblaje.
Ensamblaje del PCB
Colocación de Componentes:
Coloca los componentes en sus posiciones respectivas en la placa.

Soldadura:
Suelda los componentes a las pistas de cobre utilizando un soldador y alambre de soldadura.

Prueba del Circuito:
Realiza pruebas para asegurarte de que el circuito funciona correctamente.
Finalización
Limpia la placa de residuos de soldadura y ácido.
Verificación Final:
Verifica que todas las conexiones estén correctas y que el circuito funcione como se espera.
Siguiendo estos pasos no tendrías que tener ningún inconveniente en fabricar tu propio circuito impreso(PCB).
.........................................................................................
Hello hive colleagues, in this second part of the tutorial, we are going to detail the step by step to manufacture a printed circuit board (PCB) in greater depth and detail.
The steps are the following:
Circuit Design:
Circuit Schematic:

Use PCB design software or do it by hand to design on blank copper plate.
- Preparation of Design for Manufacturing
Design Verification:

Review the design to make sure there are no errors, such as broken paths or improperly connected components.
Purchase of materials:
If you are going to make the PCB at home, you need copper plates, etching acid (ferric chloride or iron perchloride), laser printer, iron, and other materials.
Transfer of Design to Plate:
Thermal Transfer Method:
Print the design on photo paper using a laser printer.
Transfer the design to the copper plate using a hot iron.

Manual method:
Draw your circuit design on the blank copper plate using a permanent marker.
Plate Engraving:
Immerse the board in ferric perchloride (acid) to remove unwanted copper, leaving only the necessary copper traces.
Drilling:

Use a precision drill to make holes for the components.
Screen Printing Application (optional):
Apply silkscreen to identify components and facilitate assembly.
PCB Assembly
Component Placement:
Place the components in their respective positions on the board.

Welding:
Solder the components to the copper tracks using a soldering iron and soldering wire.

Circuit Test:
Perform tests to make sure the circuit is working correctly.
Completion
Cleaning:
Clean the board of solder residue and acid.
Final Verification:
Verify that all connections are correct and that the circuit works as expected.
By following these steps you should have no problem manufacturing your own printed circuit board (PCB).
Congratulations @tecnotronics! You have completed the following achievement on the Hive blockchain And have been rewarded with New badge(s)
Your next target is to reach 3750 upvotes.
You can view your badges on your board and compare yourself to others in the Ranking
If you no longer want to receive notifications, reply to this comment with the word
STOPCheck out our last posts:
Thanks for your contribution to the STEMsocial community. Feel free to join us on discord to get to know the rest of us!
Please consider delegating to the @stemsocial account (85% of the curation rewards are returned).
You may also include @stemsocial as a beneficiary of the rewards of this post to get a stronger support.