SWEP DAY 4 OF WEEK 2: USE OF LABVIEW APPLICATION SOFTWARE
Today was another day in our Student Work Experience Program (SWEP) in the Mechatronics Engineering Labouratory. We were introduced to another application software called LABVIEW. The full meaning of LABVIEW is Laboratory Virtual Instrument Engineering Workbench, and can be used to virtually program instruments e.g street light.
For the practical use of Labview, we were taught how to make simple arithmetic calculation using the software. Unfortunately, I forgot to take shots of the step by step method of making arithmetic calculation using the software. I only took shots of the final work which we did in the Lab.
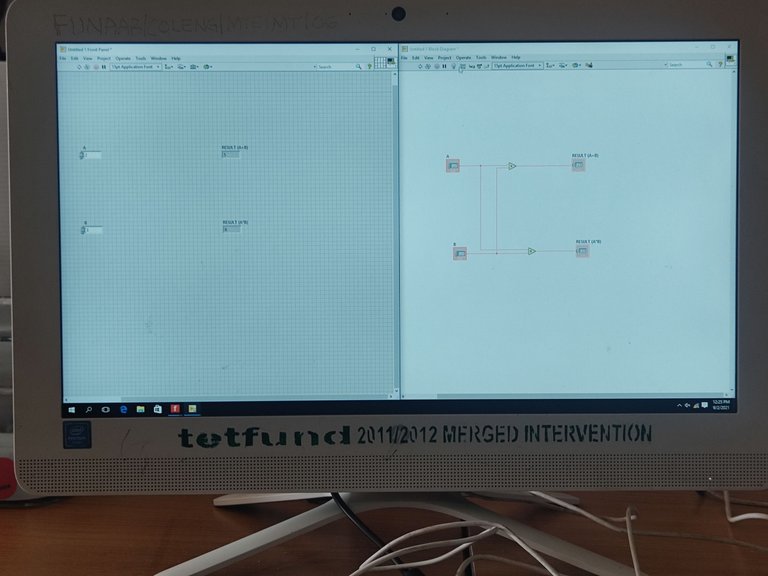
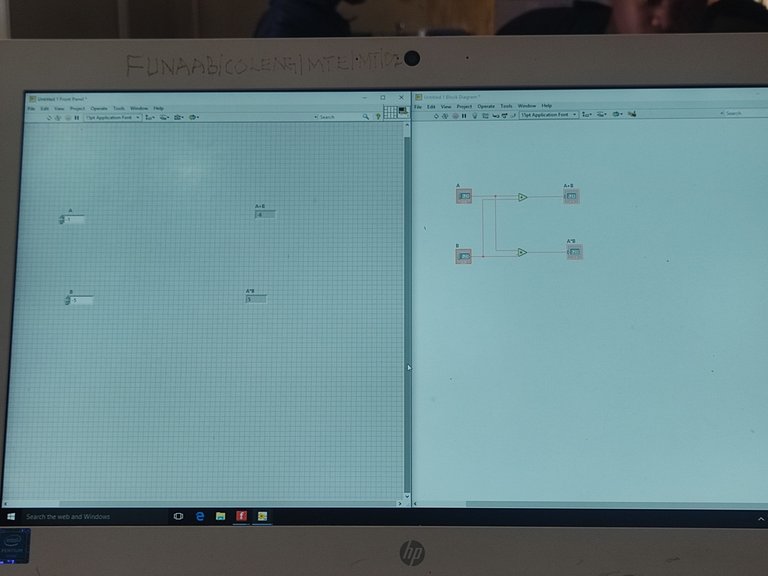
At the left window, after we right clicked it. we saw some set of options and clicked on numeric, then to Numeric controls which would be the inputs of the numbers for arithmetic calculations while Numeric Indicator, shows the result of the arithmetic calculation.
The right side window is what I describe as the inside part that makes the arithmetic calculations. The four boxes in the right window appears just as we set the numeric controls and indicator in the left window. The numeric command (don't know the best name to call it), i.e the triangle stuff at the center of the boxes was gotten after right clicking the ring window, selecting numeric and choosing what ever command we want i.e. addition and multiplication for this case.
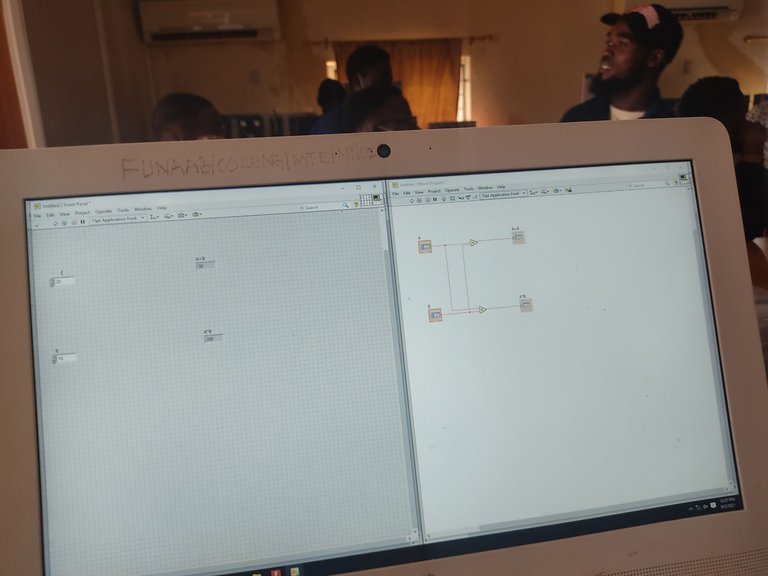
After placing these commands, we then connected the points in the right-hand window above. If this is done properly, after inputing the values in the numeric control, the result would display at the numeric indicator after running it.
Posted with STEMGeeks
SWEP really educating....well done bro
yeah man, it is really.
Hmm.. LABVIEW seems to be a great tool considering it functionalities. E be like say you go come teach me about am and how to use am after you don finish your SWEP program 😌