Repair Showlaser ( Attention Laser Class 4 ) [ ENG | GER ]
| English | Deutsch |
|---|---|
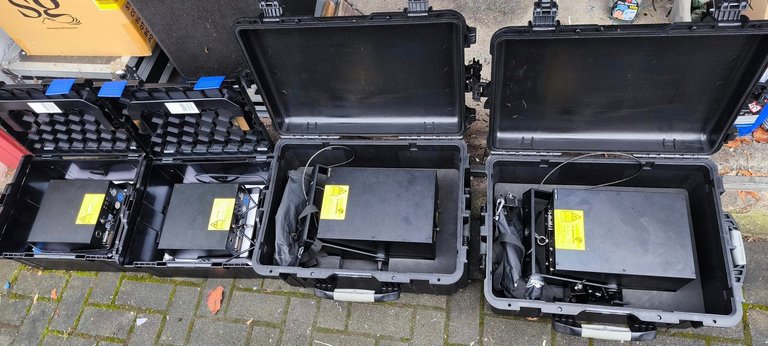
| Everyone knows that you do a spring clean once a year, whether in your home, car or other things. But I have completely cleaned my four show lasers. These are (see picture below) on the left two Tarm two lasers with 2.8 watts RGB laser class 4 each and on the right two Laserworld Purelight 5000 mk2 with 5.2 watts RGB laser class 4 each. The Laserworld Purelight 5000 mk2 were fine both optically and technically, but the two Tarm two laser diodes or laser beams were shifted and all three colors were no longer superimposed, so that a white color can be created. So now I have to adjust them. | Jeder kennt es, man macht einmal im Jahr einen Frühjahrsputz, egal in der Wohnung, Auto oder sonstige Sachen. Doch ich habe meine vier Show laser mal komplett gereinigt. Hier handelt es sich um (siehe Bild unten) links zwei Tarm two Laser mit je 2,8 Watt RGB Laserklasse 4 und rechts zwei Laserworld Purelight 5000 mk2 mit je 5,2 Watt RGB Laserklasse 4. Die Laserworld Purelight 5000 mk2 waren vom Optischen und auch in Technischen in Ordnung, doch die zwei Tarm two waren die Laserdioden beziehungsweise die Laserstrahlen verschoben und alle drei Farben waren nicht mehr übereinander gelegt, somit eine Weißfarbe entstehen kann. Also muss ich sie nun einjustieren. |
| English | Deutsch |
|---|---|
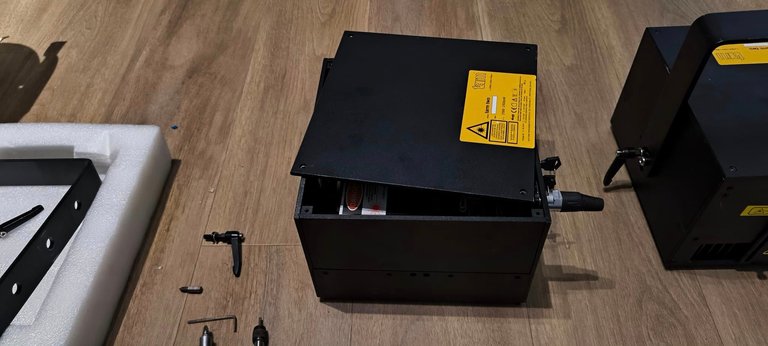
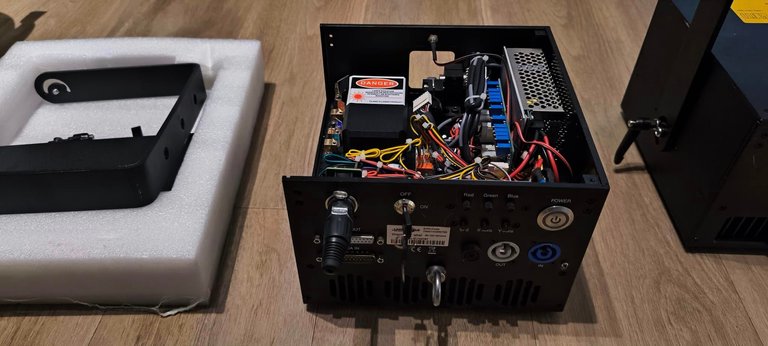
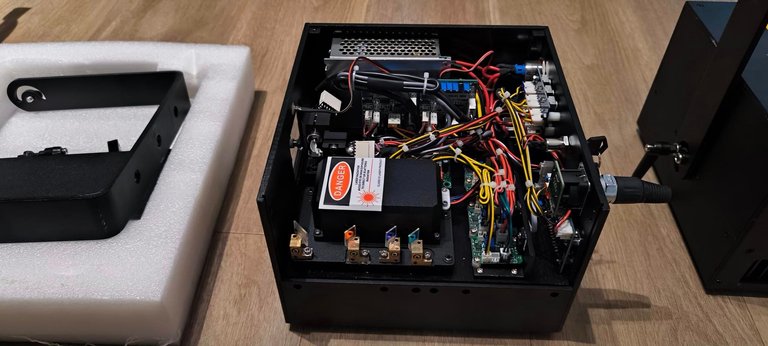
| Caution! Please only do this if you have a laser safety officer seminar and a course for repairs. This is a show laser with laser class 4. Lasers are not toys and may only be repaired by the manufacturer or someone who has attended a seminar on this. First remove the screws from the cover and then pull the side panel upwards so that you can reach the deflecting mirrors. | Vorsicht! Bitte nur machen, wenn man ein Laserschutzbeauftragter Seminar und einen Kurs für Reparaturen hat. Hier handelt es sich um Show laser mit der Laserklasse 4. Laser sind keine Spielzeuge und darf nur Hersteller oder einer, der ein Seminar darüber hat, sie reparieren. Zuerst macht man die Schrauben von dem Deckel weg und danach zieht man die Seitenwand nach oben, sodass man an die Ablenkspiegel ran kommt. |

| English | Deutsch |
|---|---|
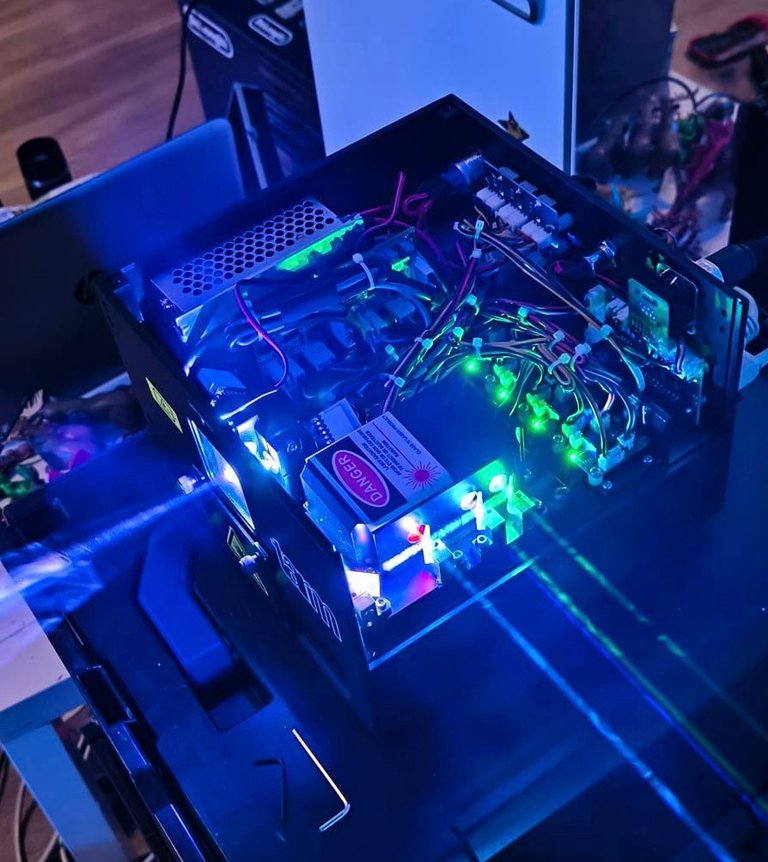
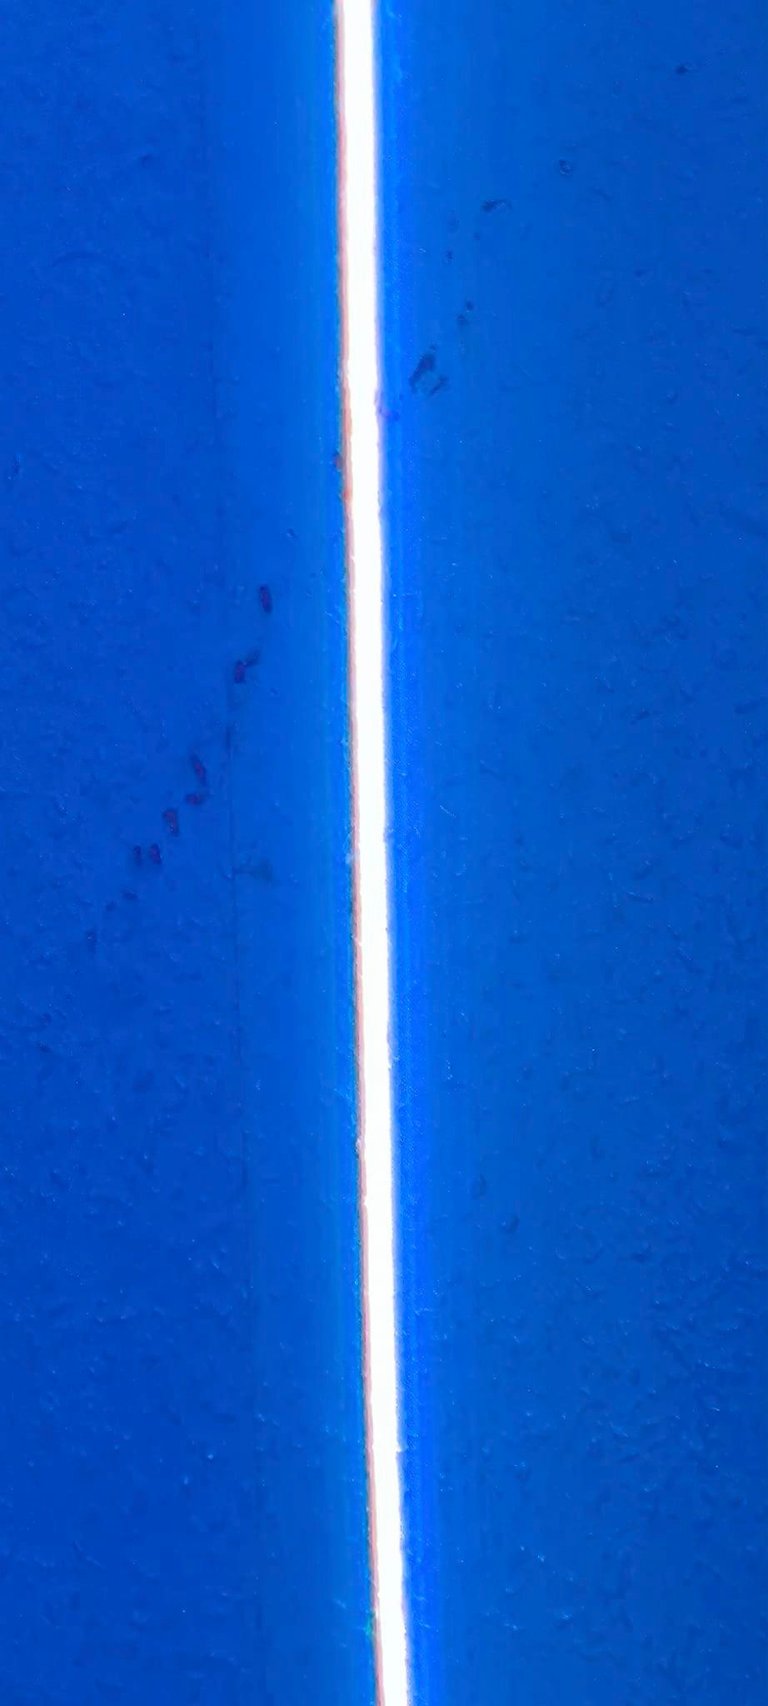
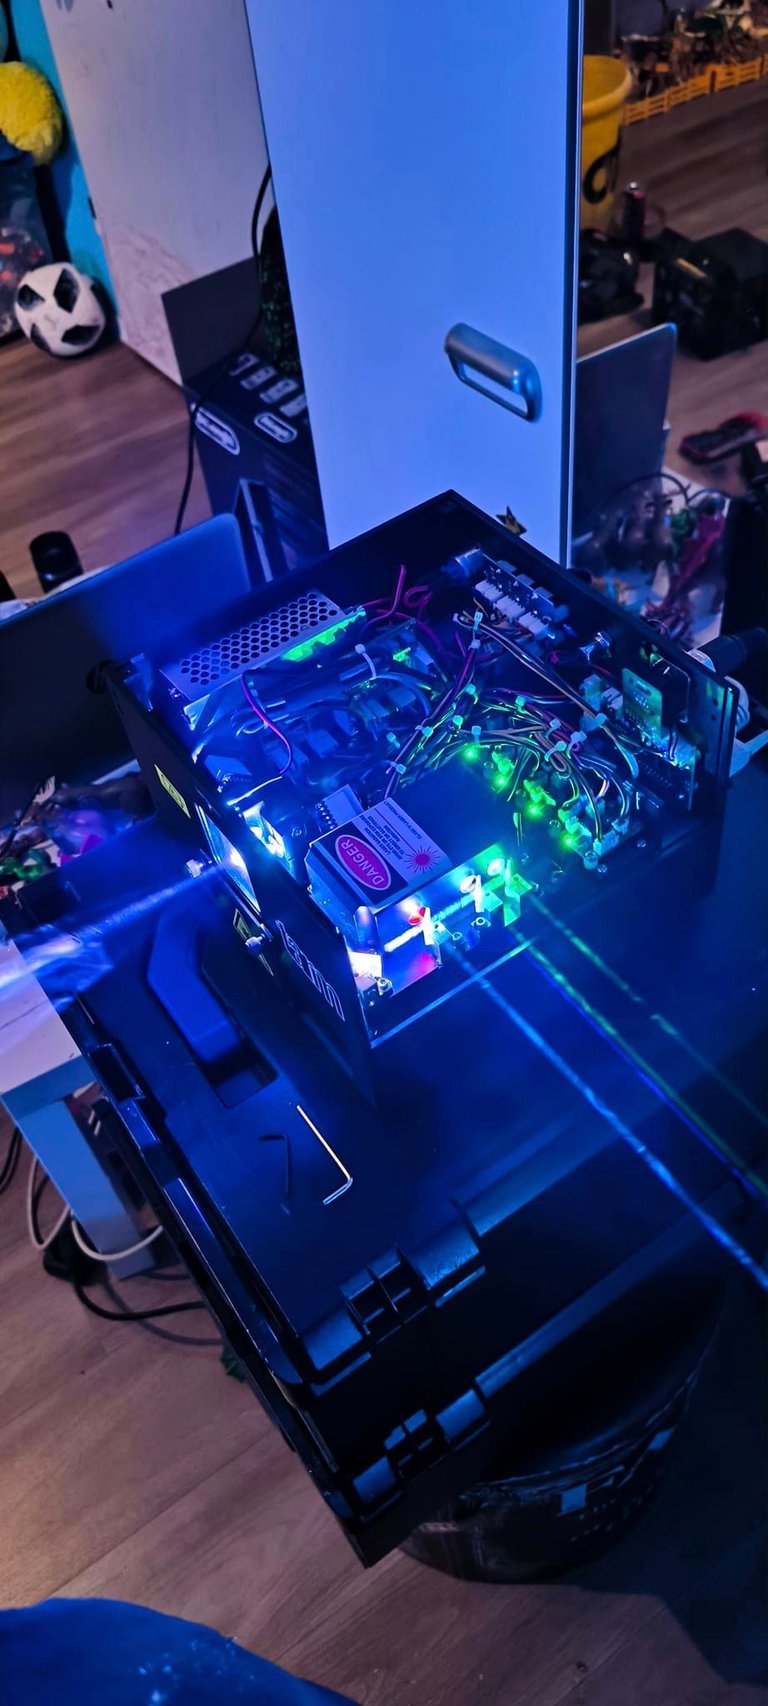
| Place the laser at the correct working height so that you can comfortably reach it while standing. Connect the laser with an ILDA cable to its interface, which is connected to a computer or laptop with the appropriate laser software. The power supply is then connected and the safety key is turned to ensure that the laser diodes are active. You then search for the appropriate test image on the software, where all colors are displayed. Attention, it can happen that the laser beams scatter out of the laser, so make sure that you do not look directly into the laser beam or that it does not dazzle you (see third picture below). Now you can see from the test image whether the three colors are superimposed, if not, you can adjust the respective color that is wrong with a small Allen key the respective mirror of the color. Again, it is important to remember that you need to work with feeling and a lot of patience to adjust the respective mirror. | Man stellt den Laser auf eine richtige Arbeitshöhe, dass man im Stehen bequem daran kommt. Man schließt den Laser mit einem ILDA Kabel an sein Interface, das mit dem Computer oder mit einem Laptop verbunden ist, wo darauf die passende Lasersoftware ist. Dann wird der Stromanschluss angeschlossen und der Sicherheitsschlüssel umgelegt, dass die Laserdioden aktiv sind. Auf der Software sucht man dann das passende Testbild, wo alle Farben angezeigt werden. Achtung, es kann passieren, dass die Laserstrahlen aus dem Laser heraus streuen, passt ja auf, dass ihr nicht direkt in den Laserstrahl hineinschaut oder dass er euch nicht blendet (siehe drittes unteres Bild). Nun kann man am Testbild erkennen, ob die drei Farben übereinander legen, wenn nicht, kann man die jeweilige Farbe, die falsch liegt, mit einem kleinen Inbusschlüssel den jeweiligen Spiegel der Farbe einstellen. Auch hier muss man beachten, dass man mit Gefühl ran gehen muss und viel Geduld braucht, um den jeweiligen Spiegel anzupassen. |

| English | Deutsch |
|---|---|
| When you have finished adjusting the laser, you can switch it off and disconnect it from the power supply so that you can reassemble it. But make sure that there is no dust or dirt in the device. It took me two hours for each laser. And now the two lasers are ready for the next event. So make sure you work carefully because, as I said, lasers are not toys and you can injure people and even blind them. I wanted to show you how I did it and what kind of technology is built into it, not everyone knows how a laser works. | Wenn ihr den Laser fertig aus justiert habt, dann könnt ihr den Laser ausschalten und vom Strom entfernen, somit könnt ihr ihn dann wieder zusammenbauen. Aber achtet darauf, dass kein Staub oder Dreck im Gerät ist. Bei mir hat das Ganze je zwei Stunden pro Laser gedauert. Und nun sind die beiden Laser für die nächste Veranstaltung wieder bereit. Also achtet darauf, dass ihr sorgfältig arbeitet, denn wie gesagt, Laser sind keine Spielzeuge und man kann damit Menschen verletzen und auch erblinden. Ich wollte euch mal zeigen, wie ich das gemacht habe und was für eine Technik darin verbaut ist, nicht jeder weiß, wie ein Laser funktioniert. |

| English | Deutsch |
|---|---|
| Now I wish you all a happy new year, stay healthy and happy. Take care of yourselves, watch what you do and stay decent. If you don't have the confidence to do this kind of work, send it to your dealer or manufacturer so that they can repair it for you. | Nun wünsche ich euch noch ein frohes neues Jahr, bleibt alle gesund und munter. Passt auf euch auf und achtet, was ihr macht und bleibt anständig. Wenn ihr euch so eine Arbeit nicht zutraut, sendet es zu eurem Händler oder Hersteller, dass sie für euch reparieren. |
0
0
0.000
Now it looks great. It changes the outlook. Thank you for sharing about how to do that.