User interface design with XML layouts - Android App Development using Android Studio
Greetings to "Learn2Code" community on Hive.
It's @skyehi and I'm glad to be back to continue my series on Android app development with Android studio.
In my previous blog which was just yesterday, we discussed how to create a new activity and open that activity using the "Intent" code. We didn't focus too much on the designing of the activity screen.
For today's blog we're going to finally work on the design screen using the XML layouts.
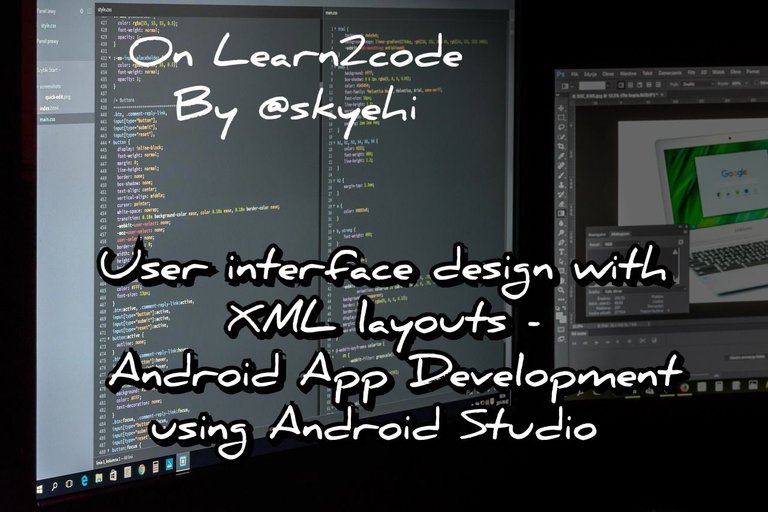 Original Image Source by PhotoMIX-Company from Pixabay
As I made mentioned in my previous blog, I'll make it simple, easy to understand and short so you can quickly find the solutions to your programming problems and also become a better programmer.
Without wasting any of your time, let's get into the codes shall we

Create an XML Layout File
Now we're talk about designing your activity screen and to start designing your screen, you need to create an XML layout file where you'll be able to define how the screen should look.
Here are a few steps that should help you do that with no issues at all;
The First thing is to Open Android Studio.
In your project menu, find the "res" folder and then the "layout" folder.
The next thing is to Right-click on the "layout" folder and select "New" > "XML resource file."
Now simply give your file a name, like "activity_login.xml," and click "OK.", That should create a new XML file for you to start designing.

Design the Login Screen Layout
Now, you can design the visual elements of your login screen using XML. It's really not that complicated but if you're having issues understanding how that works, you can comment below and I'll help you with some few sources to learn how to code in XML.
It's almost no different from basic coding of a website with HTML since the two programming languages are both mark up languages.
Just imagine it like arranging the pieces of a puzzle to create your screen.
I've been able to put together a simplified example of XML code for a login screen:
<?xml version="1.0" encoding="utf-8"?>
<LinearLayout
    xmlns:android="http://schemas.android.com/apk/res/android"
    android:layout_width="match_parent"
    android:layout_height="match_parent"
    android:orientation="vertical">

    <EditText
        android:layout_width="match_parent"
        android:layout_height="wrap_content"
        android:hint="Username" />

    <EditText
        android:layout_width="match_parent"
        android:layout_height="wrap_content"
        android:hint="Password"
        android:inputType="textPassword" />

    <Button
        android:layout_width="wrap_content"
        android:layout_height="wrap_content"
        android:text="Login" />

</LinearLayout>
Brief description
In this code, I used a "LinearLayout" to stack the elements on top of each other. Linear layouts are perfect for arranging elements on your screen vertically or horizontally.
I created two "EditText" fields for the username and password and a "Button" for the login action so when the user clicks, he or she can login in to the app
Connect XML with Java Code
Now to make your login screen fully functional, you need to connect the visual elements from your XML layout to your Java code.
This allows you to handle user input and create the background logic for your login process.
Here's how you would do that in your java activity.
EditText usernameEditText = findViewById(R.id.editTextUsername);
EditText passwordEditText = findViewById(R.id.editTextPassword);
Button loginButton = findViewById(R.id.buttonLogin);
Now, with these connections between the XML and Java, you can add actions and validations to your login screen and all its elements using Java code.
That's all for now guys, you have been able to build a nice and decent screen with buttons and designs. I will encourage that you use this as a stepping stone to learn more ways of designing your android app screens.
I'll soon be making entire app projects and codes in this community soon.
Thank you so much for the support and the help. I hope you found this blog post both educative and entertaining. As always, my blogs are open for any question or comment you may have regarding the topic and the broad field of programming.
Have a lovely day and catch you next time on "Learn2code" . Goodbye ❤️
You Can Follow Me @skyehi For More Like This And Others
Thanks for your contribution to the STEMsocial community. Feel free to join us on discord to get to know the rest of us!
Please consider delegating to the @stemsocial account (85% of the curation rewards are returned).
Thanks for including @stemsocial as a beneficiary, which gives you stronger support.