Using WAX permissions to create a custom Warsaken claim-only keypair
Within the world of cybersecurity, one of the key controls that we can employ to protect ourselves is Least Privilege; this principle dictates that we must perform activities with the minimal permissions possible. It's for the same reason that we don't use our owner keys on WAX to perform day-to-day actions, however even the active key can do basically everything with our account.
Fortunately WAX, and other chains derived from EOSIO, give us all of the tools we need to carve out a set of permissions that allow us to interact with dApps safely and with minimal risk of compromise by bad actors.
The EOSIO Documentation provides all of the information you need to create custom permissions, however it lacks a practical guide to how to implement these on WAX.
The steps in this article apply equally to all EOSIO based blockchains, virtually any dApp and non-custodial wallets a however the guide deals directly WAX, Warsaken and Anchor Wallet.
Pre-requisites
- Anchor Wallet for Desktop and Mobile - other wallets may support it but it's untested,custodal wallets like WaxCloudWallet, other wallets are untested but assuming you are allowed to add permissions you can use them.
- Active keys for an existing account added to your wallet.
- A mobile device you wish to be able to claim from.
- You should be in a secure area where no one can see your screen.
Step 1: Create new Keys on Anchor Desktop
- From Anchor Wallet, navigate to Tools → Manage Keys → Generate Key Pairs.
- Click Generate Key Pair (x2).
- Click Save Keys to Wallet.
You should have two new keys once you have completed this step:

Step 2: Enable "unsafe" / "dangerous" transactions
Note: by enabling this setting, it is possible that you could replace the active key on your account with an invalid one, meaning you would need to reset your active key with your owner key. Do not change this setting if you feel at all uncomfortable with this risk
- From Anchor Wallet, navigate to settings (cogs in top right hand corner)
- Scroll down and ensure that Allow dangerous transactions in URI signer is set to "Allow dangerous transactions".
Step 3: Add a custom permission
- Access https://waxblock.io/ and login with Anchor Wallet.
- Go to Wallet → Manage keys and permissions.
- Click on Advanced
- Fill out the fields exactly as follows:
a. Permission Name:wsknclaim
b. Parent:active(default)
c. Threshold:1(default) - Click Add New and paste in the Public Key from Anchor Wallet into the Public Key box. Leaving the other fields at their defaults.
- Click Add New Permission and sign the transaction to create the new permission.

Step 4: Add Keys to Mobile - (Android, iOS, iPadOS)
- On your Mobile Open the Anchor Wallet App.
- Tap Add Account then Import Account.
- Tap Scan QR code
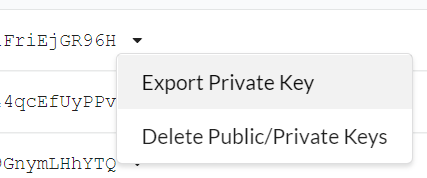
- On your desktop click the down arrow and select Export Private Key
- Tap the small QR code icon on the right hand side of the private key, and click Show QR Code.
- Scan the QR code with Anchor Mobile.
- After a few seconds it should list your new account:
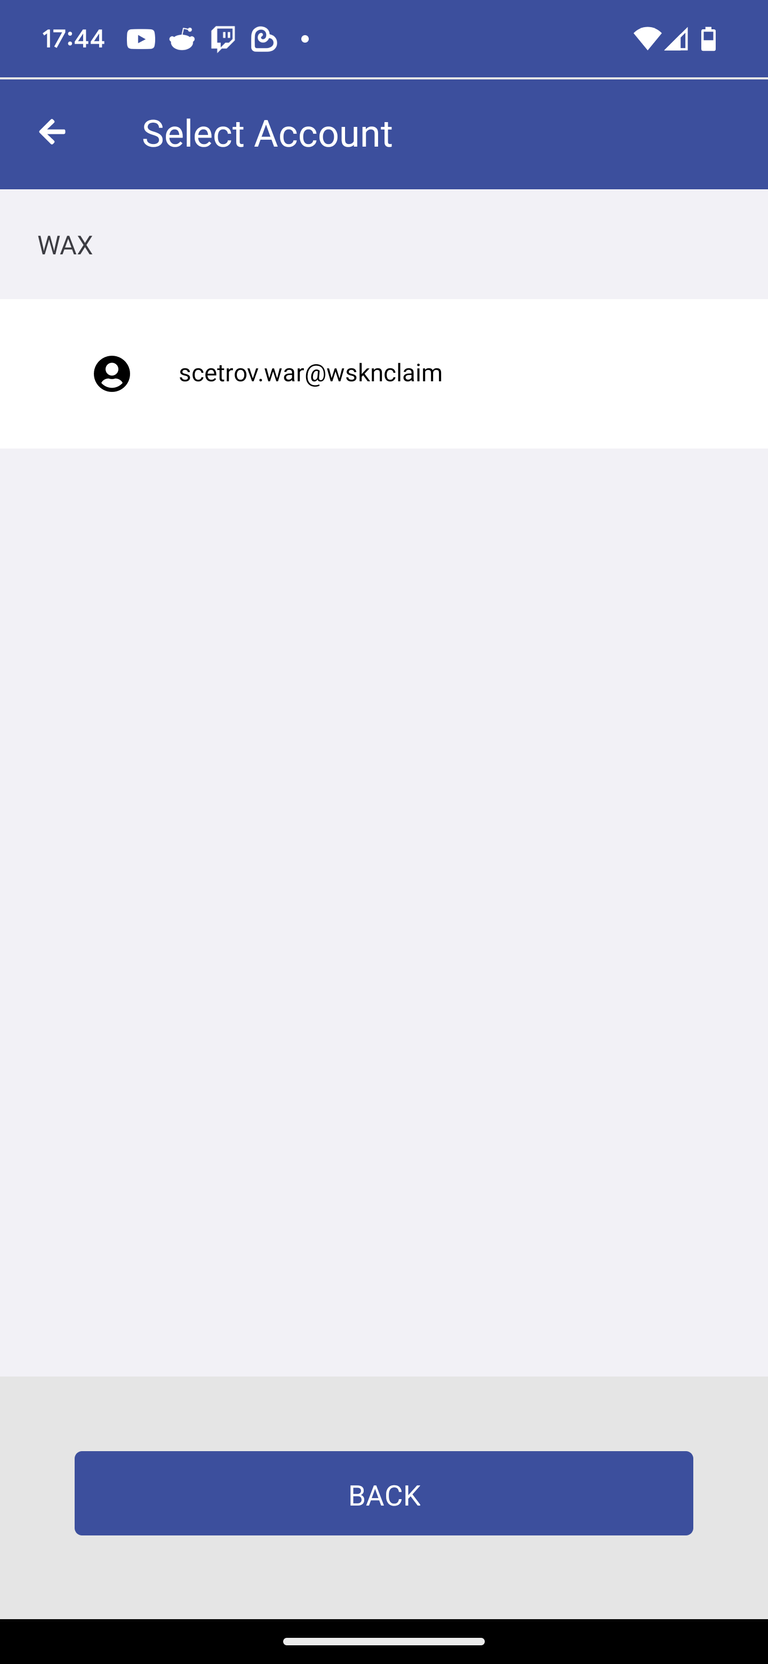
- Tap it then tap Import Account then Done when prompted.
Step 5: Link Required Auths to the Permission
- Back on https://waxblock.io/ navigate to Wallet → Keys and Permissions → Link Auth and add the following two auths:
- The ability to login to Warsaken is controlled by the
warsaken::authaction:
a. Permission: selectwsknclaimfrom the dropdown
b. Contract Name:warsaken
c. Contract Action: selectauthfrom the dropdown - The ability to claim on Warsaken is controlled by the
warsaken::claimaction:
a. Permission: selectwsknclaimfrom the dropdown
b. Contract Name:warsaken
c. Contract Action: selectclaimfrom the dropdown - Click Link Auth and sign the transaction.
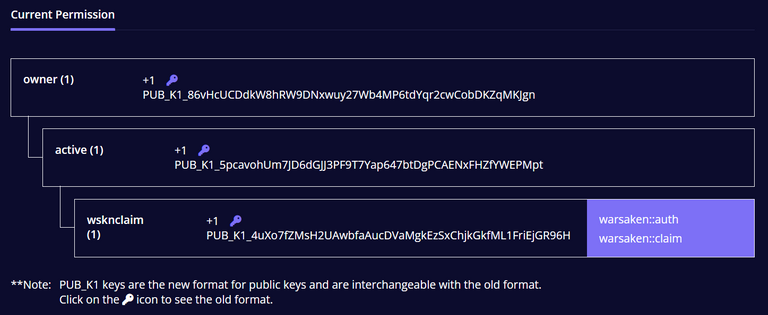
After completing this step the Current Permissions on your account should look like this:
Final Steps and Cleaning Up
You can now proceed to login to Warsaken with your custom permission safe in the knowledge the only thing that can be done is login to Warsaken and claim.
Step 4 can be repeated on multiple devices if desired, for example a tablet, this gives you some resilience in case you lose your phone or your battery is flat.
I recommend removing the private keys from Anchor Desktop, although this is not strictly required it does avoid accidentally re-using the keys which would potentially expose other accounts to attack if your phone was compromised.
I also advise Disabling "dangerous" transactions:
- From Anchor Wallet, navigate to settings (cogs in top right hand corner)
Scroll down and ensure that Allow dangerous transactions in URI signer is set to "Disable dangerous transactions".
Other Warsaken Activities and their Contract Actions
This section is for reference only, and not required to perform a Warsaken Claim.
Other actions in Warsaken require different sets of auths to complete, for example:
- Buying WAX Packs (WAXPAX) requires:
warsaken::cartto add items to the shopping cart.warsaken::purchaseto initiate a purchase.eosio.token::transferto transfer WAX towarsaken.
- Buying LOOT Packs (LOOTPAX) requires:
warsaken::cartto add items to the shopping cart.warsaken::purchaseto initiate a purchase.warsaken::transferto transfer LOOT towarsaken.
- Opening Packs, Redeeming Loot and Mystery Vouchers requires:
atomicassets::createofferto add items to the shopping cart.createofferis a risky permission as any NFT can be transferred not just Warsaken NFTs
- Redeeming Codes requires:
warsaken::redeemto add items to the shopping cart.
Scetrovvvvvvvvvvvvvvvv
Flaaaaaaaaaaaaaaaaaaaaaaaaaaaaaaaaaaaaaaaaaaaaaaaaaaaaaaaaaaaaaaaaaaaaaaaaaaaaaaaaaaaaaaaaaaaaaa