Simple and Aesthetic Holozing Logo Design Variations: How to and Step-by-Step Process
Good day and welcome to my blog. Today's post is basically all about creativity and the step by step process that leads to the final result .
Being more specific, today I showcase the creative variations in the holozing logo design done exclusively on my phone precisely captured from my own perspective. An expression of my own creative process where you get to see things from my own view.
Why did I decide to make this captivating design ?
Do I really need a reason to get creative? I don't think so. I felt like it, felt like doing something that screams holozing and I did it, thats all to it.
So enjoy 👇 and just in case you like to follow or mimick the processes that lead to the final result there will be a step by step break down. See it as a how-to tutorial that helps you get into the creative mood to produce something uniquely outstanding
from your very own perspective.
So once again enjoy 👇

The next two set of logo was done with absolute transparency (has no background) , it basically take the backgroud of whereever its being place, try to spot the difference in both designs


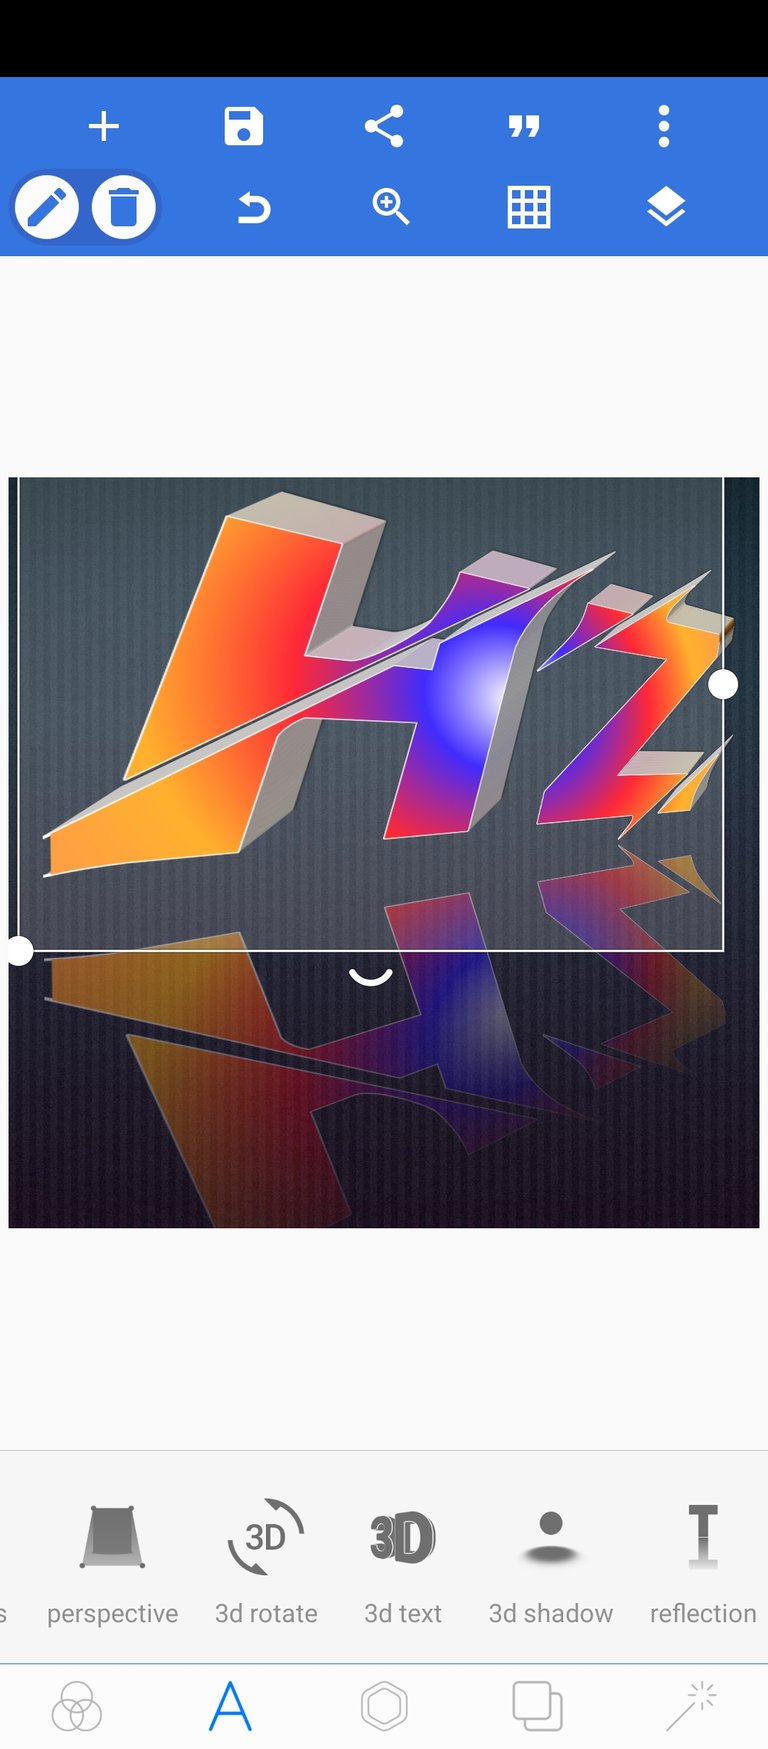
This was done with a bit of reflection in mind

Step-by-Step process on how the above were made
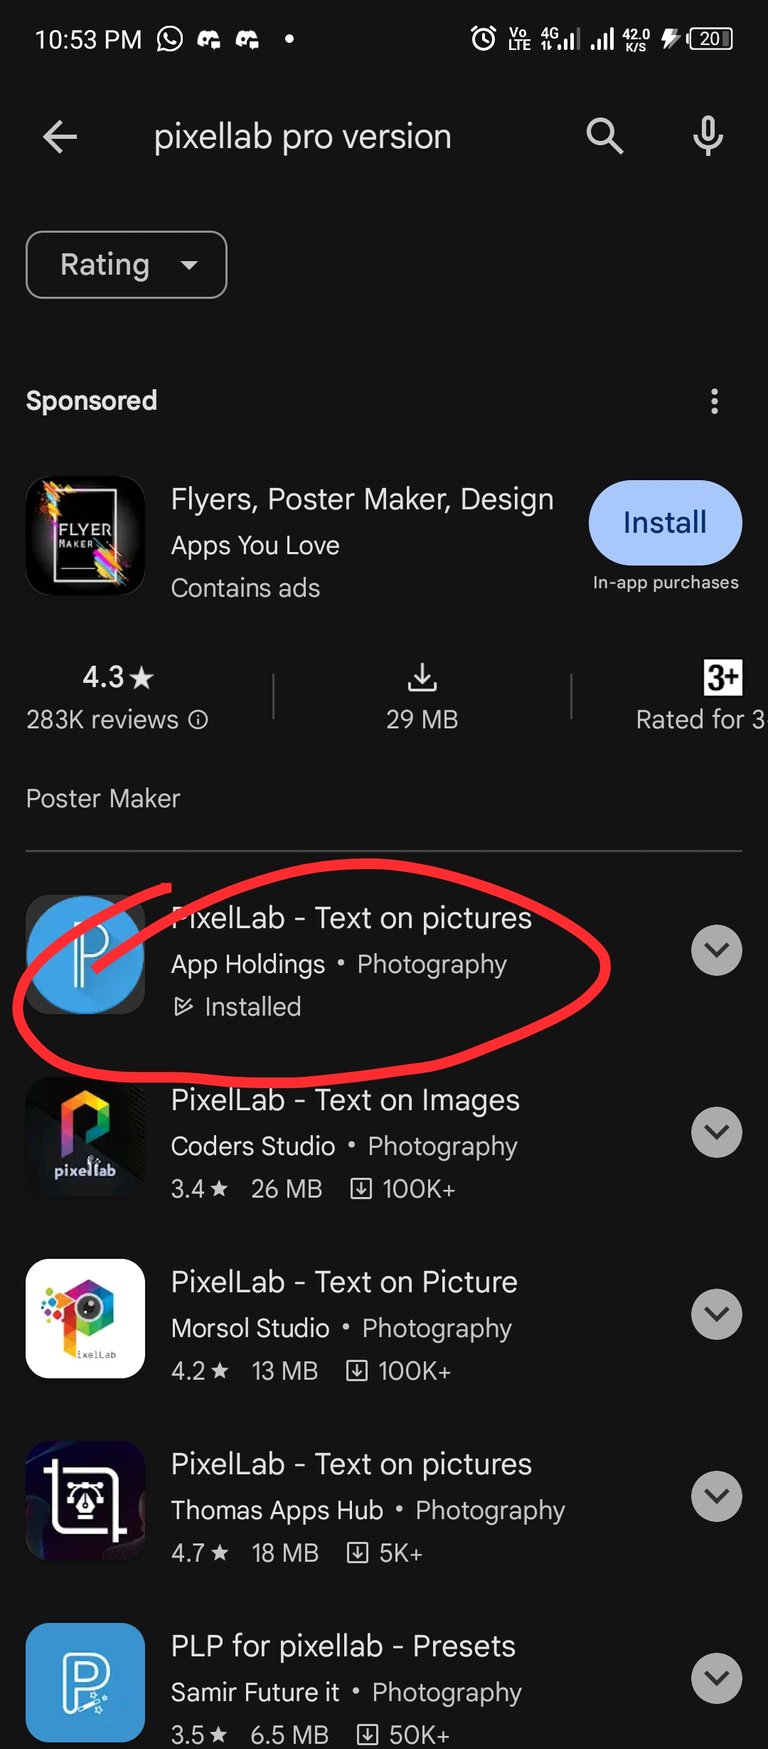
- First download the pixellab app on playstore, its has a white "P" in a light blue background
- After downloading the pixel lab app, open it up to start designing
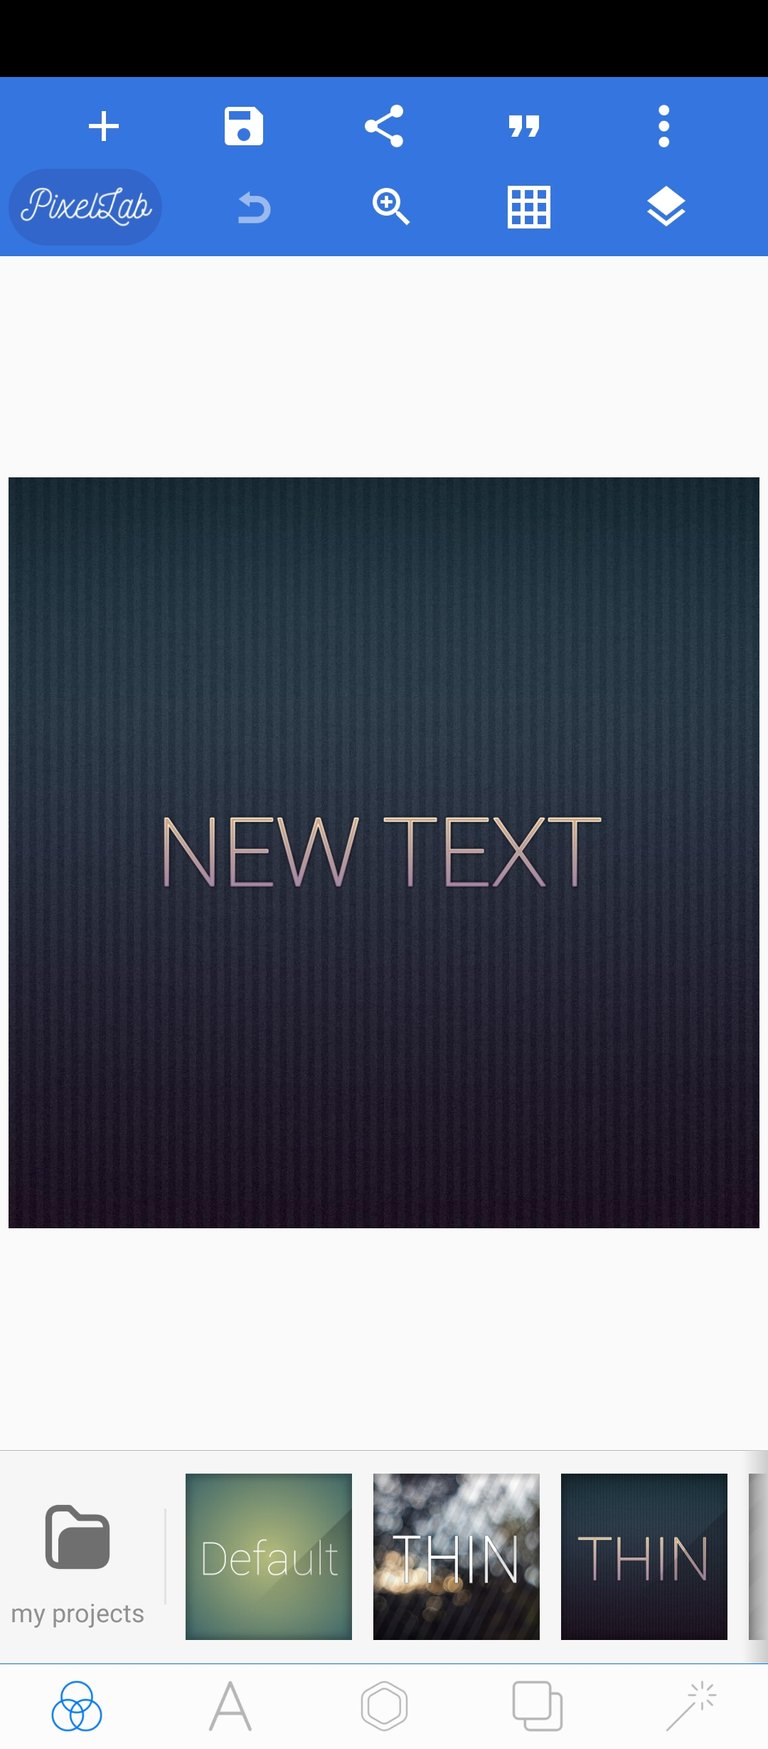
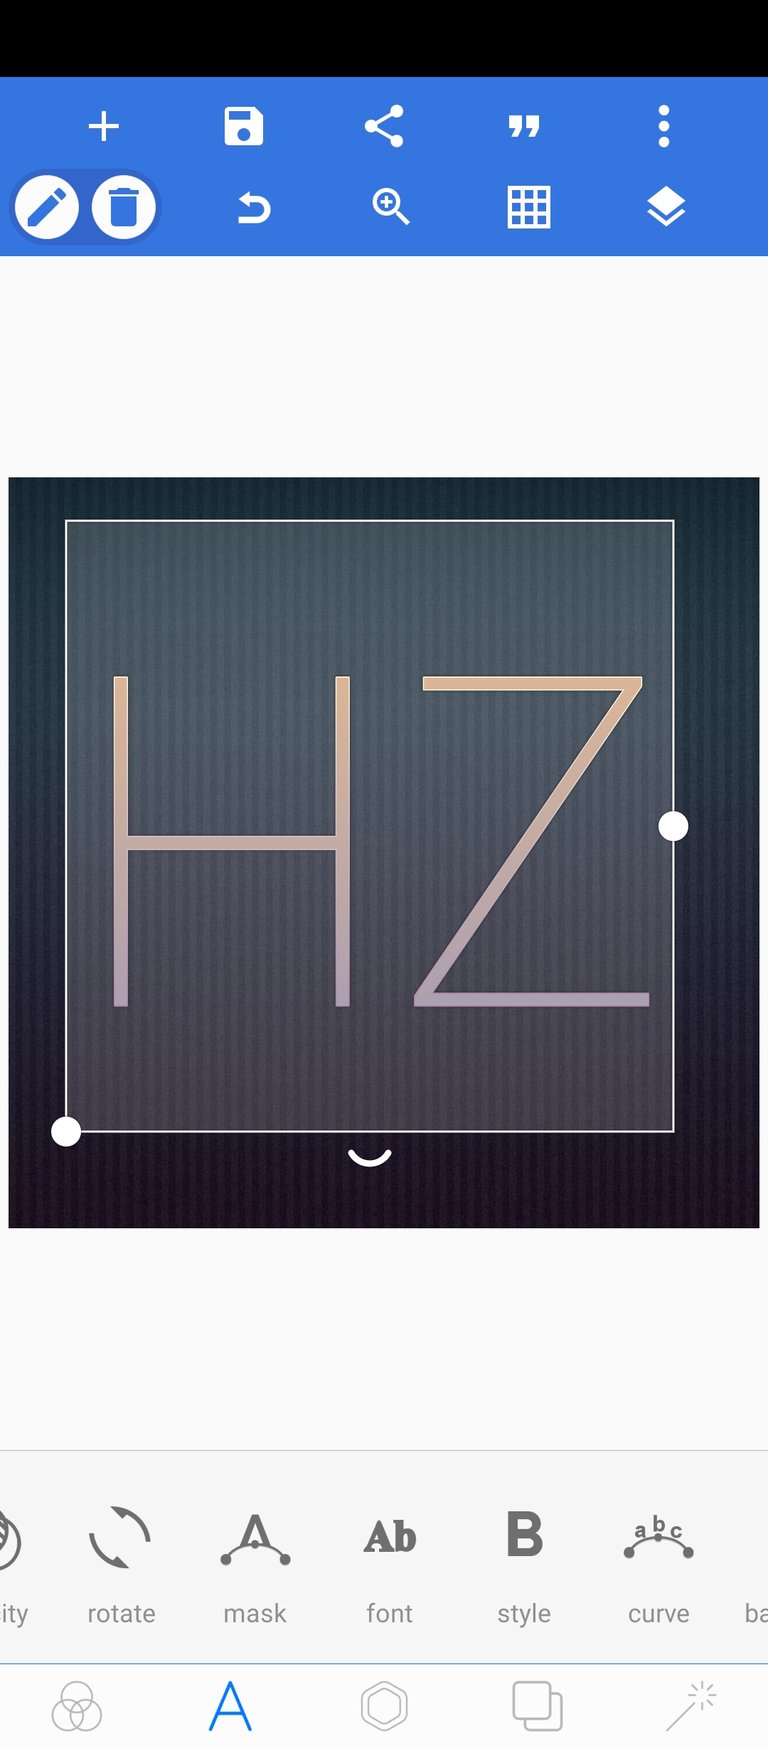
- Double tap the the "NEXT TEXT" area, which in subsequently takes you to a text editting/typing interphase
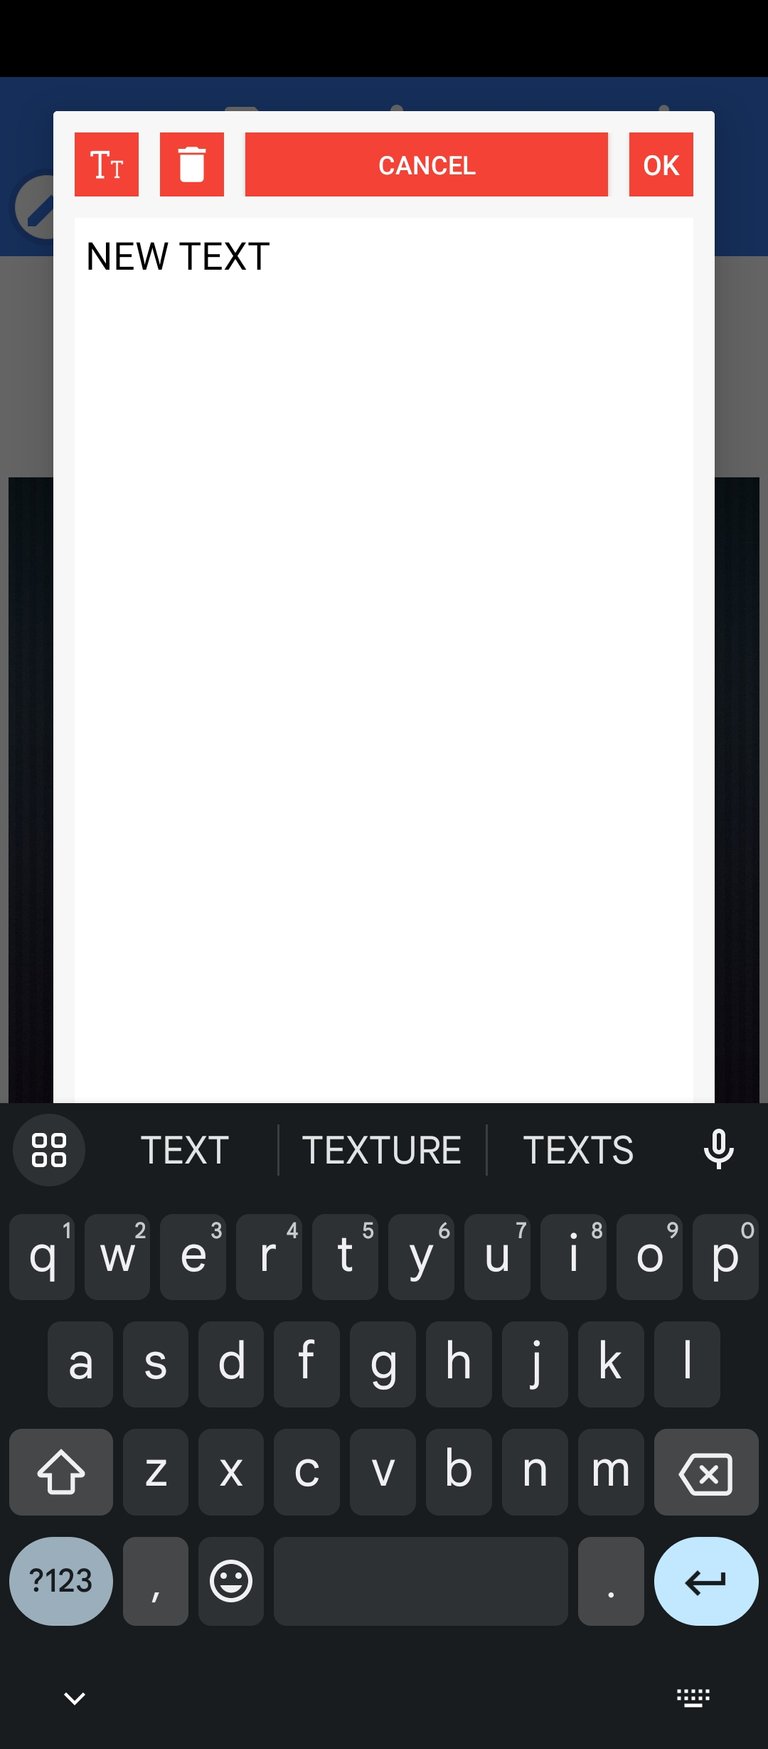
- Once in this interphase, type "HZ" in capital letter then select tap OK. Then enlarge it by pulling it at the corner downwards
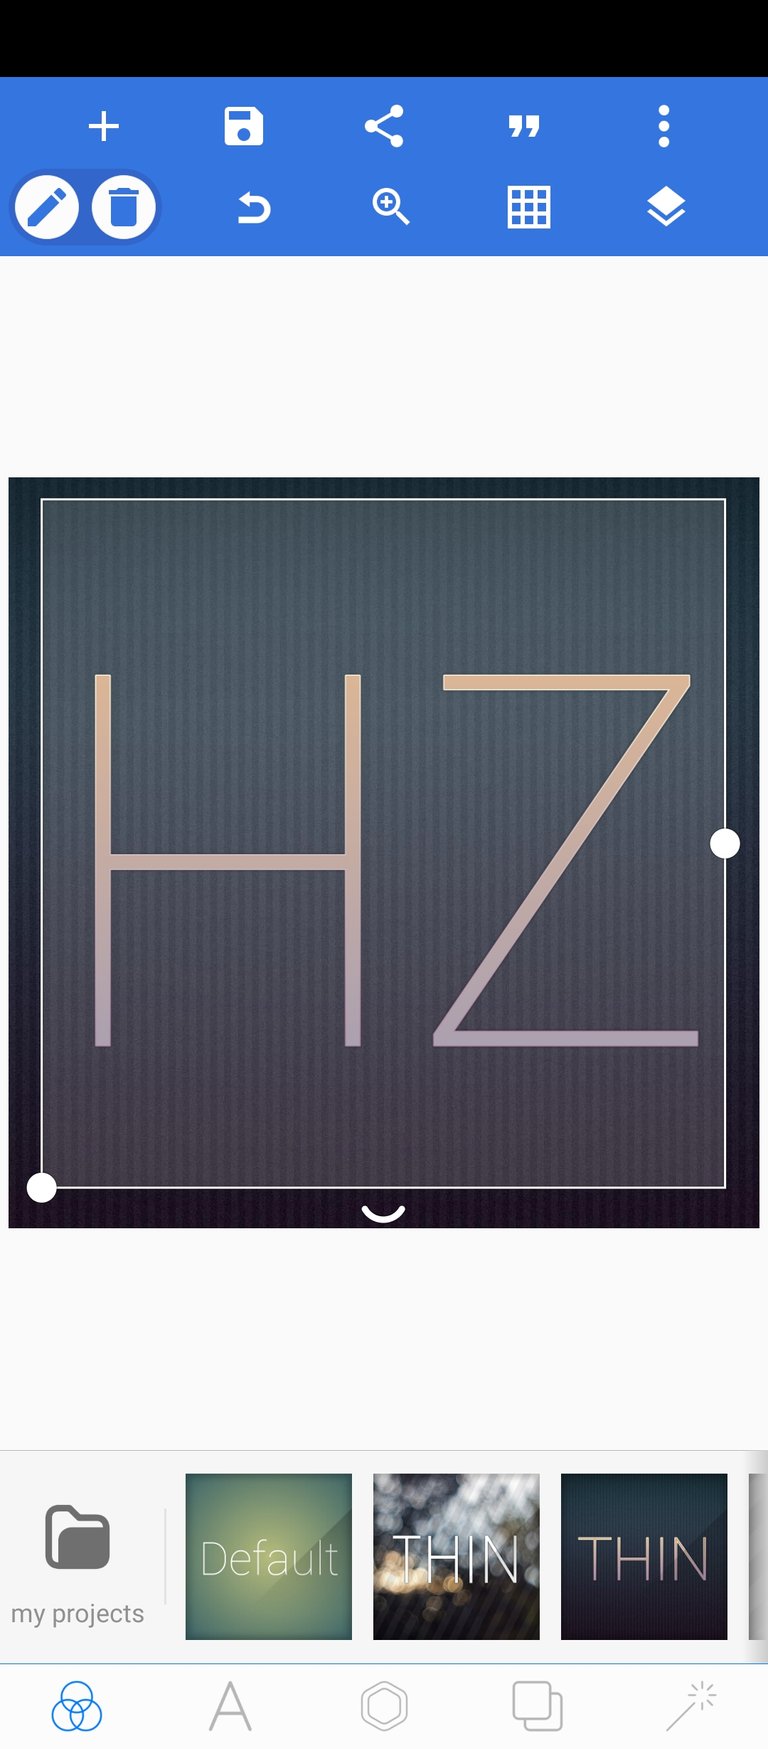
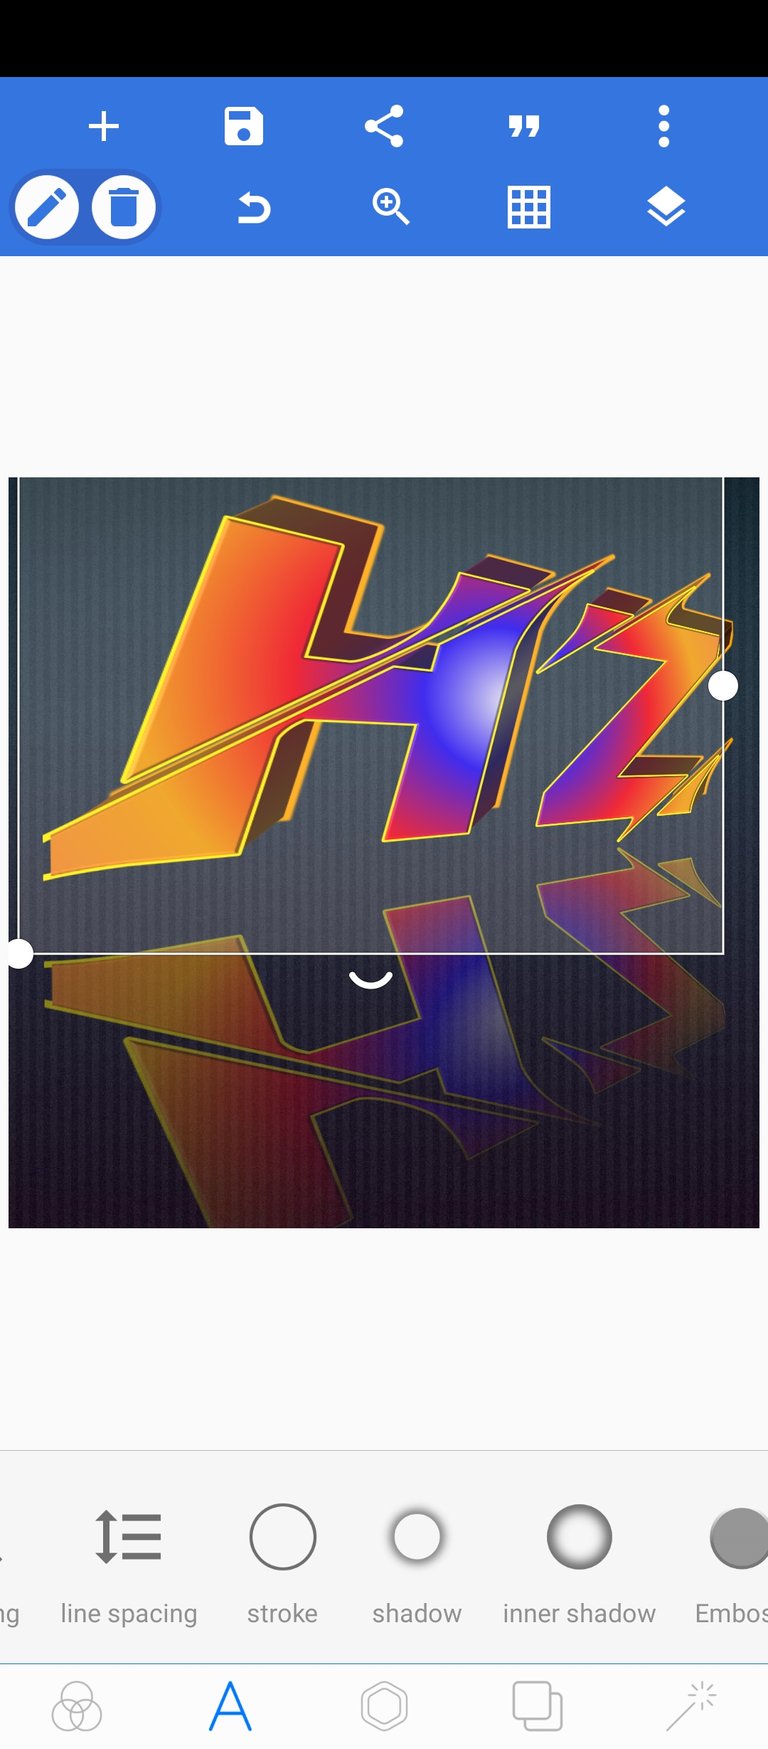
- Once enlarged, it time to change the font. To do this, tap the "A" below and then select font
- The select the "FACON" font type
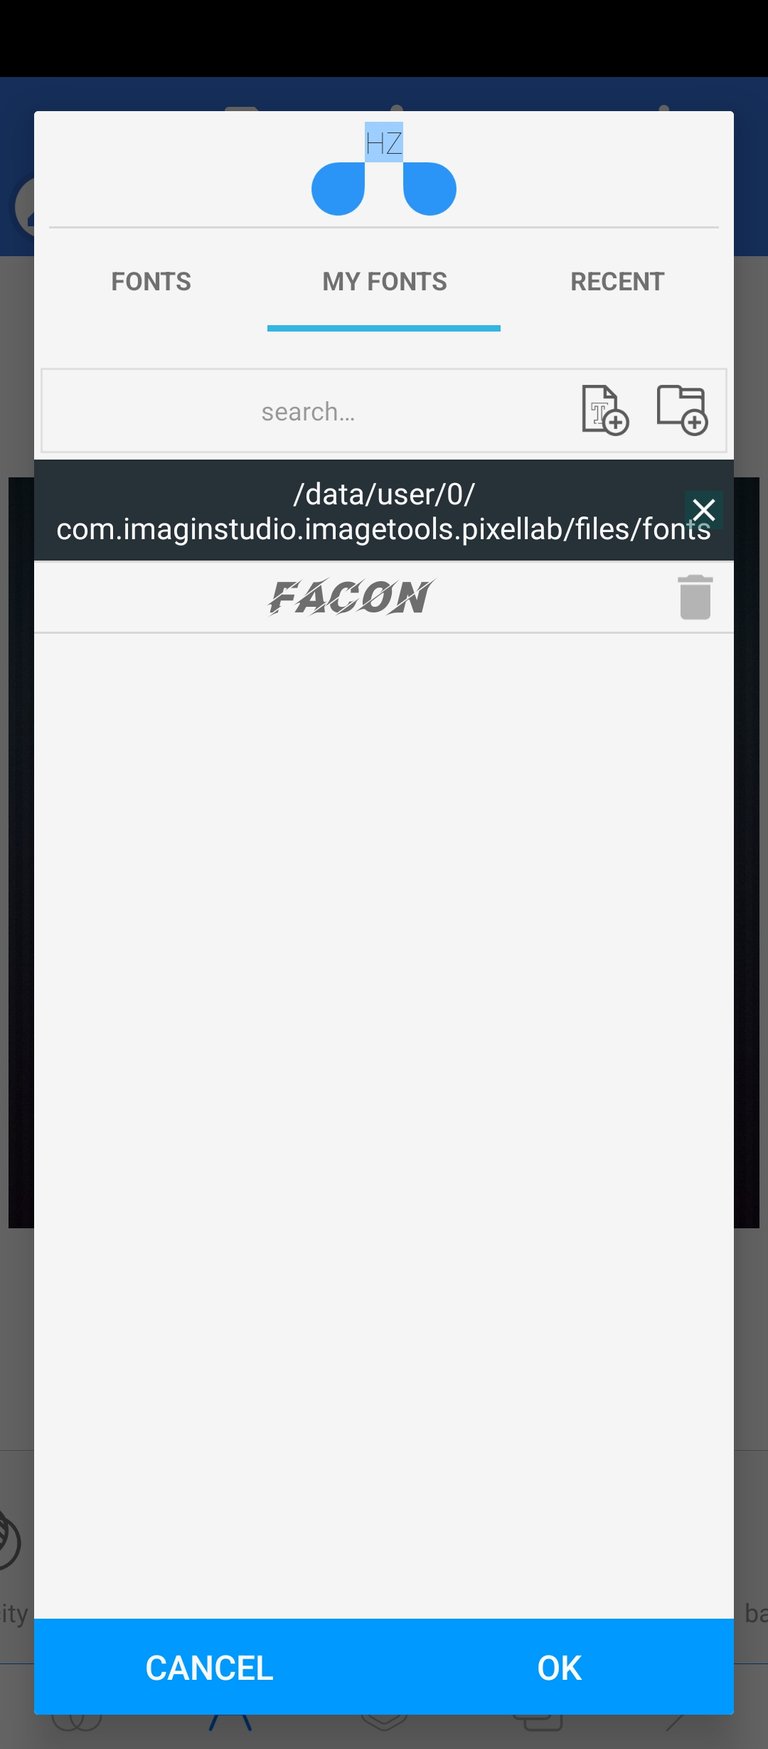
- Upon selecting it, you should have the below
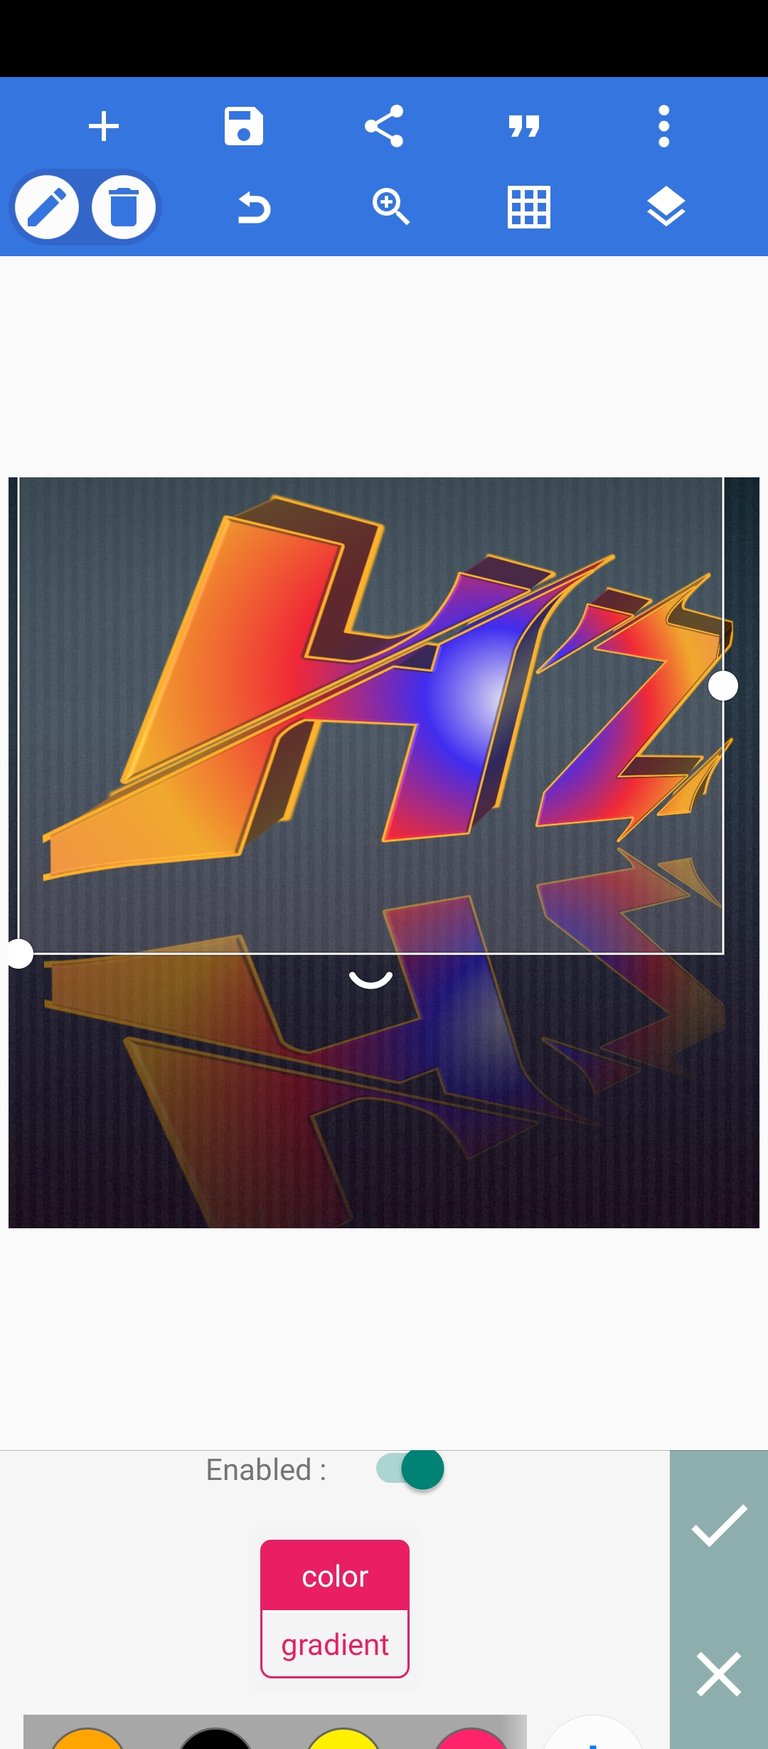
- Now, with the text (in facon font style) selected, tap on color below in the design interphase
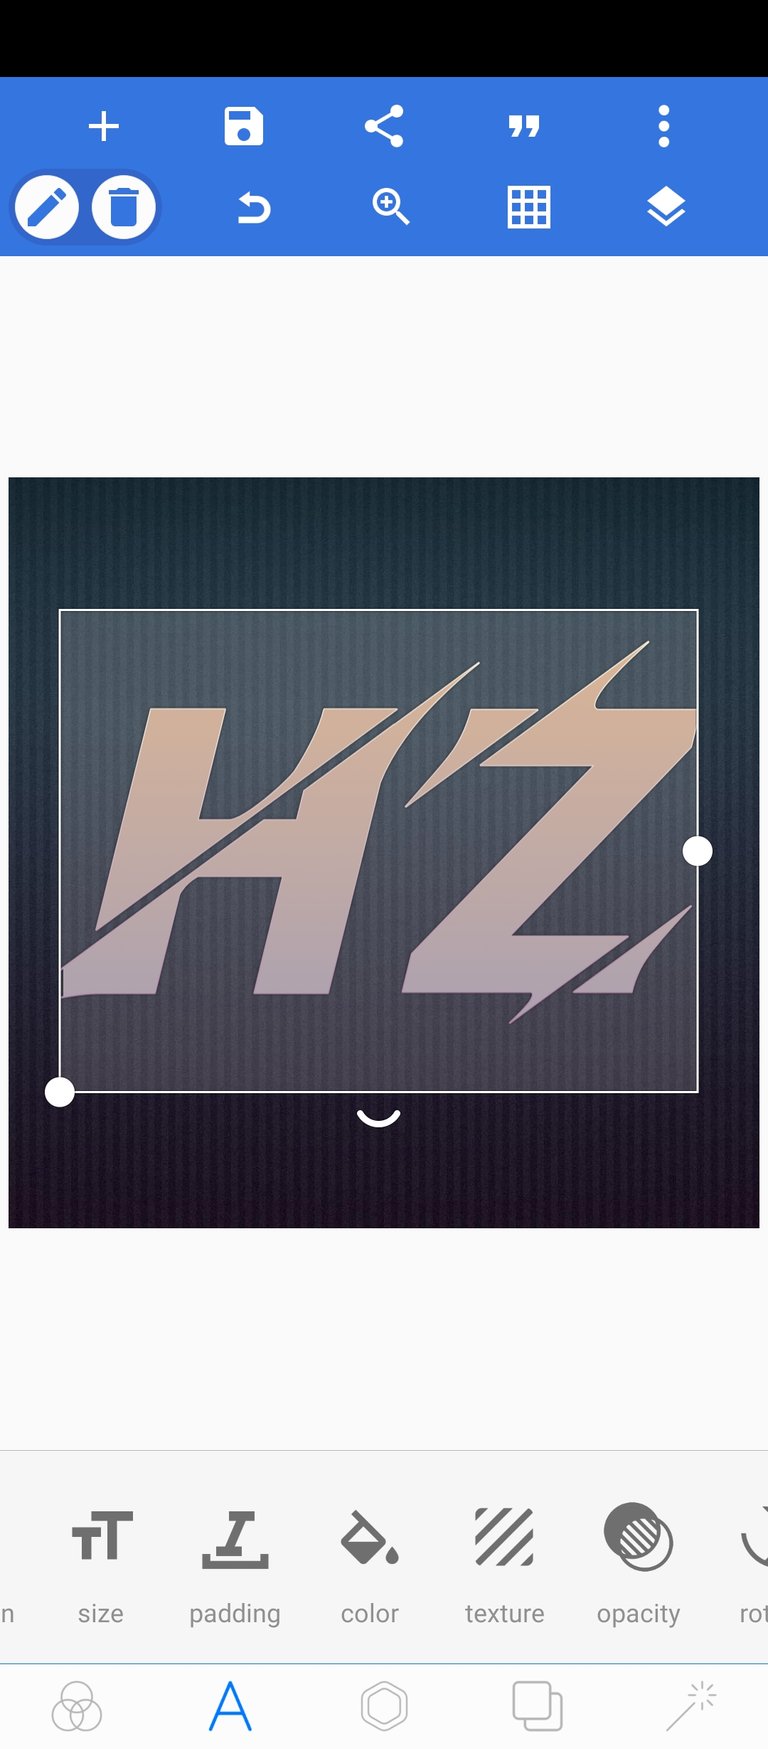
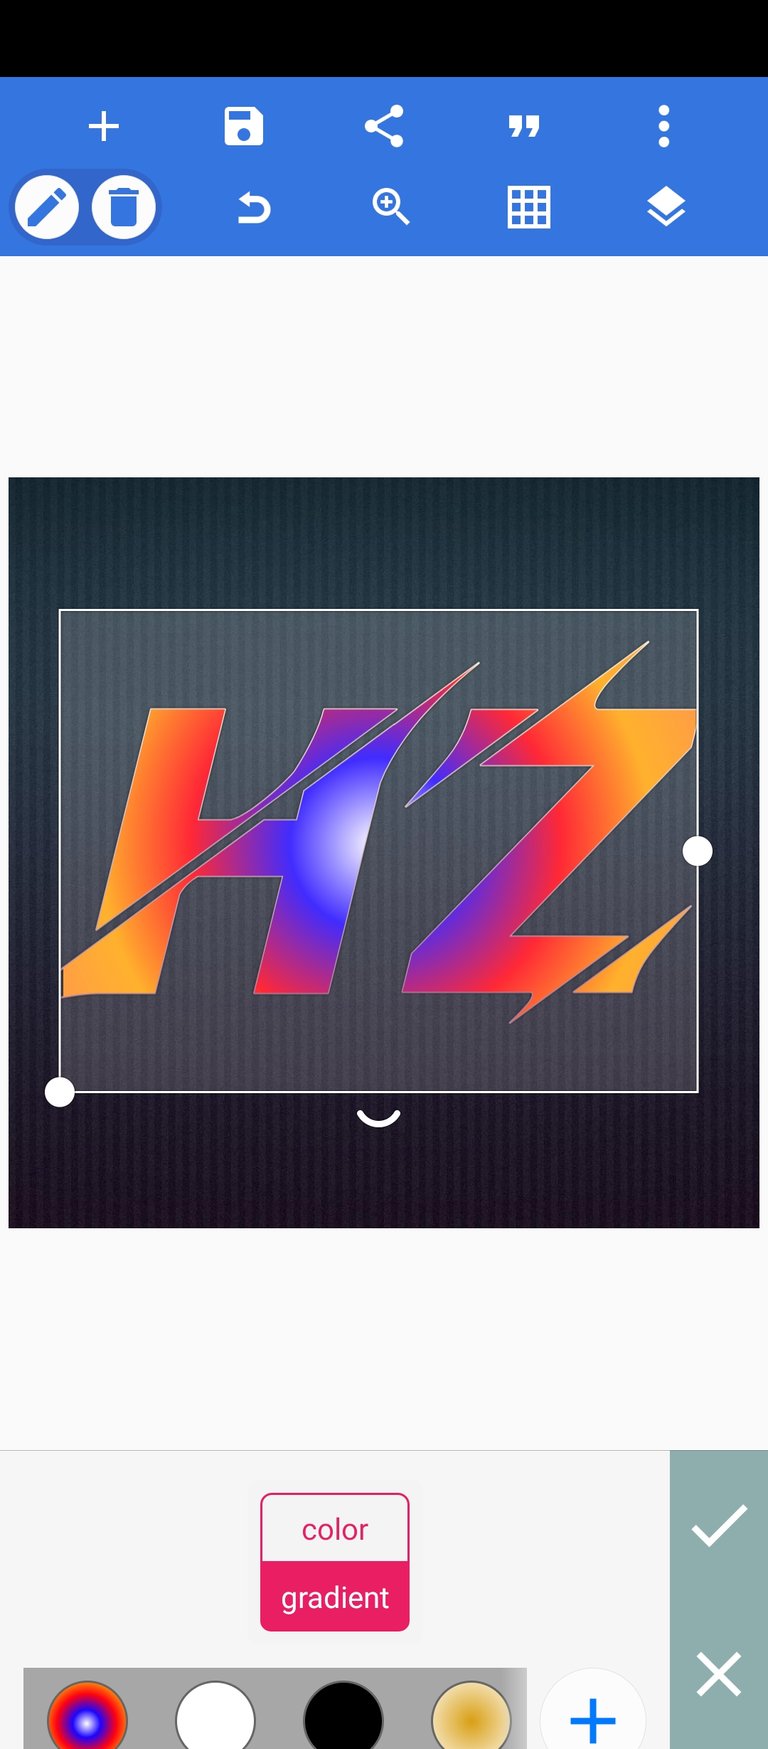
- Then select or create a color gradient, it easy to create one , by tapping on the plus sign by the right then move the adjustabler to blend the colors after selecting them
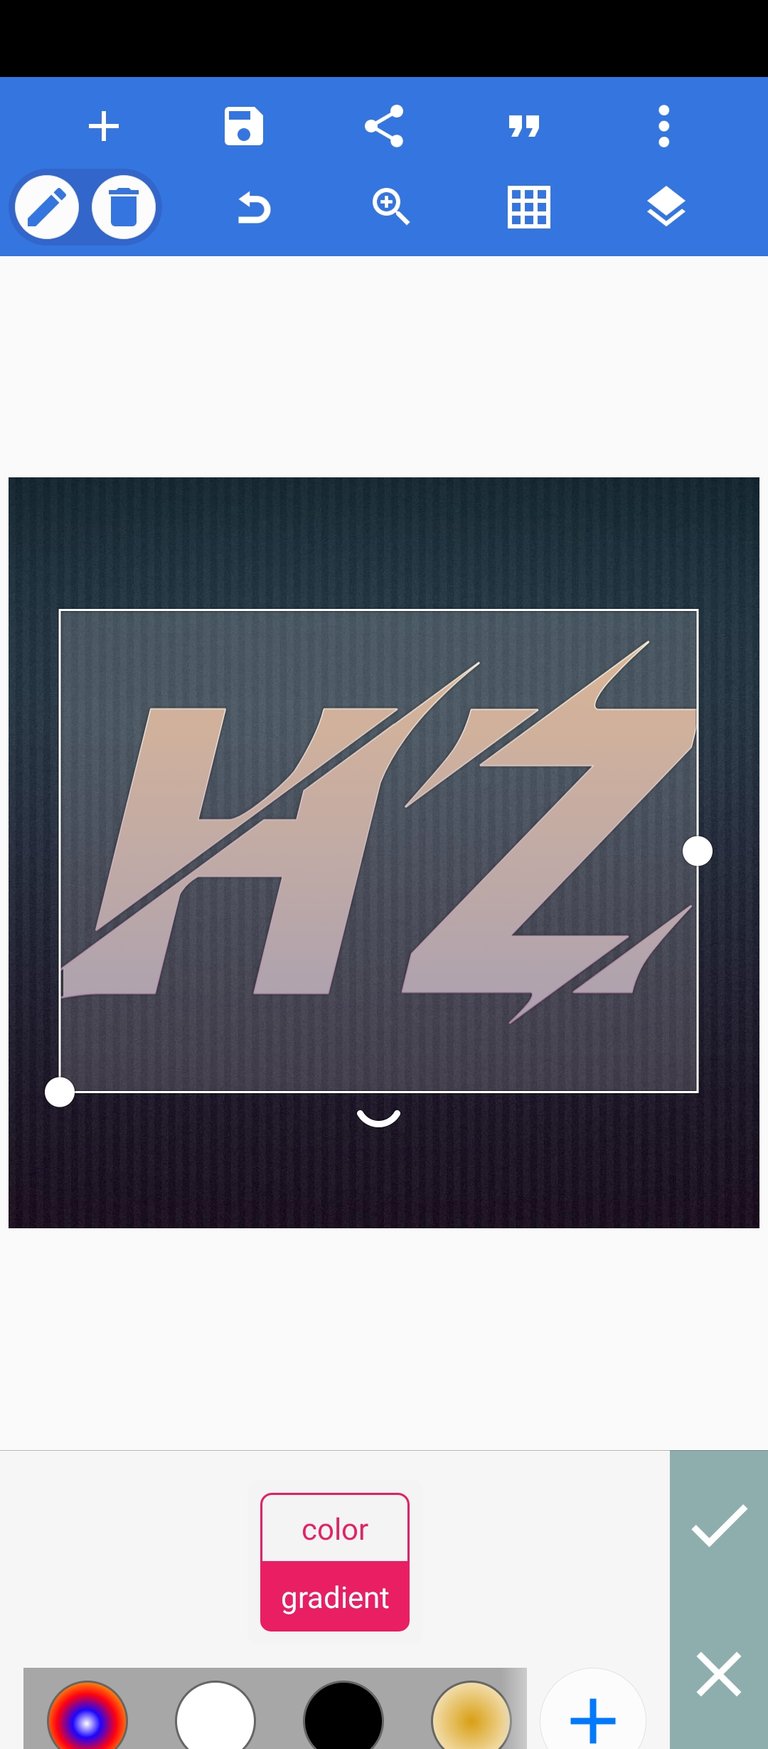
- After proper blending, tap ok
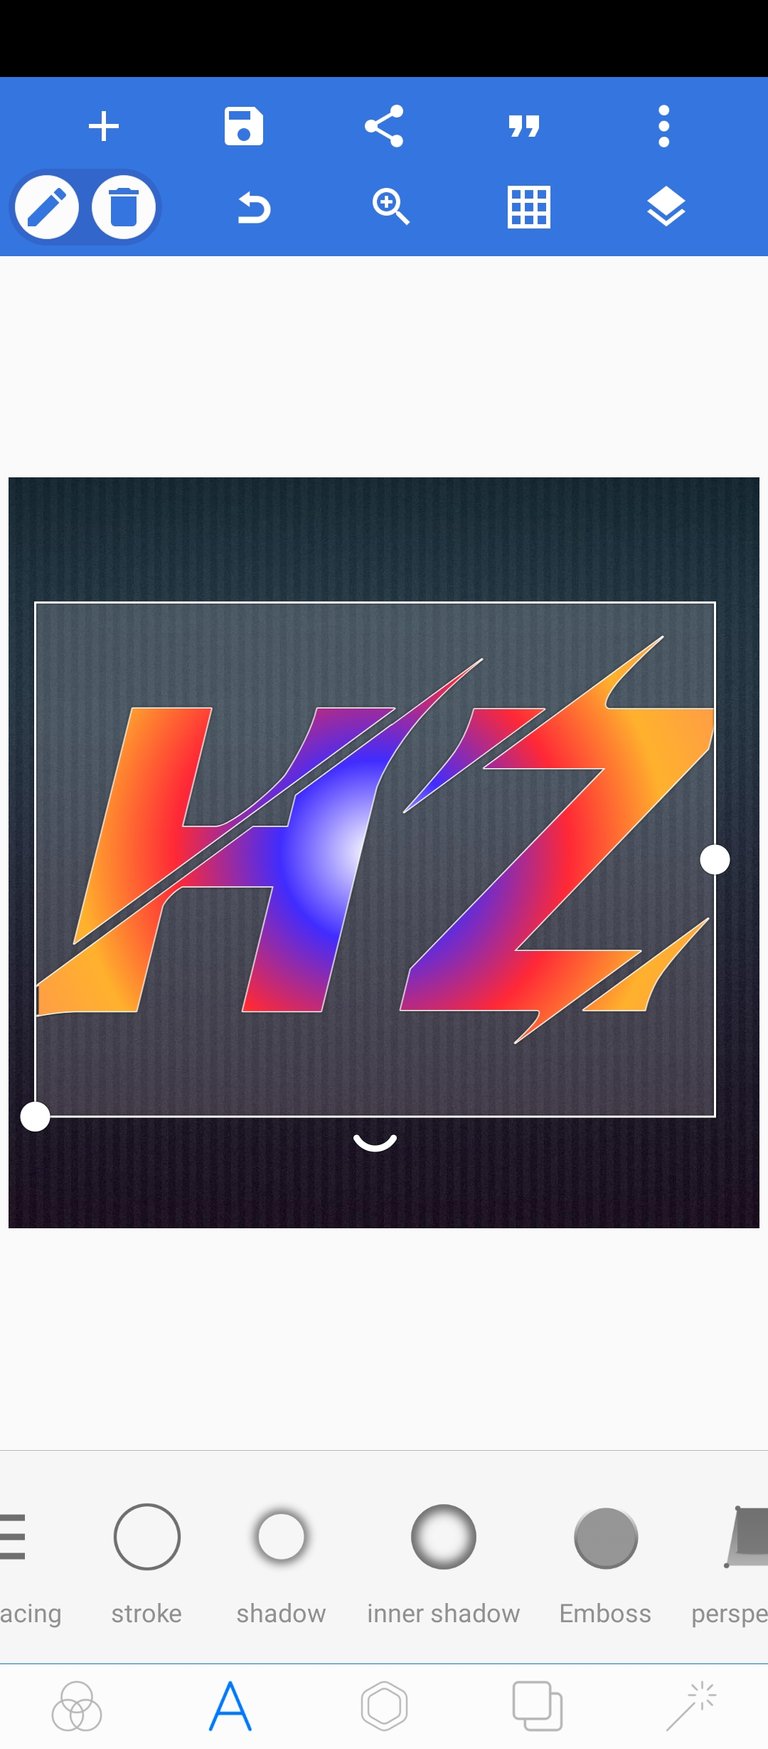
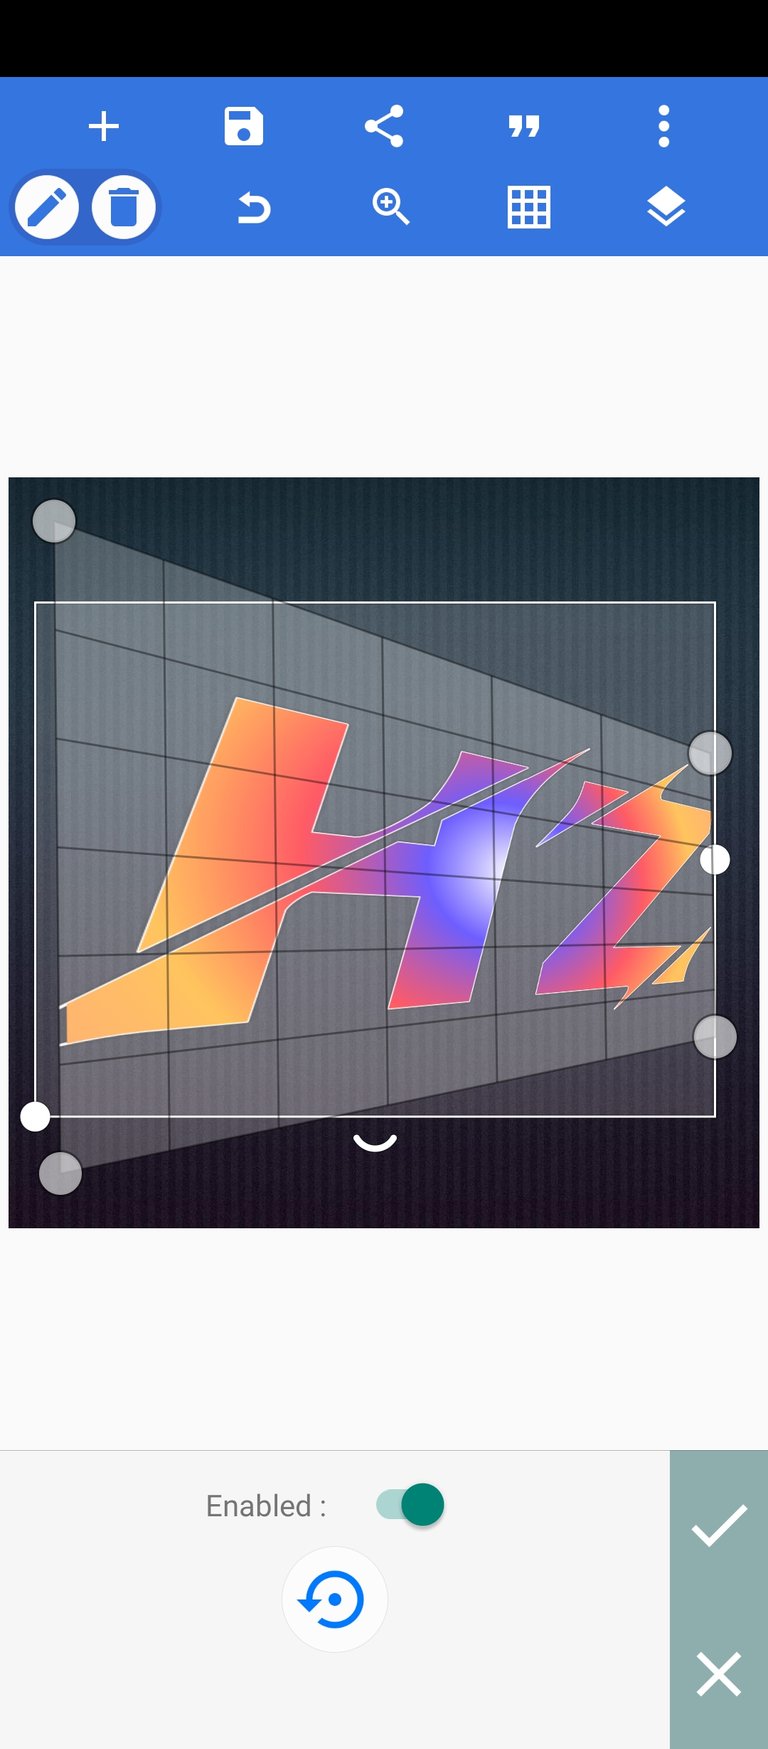
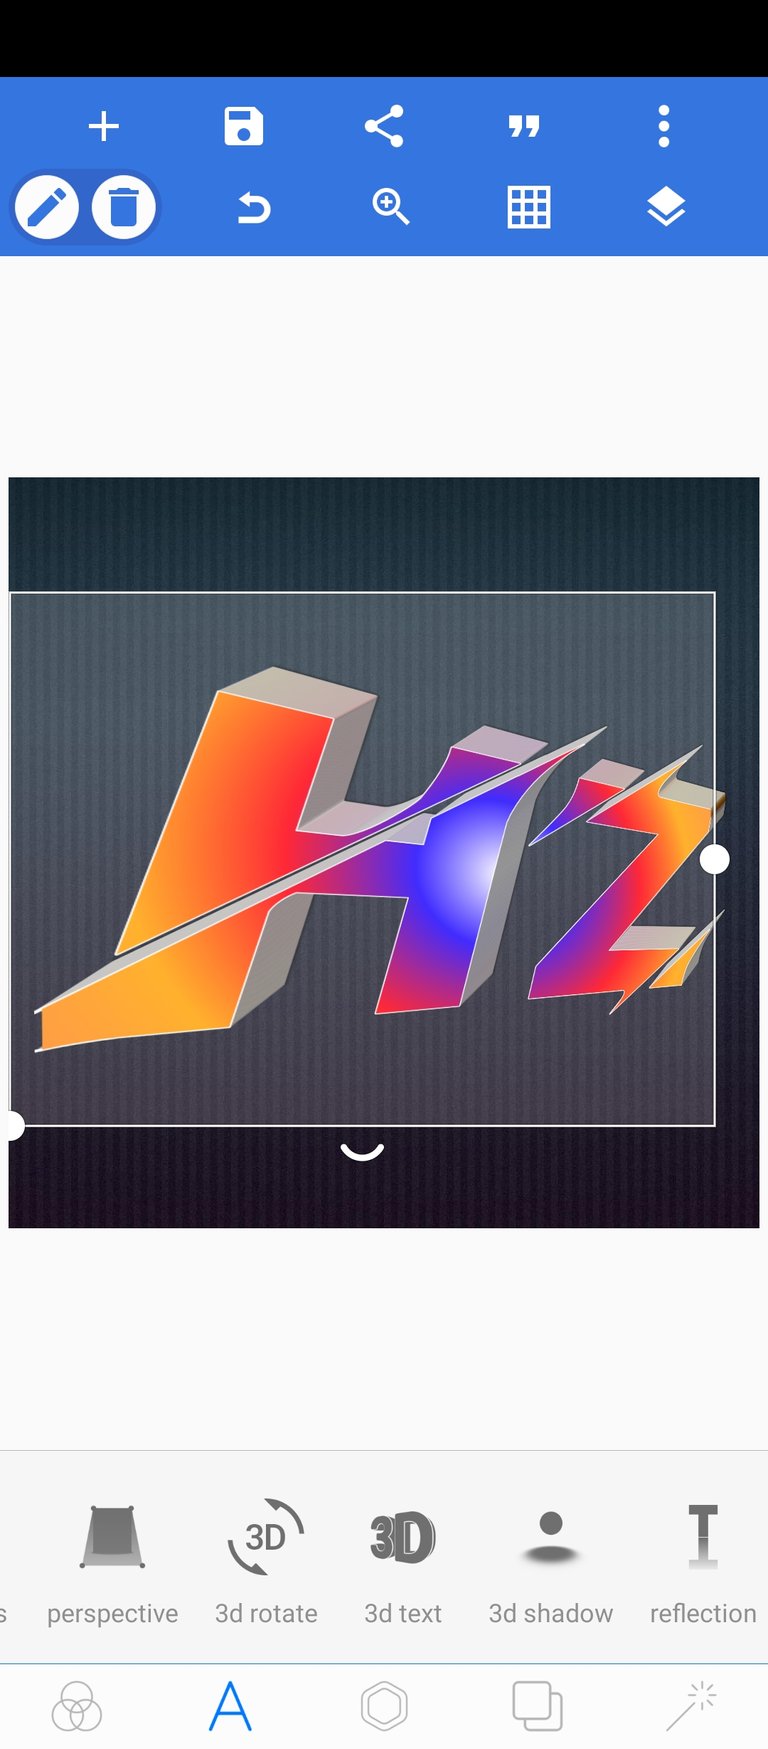
- Adjust the perspective of the design by selecting "perspective" below, then pull the right closer to one another and expand the left
- To convert the above to 3D, select "3D text"

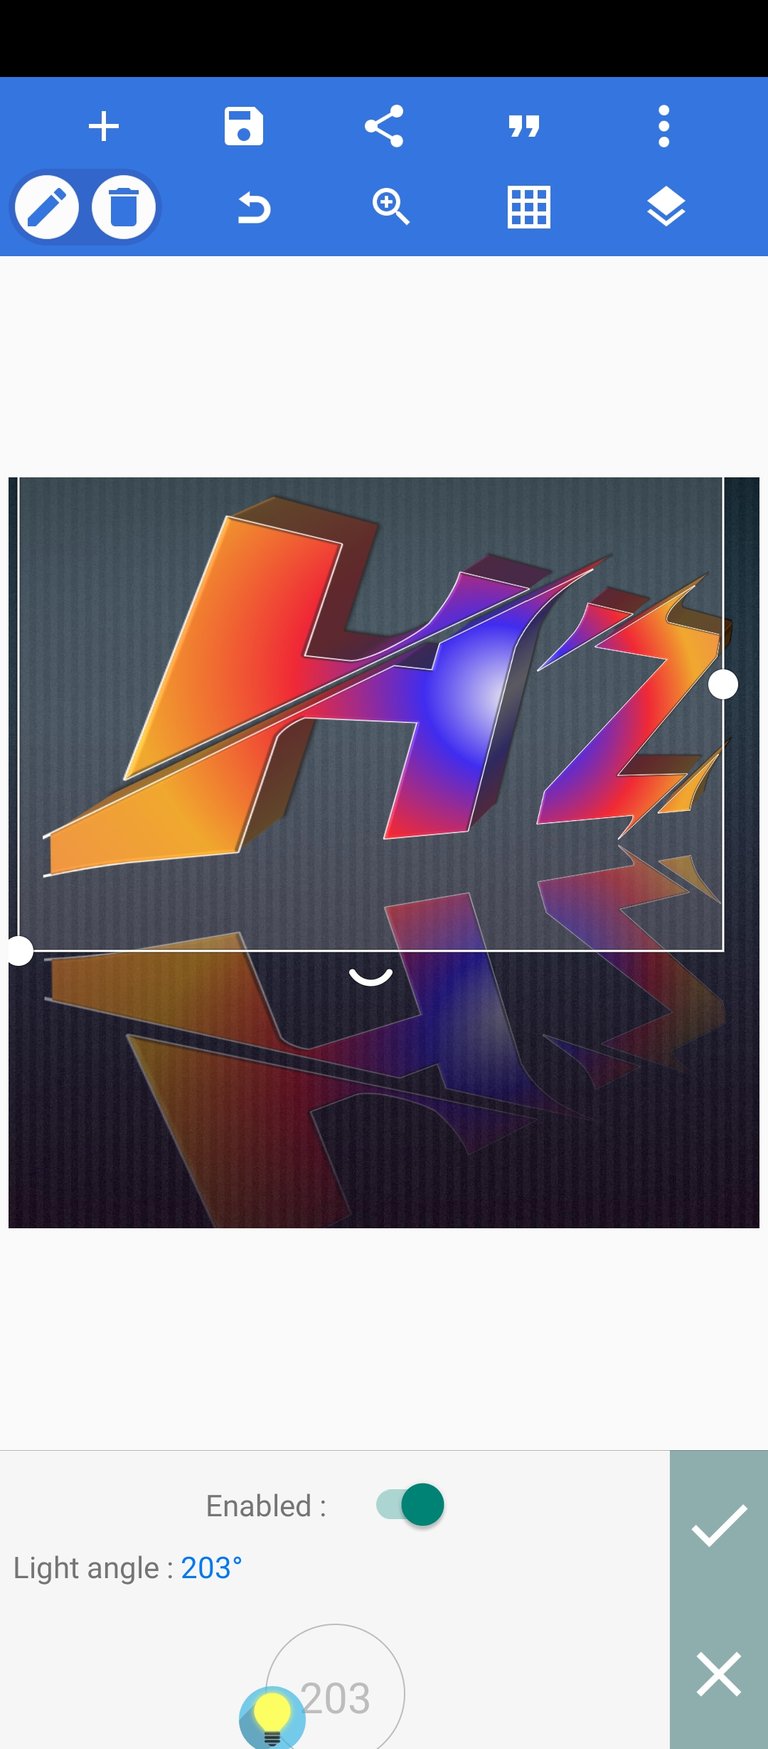
- You can add reflection by using the reflection icon below in the design interphase
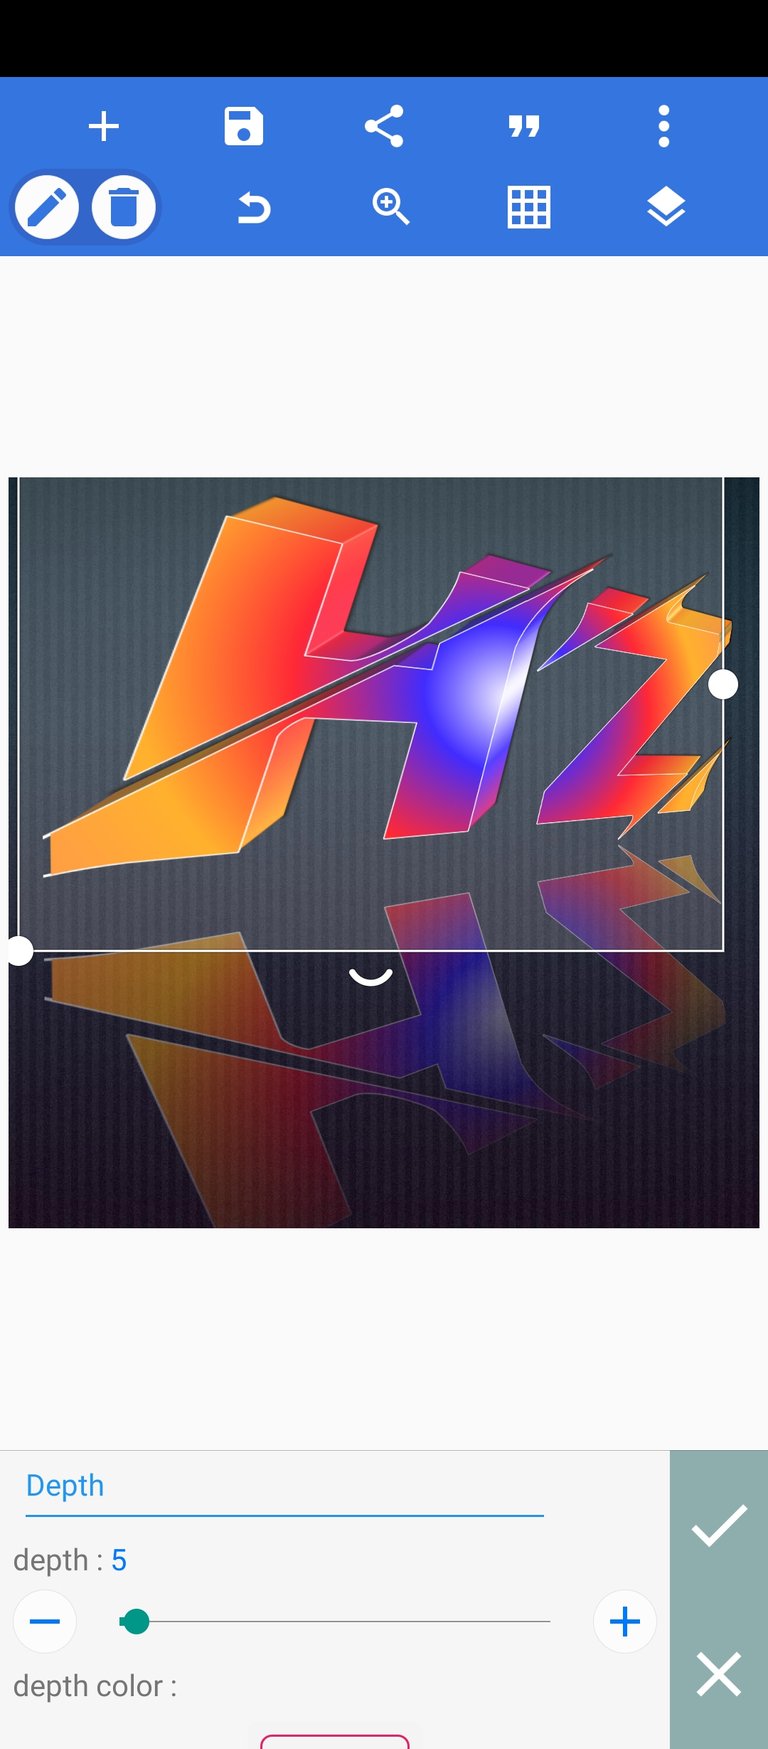
- Adjust the depth of the 3D result produced
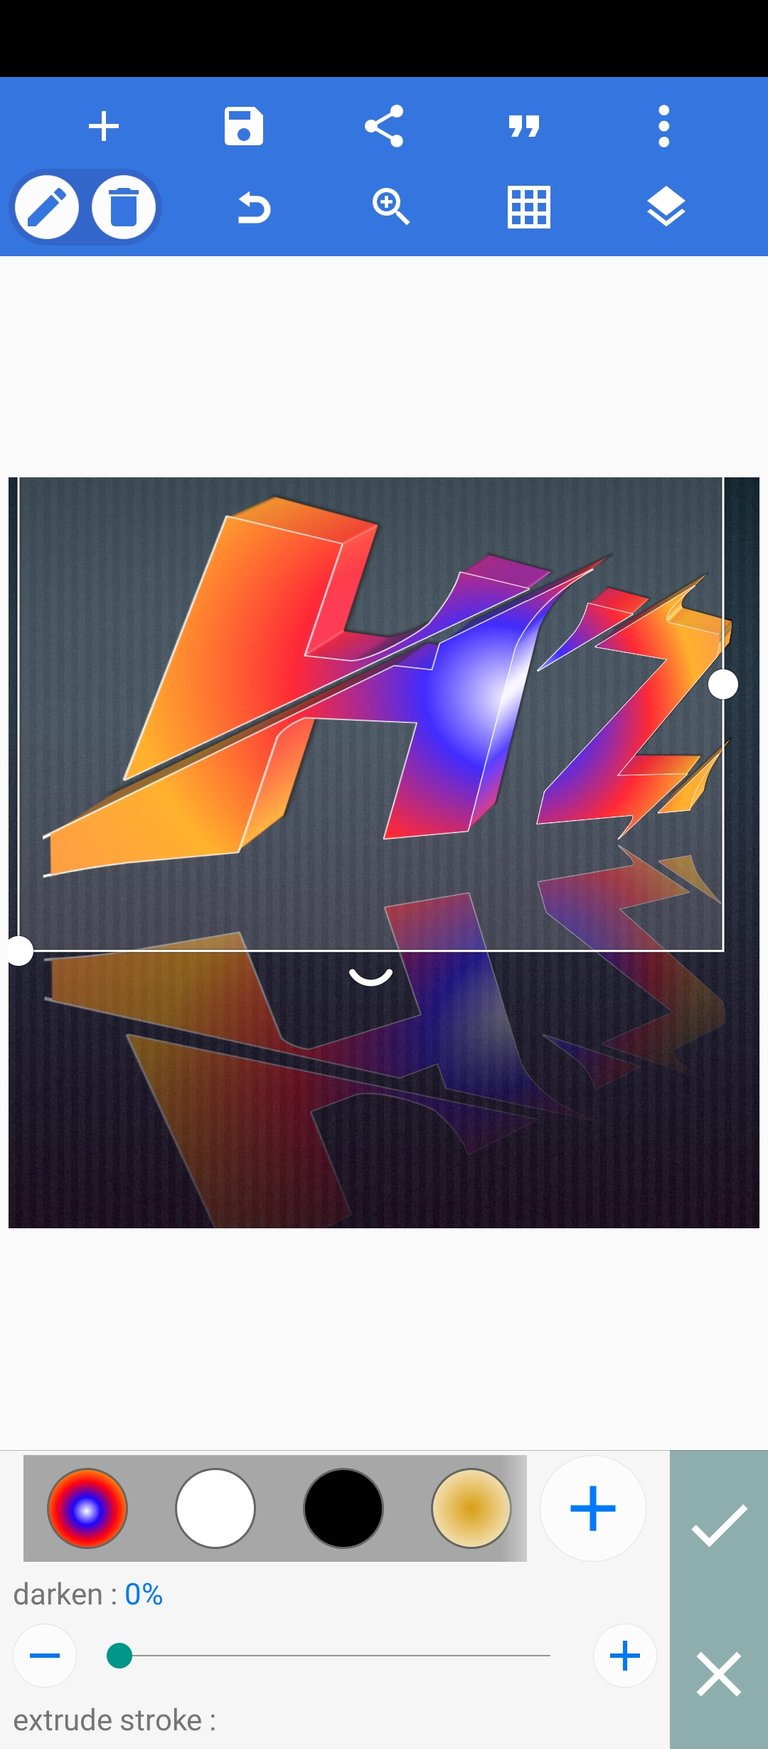
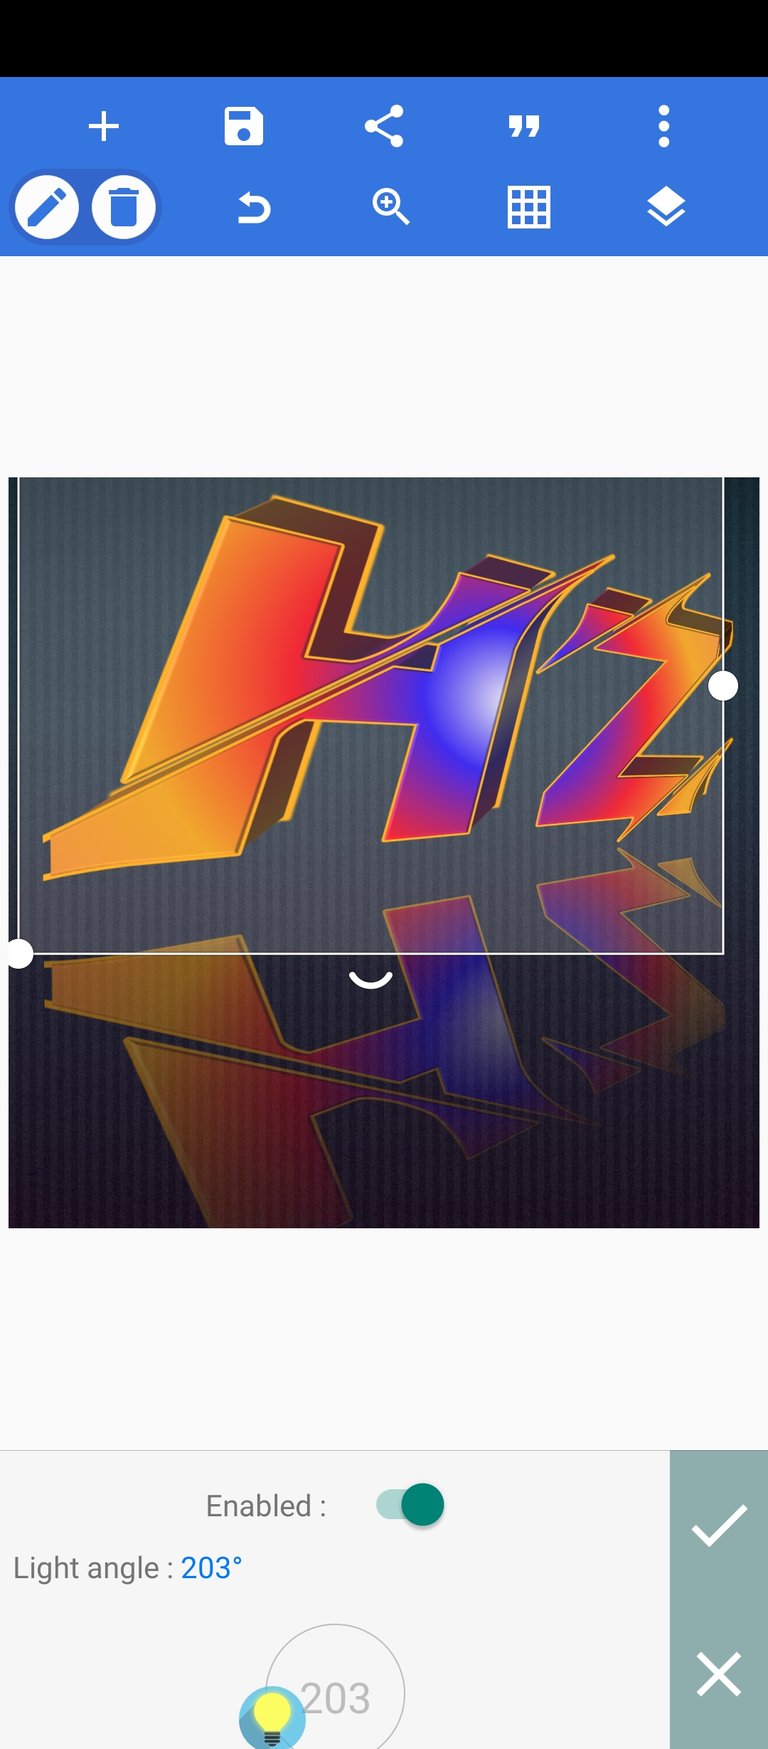
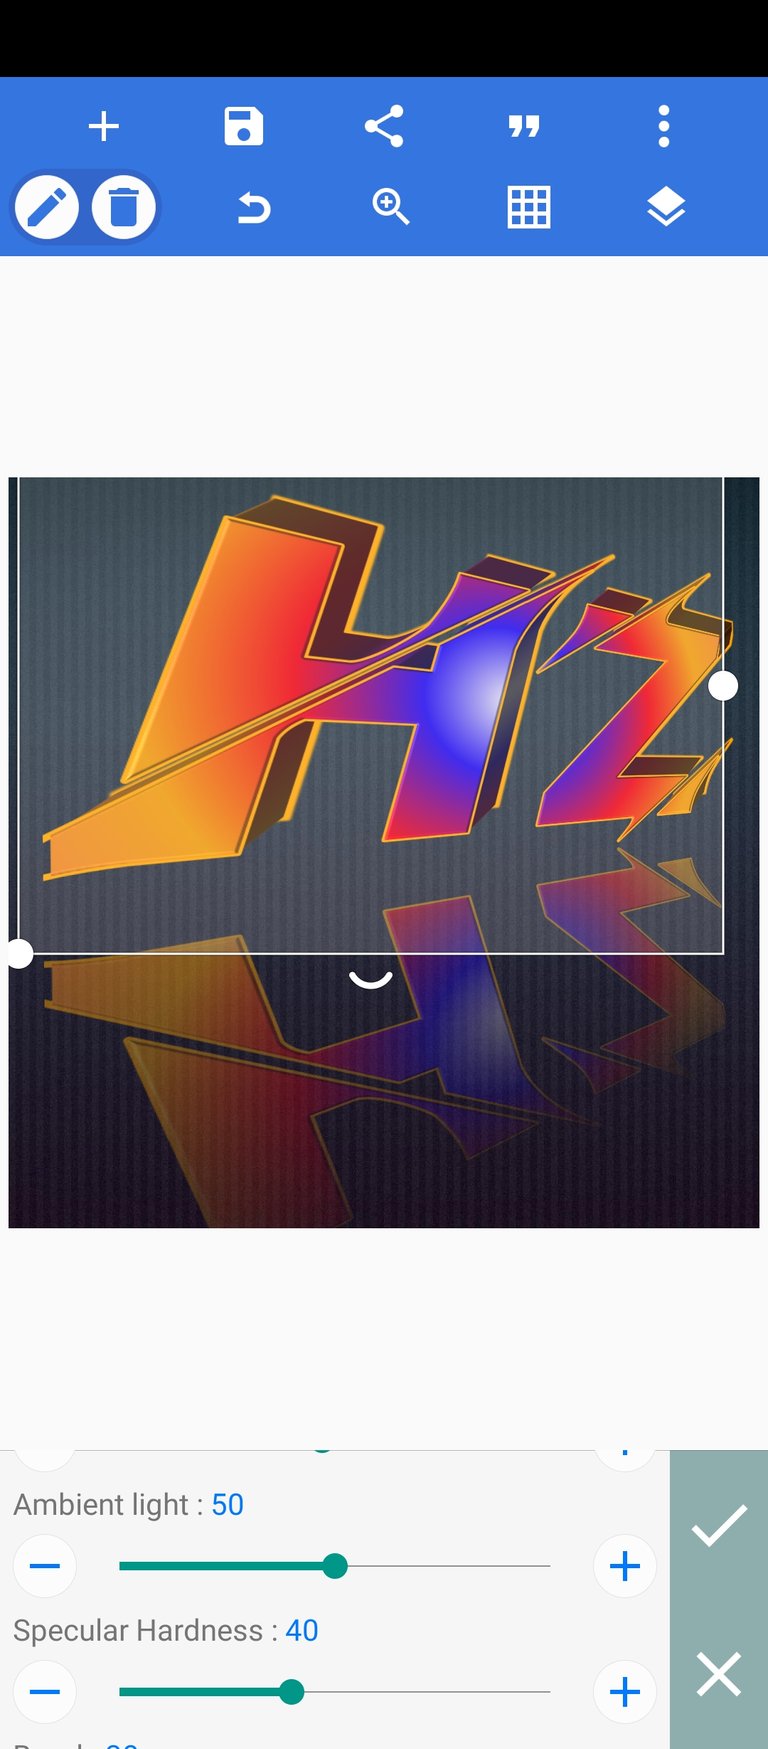
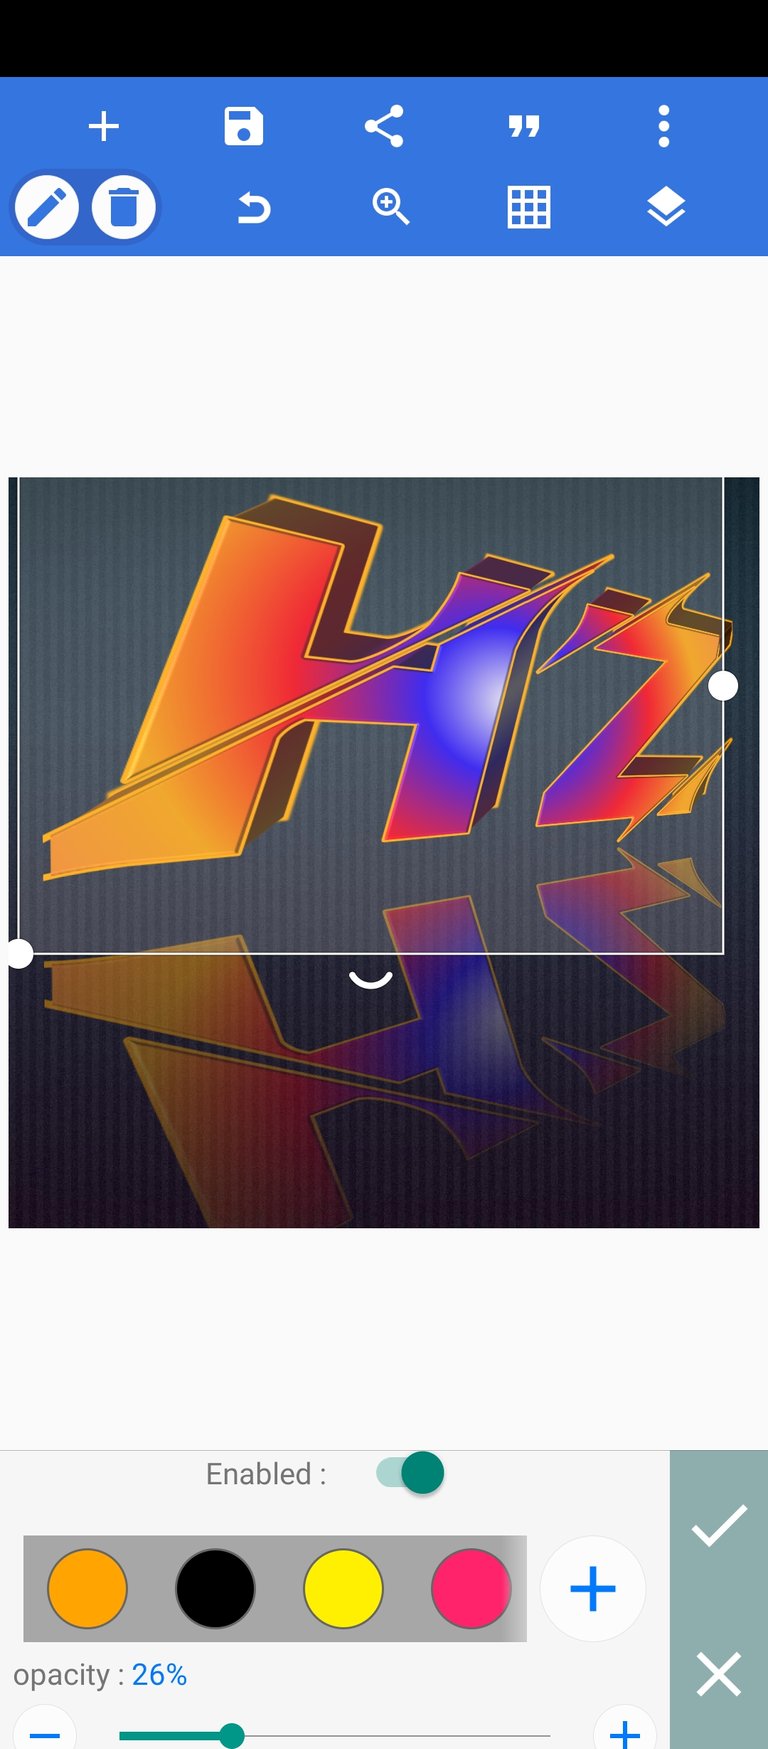
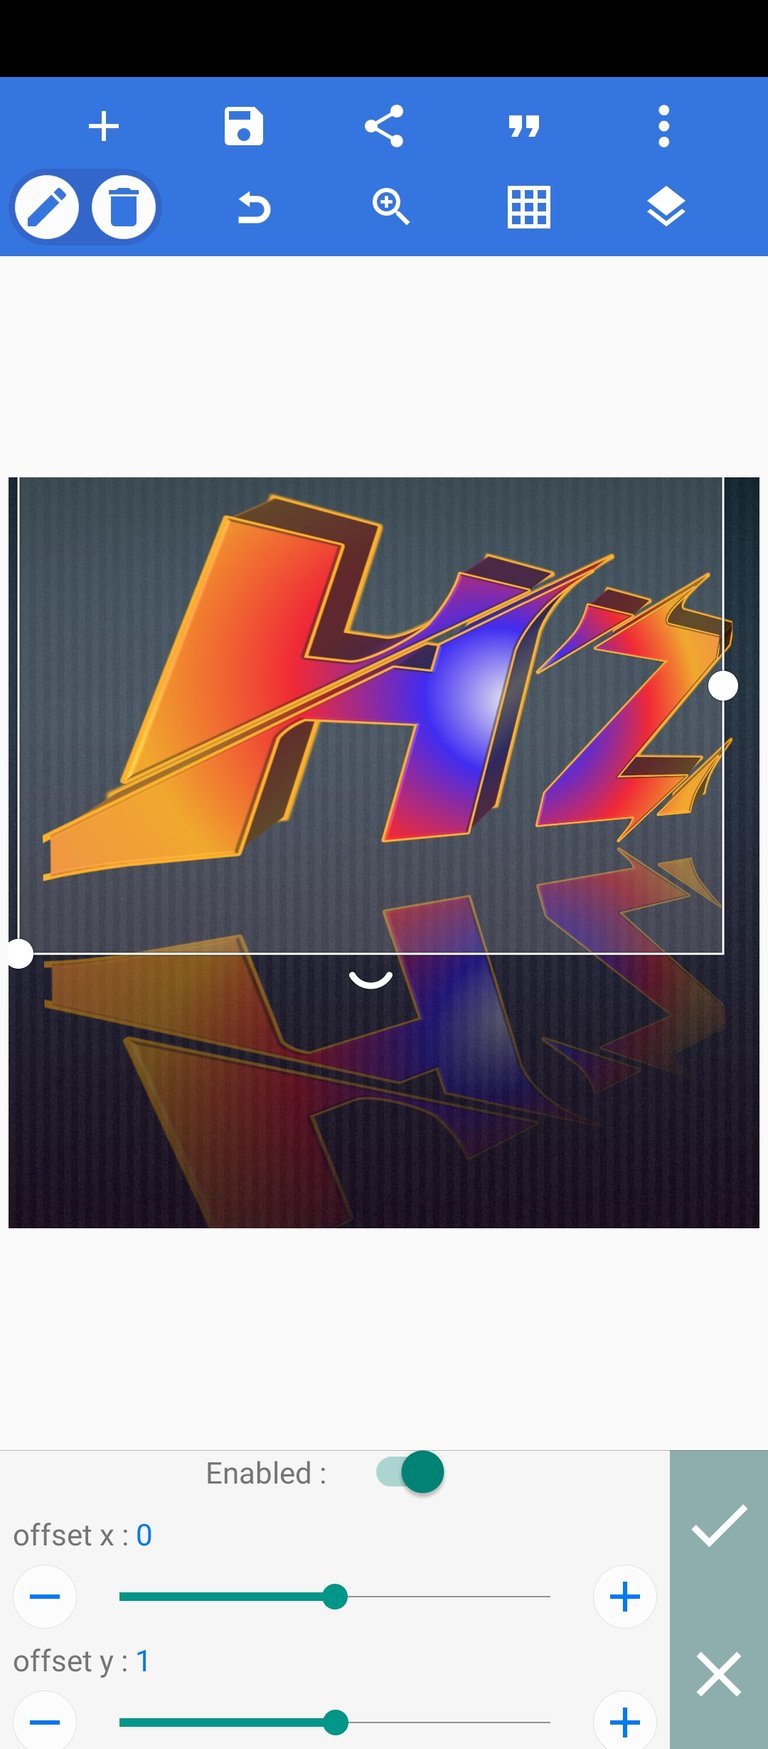
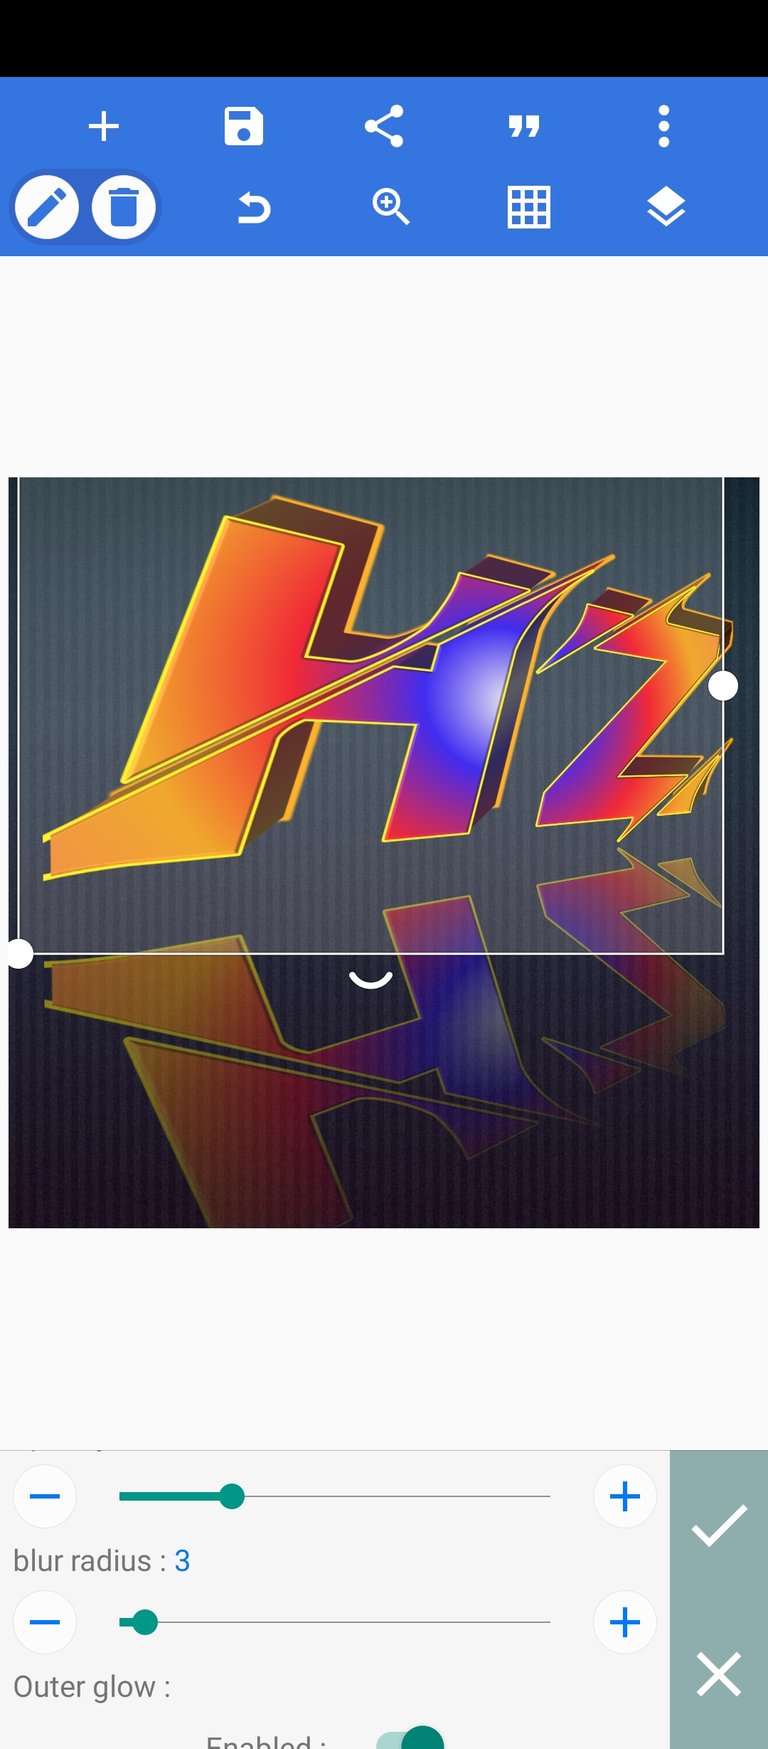
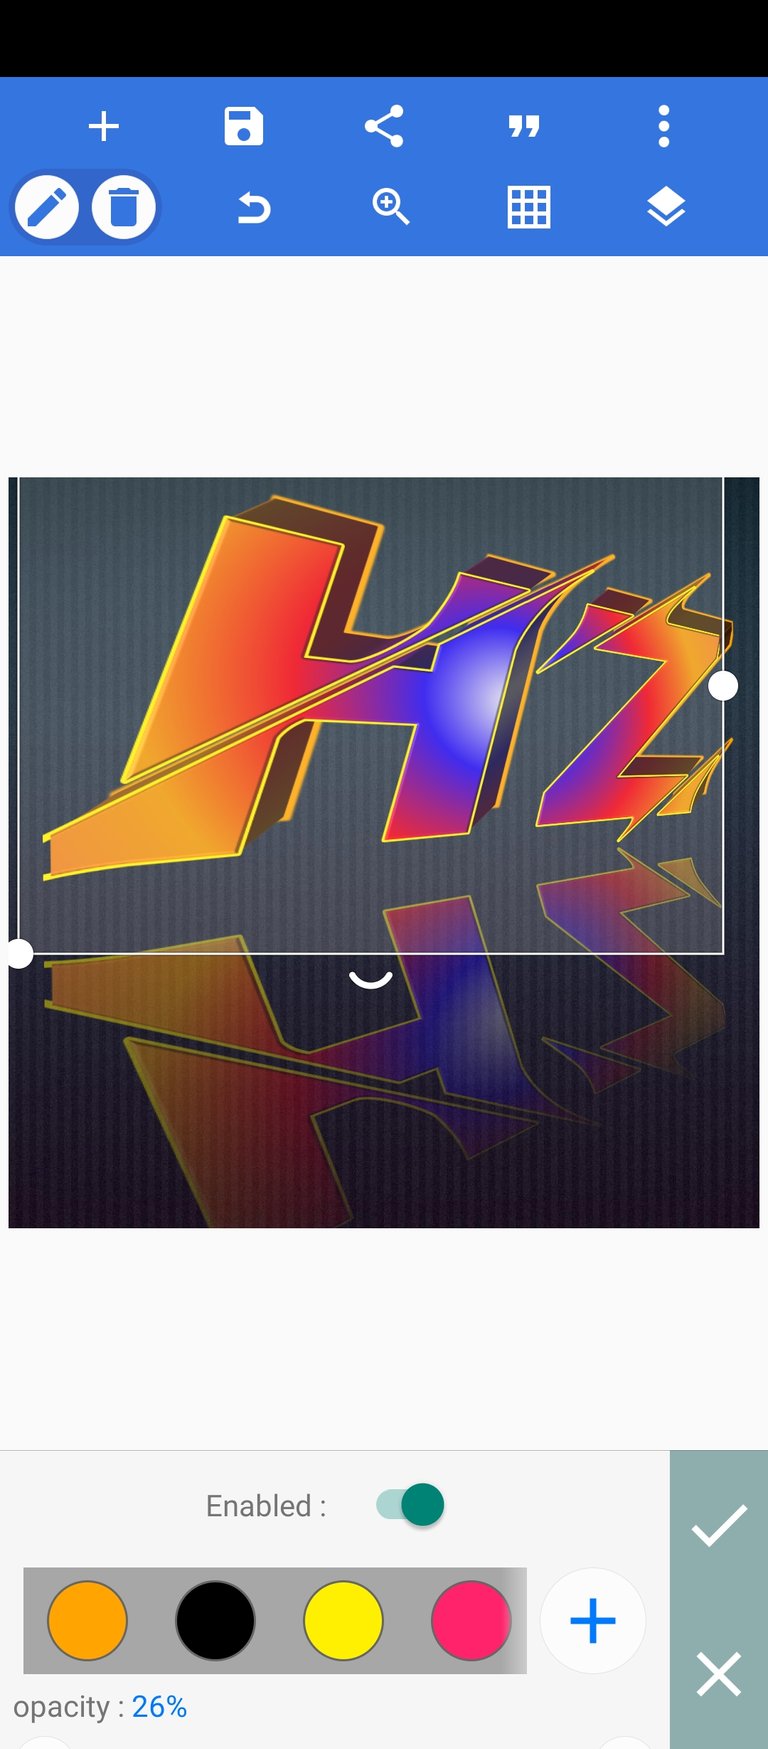
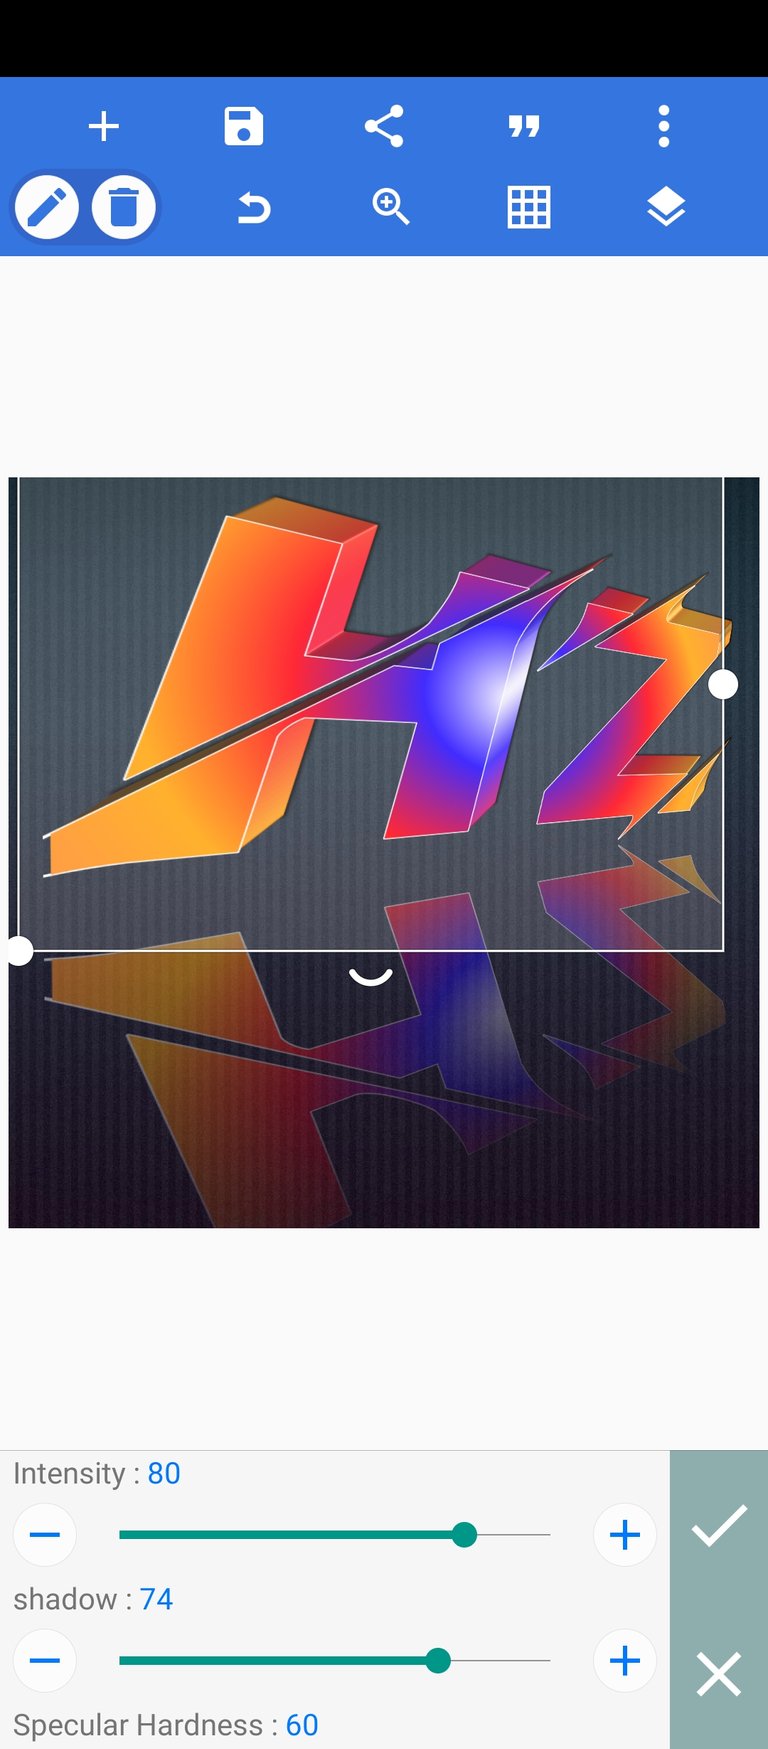
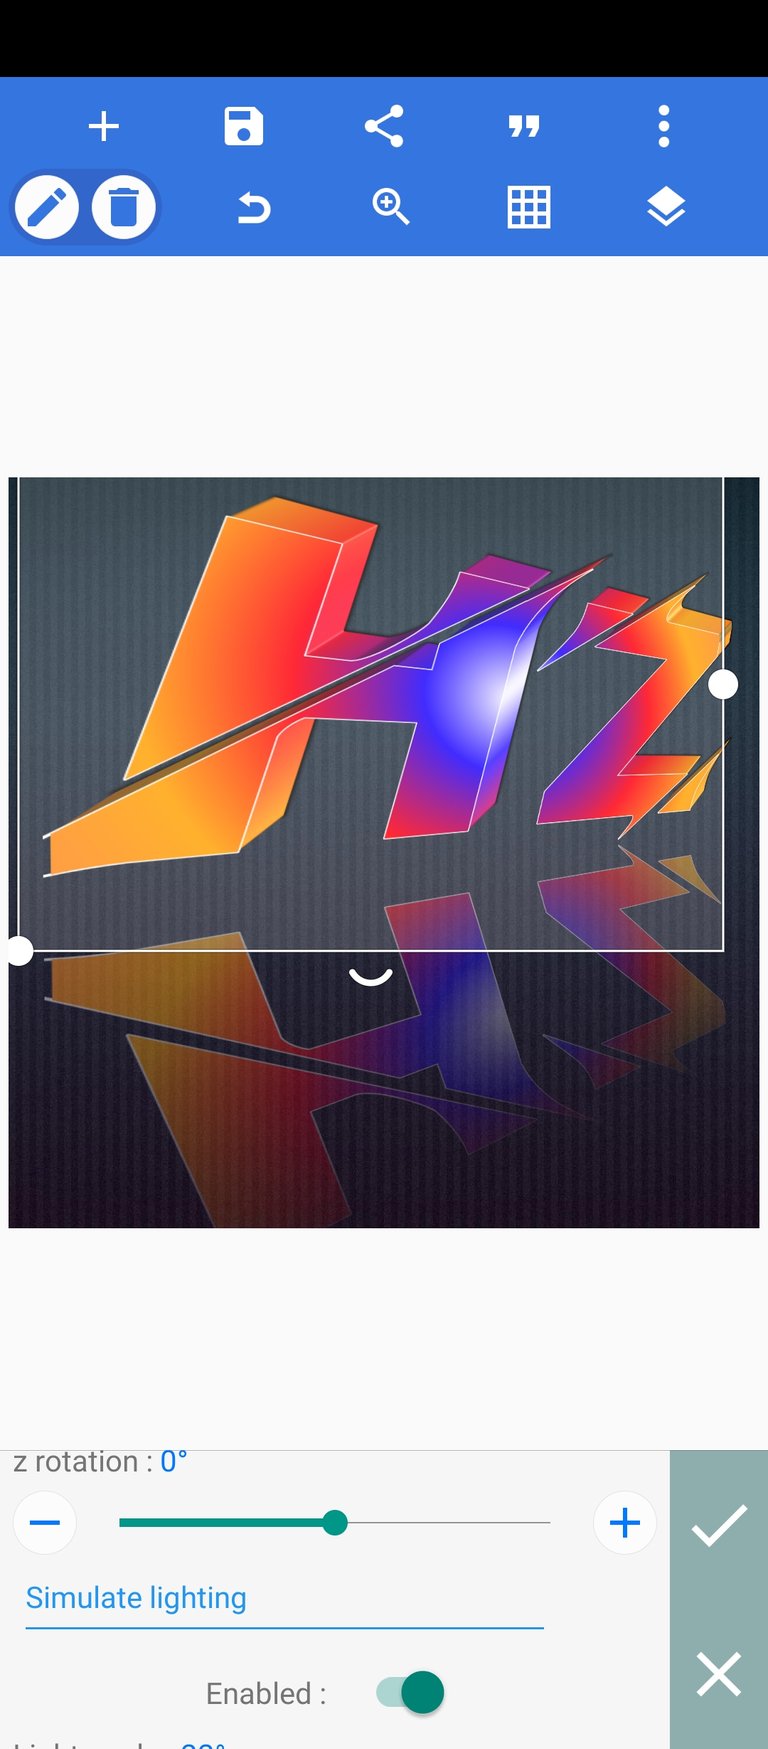
- You can decide to add or remove stroke as in the below. All other adjustments can also be made as shown below depending on what you want and your perspective from angukarion, to lightening, intensity, opacity then hardness


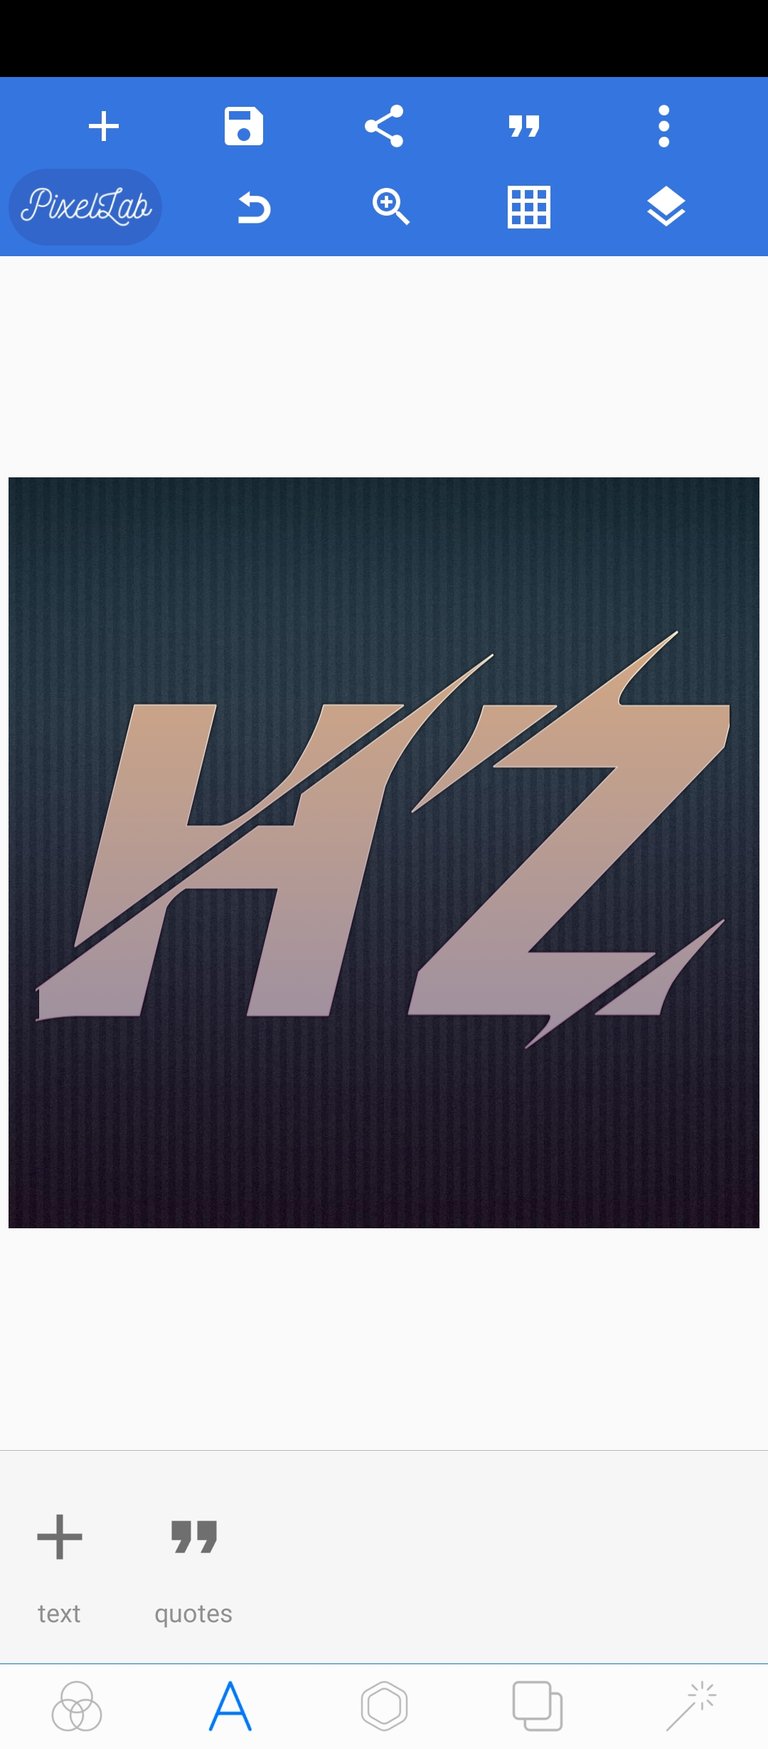
Now Final result saved with and without a background


Final results saved without a reflection


Final result after further editting to add special effects


You made it look so easy to use pixellab but deep down we know it's not, thanks for sharing.
Yeah, I guess I did, but its really easy actually once you get the hang of it.
Thanks for viewing