Making an Aesthetic DIY-Logo : Step-by-Step Process
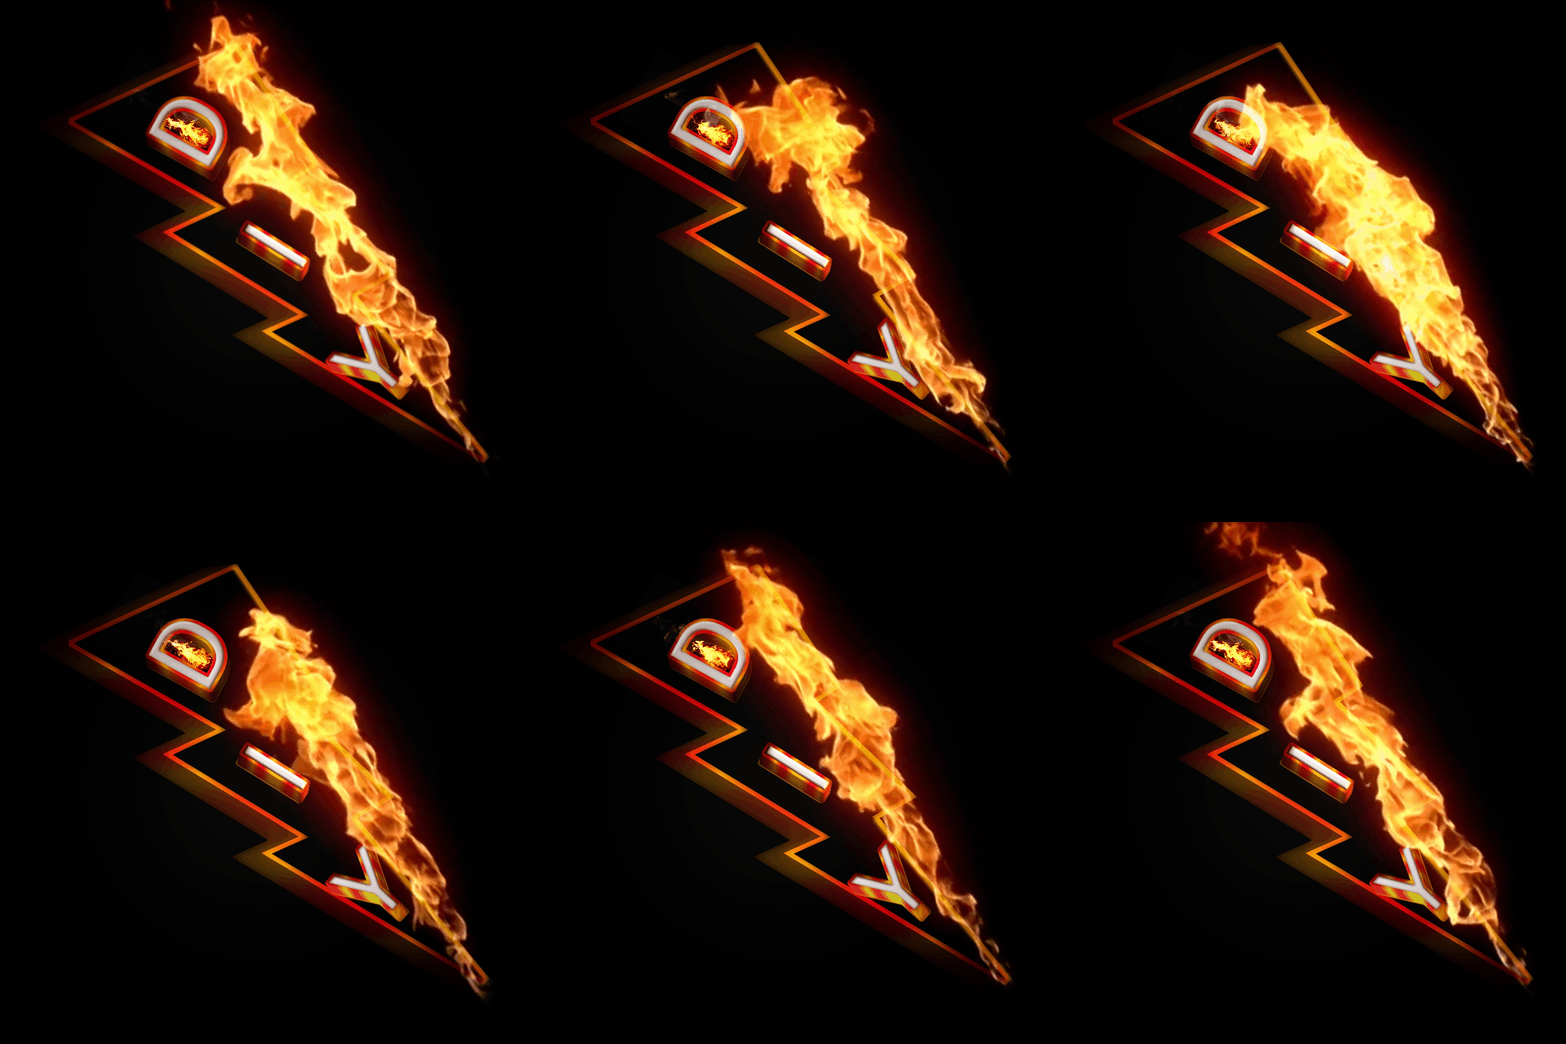
Okay, good day lovers of anything that screams DO-IT-YOURSELF. This is my second post in the community. Today I would be sharing in great details the step by step process to designing a DIY Logo.
By the end of this tutorial, you would be able to do it yourself and get a similar result, almost similar result or even better result than mine. Just follow the process carefully. Take a look at the above, how would it make you feel, being able to do half of that ?
Here is the design below, all done in pixellab with passionate time investment, skillful manipulation, using perfect color gradient, 3 dimensionalism, shadowing, background erasure , stroking, embrossing and with a bit of perspective change and manipulation.
Anyways here is the logo without the whole animation. I would be giving a break down on how to make the logo without animation
The Transparent version
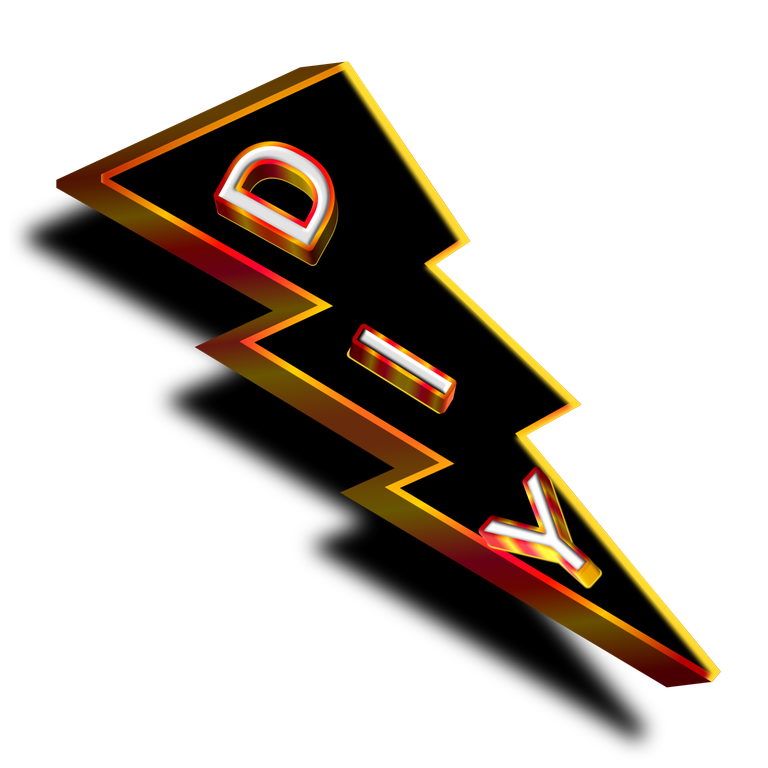
The Non-transparent version with a black background
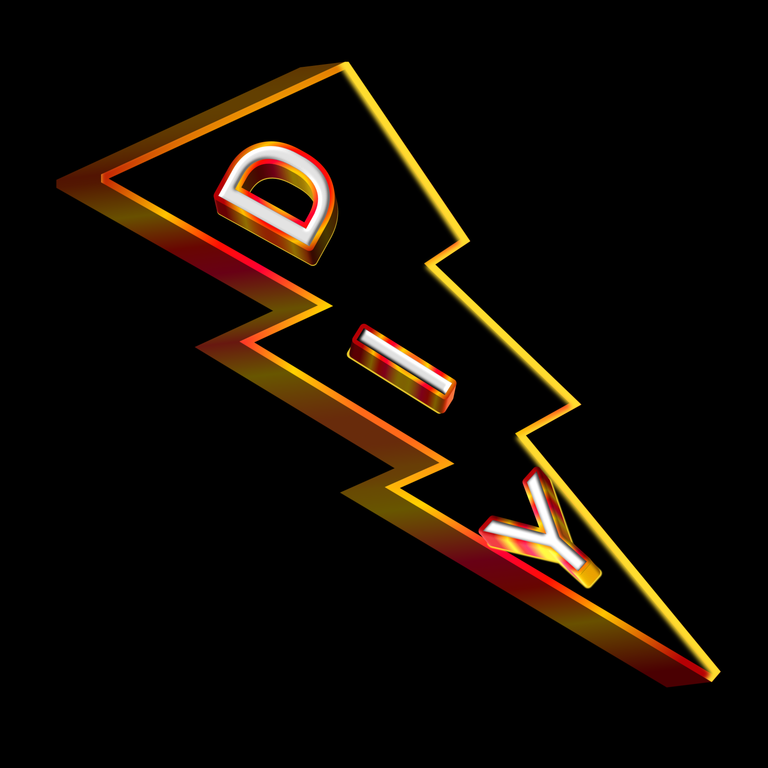
Okay now to the process breakdown for the Logo, without animation
Process breakdown
Now the first thing you want to do if you don't have pixellab app is to downlaod "pixellab" app on playstore, then install
Open your pixellab app to begin your logo designing
Tap on the large plus sign at the left top corner, then select "text"
Double tap the text region to open an interphase and type in "DIY" which is the basis of our logo. Select "OK" . Screenshot below
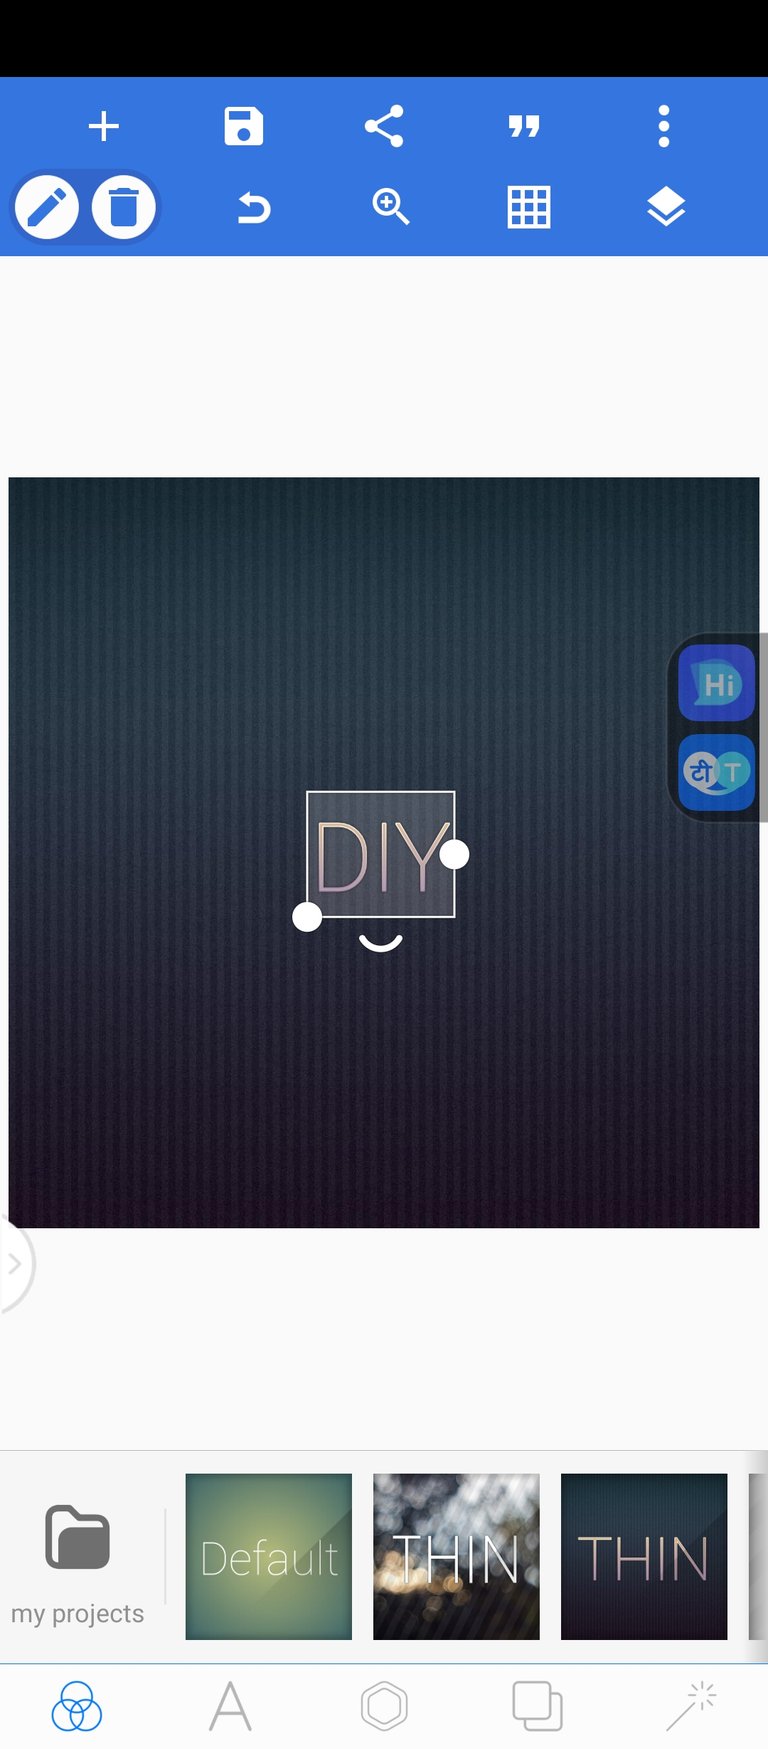
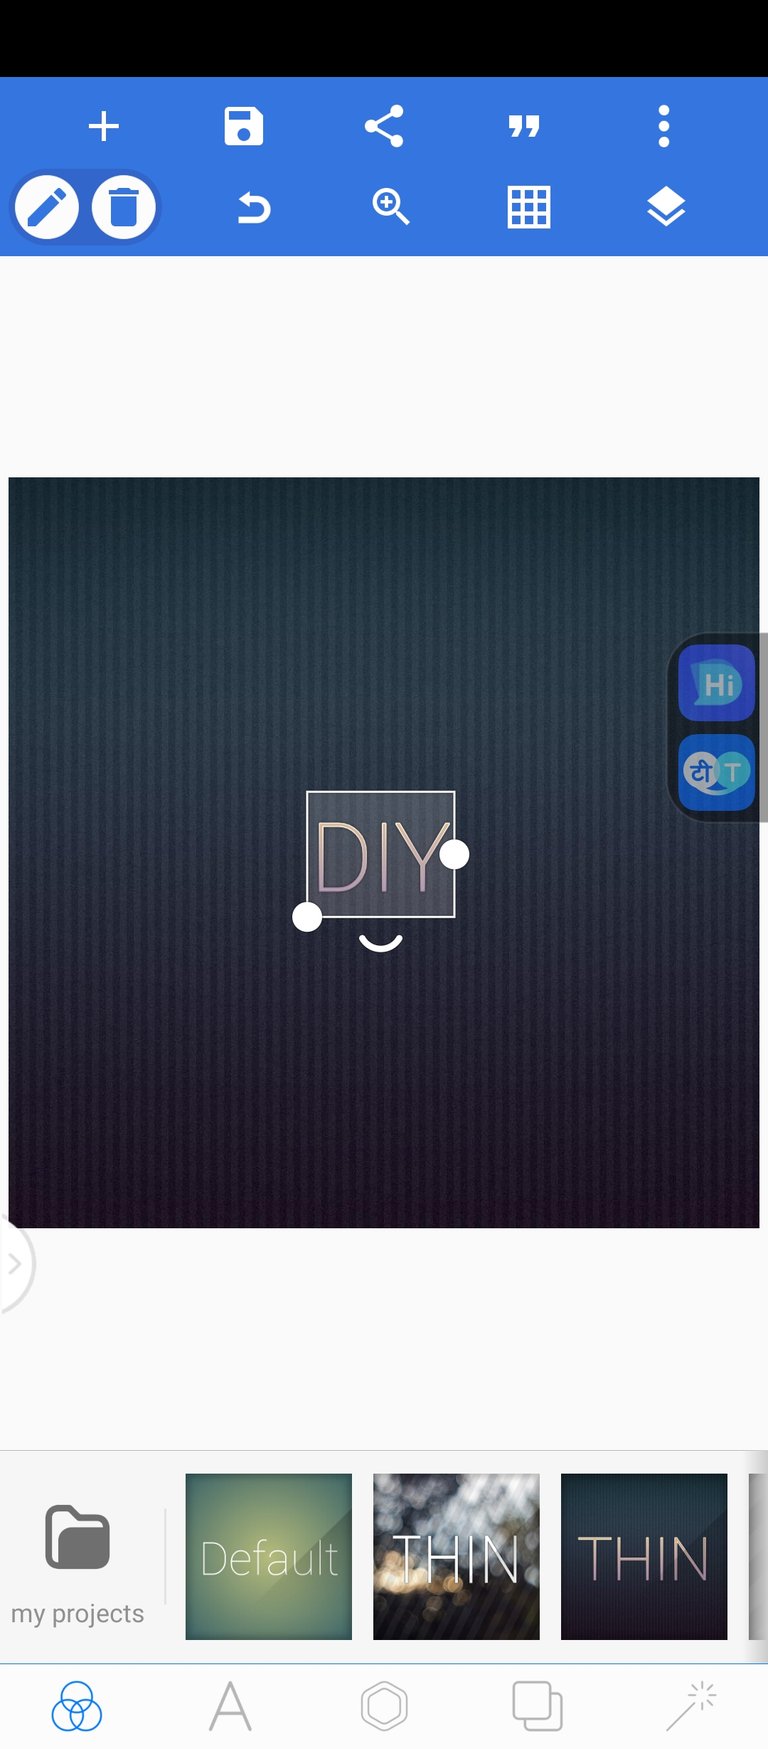
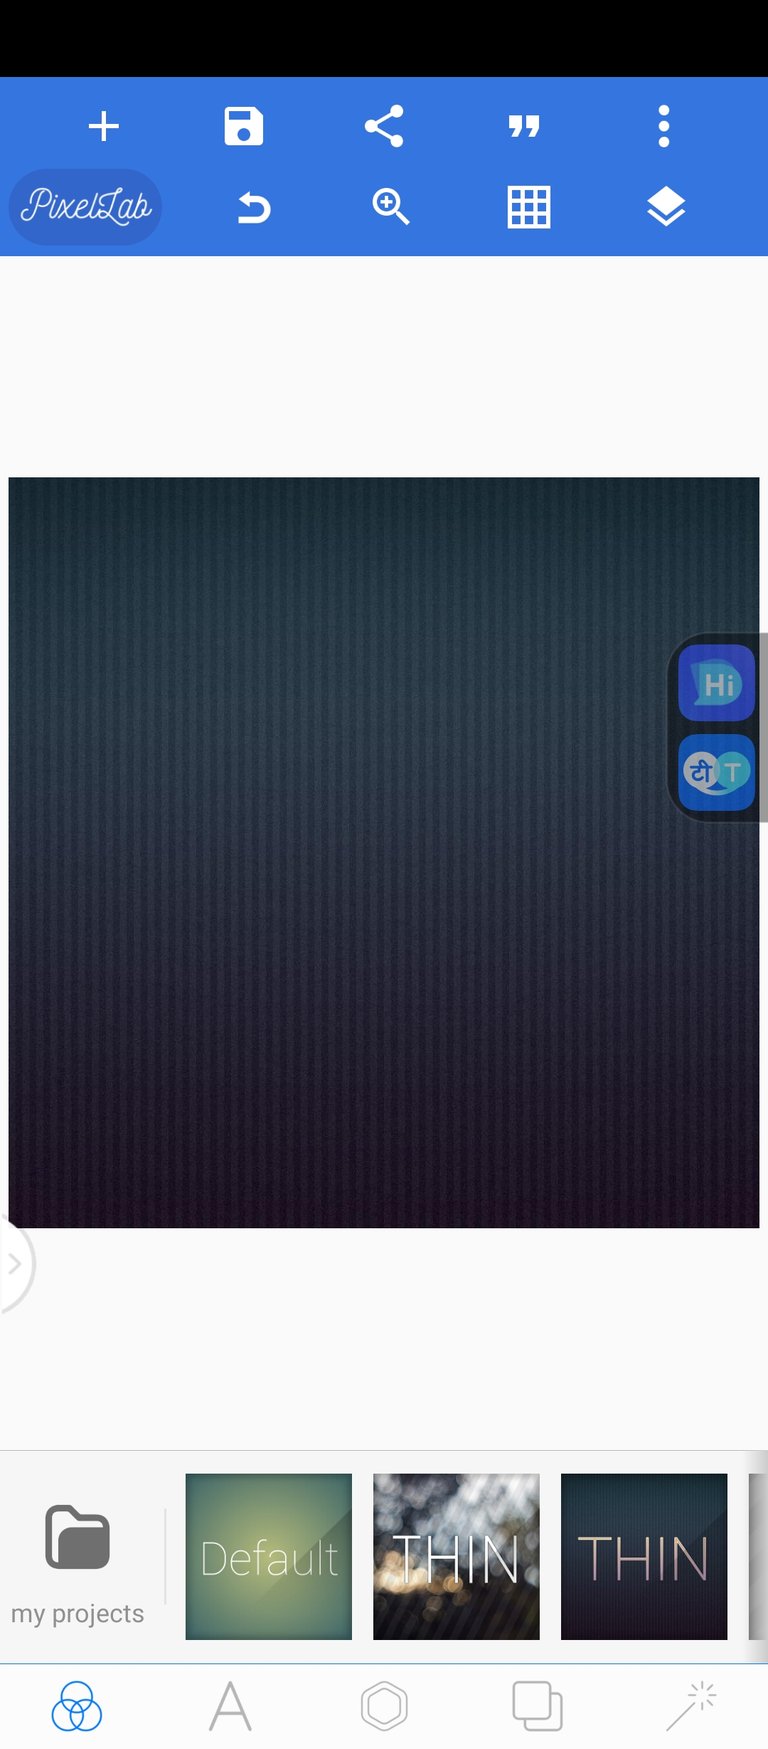
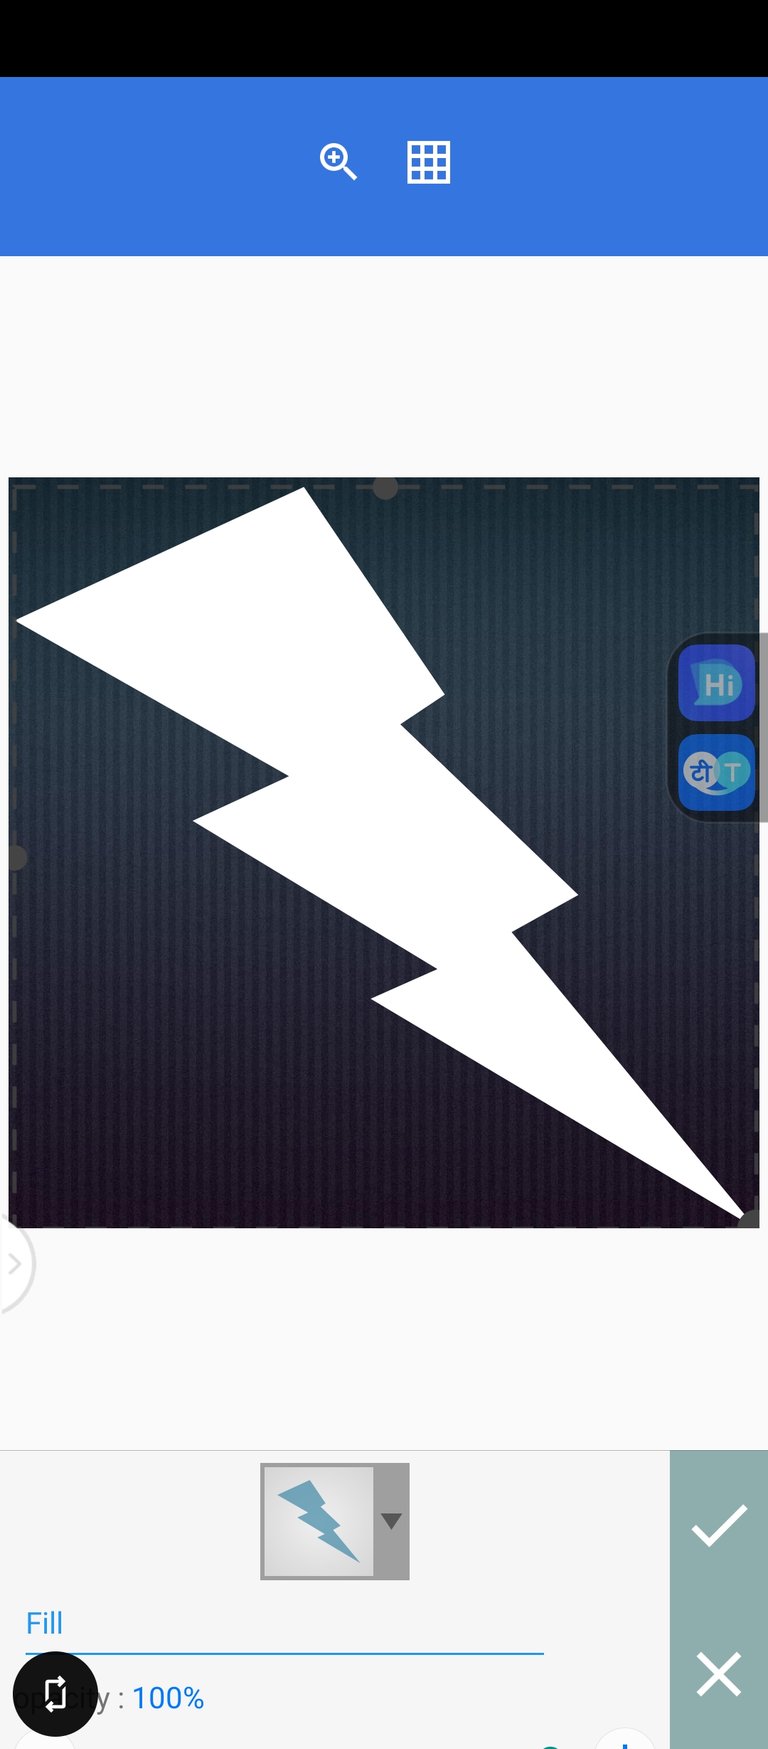
Now what you do next is to draw a shape. For the purpose of this design, we are using a lightening shape
To do this, go to the top right hand corner just like before and select shape, then select the lighten shape similar to that of "The flash."
Screenshot shown below
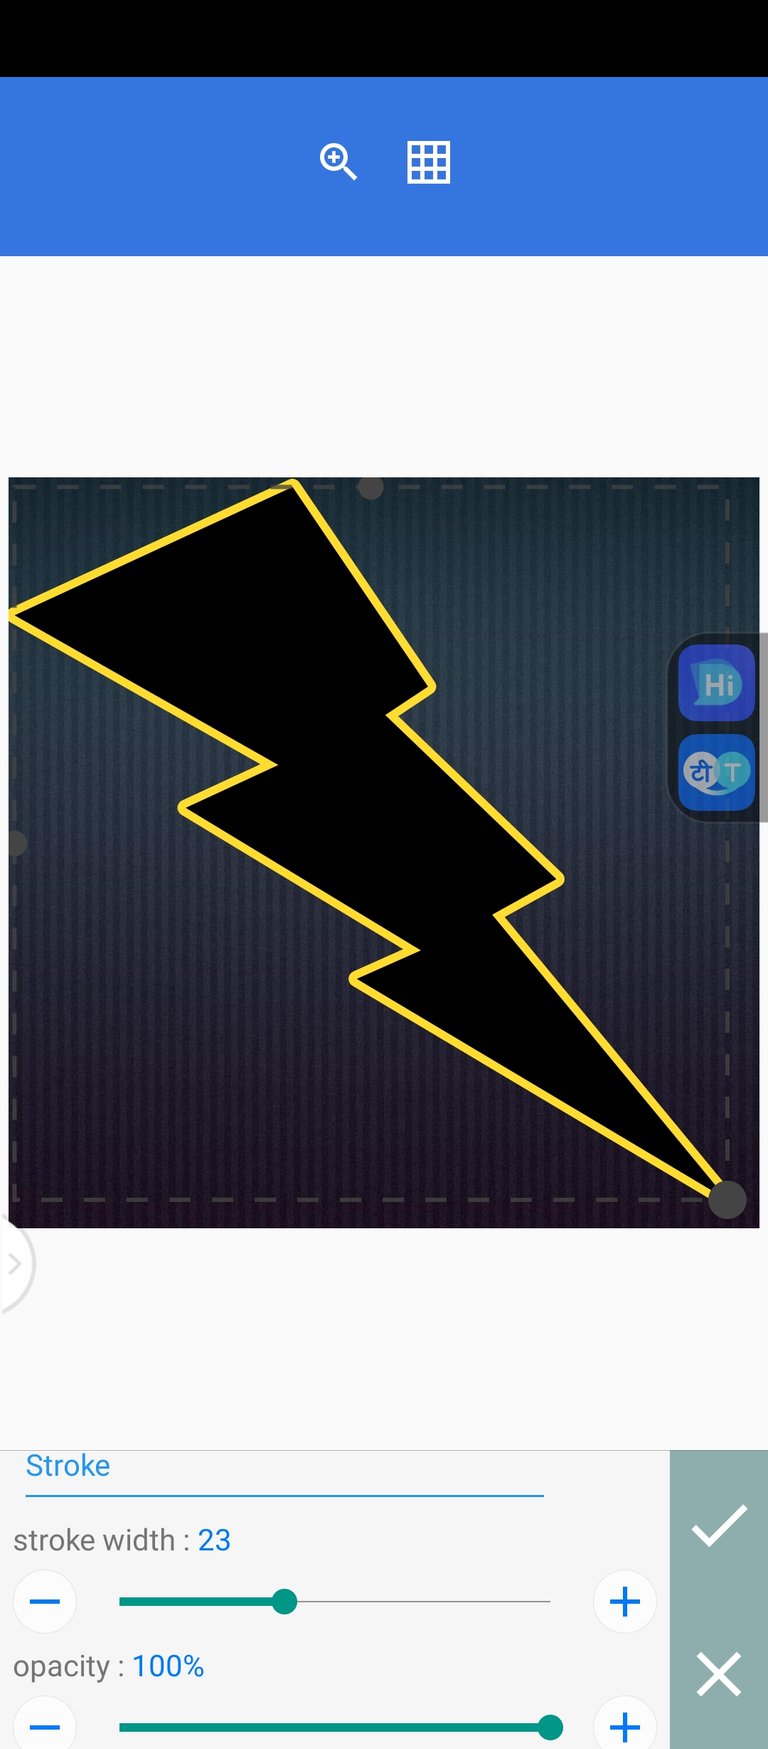
- What you do next is to increase the stroke and change its color as shown below. Increase the stroke
- Now we want the stroke to be of a particular color gradient, to do this select gradient and select the color combination as in the one below .
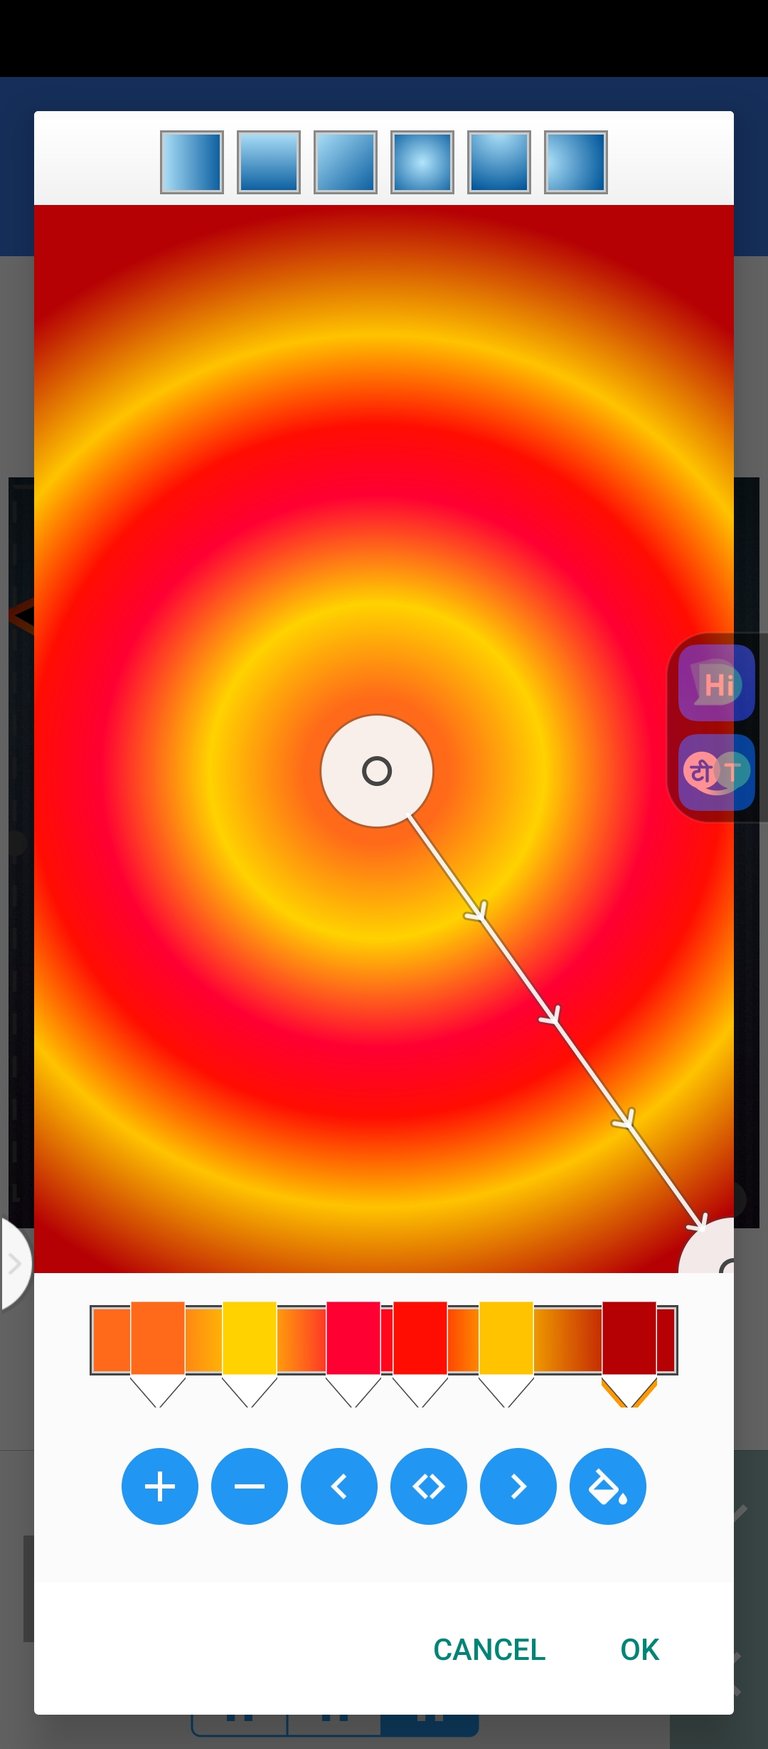
- On selecting this gradient you should have this below from the screenshot. The stroke should change color
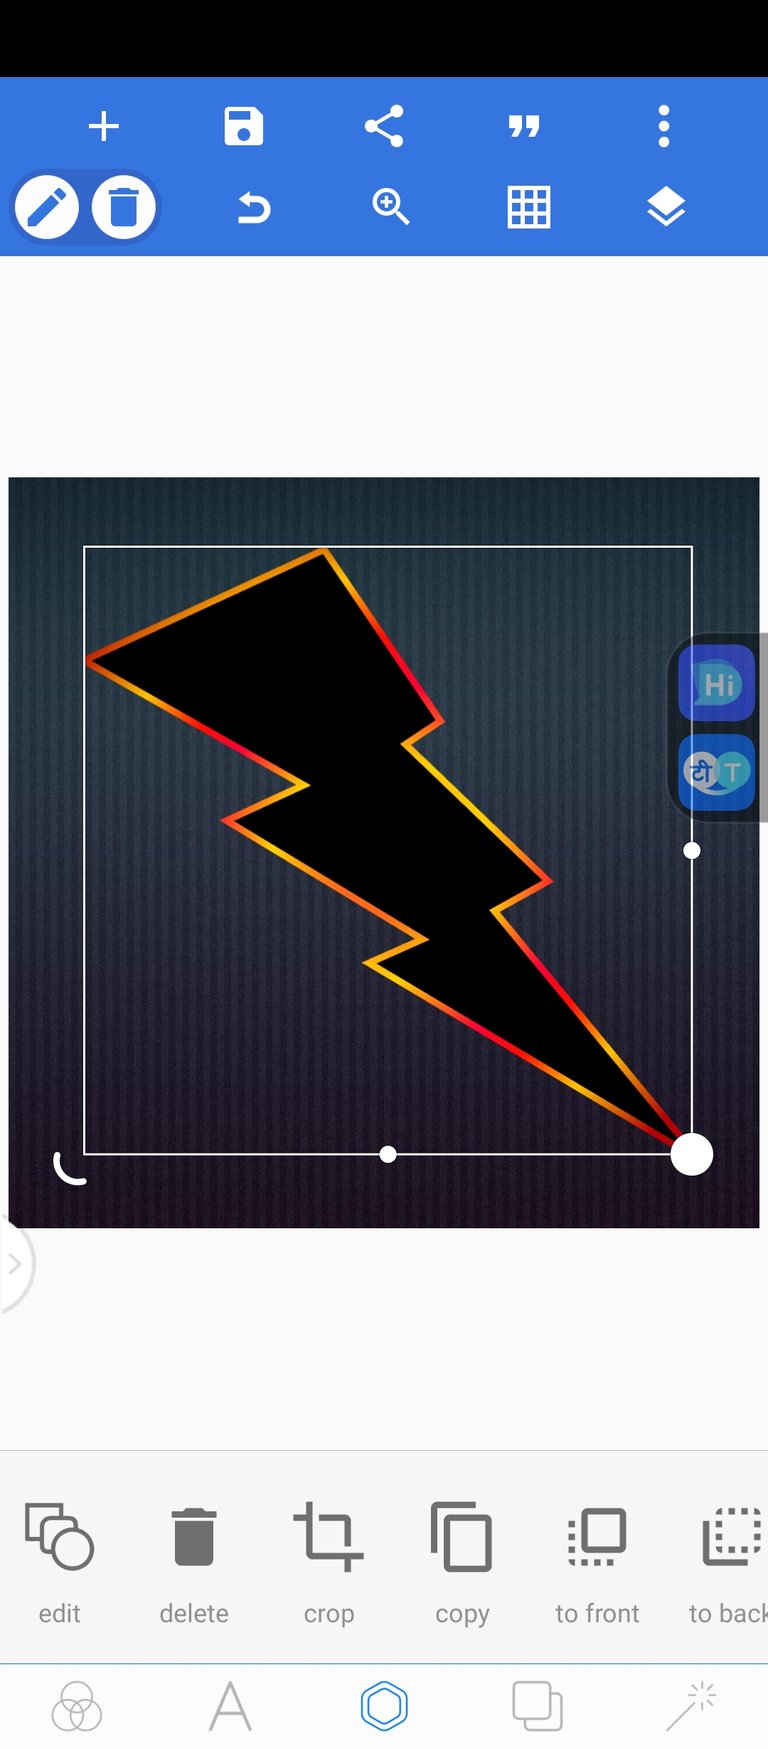
- The next thing we apply is the "DIY" letter from top to bottom
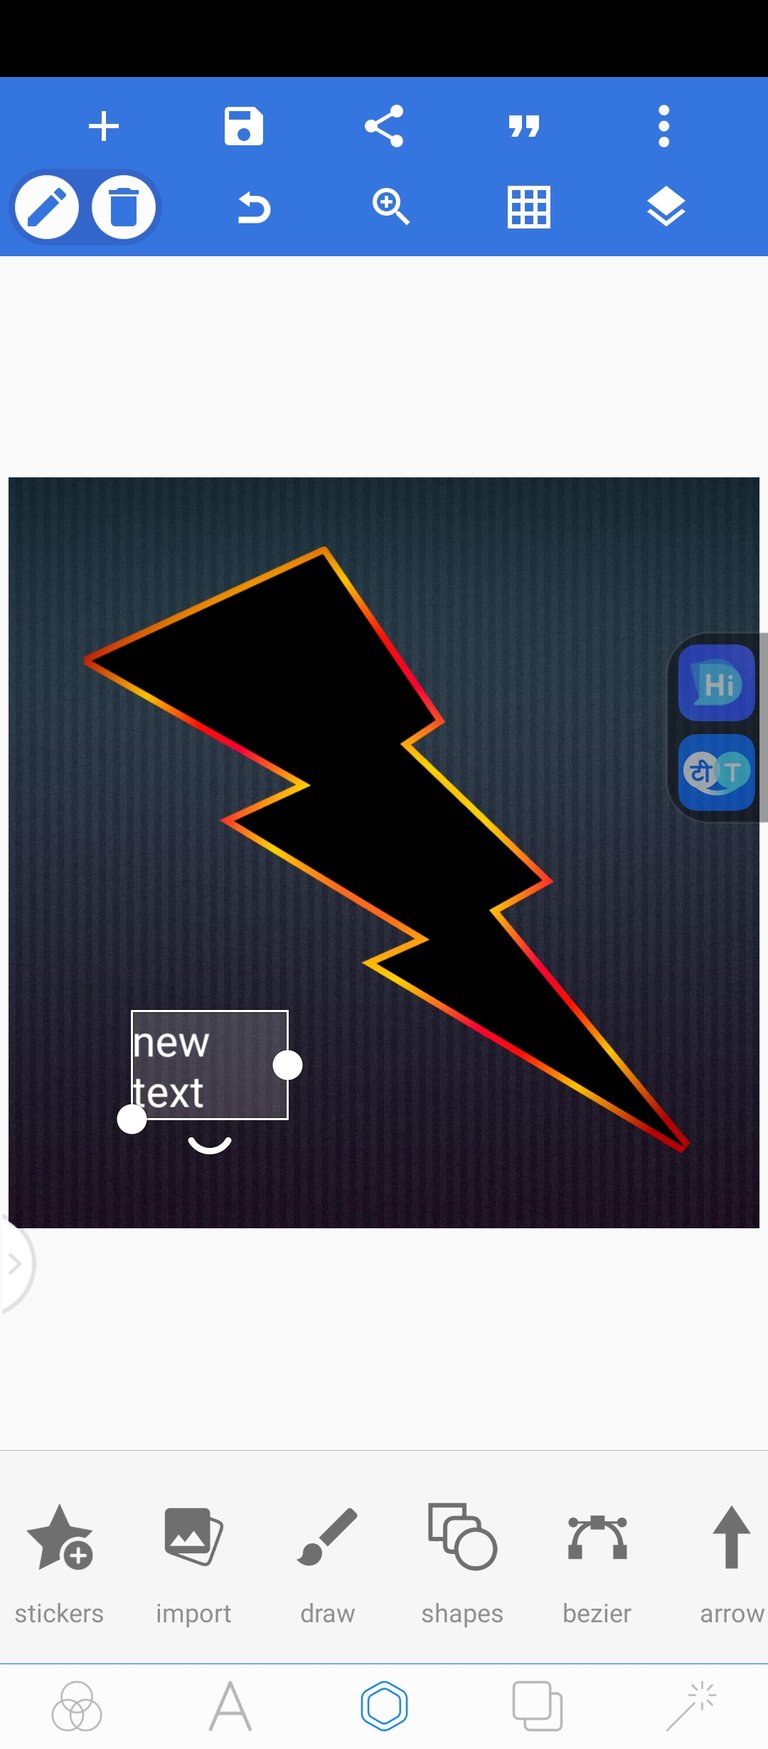
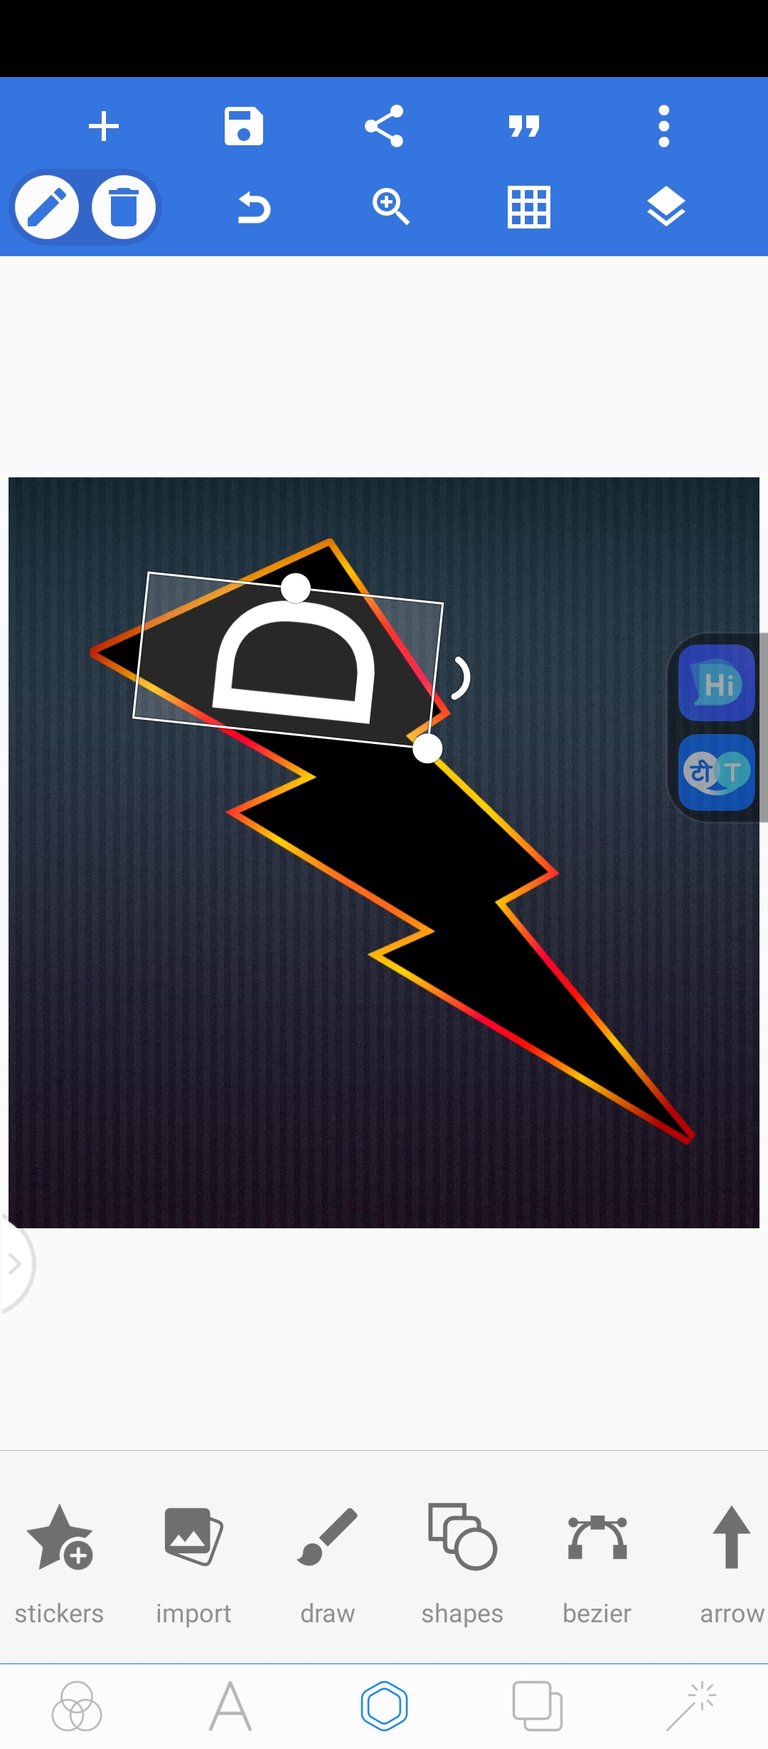
- Convert each object to 3 dimensions at this point and add stroke,embross, Shadow using the same color gradient that we created before
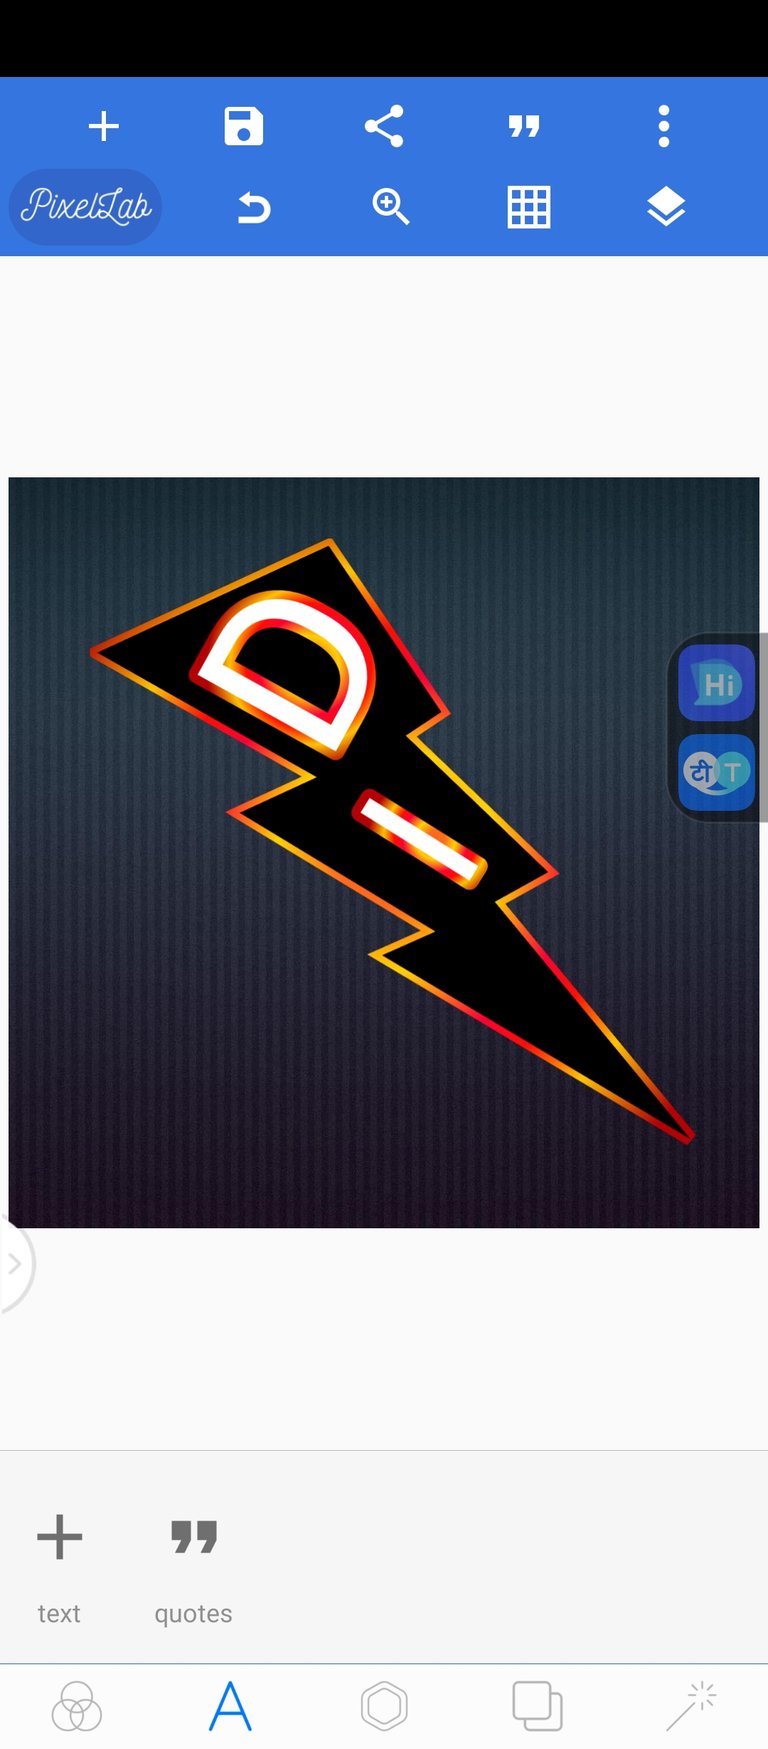
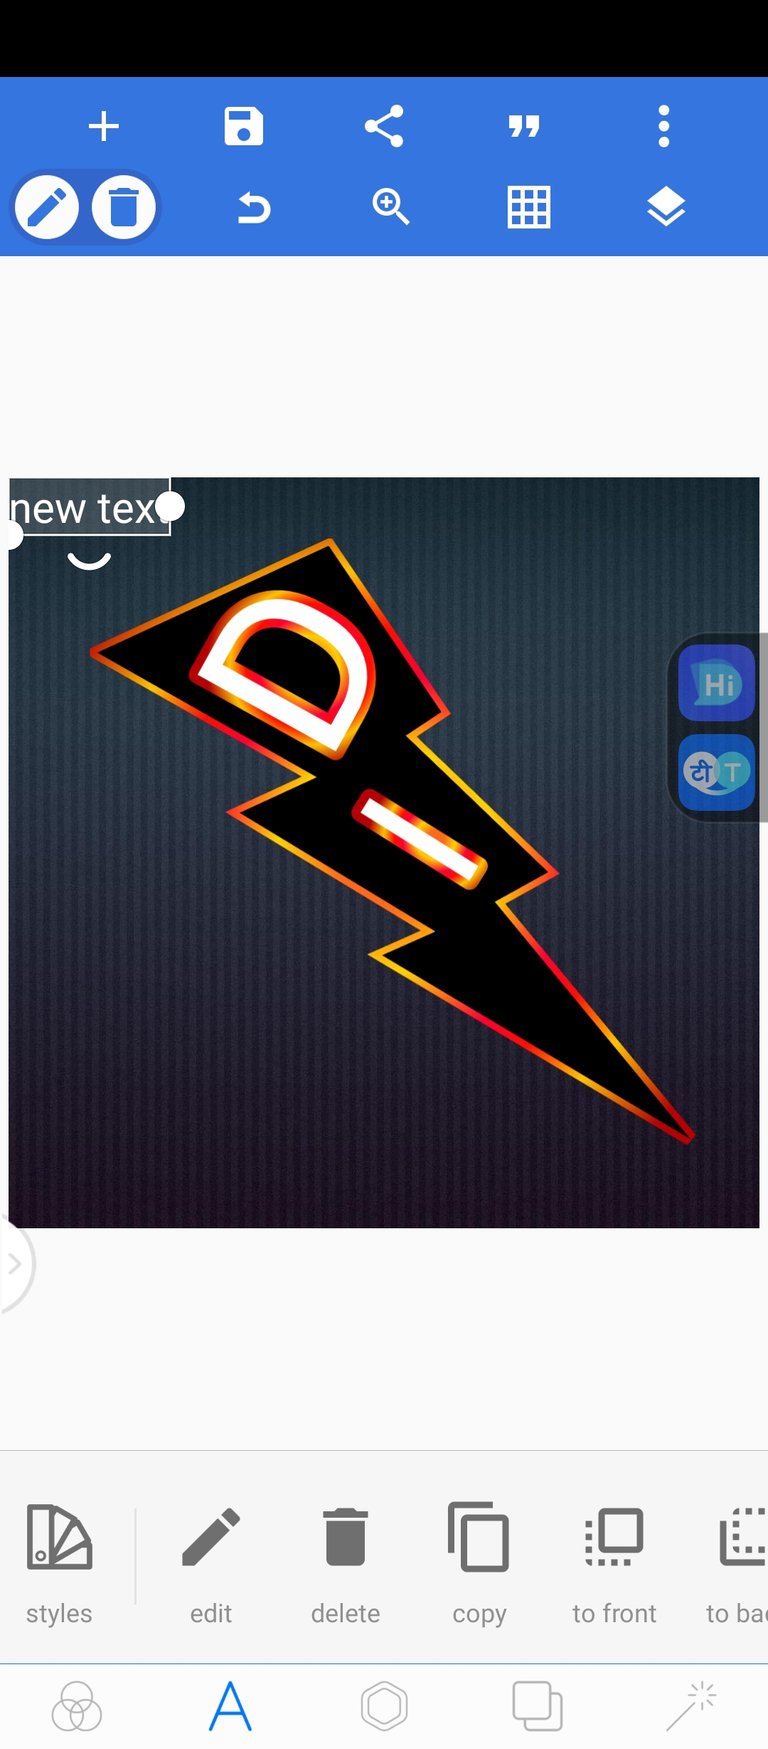
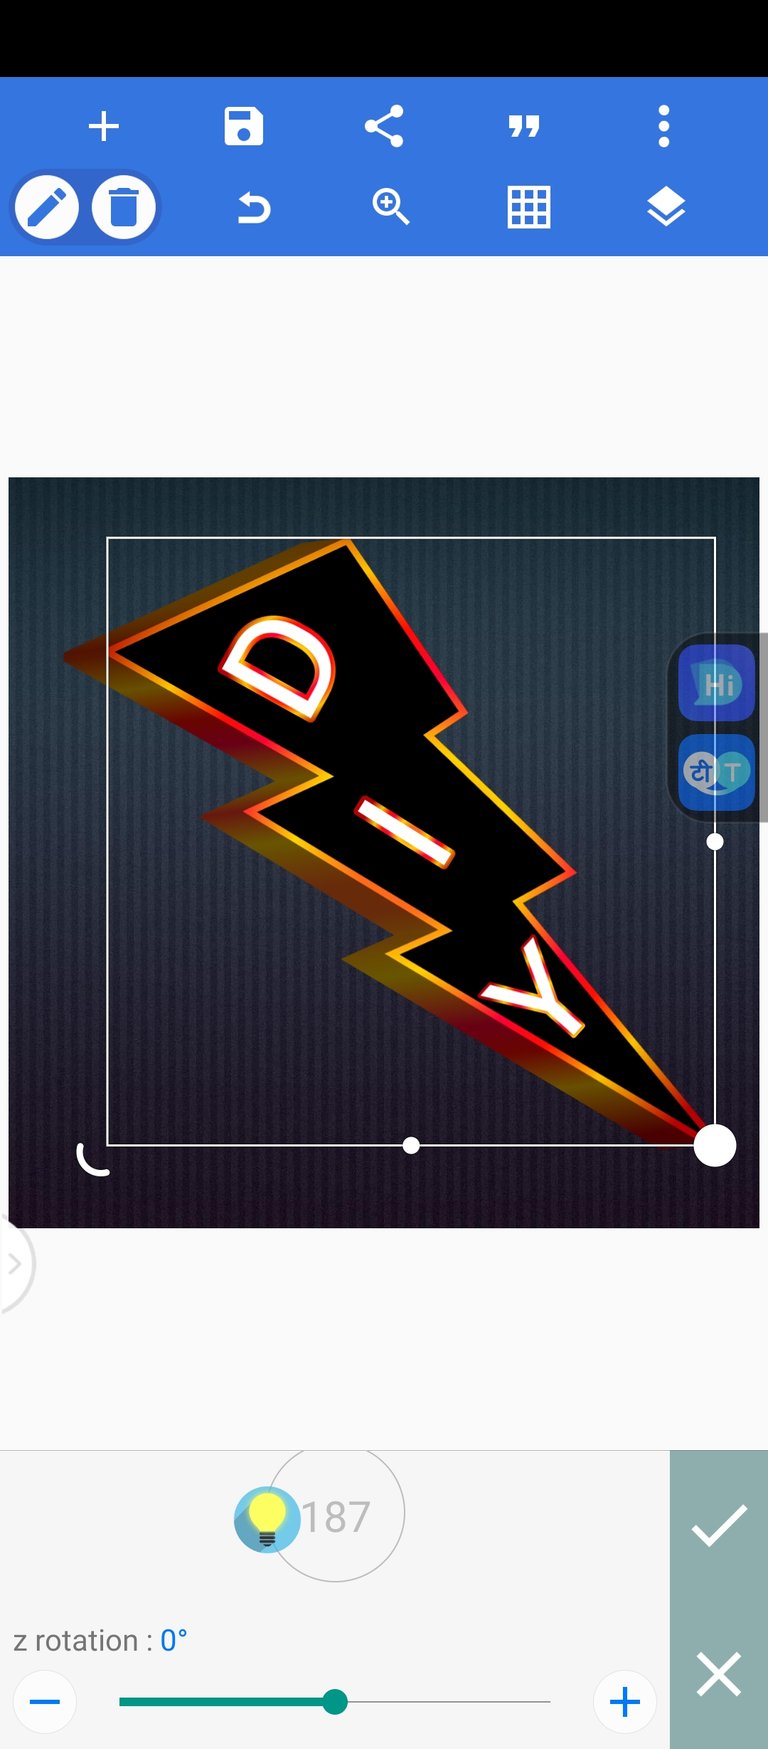
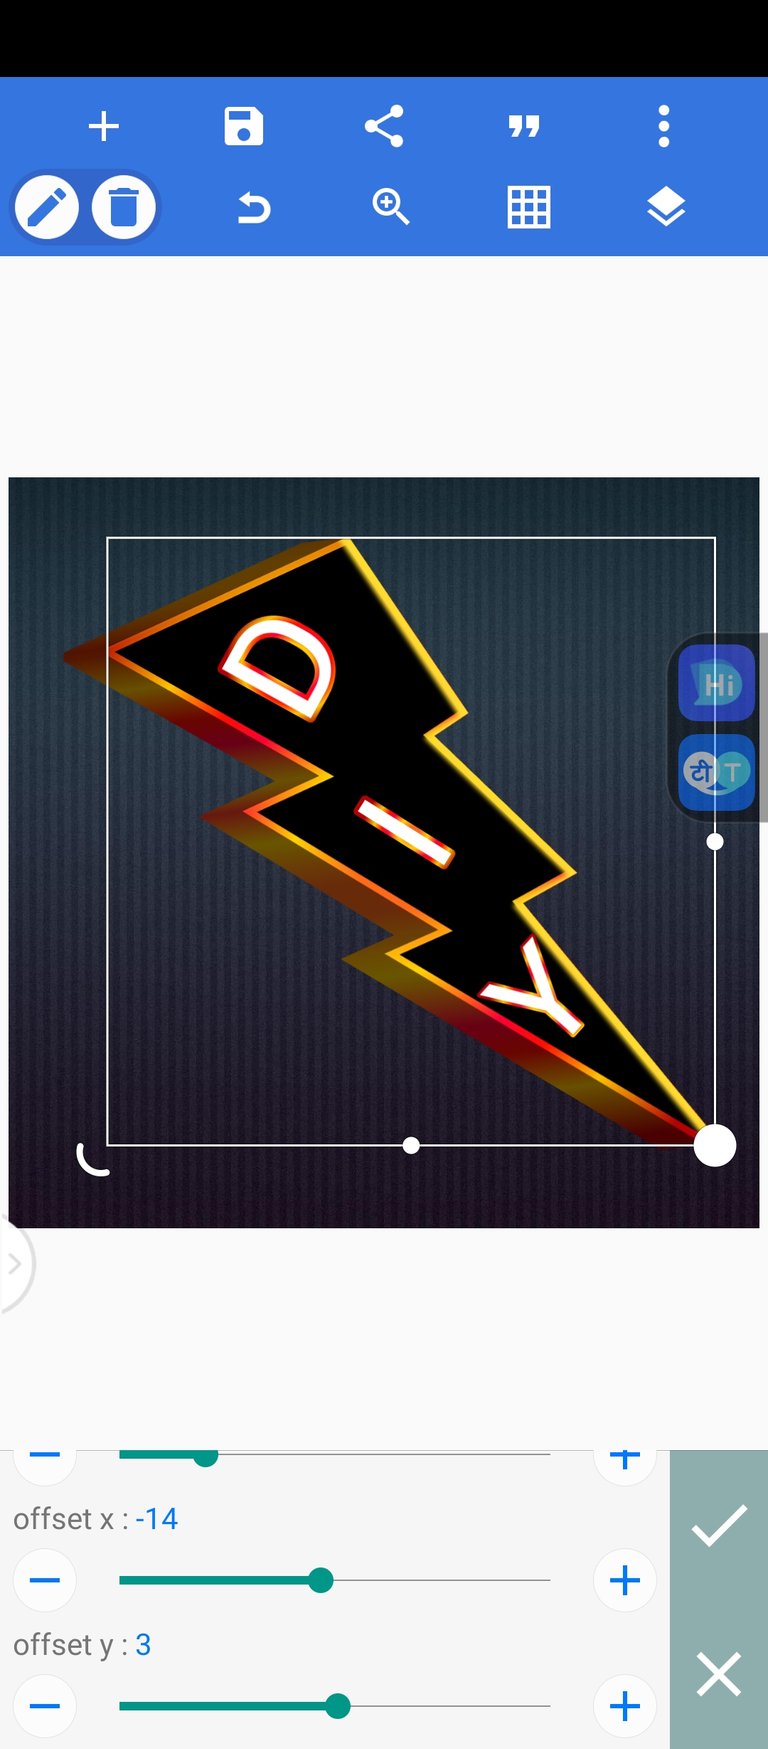
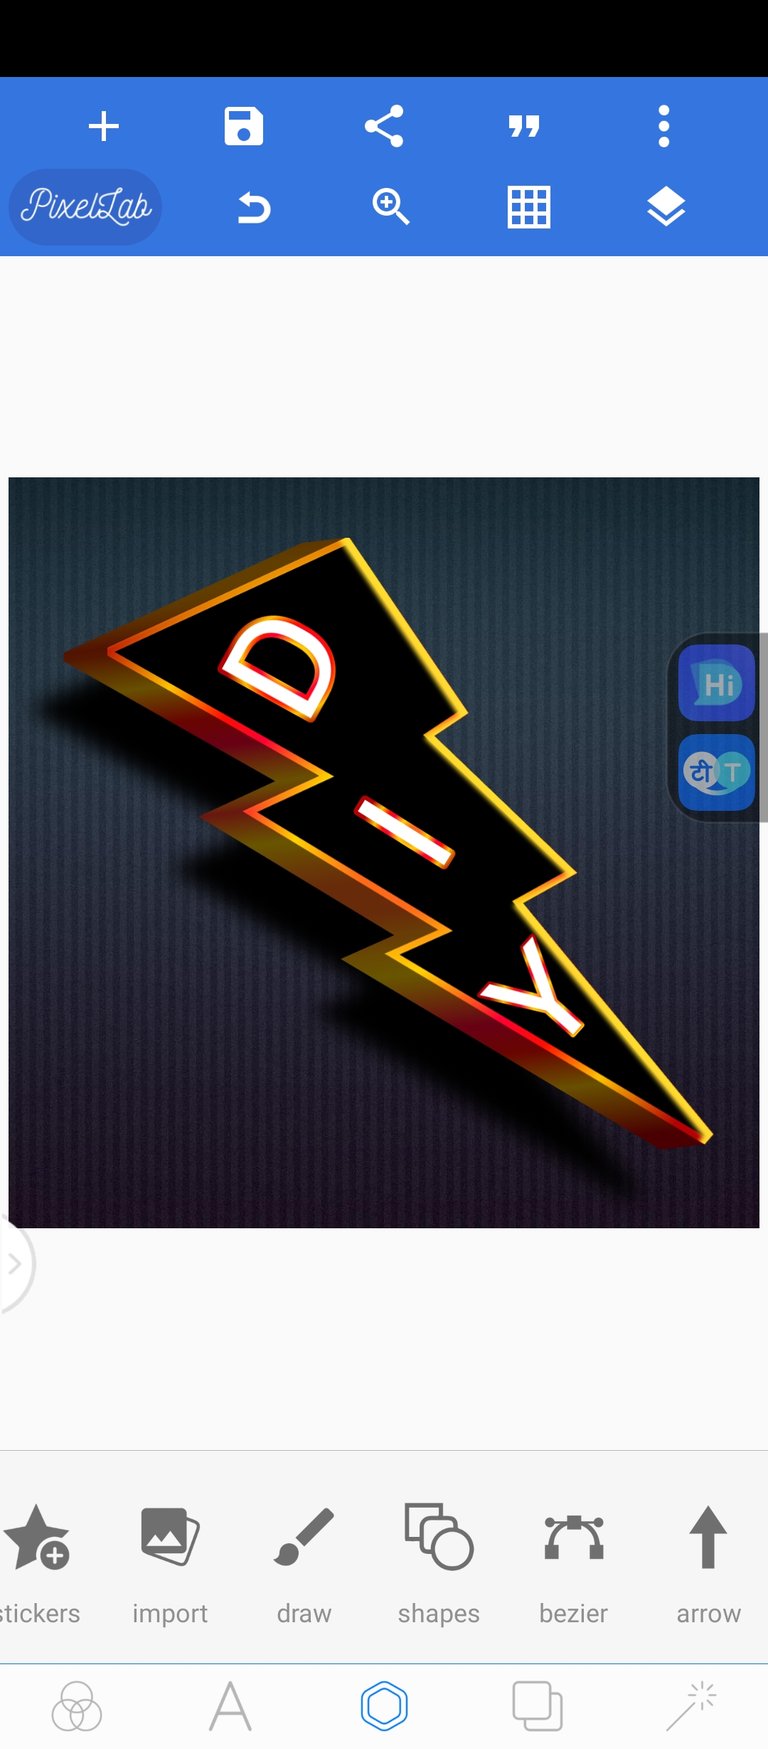
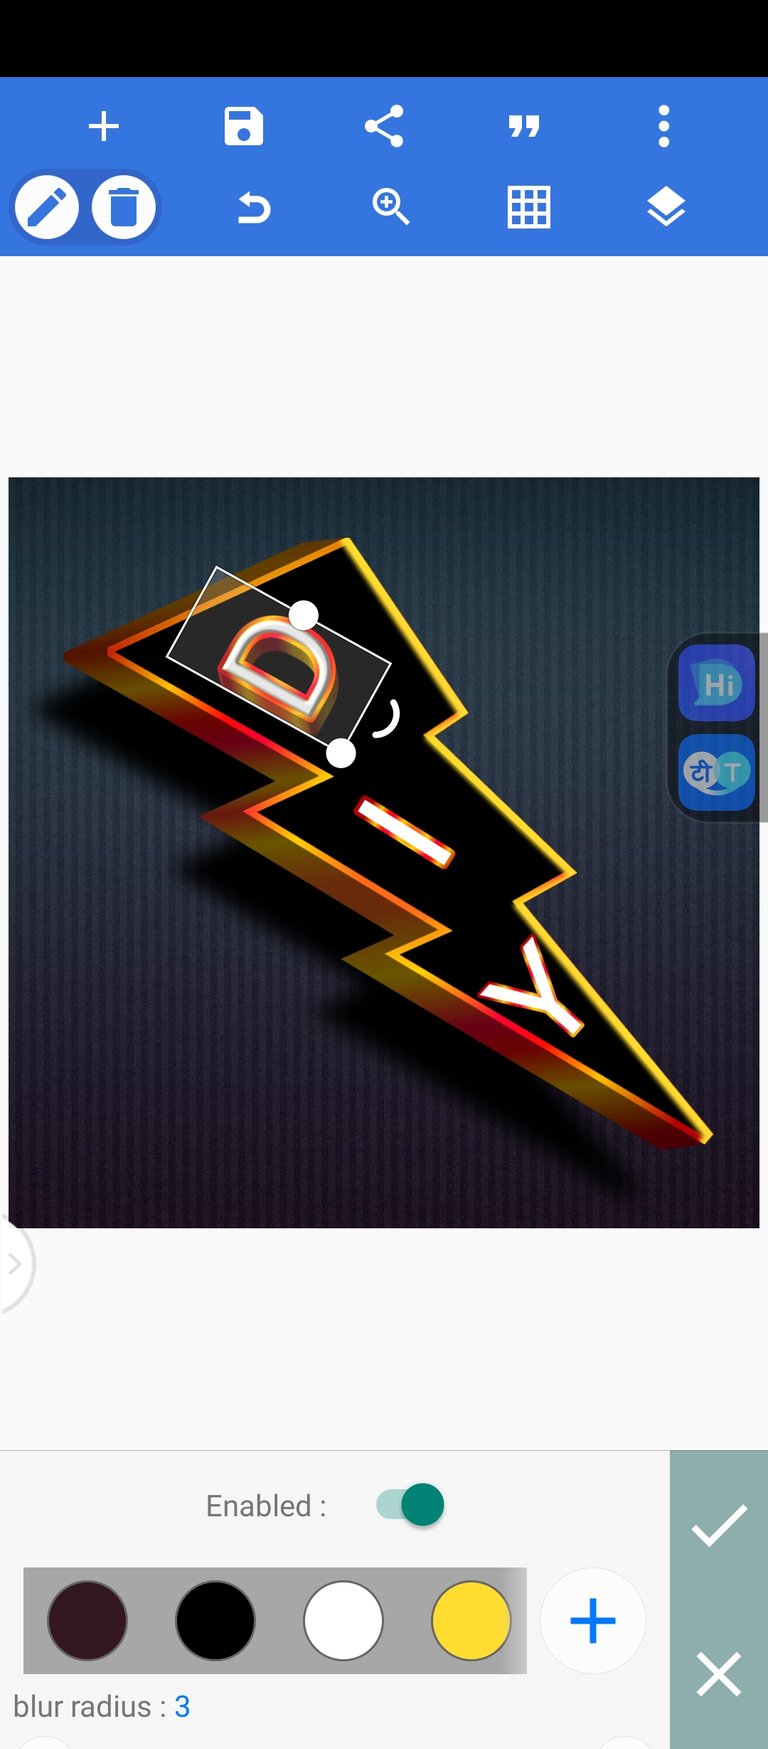
- At this point we start converting to 3 dimension starting from the letter "D" down to "Y", then we add a gradient color. Screenshot below 👇
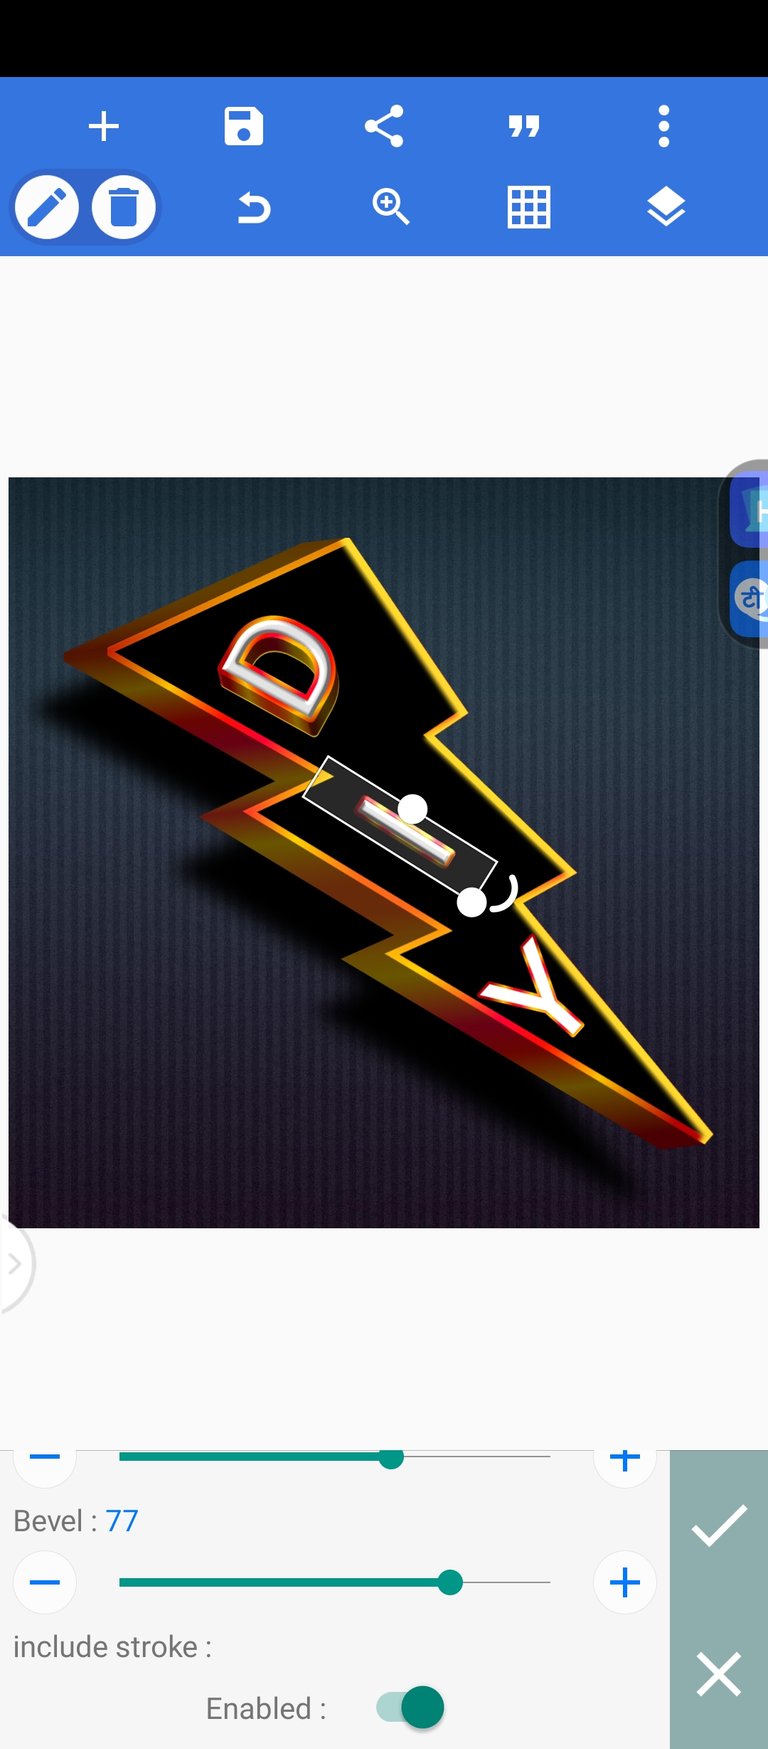
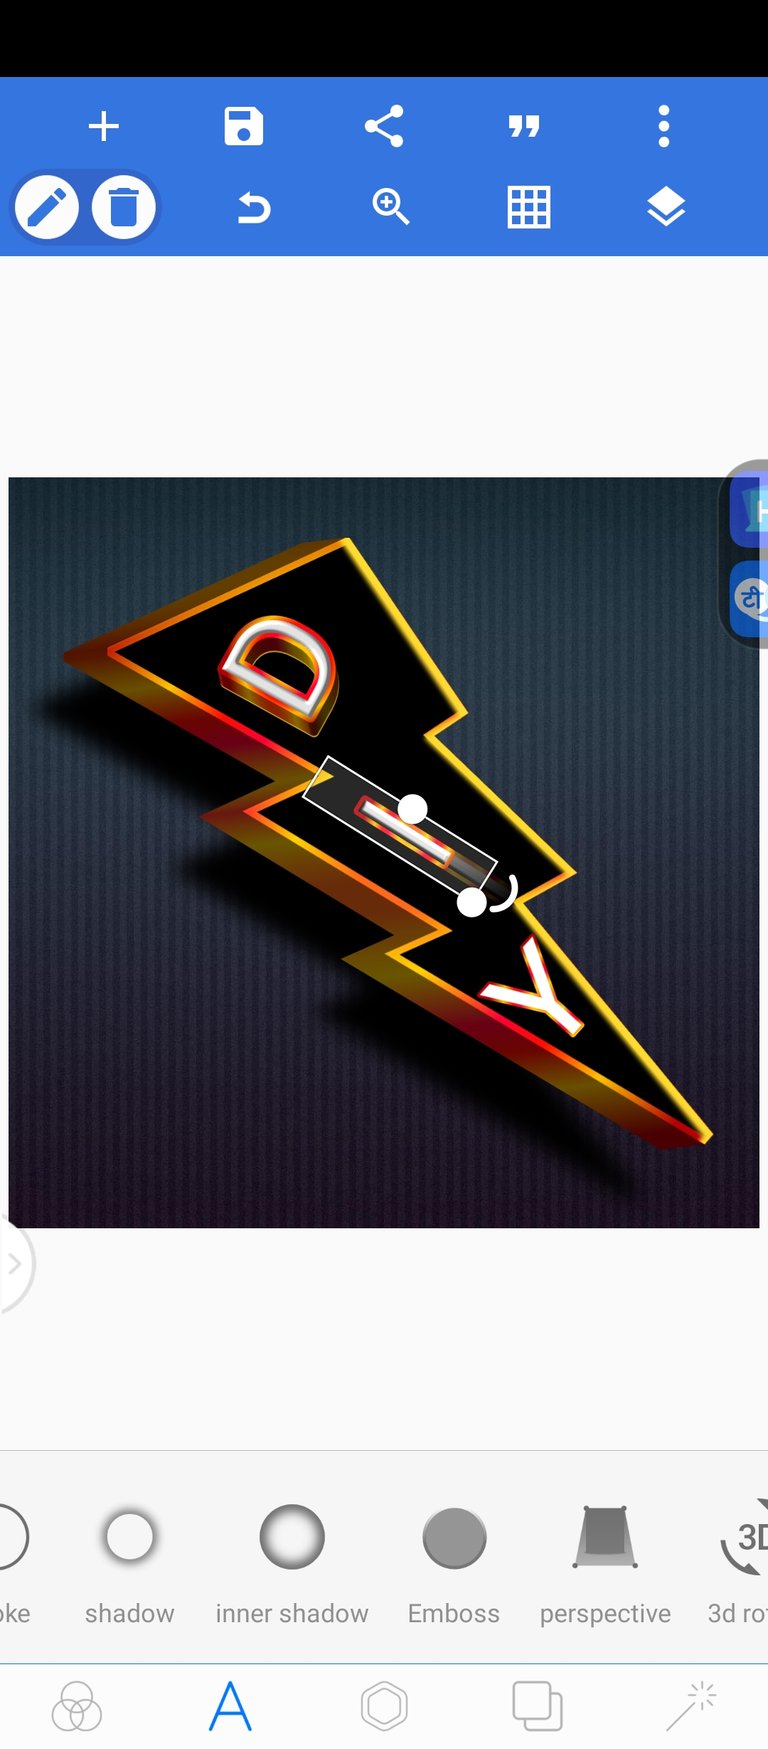
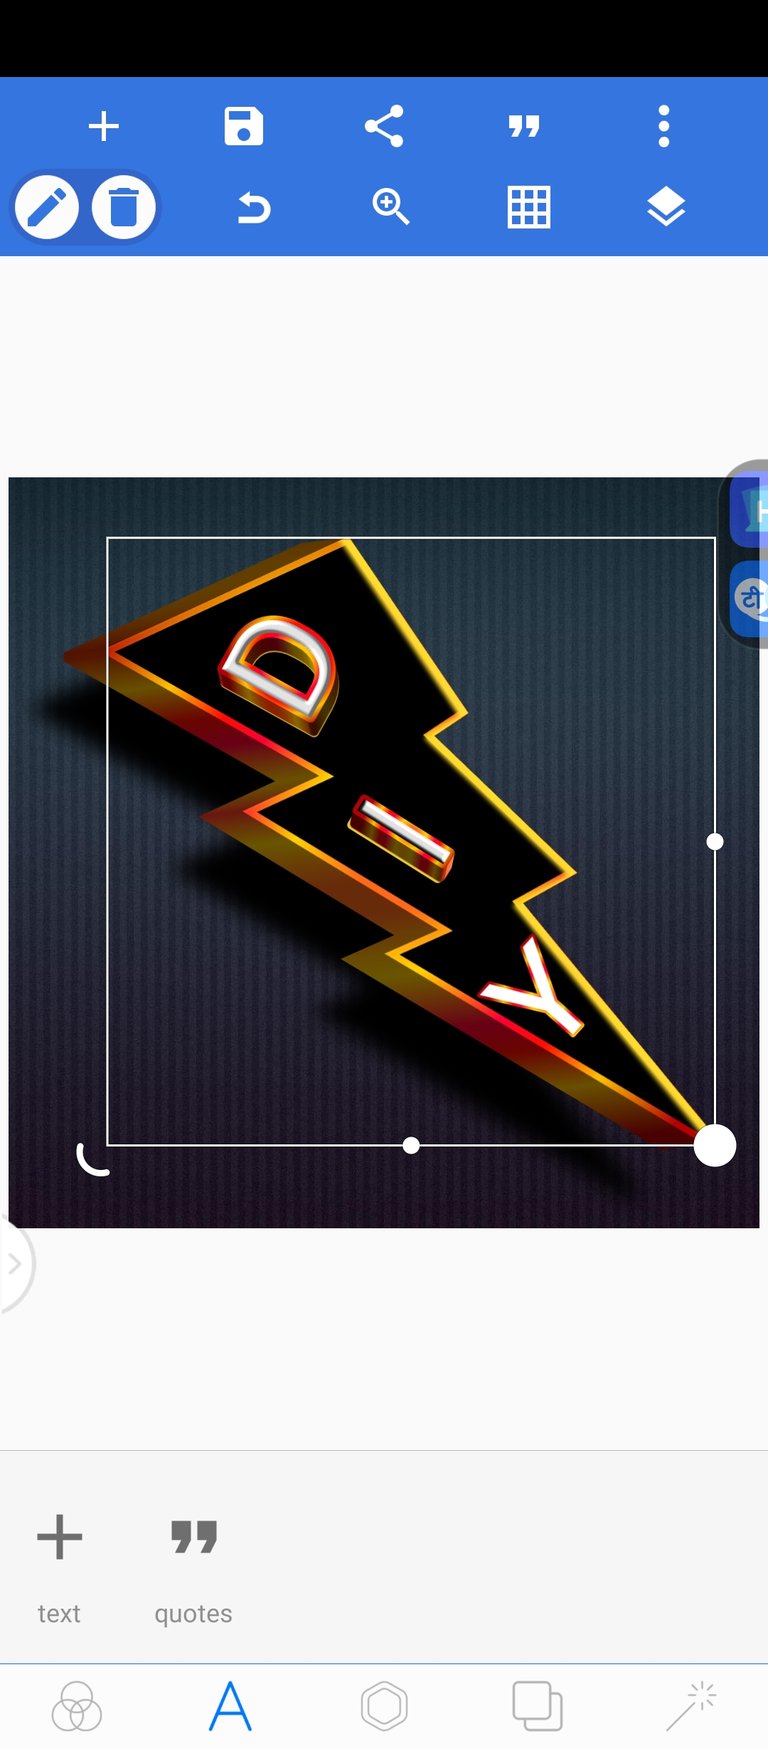
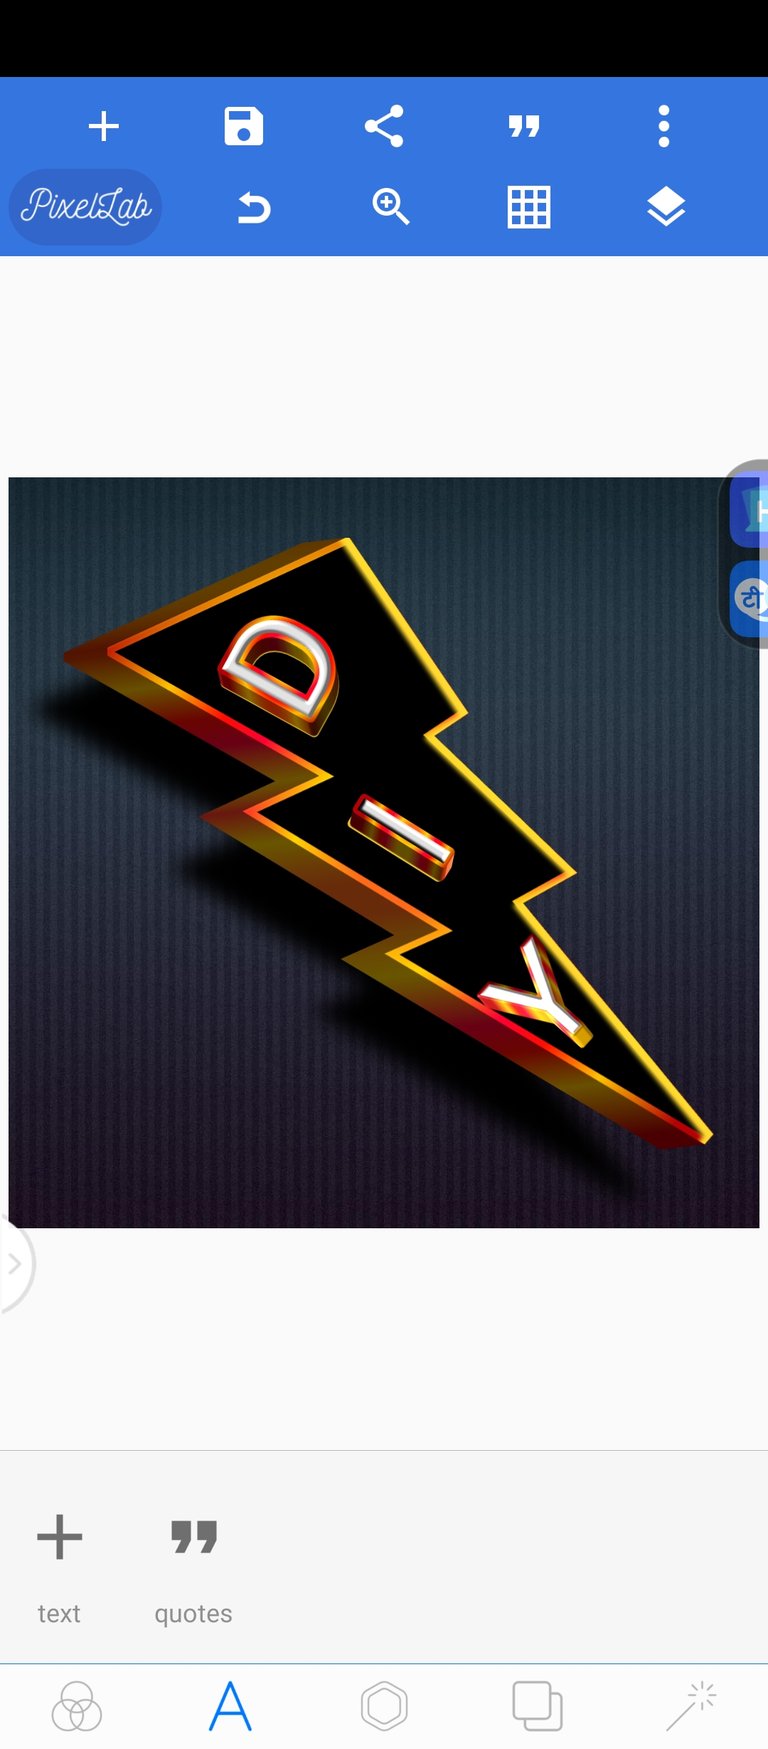
- Then add some finishing touches to your taste. Decided to do a bit of animation at the end
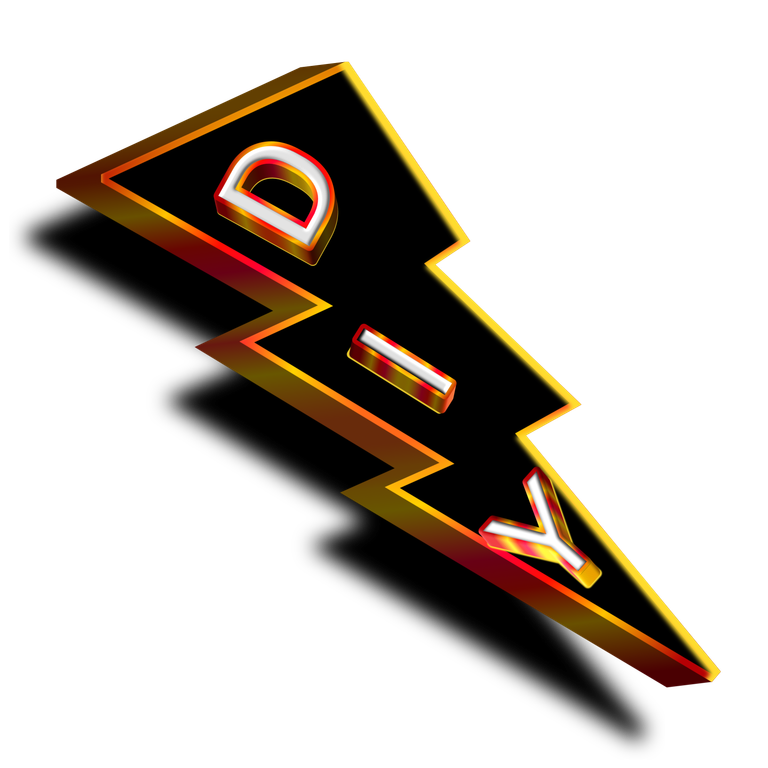
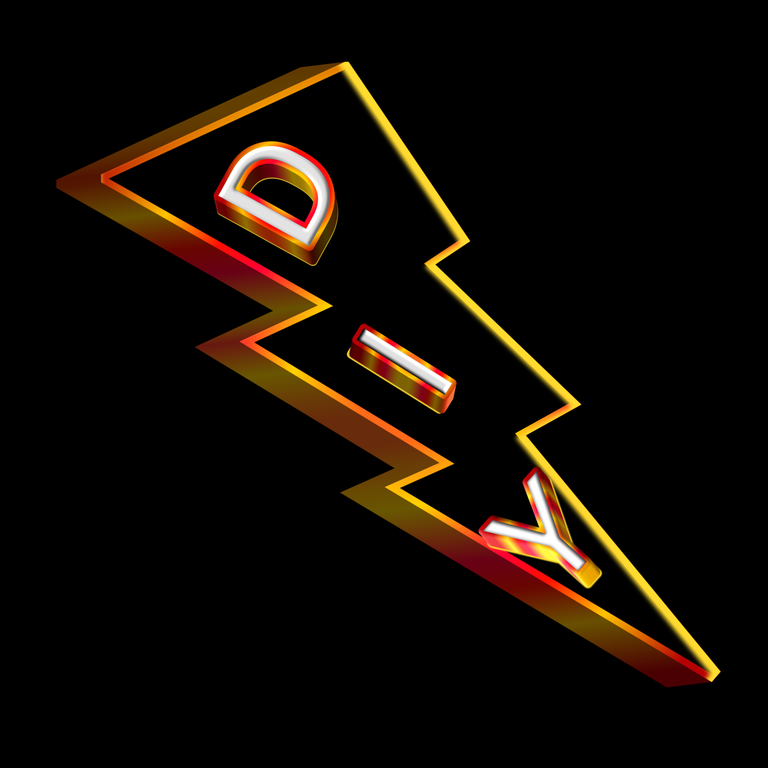
Final result before animation

Result after animation
(The breakdown for this will be for another day to avoid it being too lengthy which can be overwhelming)

I am sure the tutorial is well detailed and you are been able to follow. You can share your result in the comments, lets see your wonderful designs