Doing a Spectacular Animation of the Holozing Logo : Step-by-step process
Good day lovers of creativity, Hivians and of course members and creators in the holozing community. Today we focus squarely on one thing, what that ? The animation and of a an holozing logo I designed in my previous post, done and published in the holozing community a couple of days ago. If you follow the post well you would notice I made variations for the logo designs.
Here is an animation made with some sound effects, but as a result of saving it as a .gif format so it can be uploaded in this post, the sounds effects were cancelled out. I guess .gif files dont support sounds. I would later upload on 3sspeak as an mp4 video format so you can have a feel of it with the sound effects but for now enjoy the animation in .gif format without sound effects still amazing👇

Here is the link to the previous design done exclusively in pixel lab in which I gave a step by step breakdown on how it was done. Today we focus on the step by step process to animating that same design using the Photoleap app, then of course the presentation of the final result
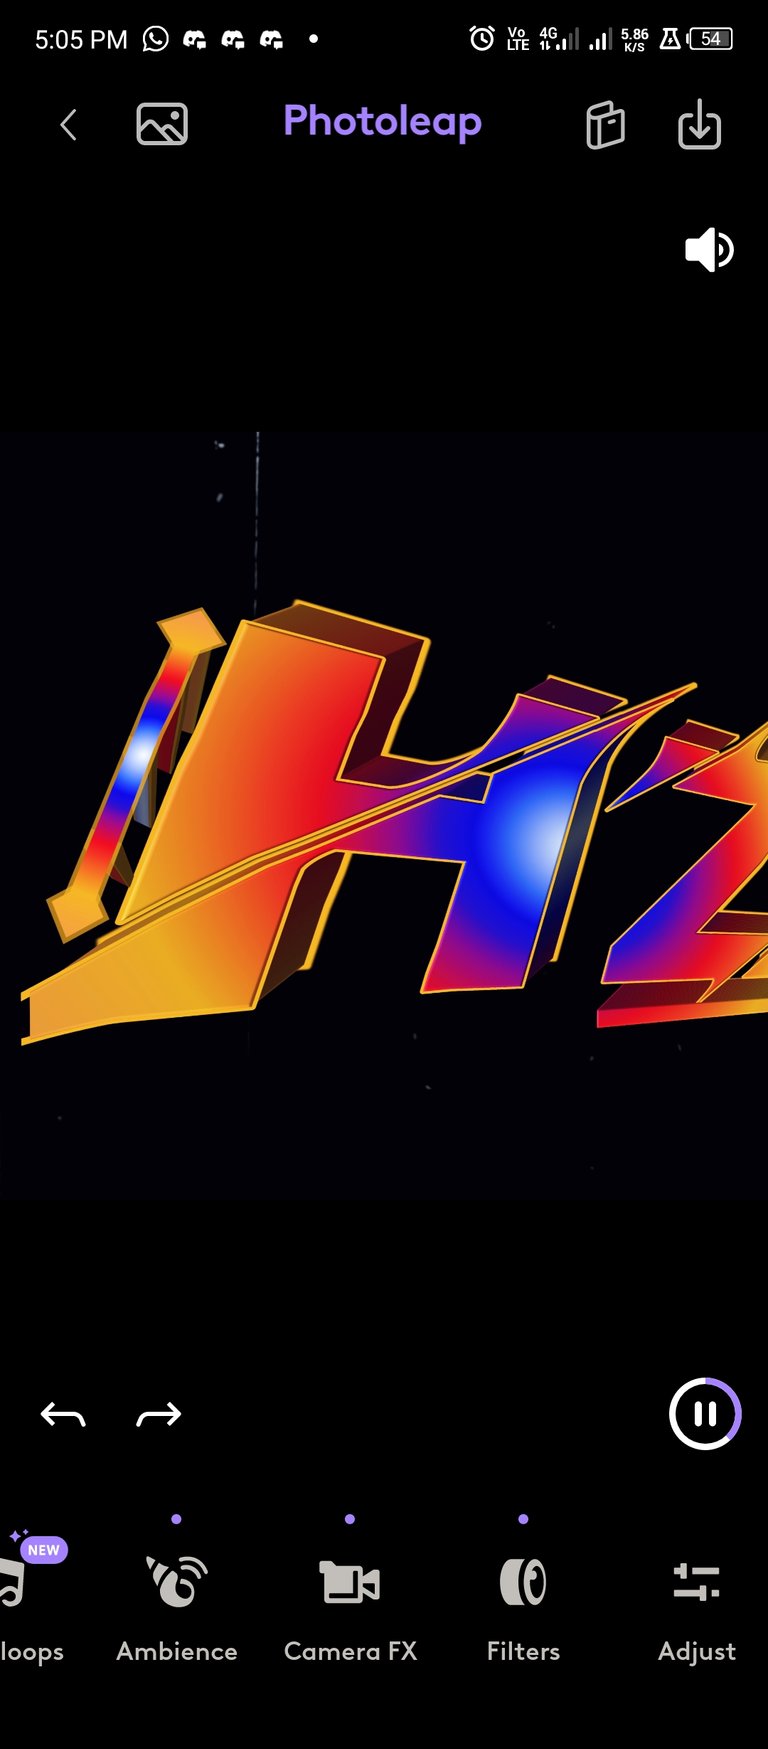
Initial logo designs Done by me in Pixellab (with an extra variation which I preferred to work on for the animation)


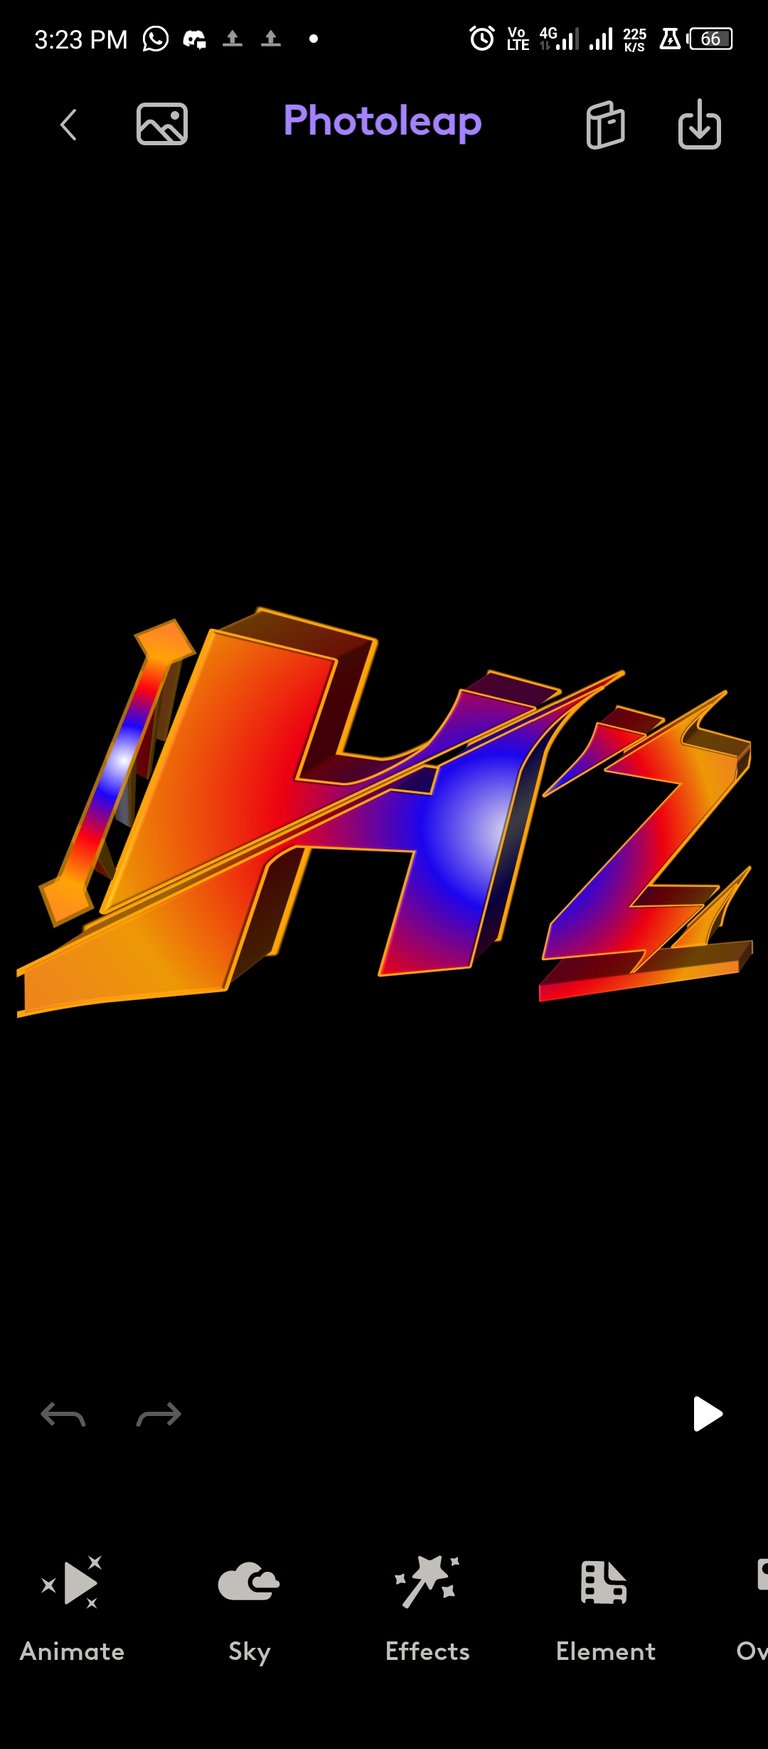
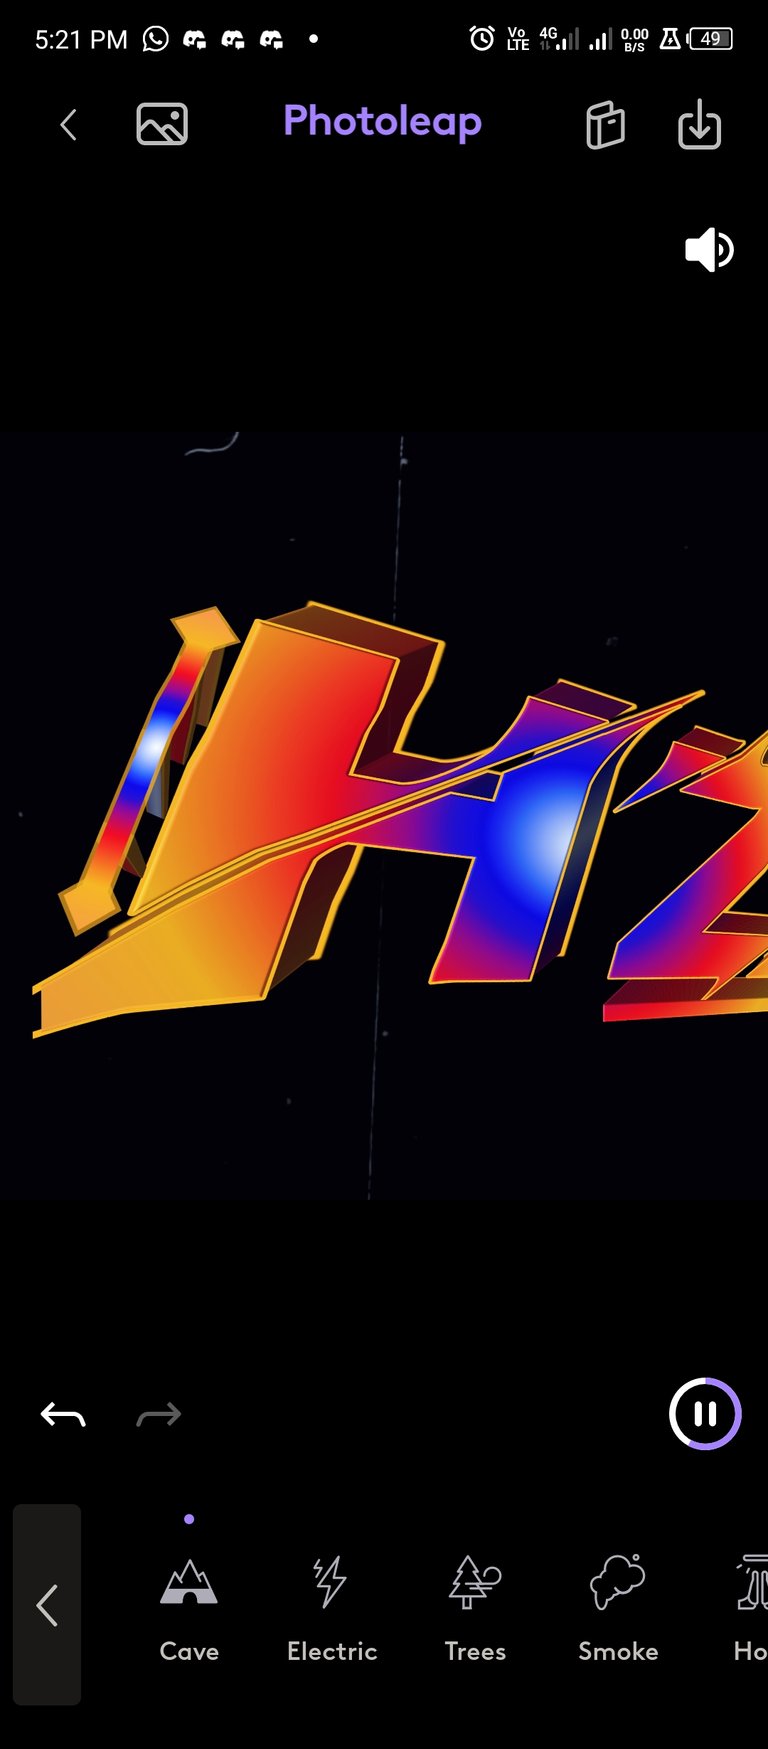
Final result: Animation of logo design (second variation above) , done in photoleap
Breakdown of process that lead to final result
- Firstly we already have our Logo design we want to work on for the animation
To start working on animating, download Photoleap app from Playstore and install 👇

- Once installed, open the photoleap app to start working on animating
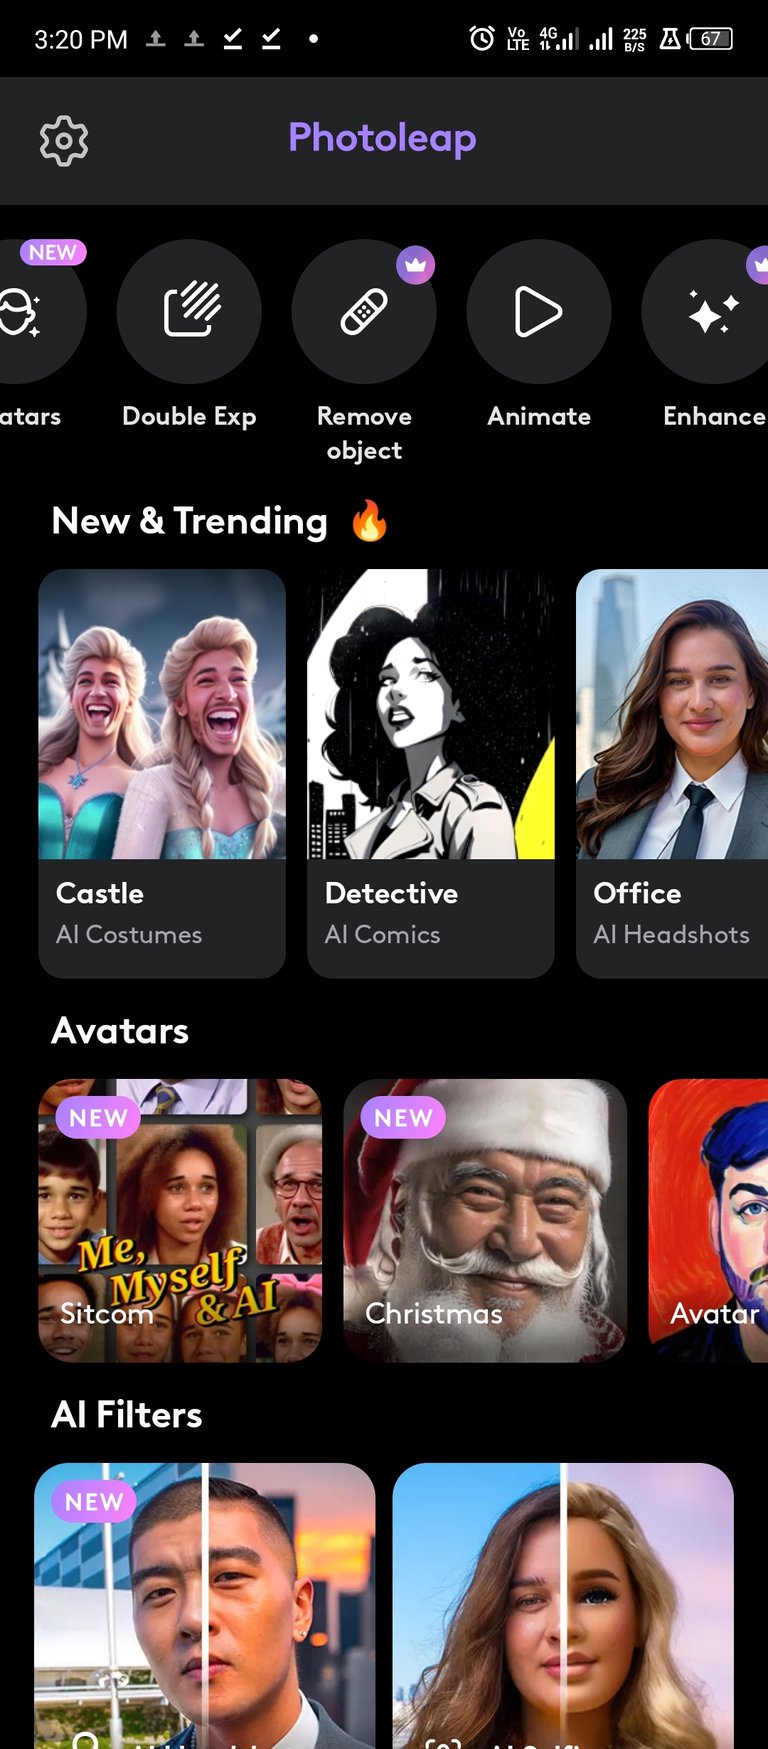
- Select "animate" below in the design interphase
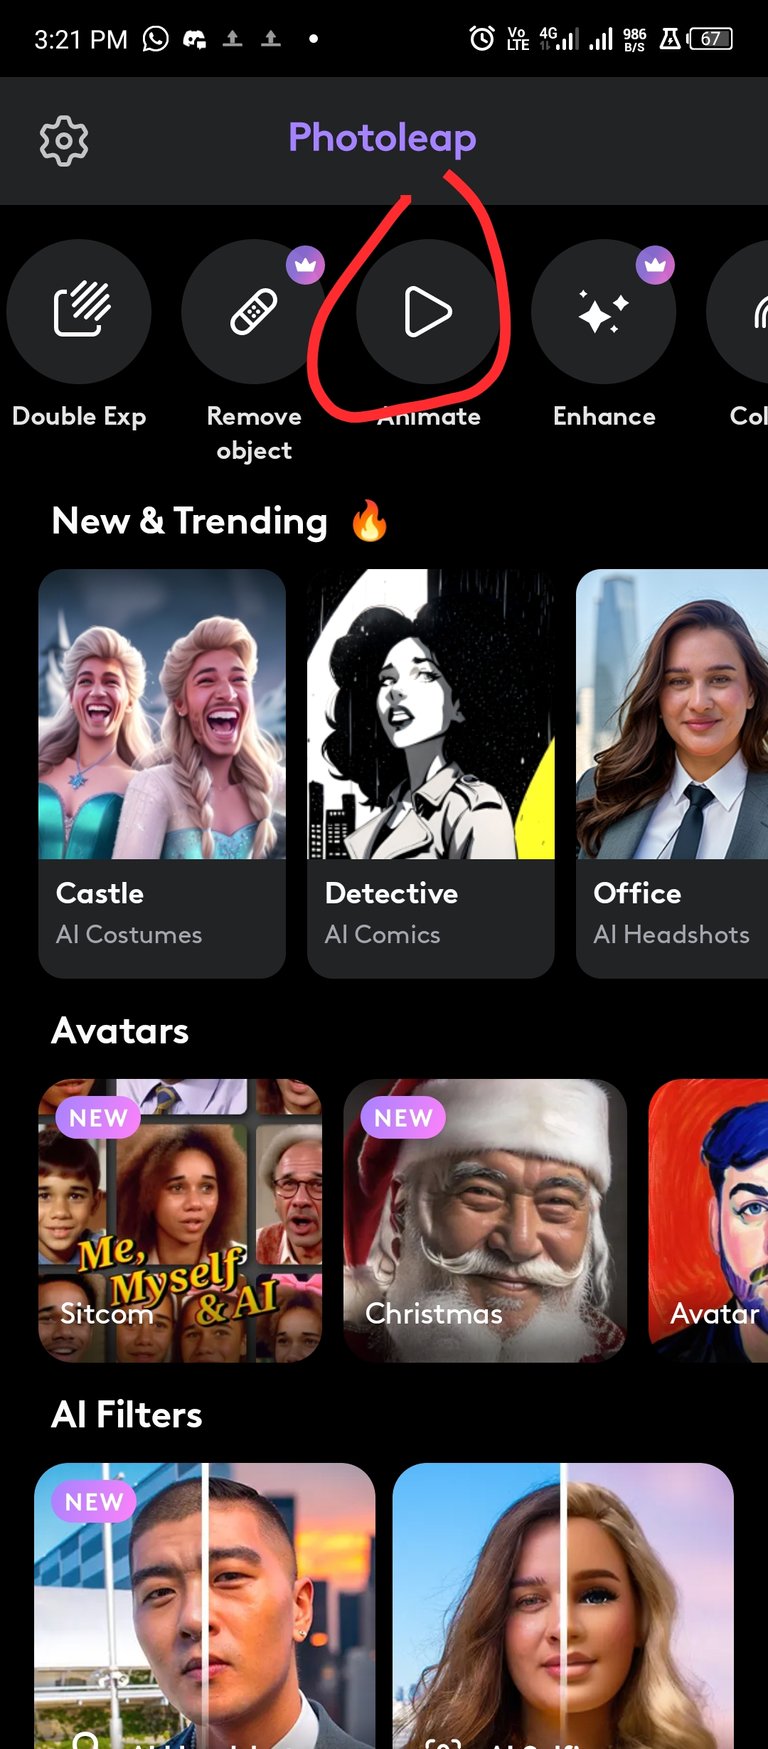
- Then select the design you would like to animate
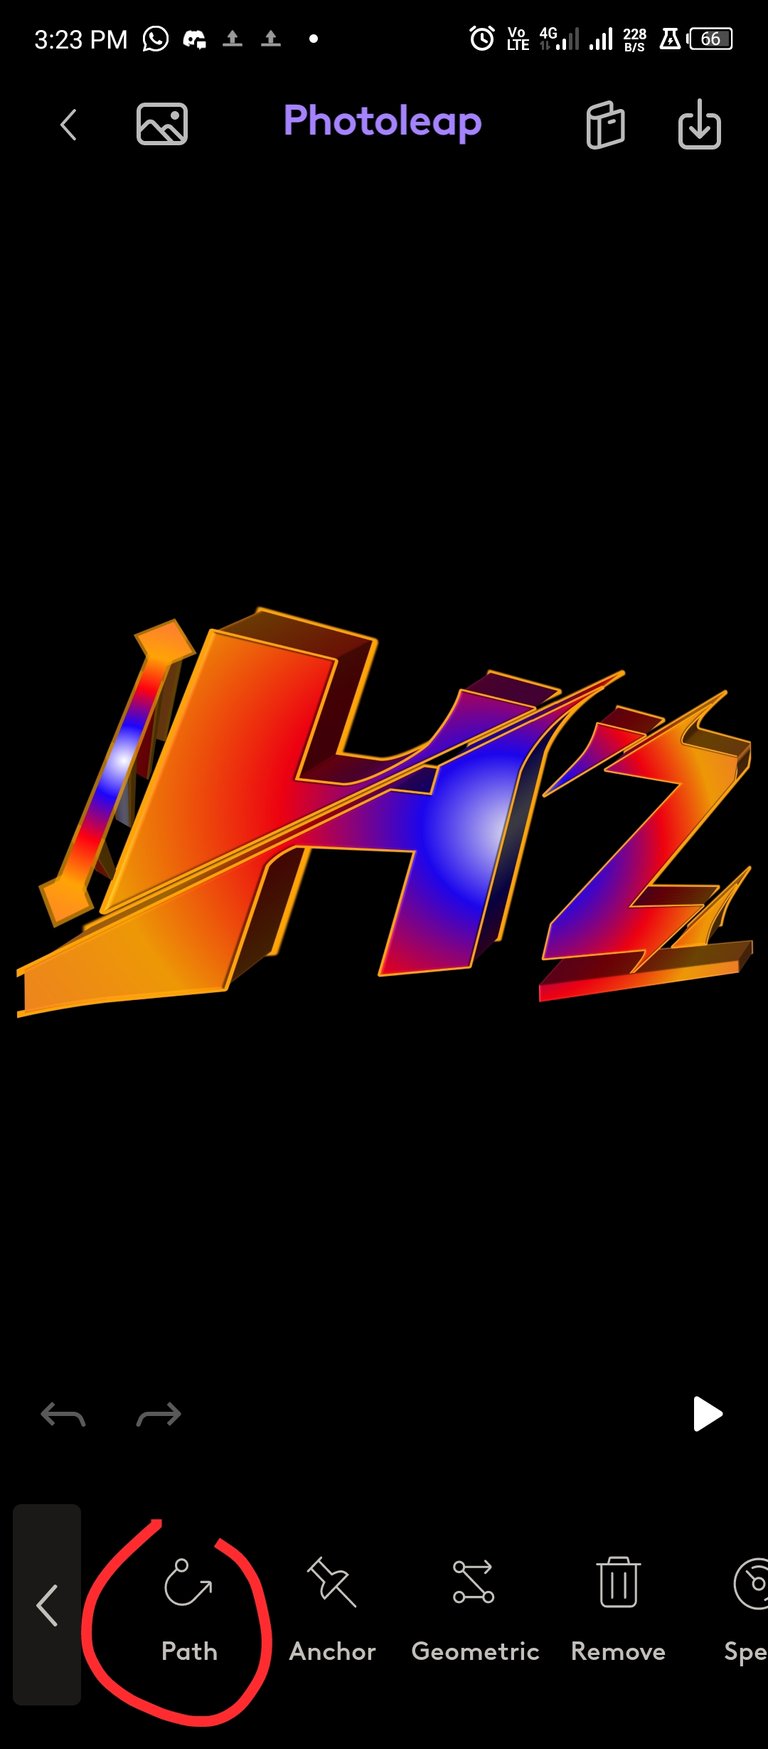
Select the path you would like the animation to move in, by tapping "path" below and drawing a line in the desired direction
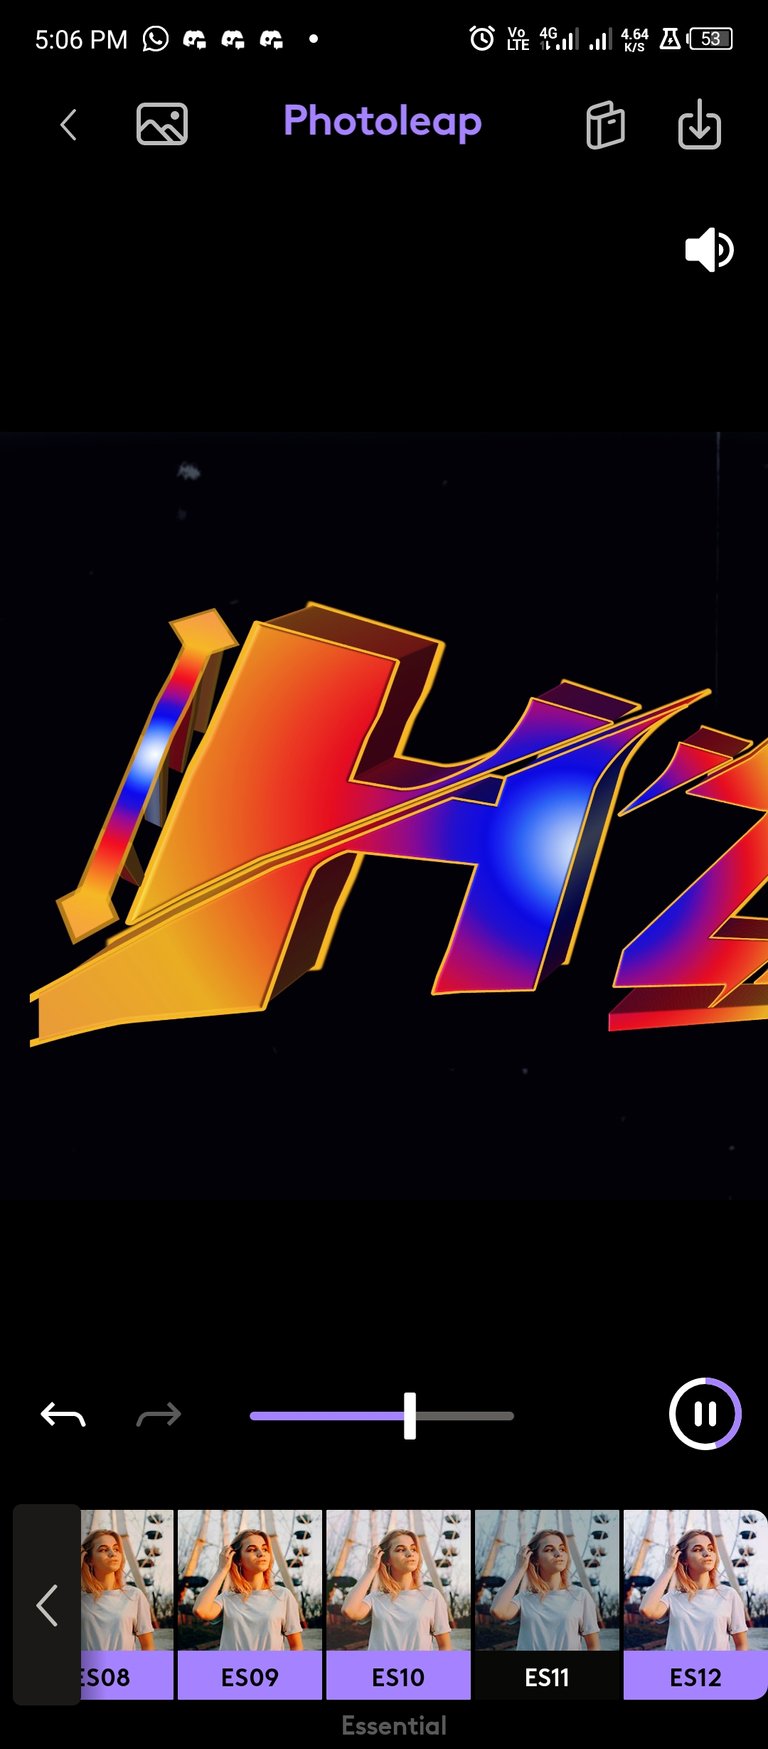
- After you done that, tap on "filter" then select "ES11"
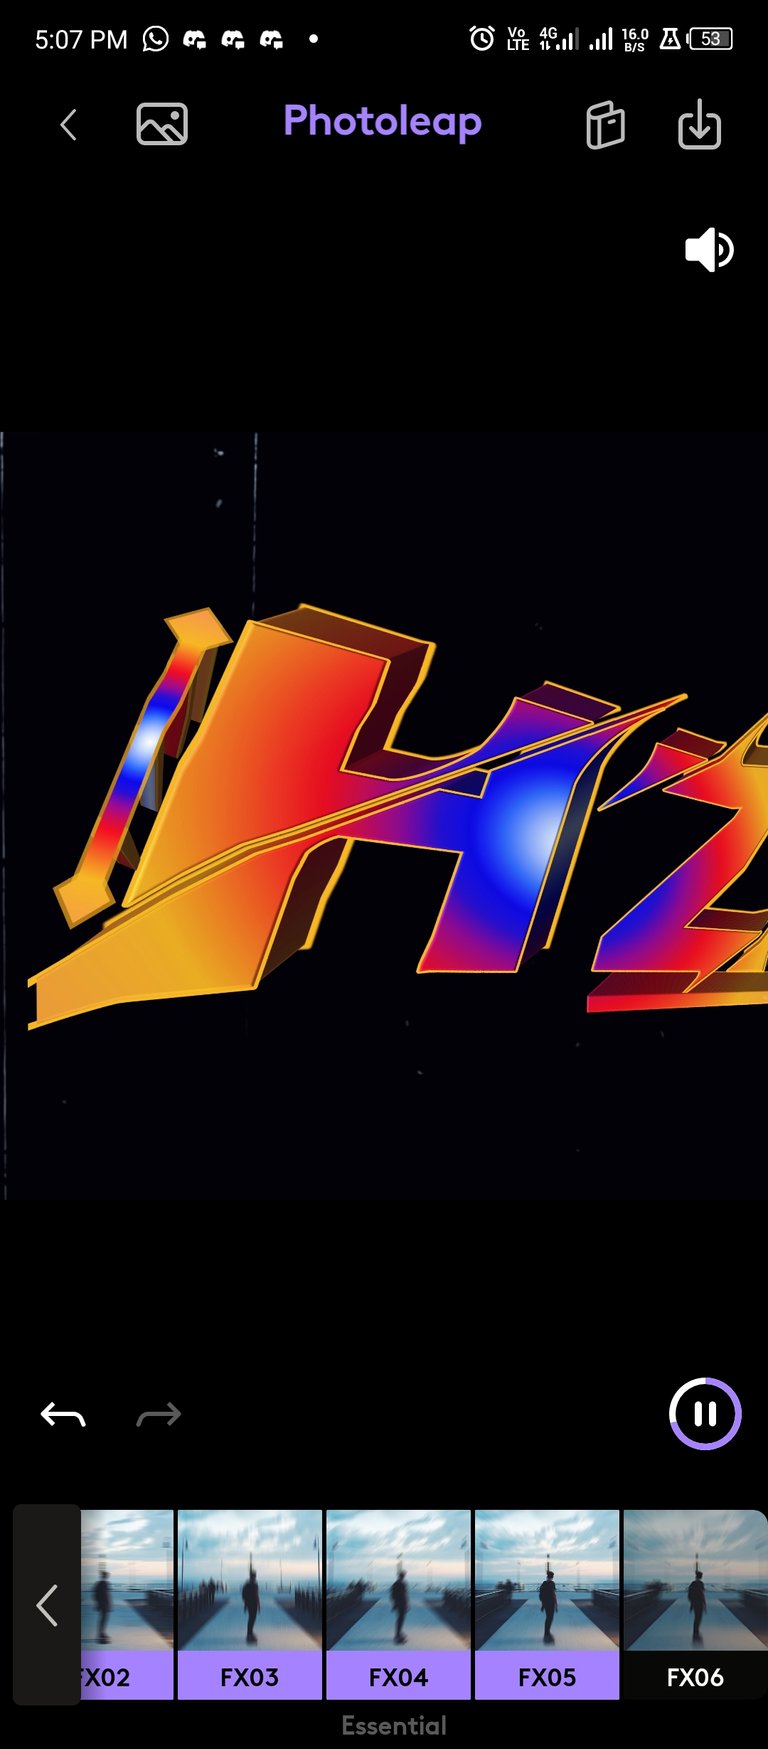
- Tap on "Camera FX" , then select *FX06"
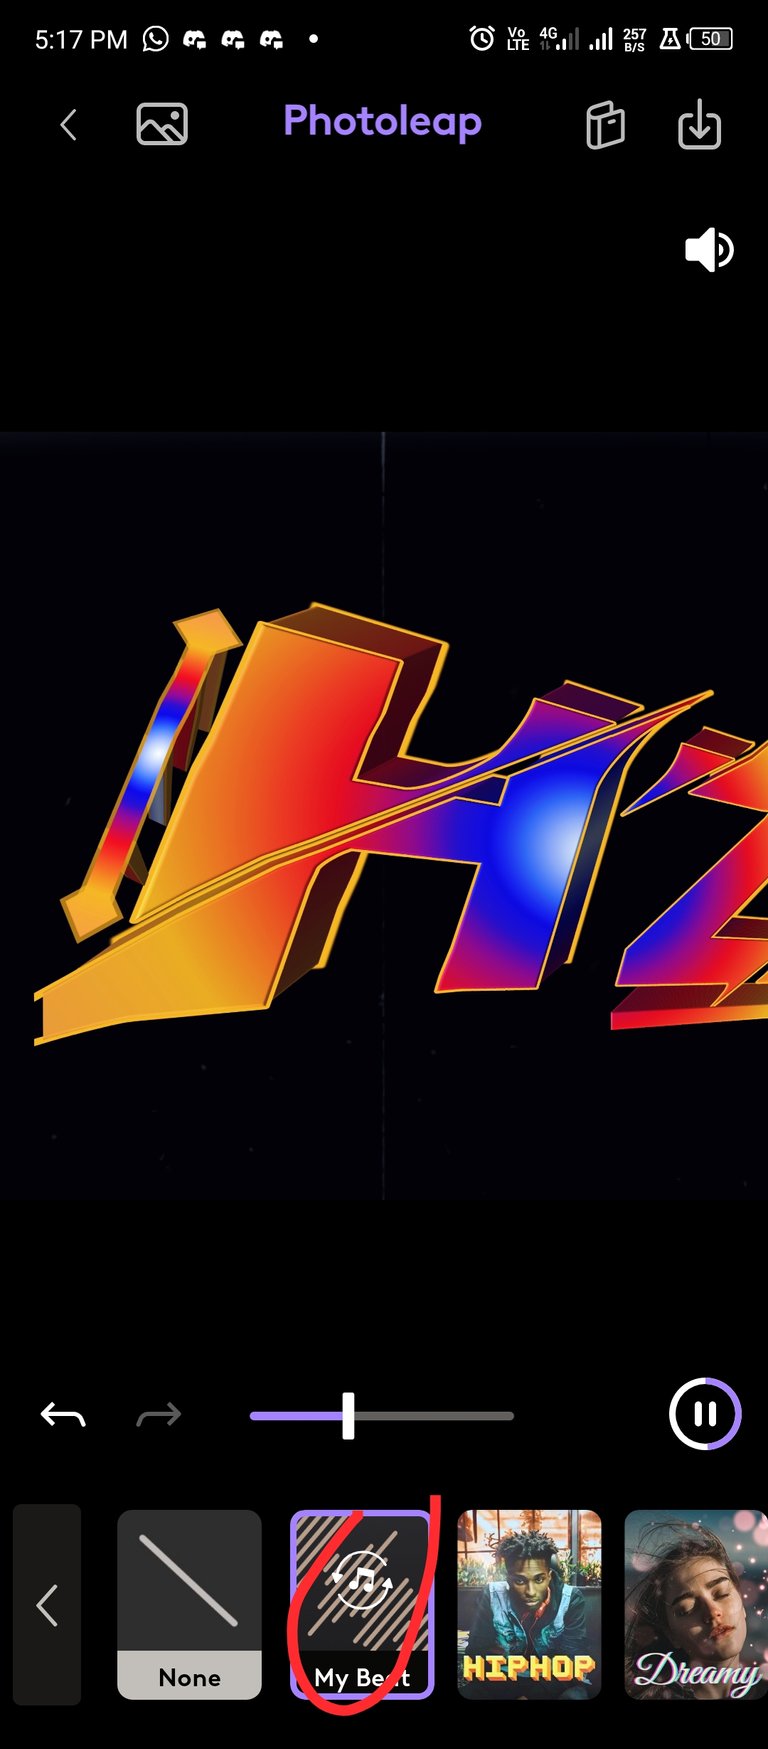
- For the sound effect, tap "ambience" and select "cave" , "electric" "crackle" and adjust the volume however you see fit

- You can also decide to add a song or voice over by selecting "beatloop" then select from the options available or select my beat to select your recorded beat or voice over

- Then select "overlay" just below the design interphase, at time you might need to tap on the back button to bring some of these features into view at times
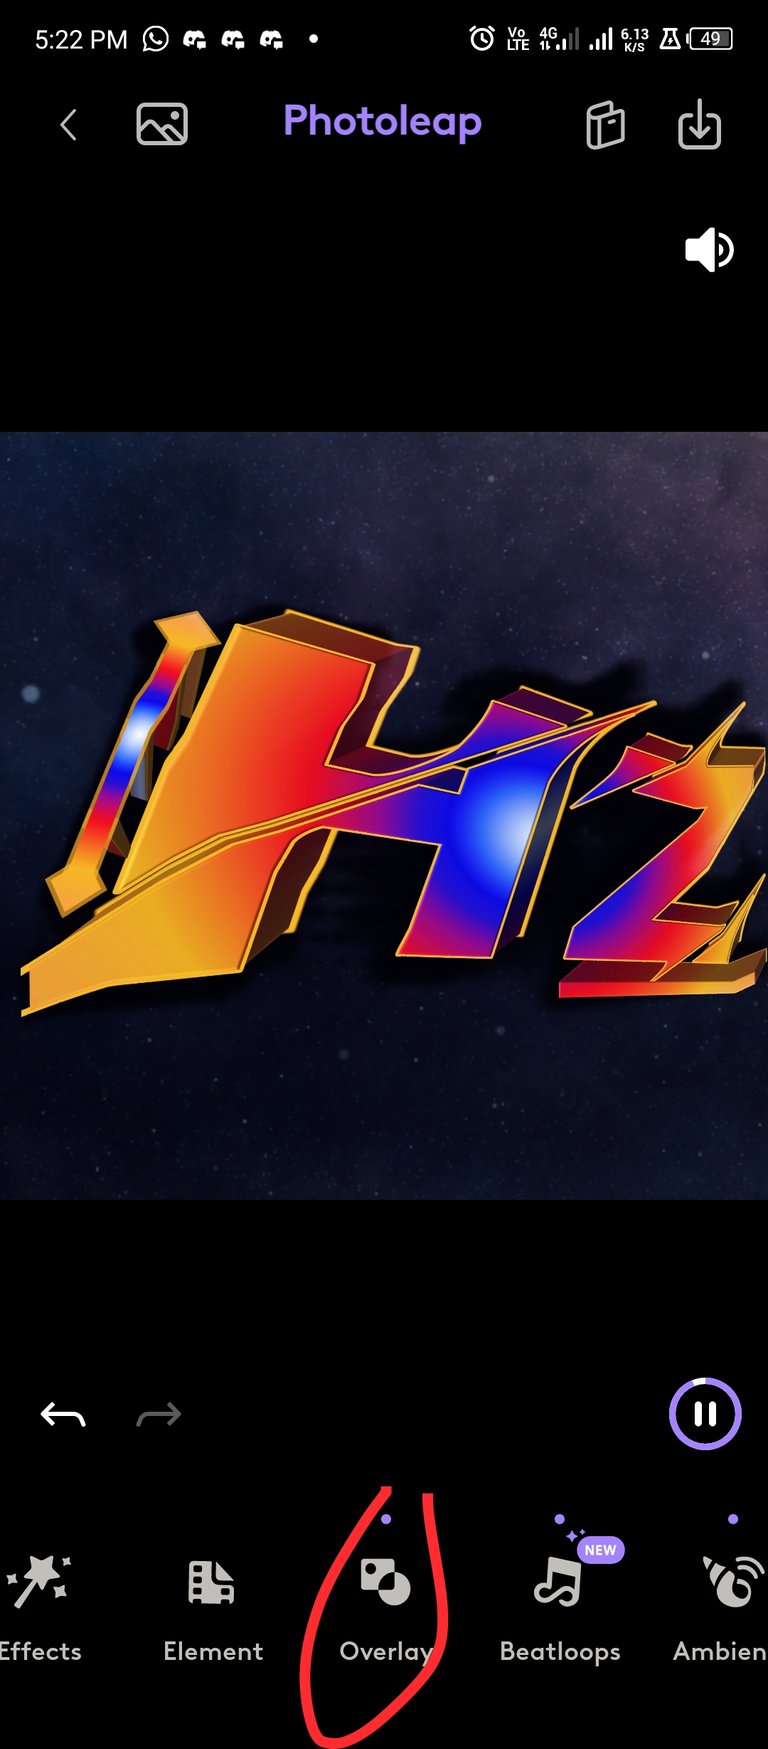
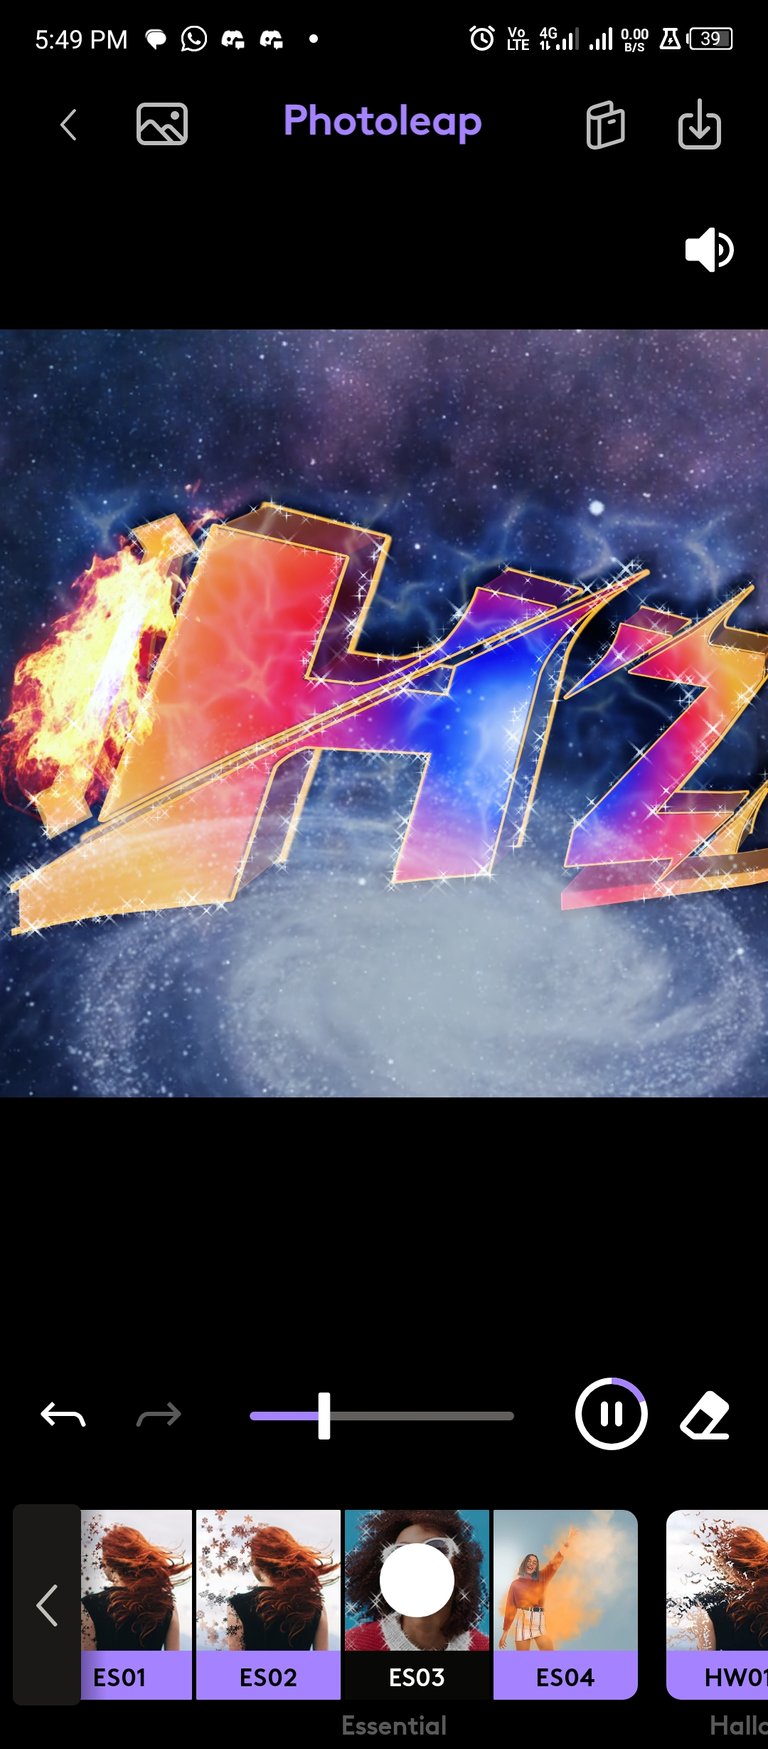
- Then the overlay is selected, you would see some options, from these options select "ES06". This will give it an astral like overlay which is the whole point

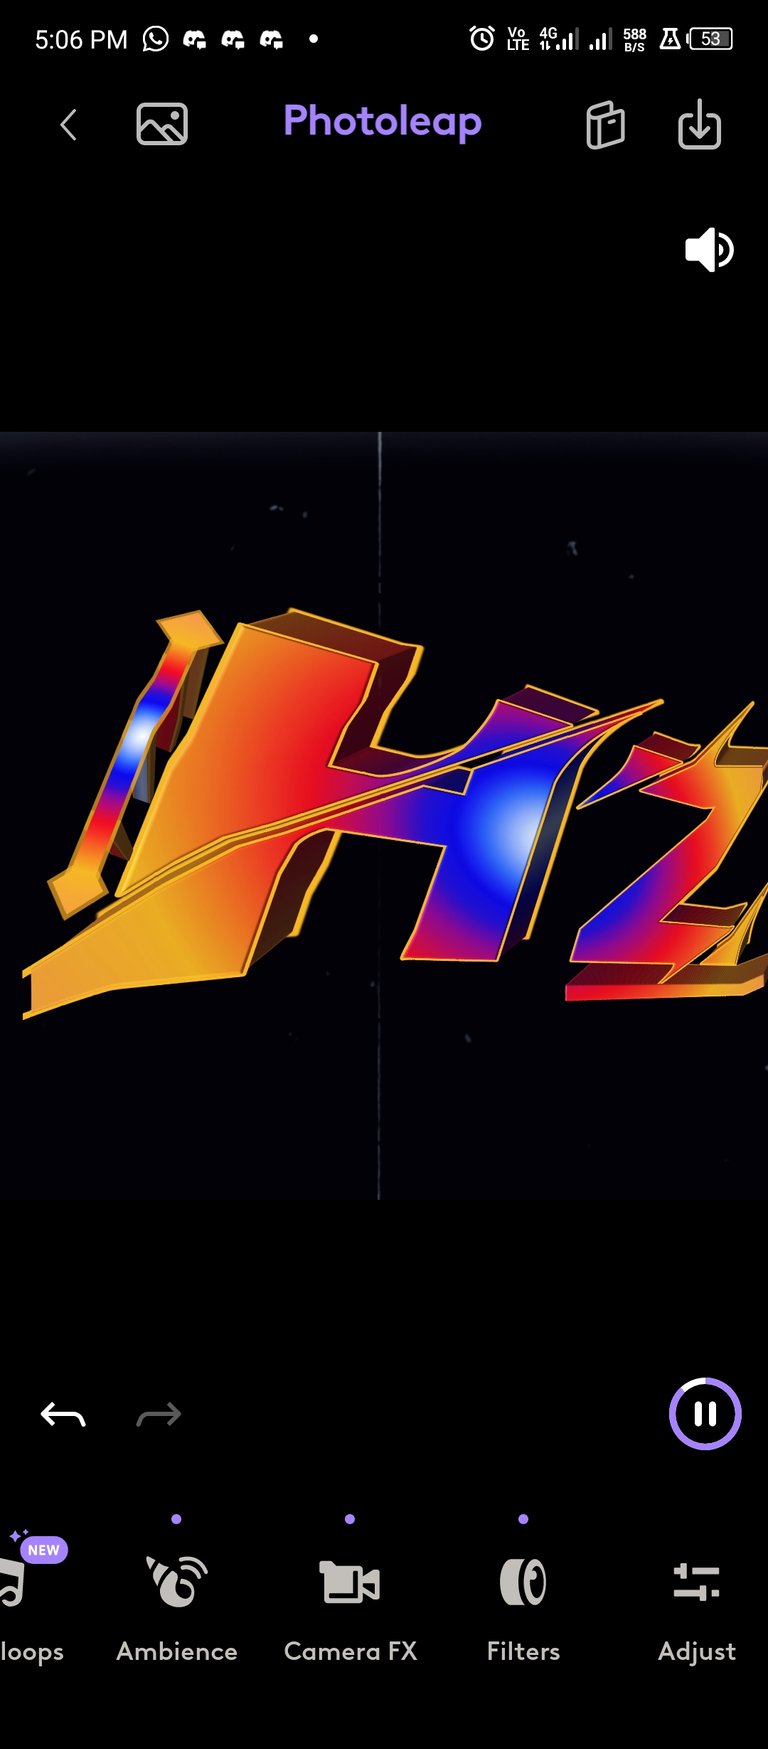
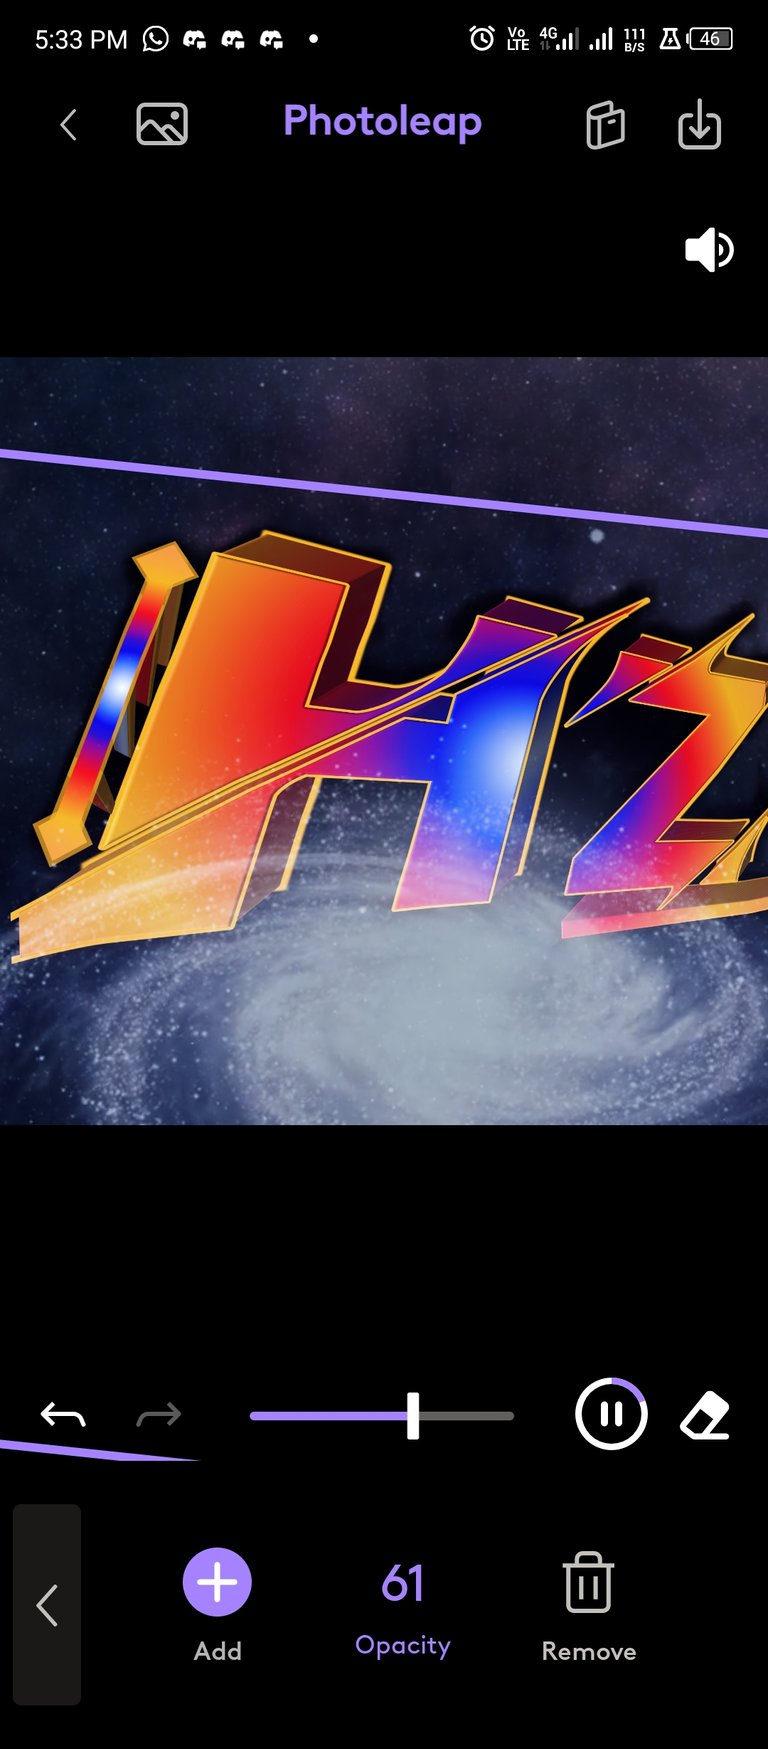
- Adjust the opacity as shown below for a perfect blend of both backgroud and design
- Add the black hole feature by selecting "element" in the design interphase
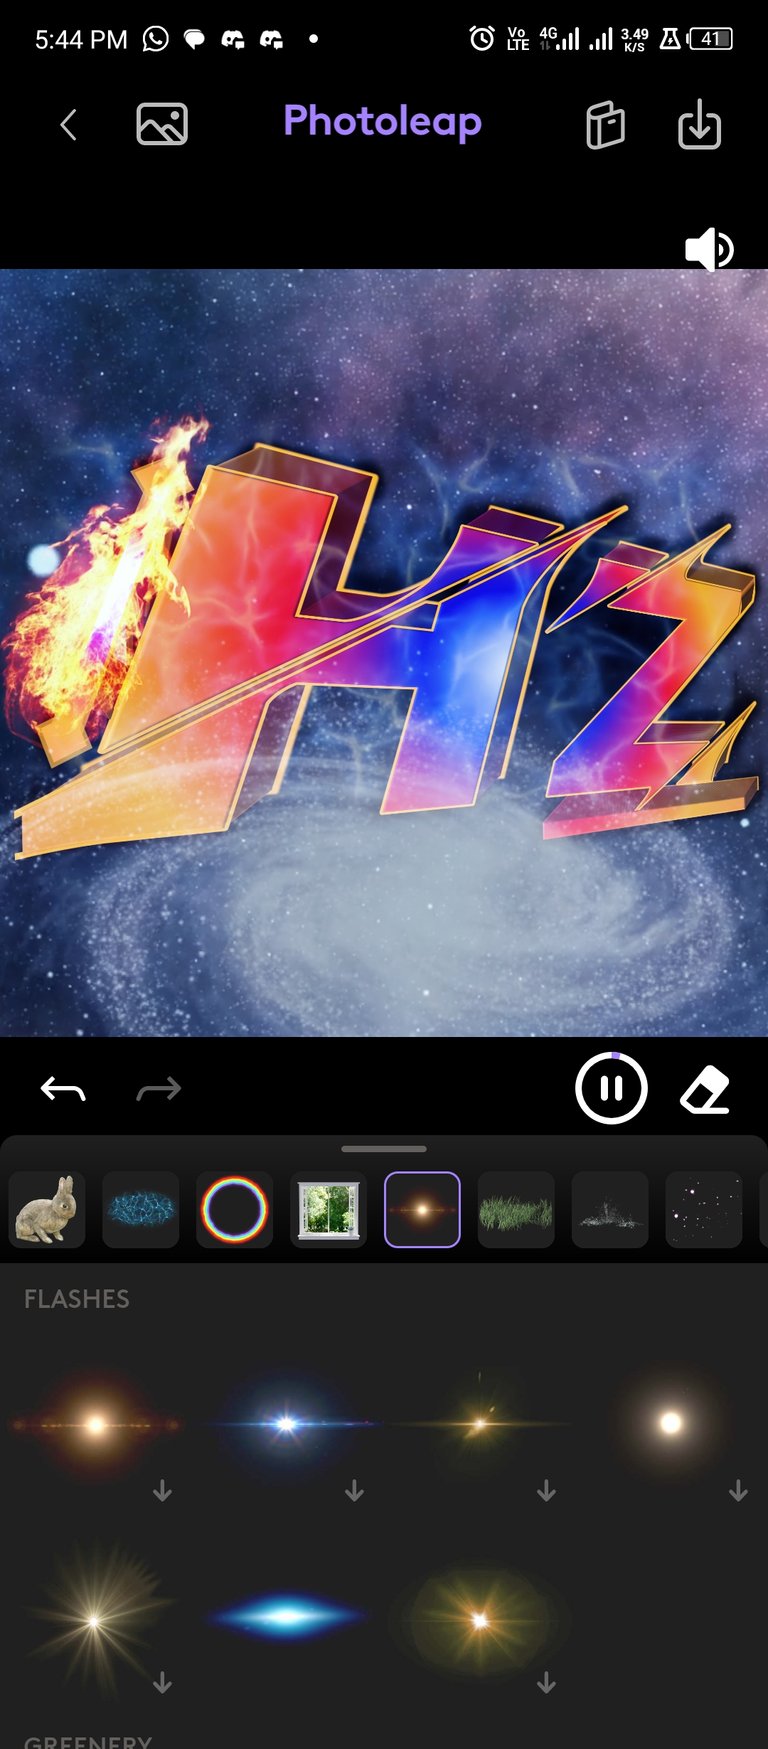
- Tap on effect then select "ES03"
- Add the electrical phenomenon also for flawless astral like simulation by selecting "elements"
You also proceed to add other features as you see fit, but remember less is more and the more feature s you use the higher the eventual animation size , keep that in mind .
- Once you are satisfied with the results, go ahead to save it either as a video or gif format but bear in mind that if you save as a gif format , all sound effect will be lost, to keep the sound effect, save also as a video.
Final Result
So thats it, I hope this tutorial was helpful, for questions and clarity please dont hesitate to use the comments section
Thanks for following to this point.
Remember even if you don't get the animation once, try again, you would be surprised at how much you improve by trying again
Congratulations @sam9999! You have completed the following achievement on the Hive blockchain And have been rewarded with New badge(s)
Your next target is to reach 52000 upvotes.
You can view your badges on your board and compare yourself to others in the Ranking
If you no longer want to receive notifications, reply to this comment with the word
STOP