"From PC to a pedestal - Trophy for riders" [ENG-ESP]
Greetings dear friends of DIYhub, welcome to my post once again, I am Nitsu and this is the first time I post here, this time I come to bring you a huge job I could do this year and although it was a big challenge I could encourage me to accept it.
Saludos queridos amigos de DIYhub, bienvenidos a mi post una vez más, me presento, soy Nitsu y es la primera vez que publico por aquí en esta ocasión vengo a traerles un trabajo enorme que pude realizar este año y que a pesar de que fuera un gran reto pude animarme a aceptarlo.
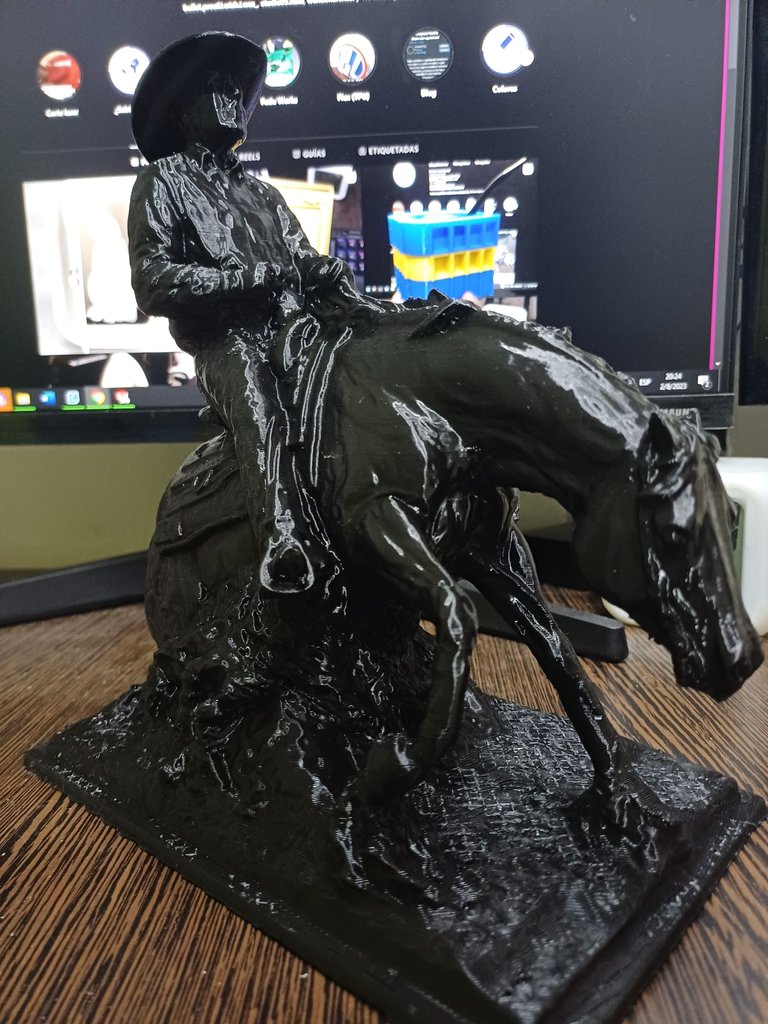
Many of you already know that I offer 3D printing services for commercial parts or gifts as well as designs and more technical parts for spare parts. This time a person talked to me to tell me that he wanted to make a trophy, when thinking of a trophy we all think of the characteristic shape of the awards we know from cartoons or movies, but this one was very different, it was huge, full of life and with a lot of personality.
Varios ya saben que ofrezco servicios de impresión 3D tanto para piezas comerciales o regalos como también diseños y piezas más técnicas para repuestos. Esta vez una persona me hablo para comentarme que quería hacer un trofeo, al pensar en un trofeo a todos se nos viene a la mente la característica forma de los premios que conocemos de caricaturas o películas, pero este era muy diferente, era enorme, lleno de vida y con mucha personalidad.
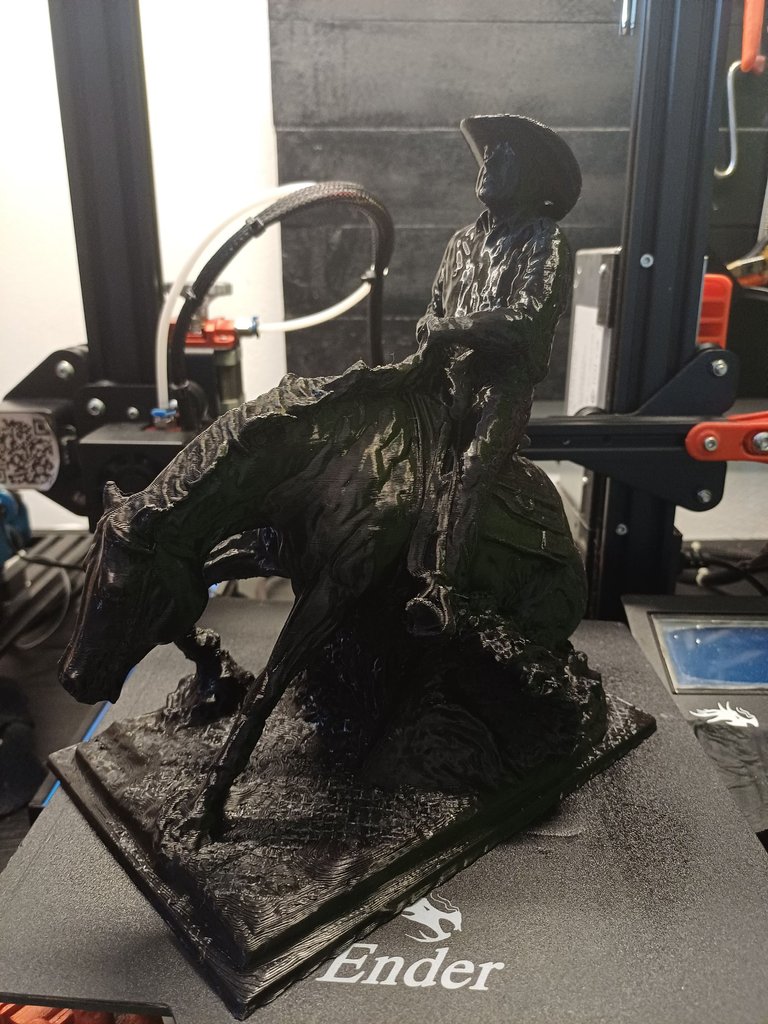
This person was from an association of horse riders and wanted to make a prize for a competition they were going to carry out, he had the base file that he sent me to review, as soon as I opened it I noticed that it would be something complex that would take many hours of work, apparently the STL file was a piece that had been scanned in 3D, the idea of this person was to print the whole figure of the horse with the rider to later bathe it in gold and place it on a wooden base.
Esta persona era de una asociación de jinetes de caballos y quería hacer un premio para una competencia que iban a llevar a cabo, el contaba con el archivo base que me envió para que revisara, apenas lo abrí note que seria algo complejo que llevaría muchas horas de trabajo, al parecer el archivo STL era una pieza que había sido escaneada en 3D la idea de esta persona era imprimir toda la figura del caballo con el jinete para posteriormente bañarla en oro y colocarla sobre una base de madera.
|
|
|---|
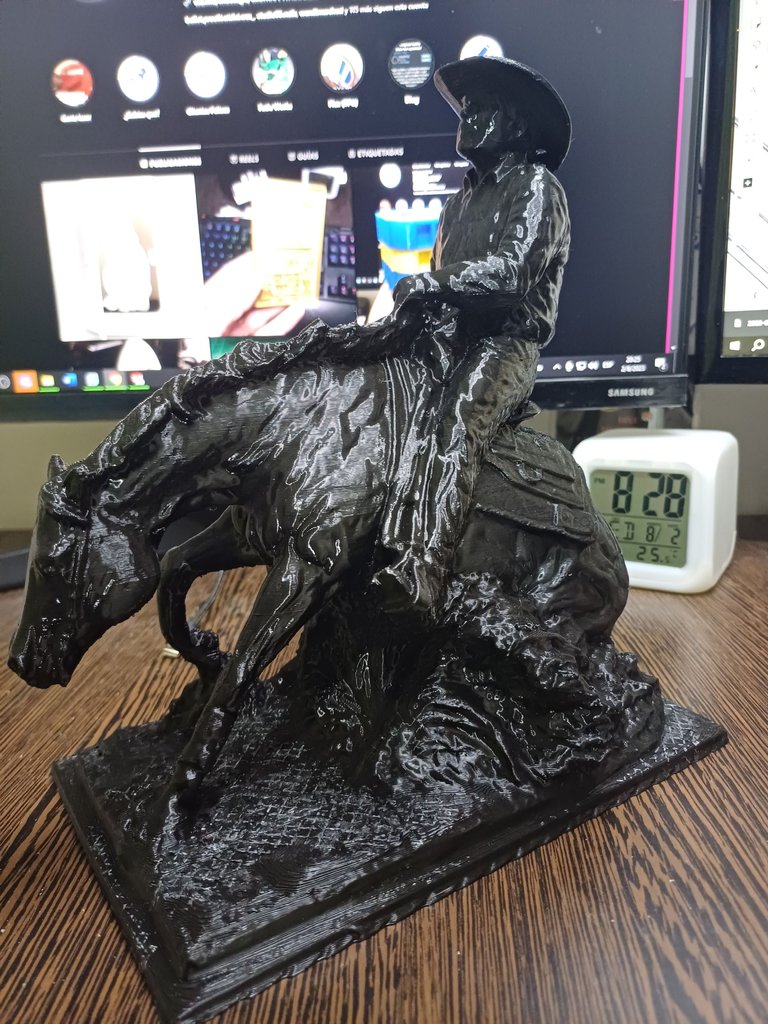
I asked the delivery times, I passed the price for my work and once they confirmed all this I started, now it was a countdown against the clock to achieve the best result with such a magnificent piece. Once I put it in the program to configure the piece to print I was very meticulous, I took my time to configure it; I thought of an average printing speed about 45mm / s, to avoid errors and to have the piece controlled, added to a layer height of 0.25 so that it could leave and appreciate every detail of the sculpture, the internal filling of 10% I thought so that the printing times did not soar and that lack of resistance I compensated with a wider perimeter of the figure in general, thus achieving a resistant piece without so much filling. For this great project I took advantage of using a 0.6mm nozzle in this way I could extrude more volume of material which allowed me to reduce the total times by approximately 20%.
Pregunte los tiempos de entrega, pase el precio por mi trabajo y una vez me confirmaron todo esto comencé, ahora era una cuenta contra reloj para lograr el mejor resultado con tan magnifica pieza. Una vez lo coloque en el programa para configurar la pieza para imprimir fui muy meticuloso, me tome mi tiempo para configurarlo; pensé en una velocidad de impresión media unos 45mm/s, para evitar errores y poder tener la pieza controlada, sumado a una altura de capa de 0.25 para que pudiera salir y apreciarse cada detalle de la escultura, el relleno interno de 10% lo pensé para que los tiempos de impresión no se dispararan y esa falta de resistencia la compense con un perímetro más ancho de la figura en general, de esta forma lograría una pieza resistente sin tanto relleno. Para este gran proyecto aproveche a utilizar una boquilla de 0.6mm de esta forma podía extruir más volumen de material lo cual me permitió reducir los tiempos totales aproximadamente en un 20%
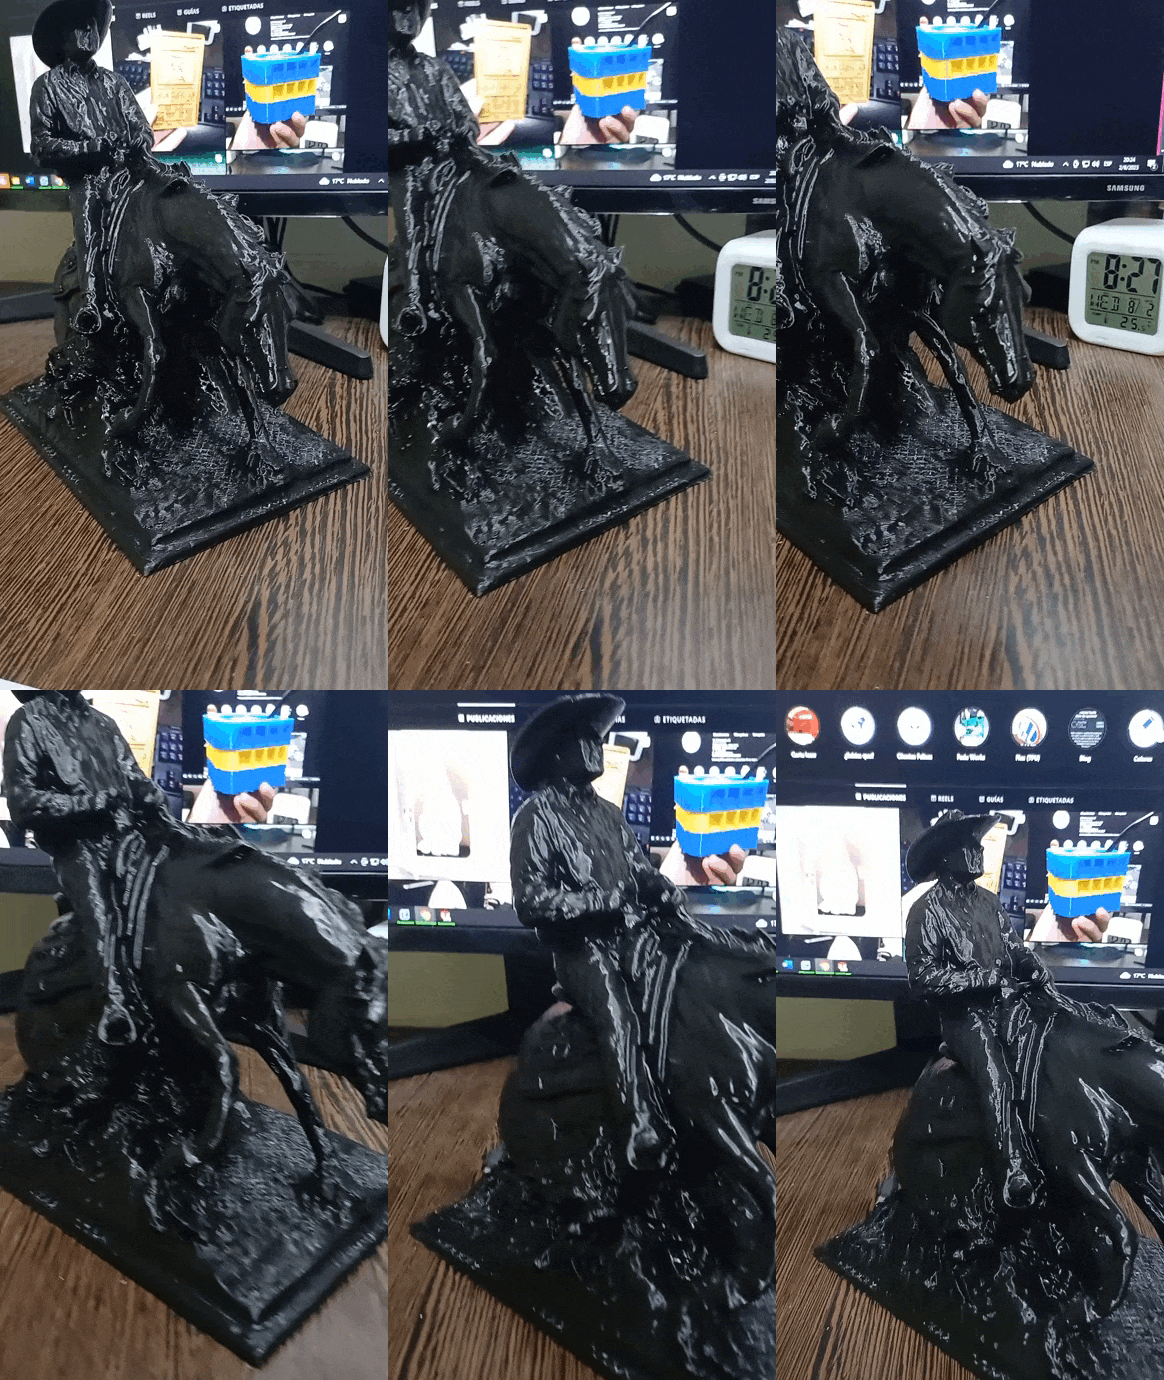
The supports were a world apart, I put a little in context for those who do not know 3D printing, the supports are structures that are generated in the overhangs of the piece, the greater the angle the more supports are needed. My printer for example can print up to about 50° of inclination this value can vary between machines of the same model as it depends on the layer fan, but in this case I decided to place supports from 45° I preferred to be sure that any critical point or not, would be with supports for a better result, I also decided to use a zigzag type support pattern without perimeters, this will allow me to remove more easily the supports once the trophy is finished printing.
Los soportes fueron un mundo aparte, pongo un poco en contexto para los que no sepan de impresión 3D, los soporte son estructuras que se generan en los voladizos de la pieza, a mayor ángulo mayor cantidad de soportes se necesitan. Mi impresora por ejemplo puede imprimir hasta unos 50° de inclinación este valor puede variar entre maquinas del mismo modelo ya que depende mucho del ventilador de capa, pero en este caso decidí colocar soportes a partir de los 45° prefería estar seguro de que cualquier punto critico o no, quedara con soportes para un mejor resultado, también decidí utilizar un patrón de soporte tipo zigzag sin perímetros, esto me permitirá retirar de forma más fácil los soportes una vez se terminara de imprimir el trofeo.
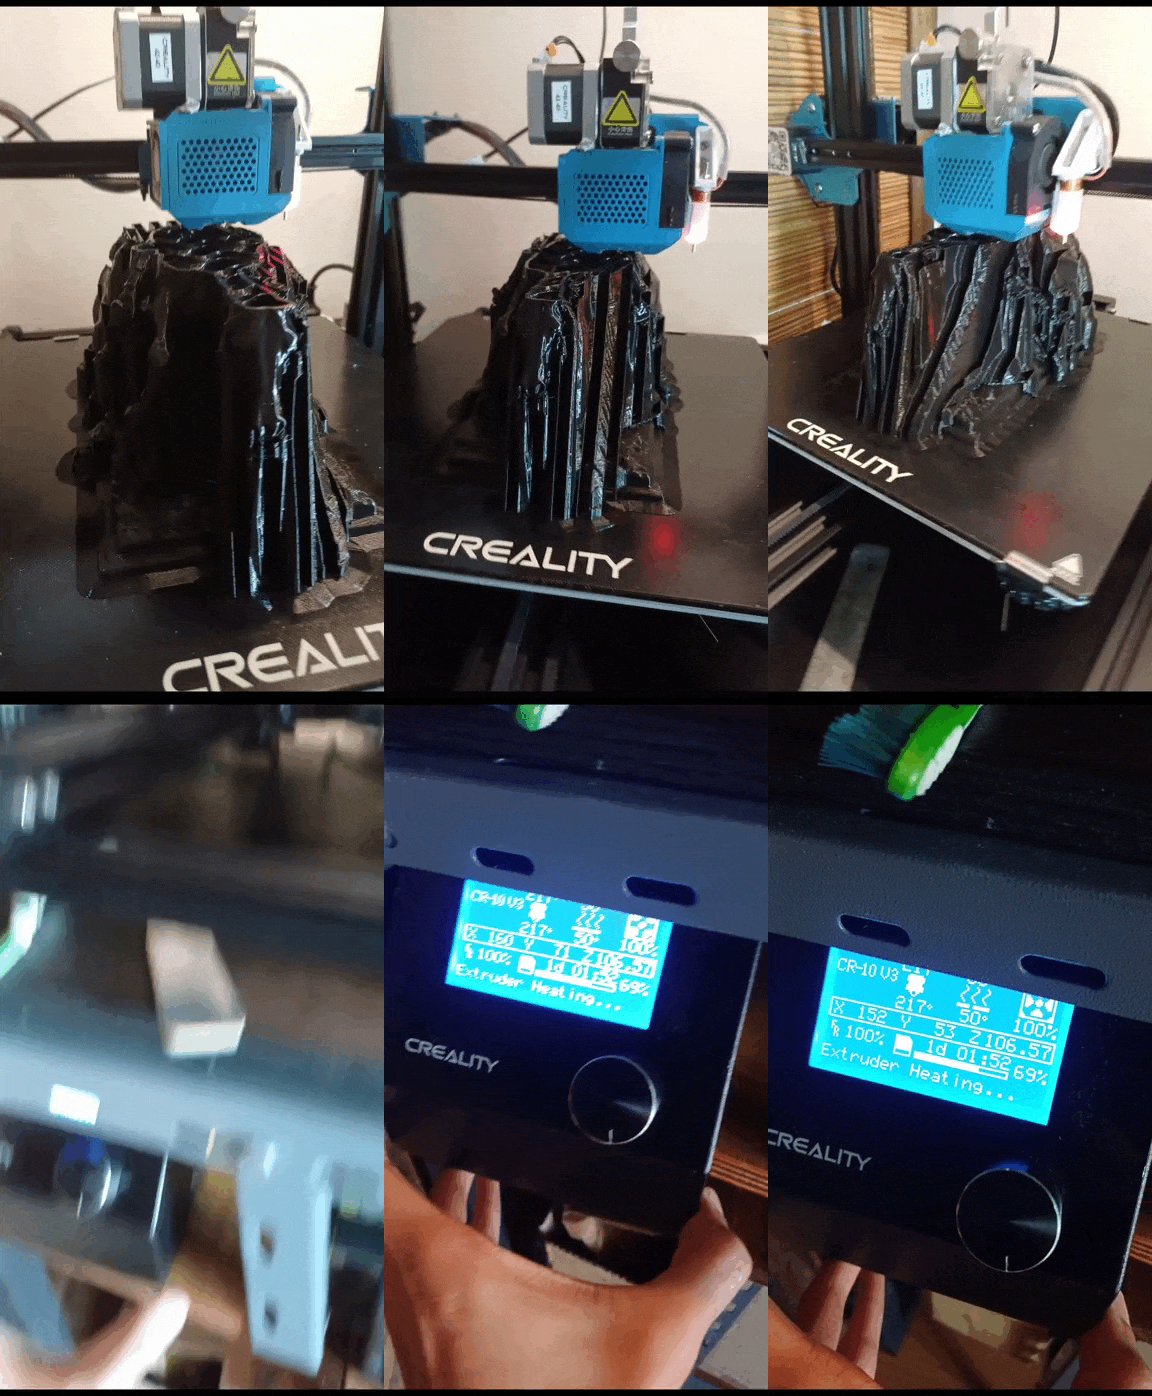
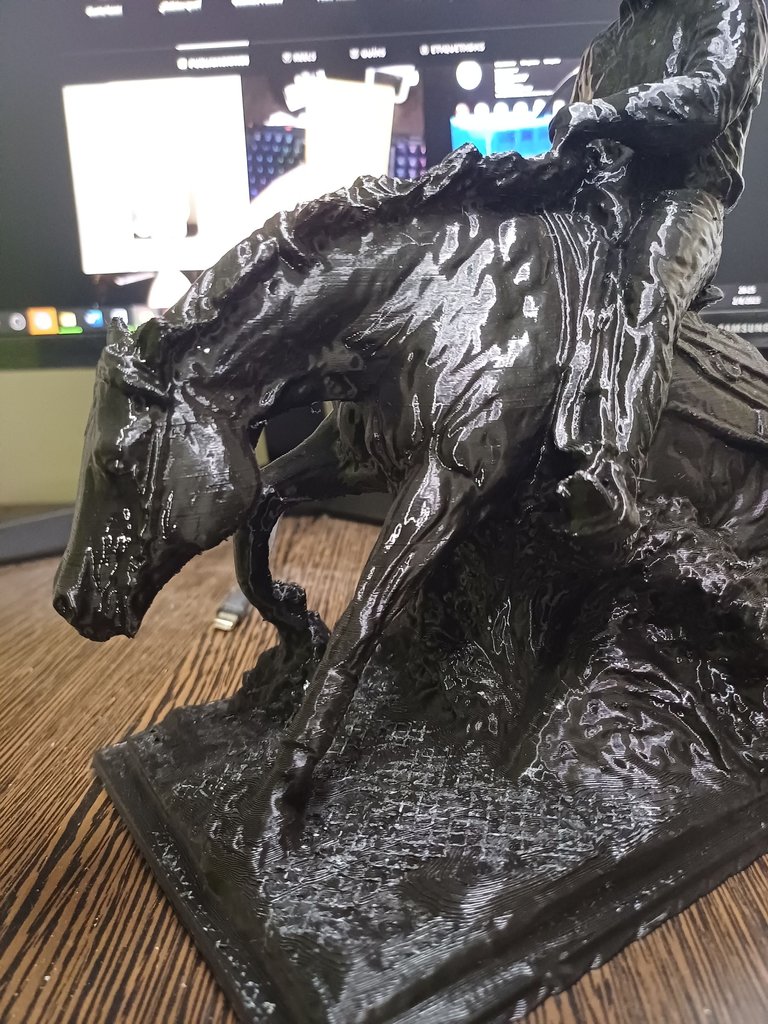
If I remember correctly, the figure took more than 48 hours to print and consumed more than half a kilo of material, so it was a lot of hours where I was going to watch that everything was going well plus crossing my fingers that there is not a power outage in my area, but thanks to all the care I mentioned above I got an excellent final result. Once the machine stopped, I had to remove the supports that had been generated, that also took me a good time because when printing with a 0.6 nozzle all that structure is harder to remove than printing with a 0.4 nozzle (which is the most standard in 3D printers) but with patience and good pliers I managed to remove everything. I showed it to my client and he was delighted, the only thing left was to prepare a box and fill it with newspaper to ensure that the piece arrived safely to its destination.
Si mal no recuero, la figura tardo más de 48hs de imprimirse y me consumió más de medio kilo de material, así que fueron muchísimas horas en donde iba a vigilar que todo estuviera saliendo bien sumado a cruzar los dedos de que no haya un corte de luz en mi zona, pero gracias a todos los cuidados que mencione anteriormente obtuve un resultado final excelente. Una vez la maquina se detuvo, tuve que retirar los soportes que se habían generado, eso también me llevo un buen tiempo ya que al imprimir con boquilla 0.6 toda esa estructura retirar queda más dura que imprimiendo con una boquilla de 0.4 (Que es la más estandarizada en las impresoras 3D) pero con paciencia y unos buenos alicates logre retirar todo. Le mostré a mi cliente y quedo encantado, lo único que restaba era preparar una caja y llenarla de diario para asegurarme que la pieza llegara a destino de forma segura.
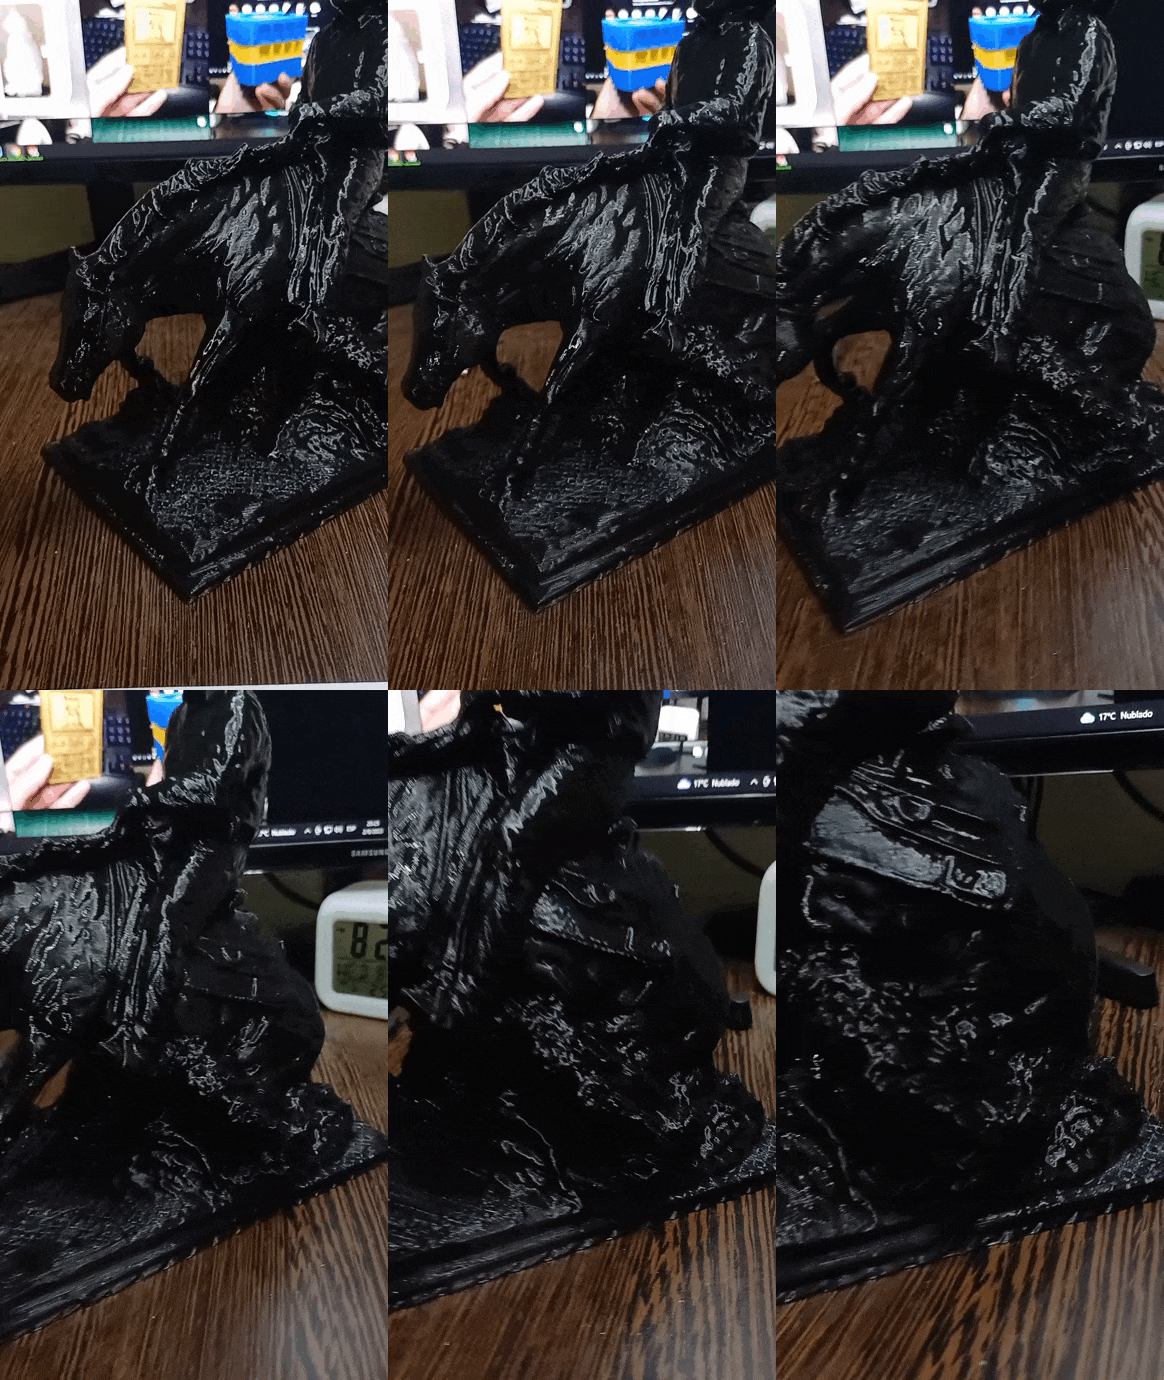
What do you think of this piece? I am really fascinated with the result, the details are incredible, I just wish my client would have sent me a picture of the final trophy to see how it would be completely finished. I'm Nitsu and I wish you a lot of success in all your projects.
¿Qué les ha parecido esta pieza? Yo realmente estoy fascinado con el resultado, los detalles son increíbles solo me hubiera gustado que mi cliente me enviara una foto del trofeo final para ver como quedaría totalmente terminado. Soy Nitsu y les deseo muchos éxitos en todos sus proyectos.

My 3D printing works @nit_3dprinting
Mis trabajos de impresión 3D @nit_3dprinting
Translated by DeepL
Traducido con DeepL
All images are my own
Todas las imágenes son de mi autoría
My last post "Computer Fire! Nueva fuente de alimentación Corsair CV750"💨💻 [ENG-ESP]
Mi último post "Computer Fire! Nueva fuente de alimentación Corsair CV750"💨💻 [ENG-ESP]
0
0
0.000
Un trabajo maravilloso e impresionante. Me encanto cuanto detalle lograste en tu diseño en 3D, un resultado final espectacular.
Bienvenido a nuestra comunidad @nitsuga12 ✨
!DIY
Muchas gracias @dayadam por la bienvenida, seguramente más adelante traiga más cosas interesantes.
You can query your personal balance by
!DIYSTATSWelcome to the community. Great 3D work full of many details, a wonderful piece. Thanks for sharing in our community
Gracias, fue una agradable bienvenida la de todos. Ahora que descubrí esta gran comunidad seguro traeré más cosas próximamente.
Wao! This is so lovely and beautiful 😍
Muchas gracias @the-lead , me encanta este tipo de trabajos
De nada y espero que mejores en ello
Wow, good job on the printing and documenting it all. Makes me really curious how it will look in gold. 48 hours, that's a long print. I probably would not sleep knowing that one printer error or power outage and I have to start all over again.
Fue estresante, primero por la cantidad de horas de impresión (Aunque he hecho trabajos de 3 días seguidos) y segundo por la complejidad de la pieza. Amaría tambien ver el resultado final del trofeo pero mis clientes no me enviaron foto de como quedo y termine perdiendo el contacto con el tiempo como para pedirles una foto. Pero si no me reclamaron nada es porque habrá quedado excelente. Gracias @surrealis por pasarte a leer 😃
Amigo, ese es un trofeo que daría mucho gusto exigir, ha sido un buen trabajo, le felicito mucho.
Siii brutal los detalles y la figura, disfrute hacerlo y hubiera disfrutado más ver el resultado final.