Next kit build, QRPGuys power/SWR/dummy load
My next Ham Radio kit, another QRPGuys.com
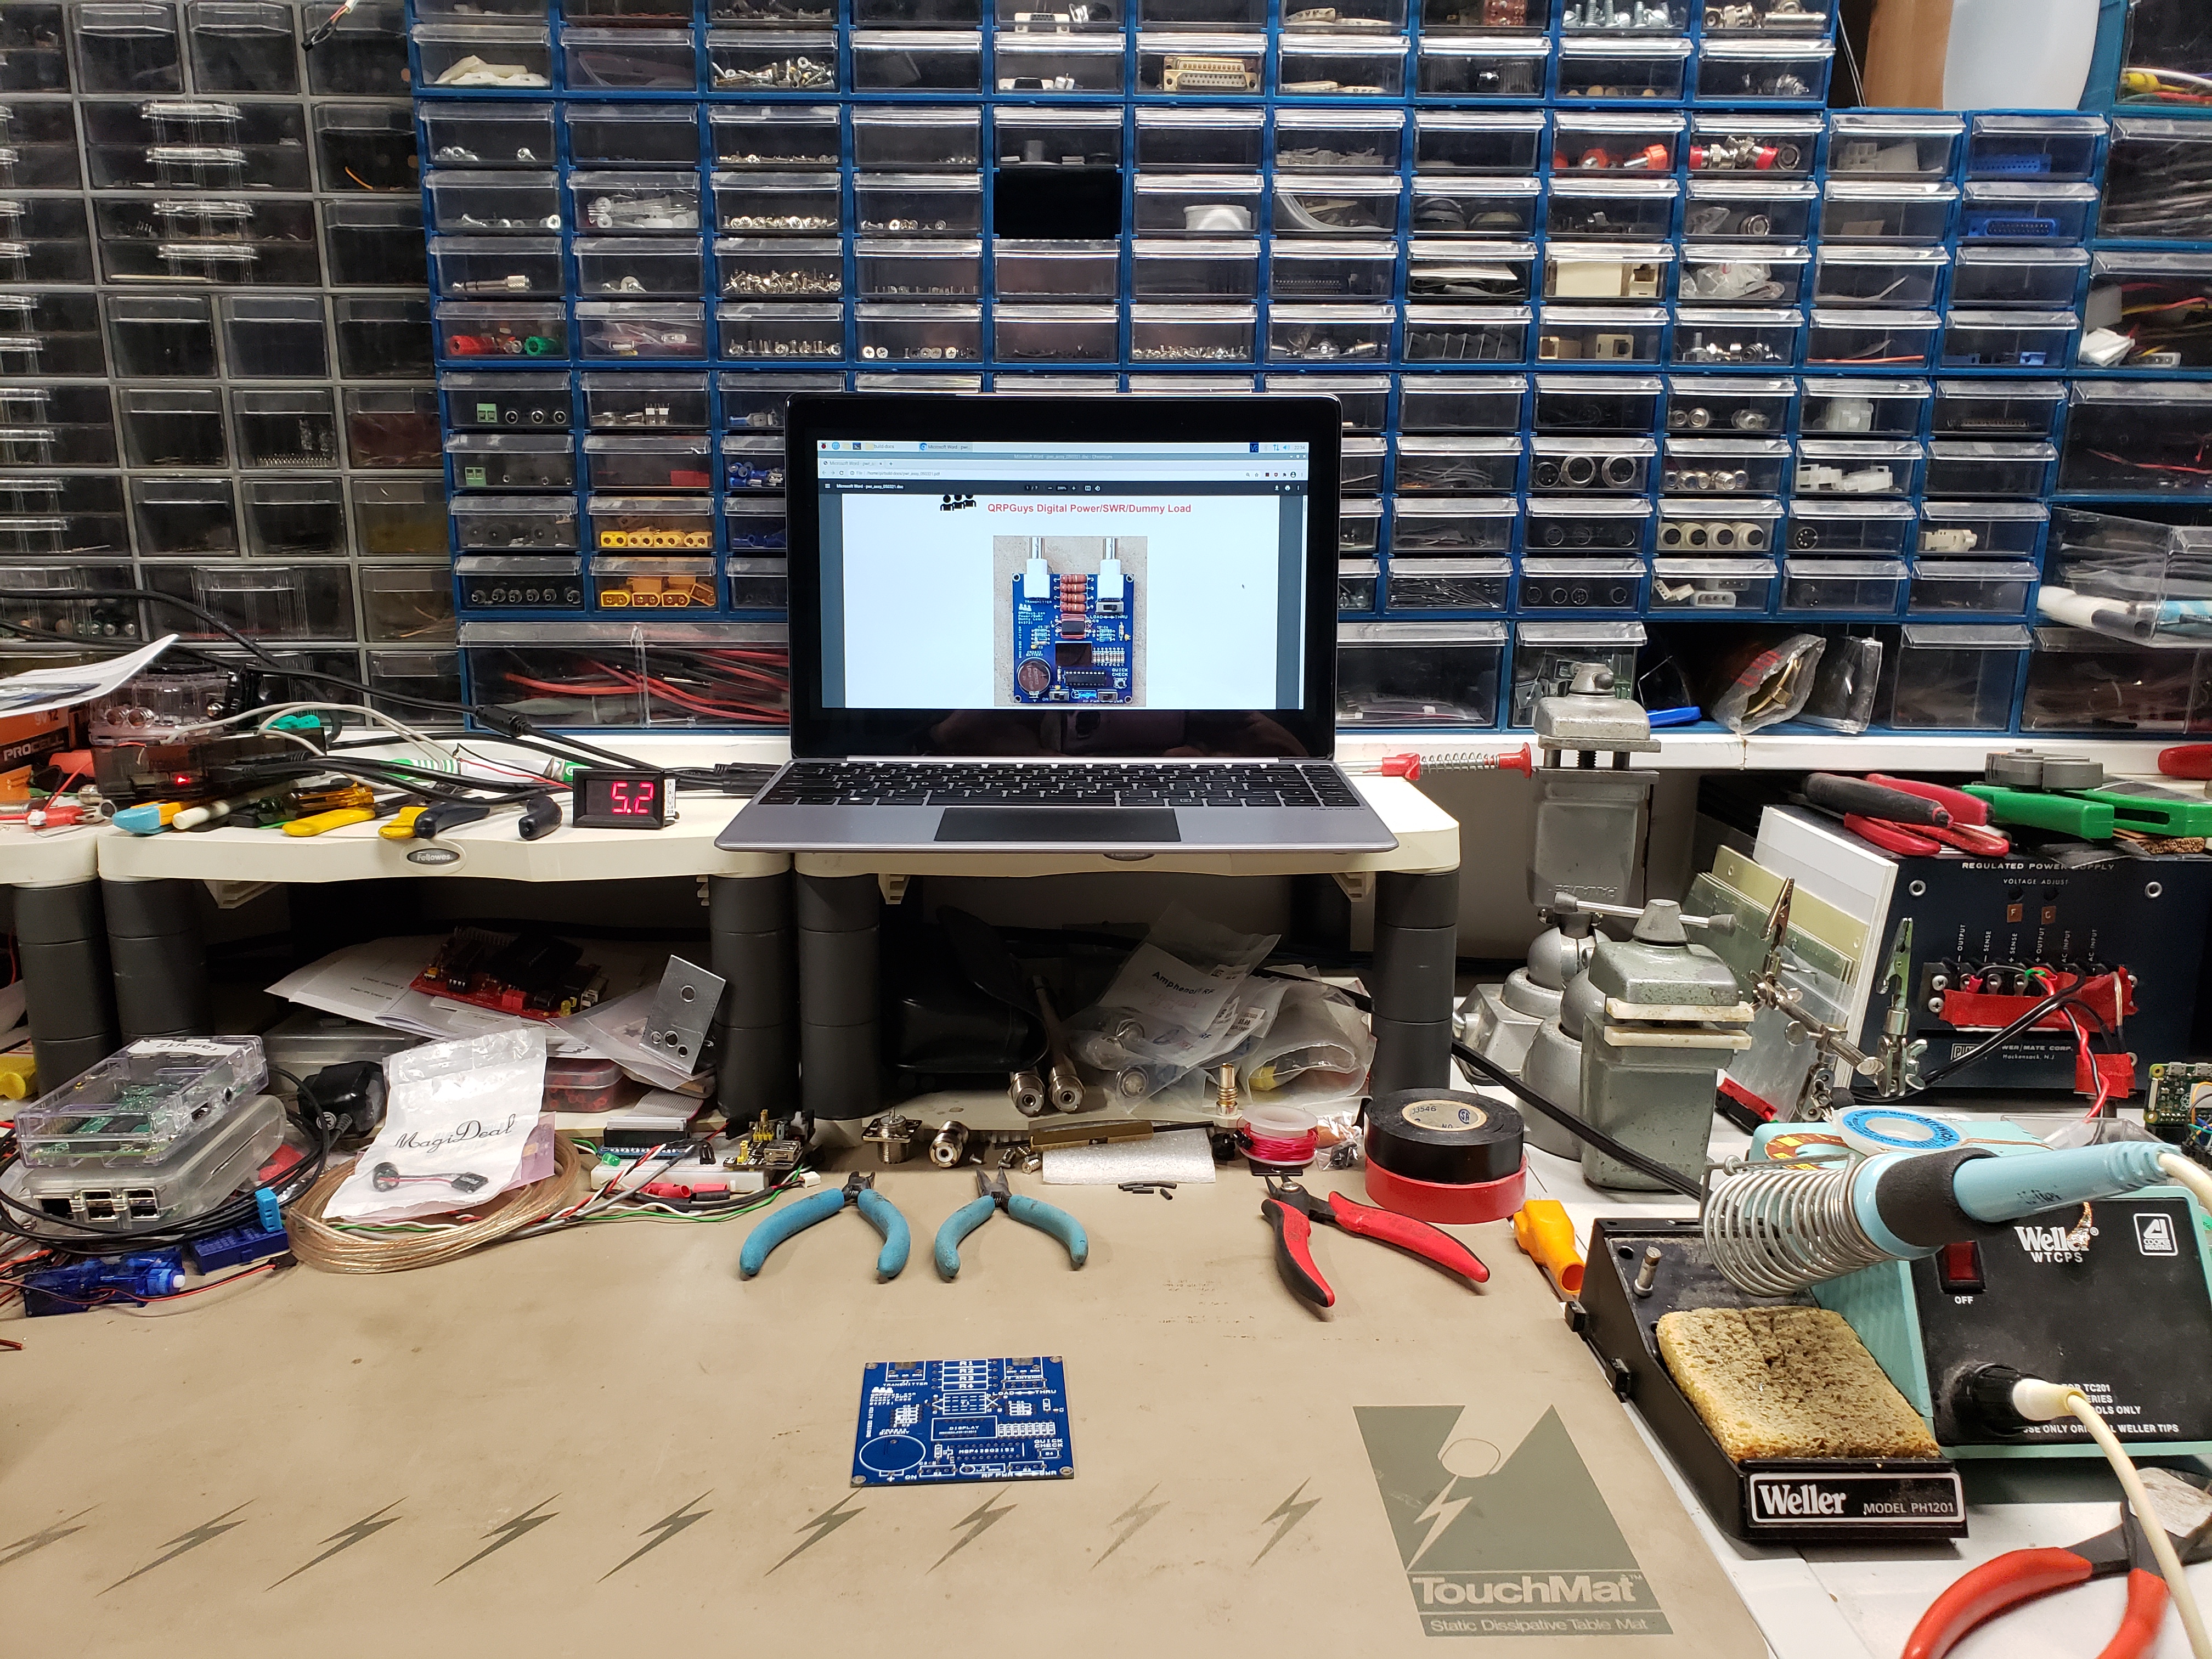
The following is my workbench setup for the kit build.
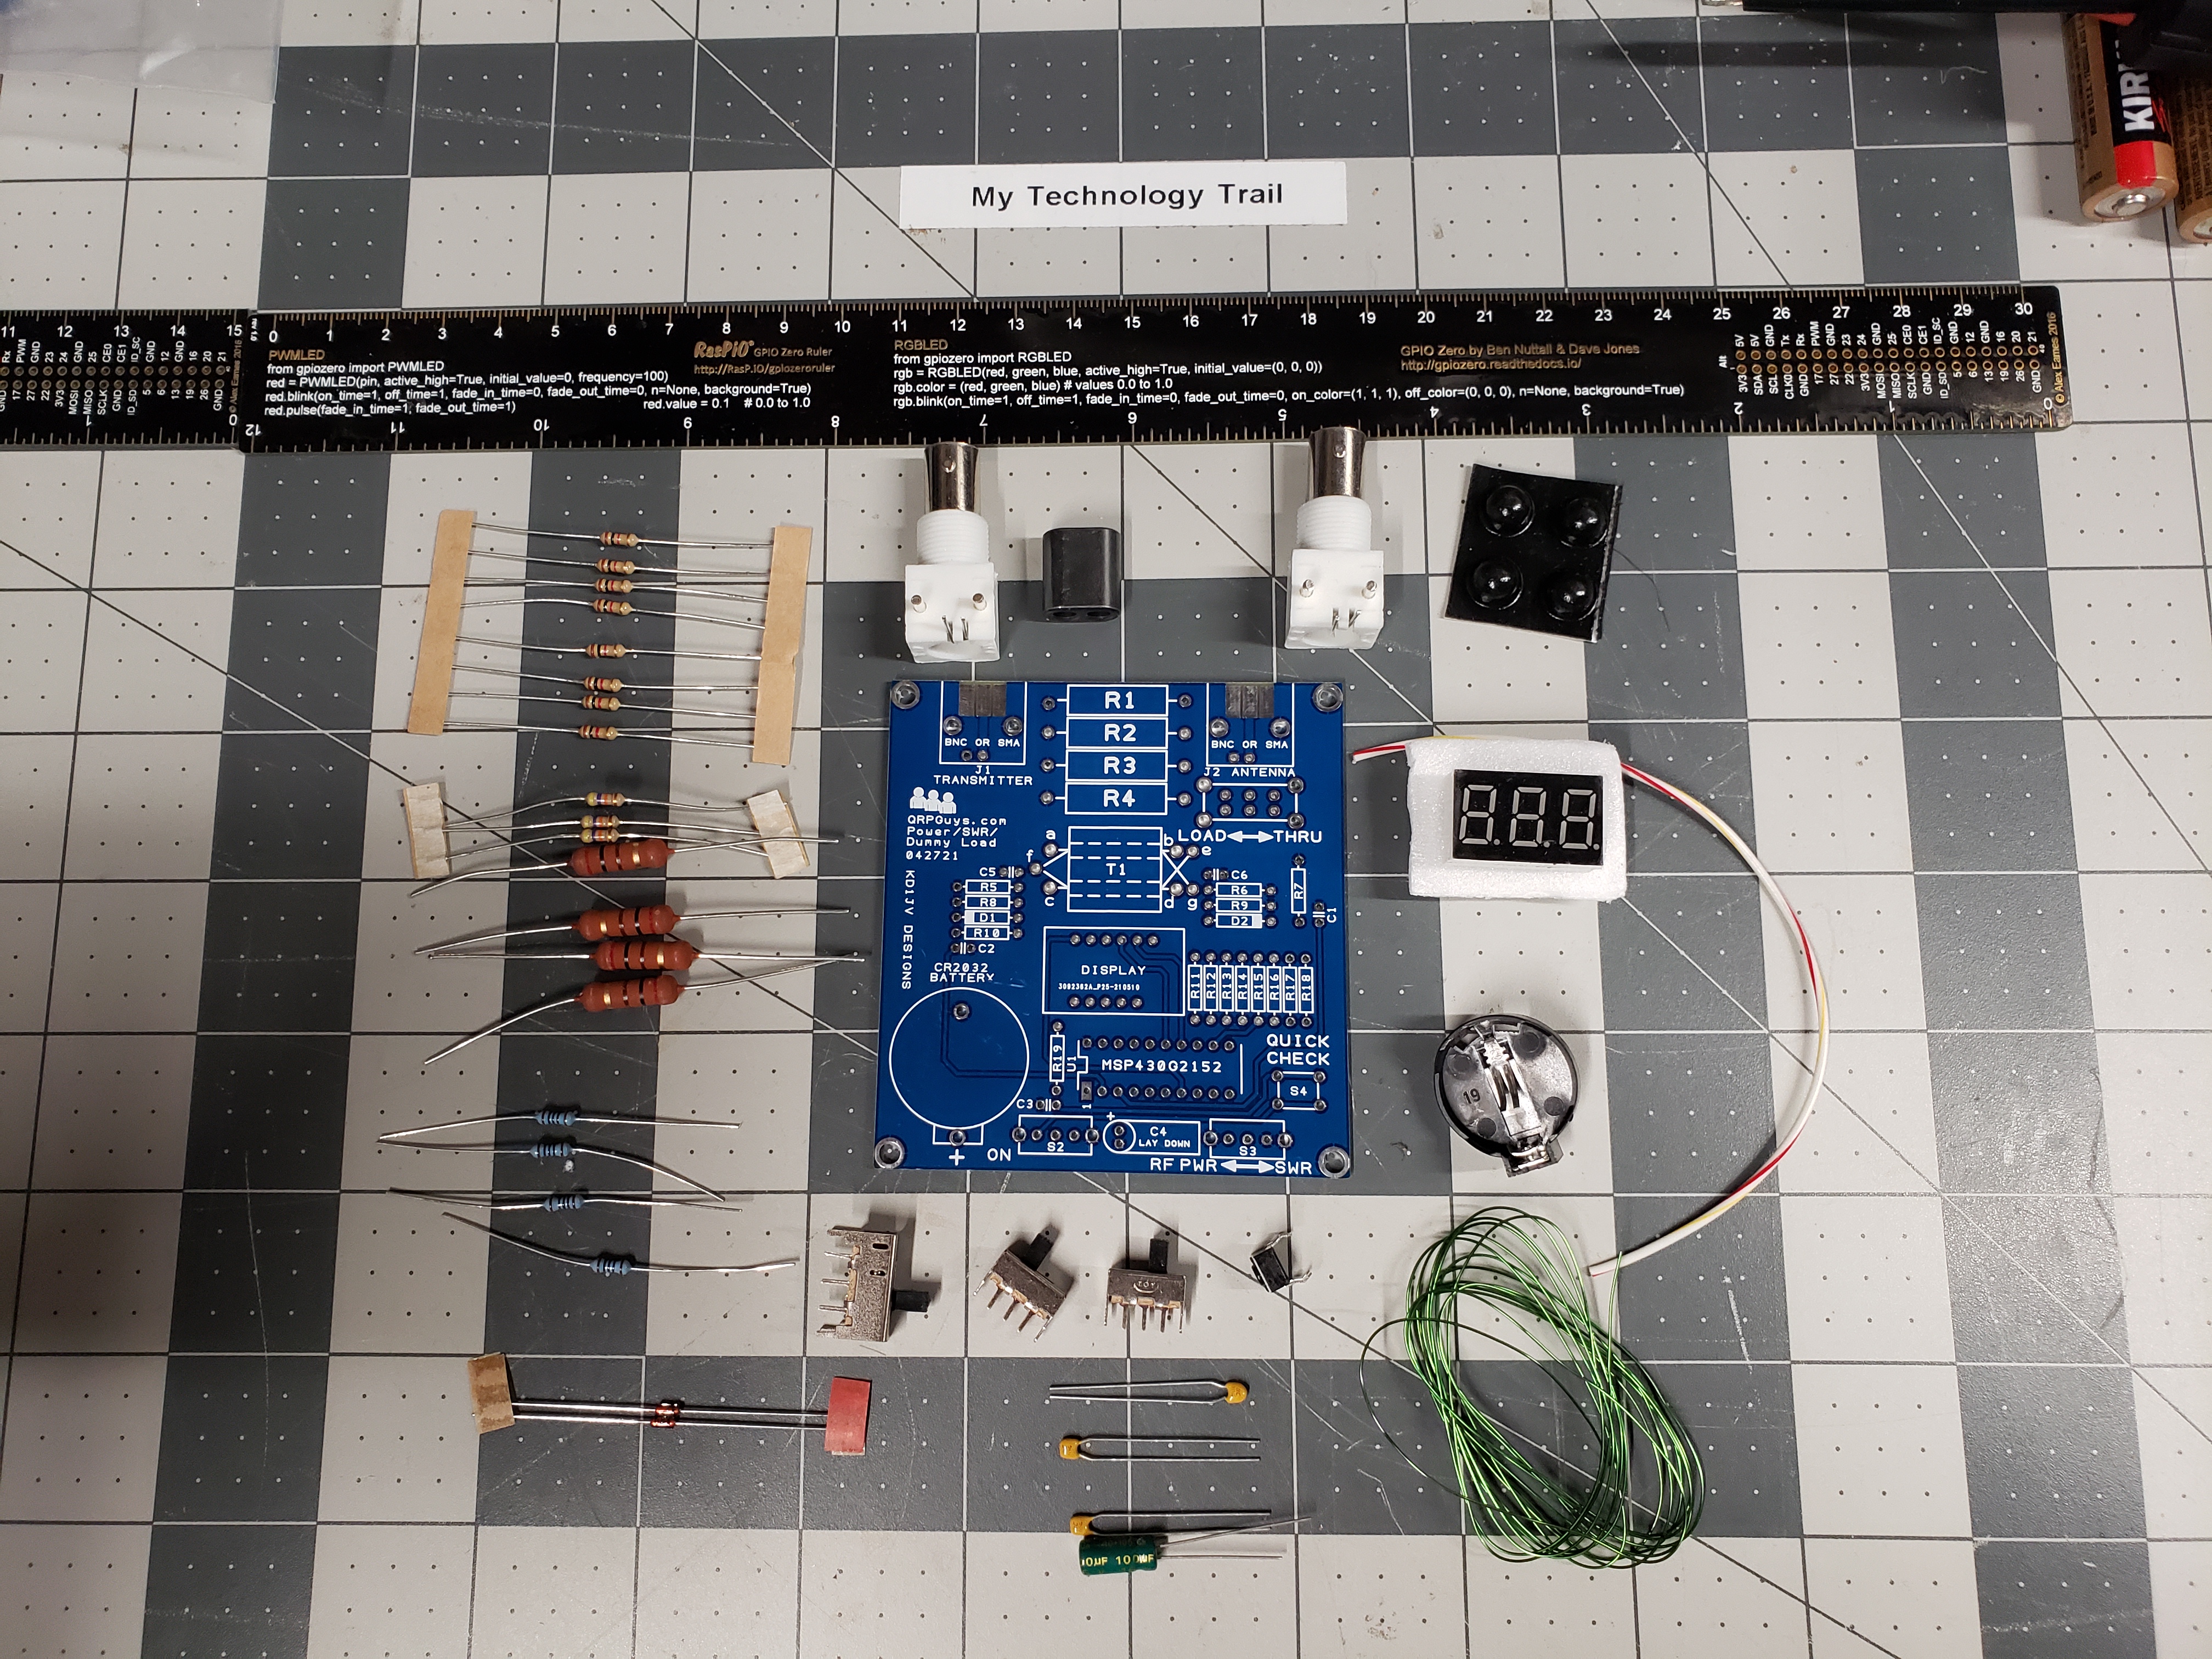
This next picture is all the kit parts laid out to do an inventory.
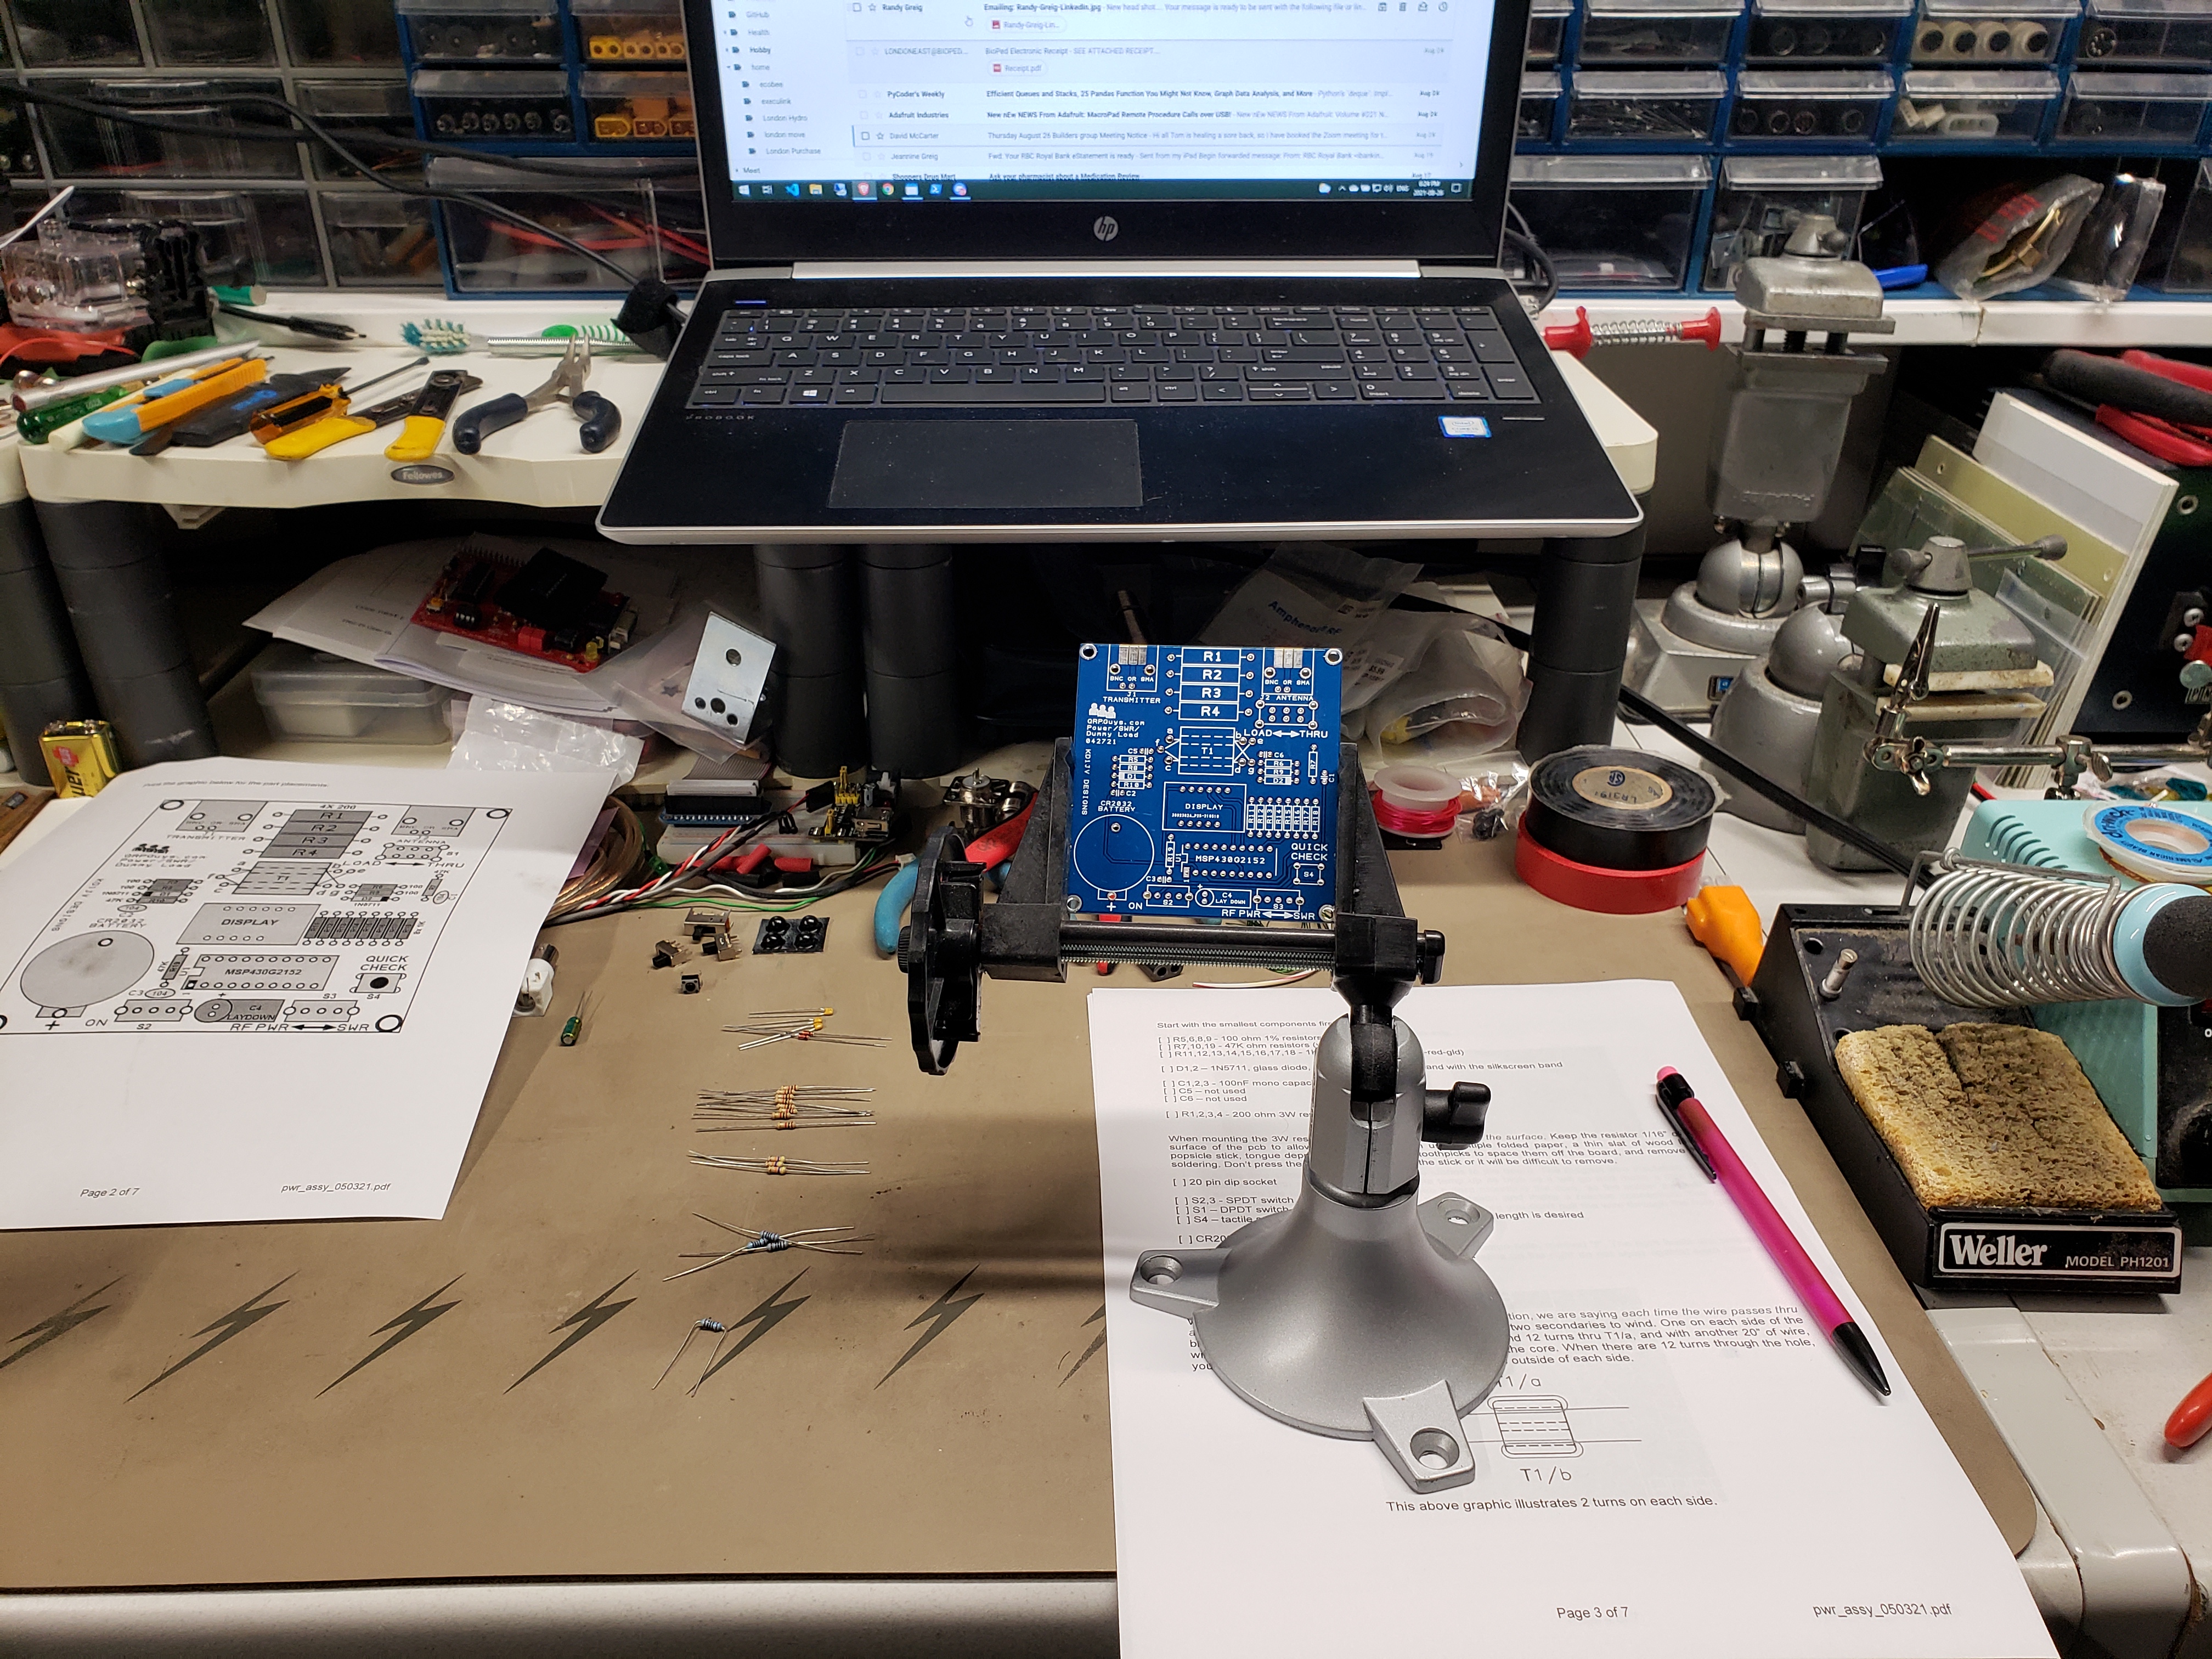
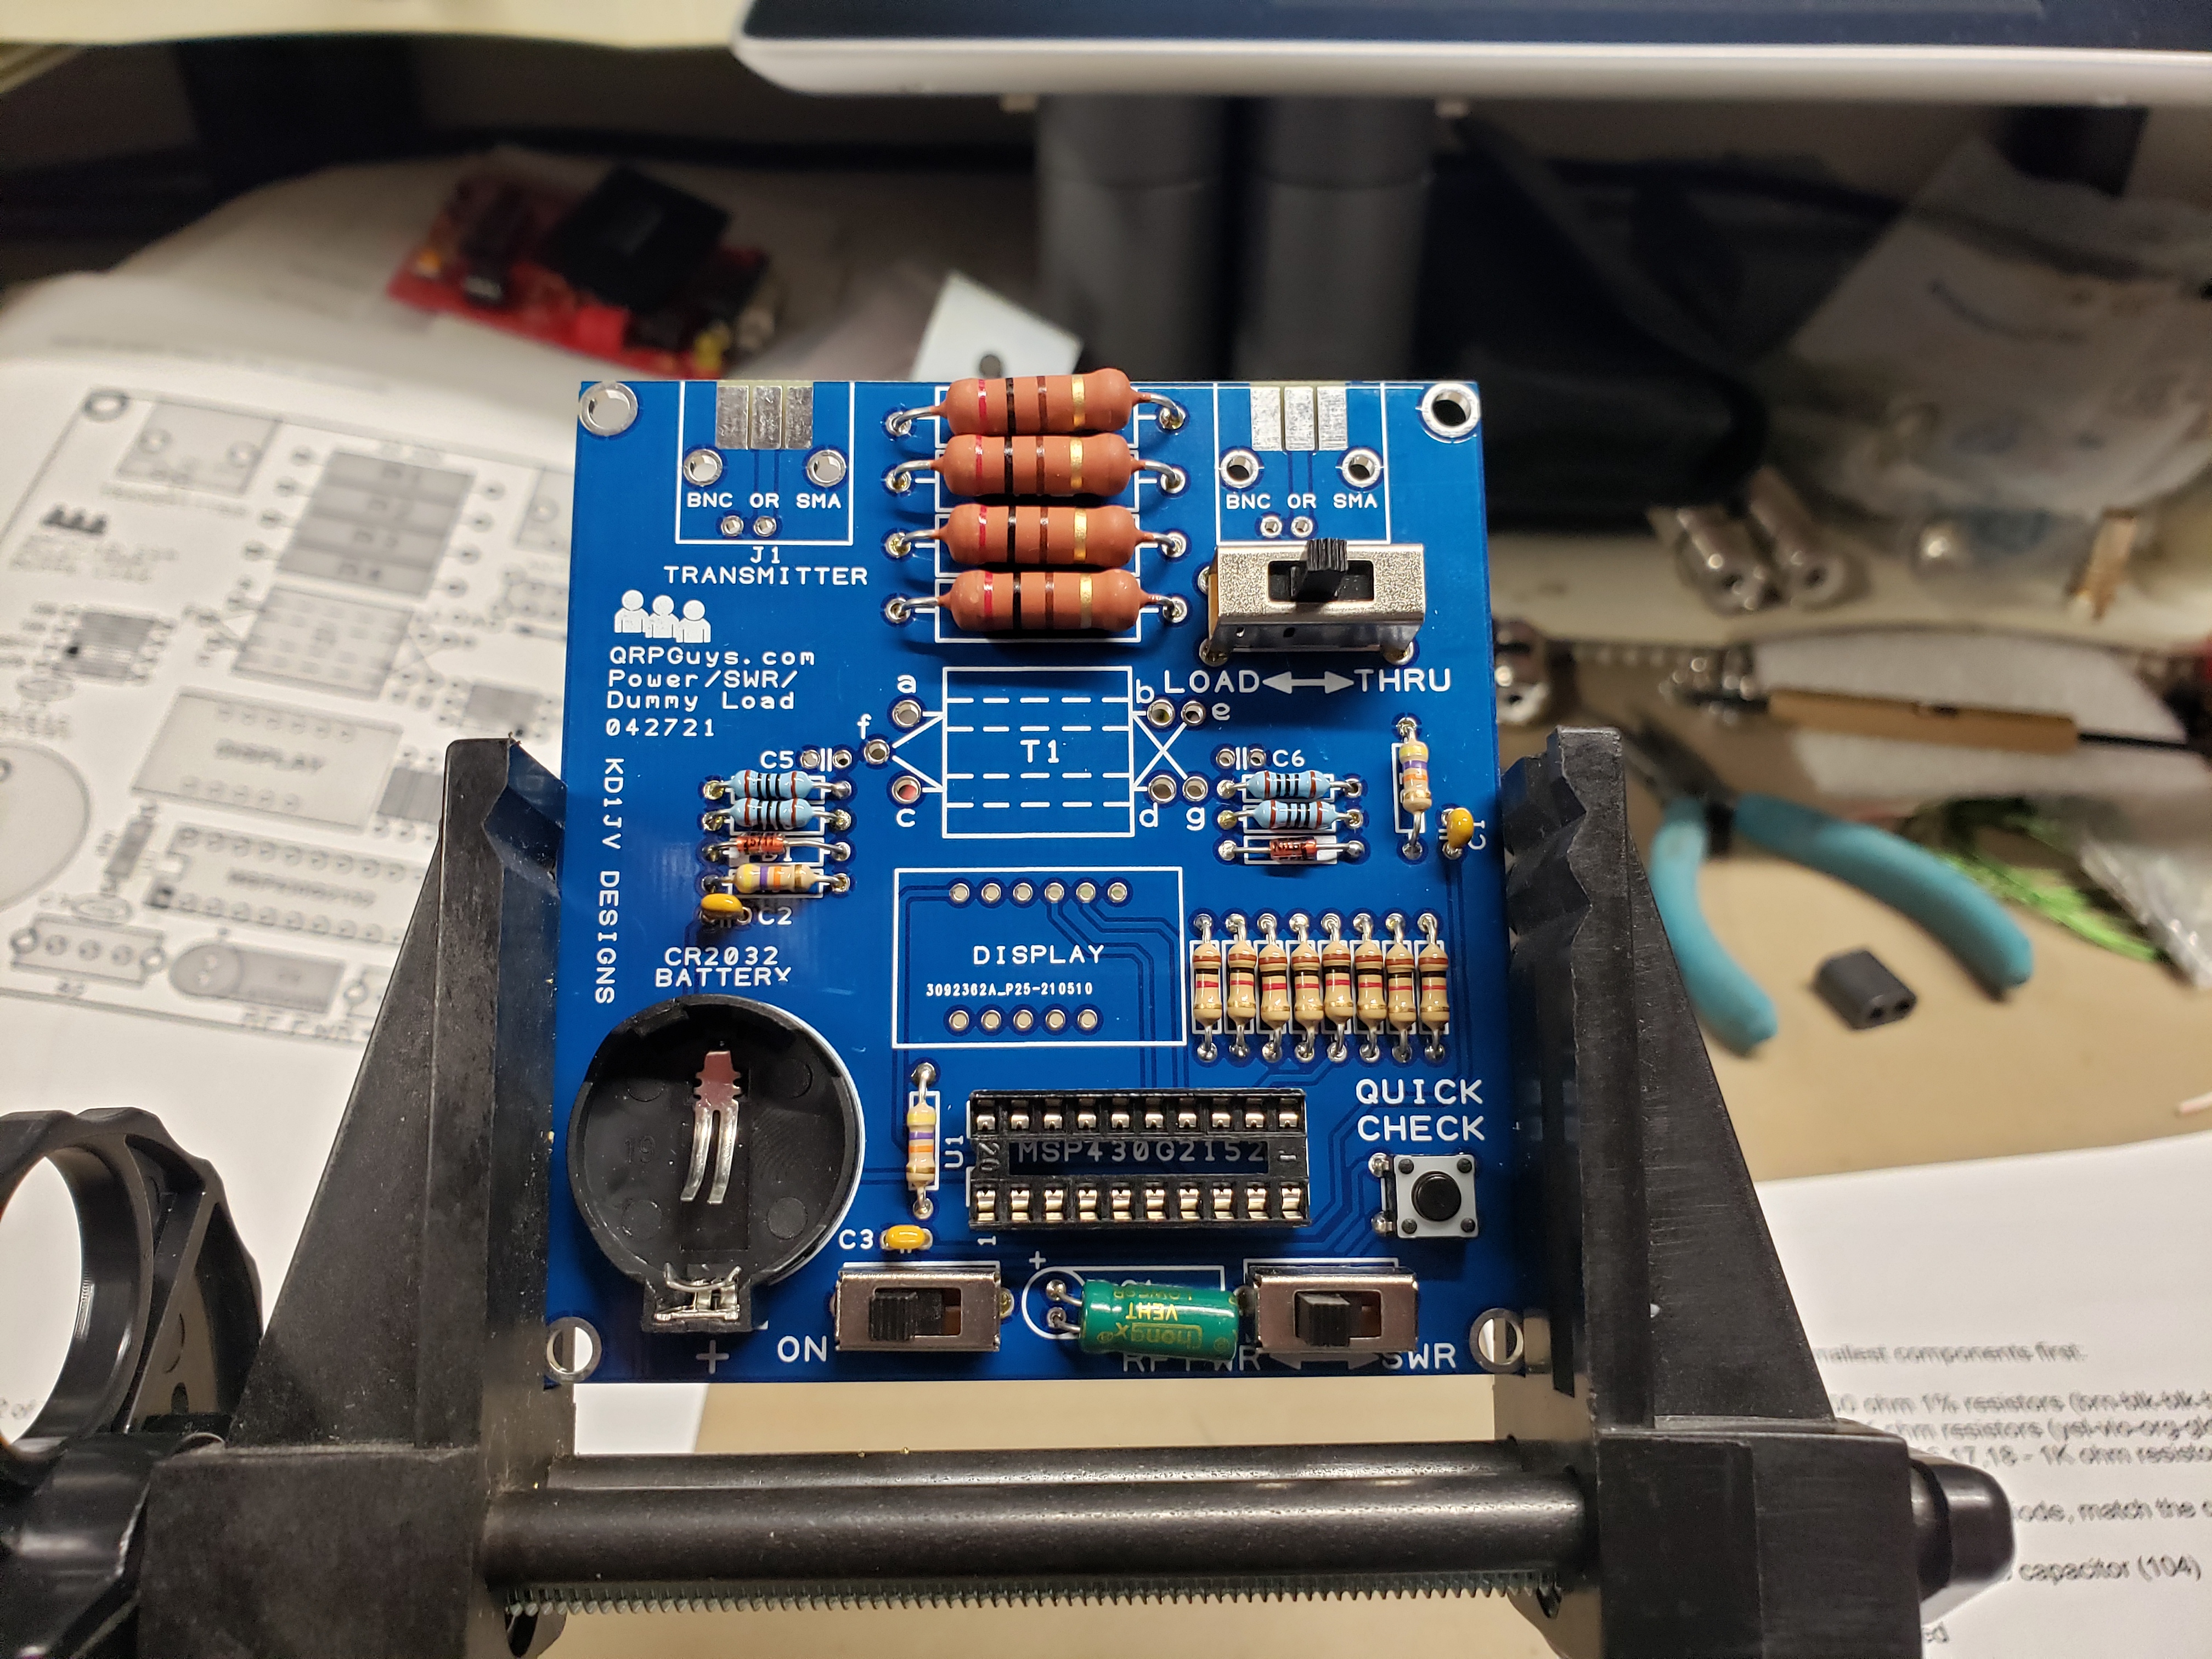
Getting setup to install the resistors.
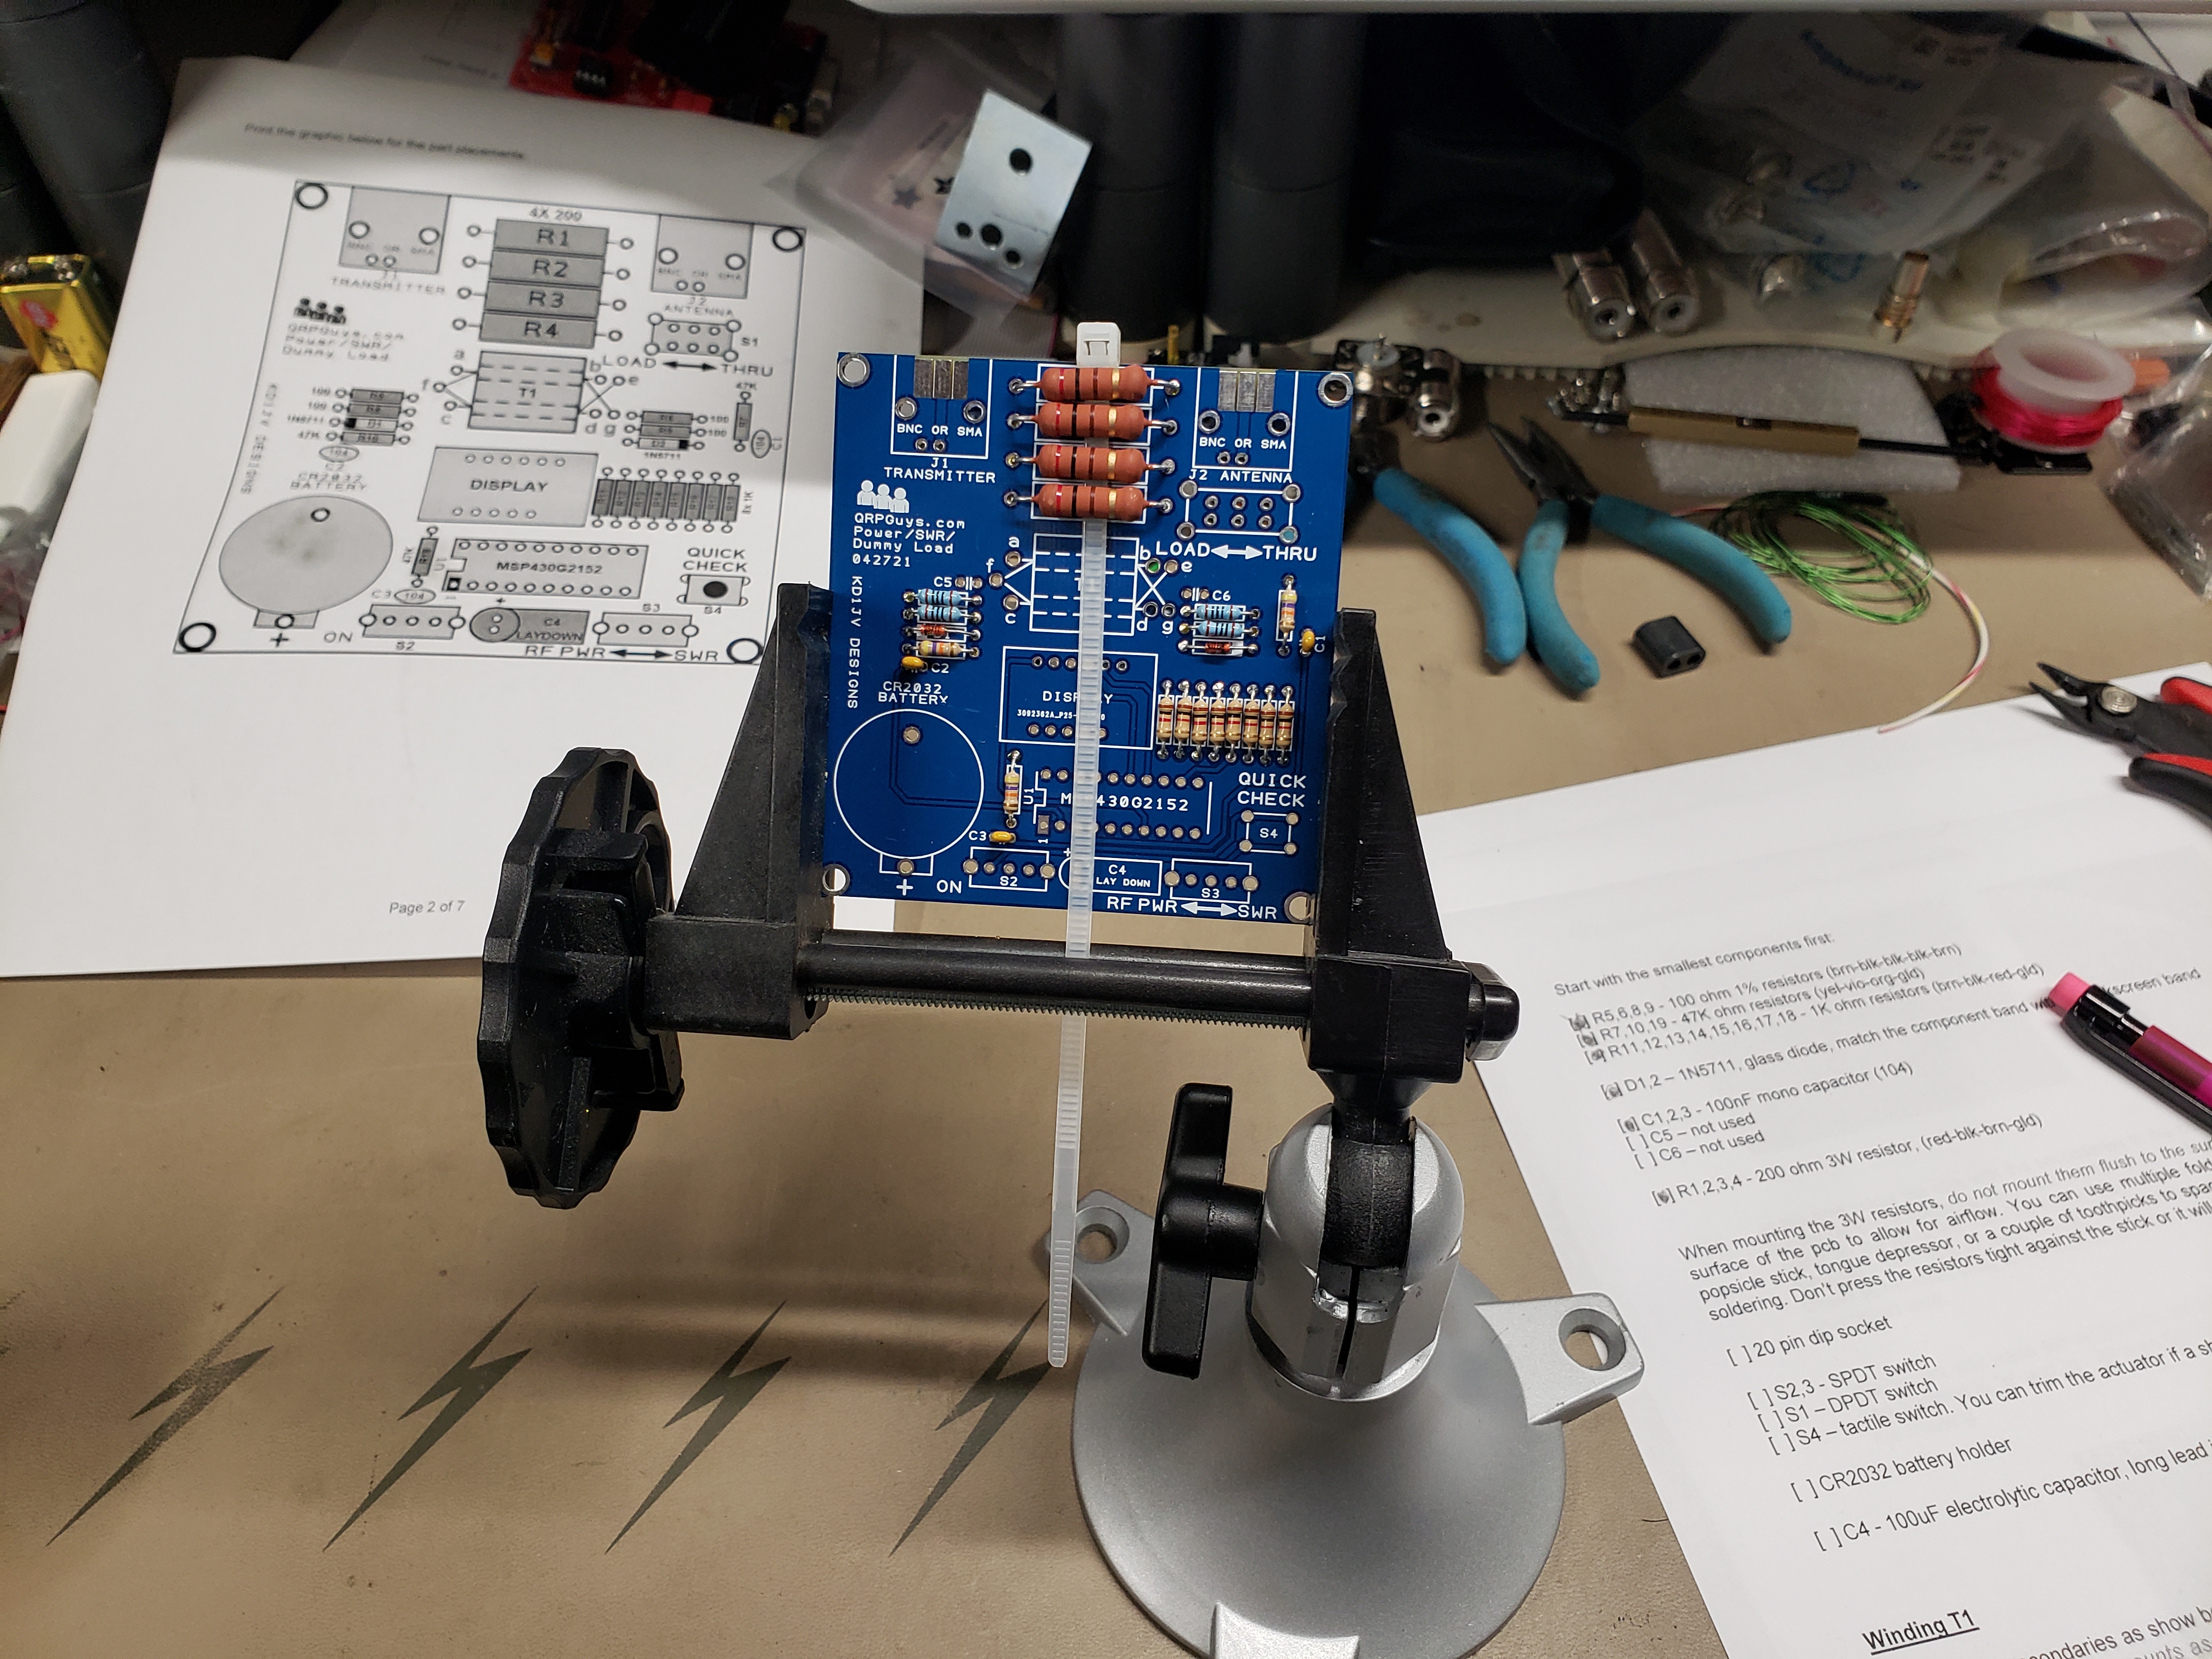
Finished installing the resistors, note the tye wrap being used as a spacer to seperator between the board and the resistors.
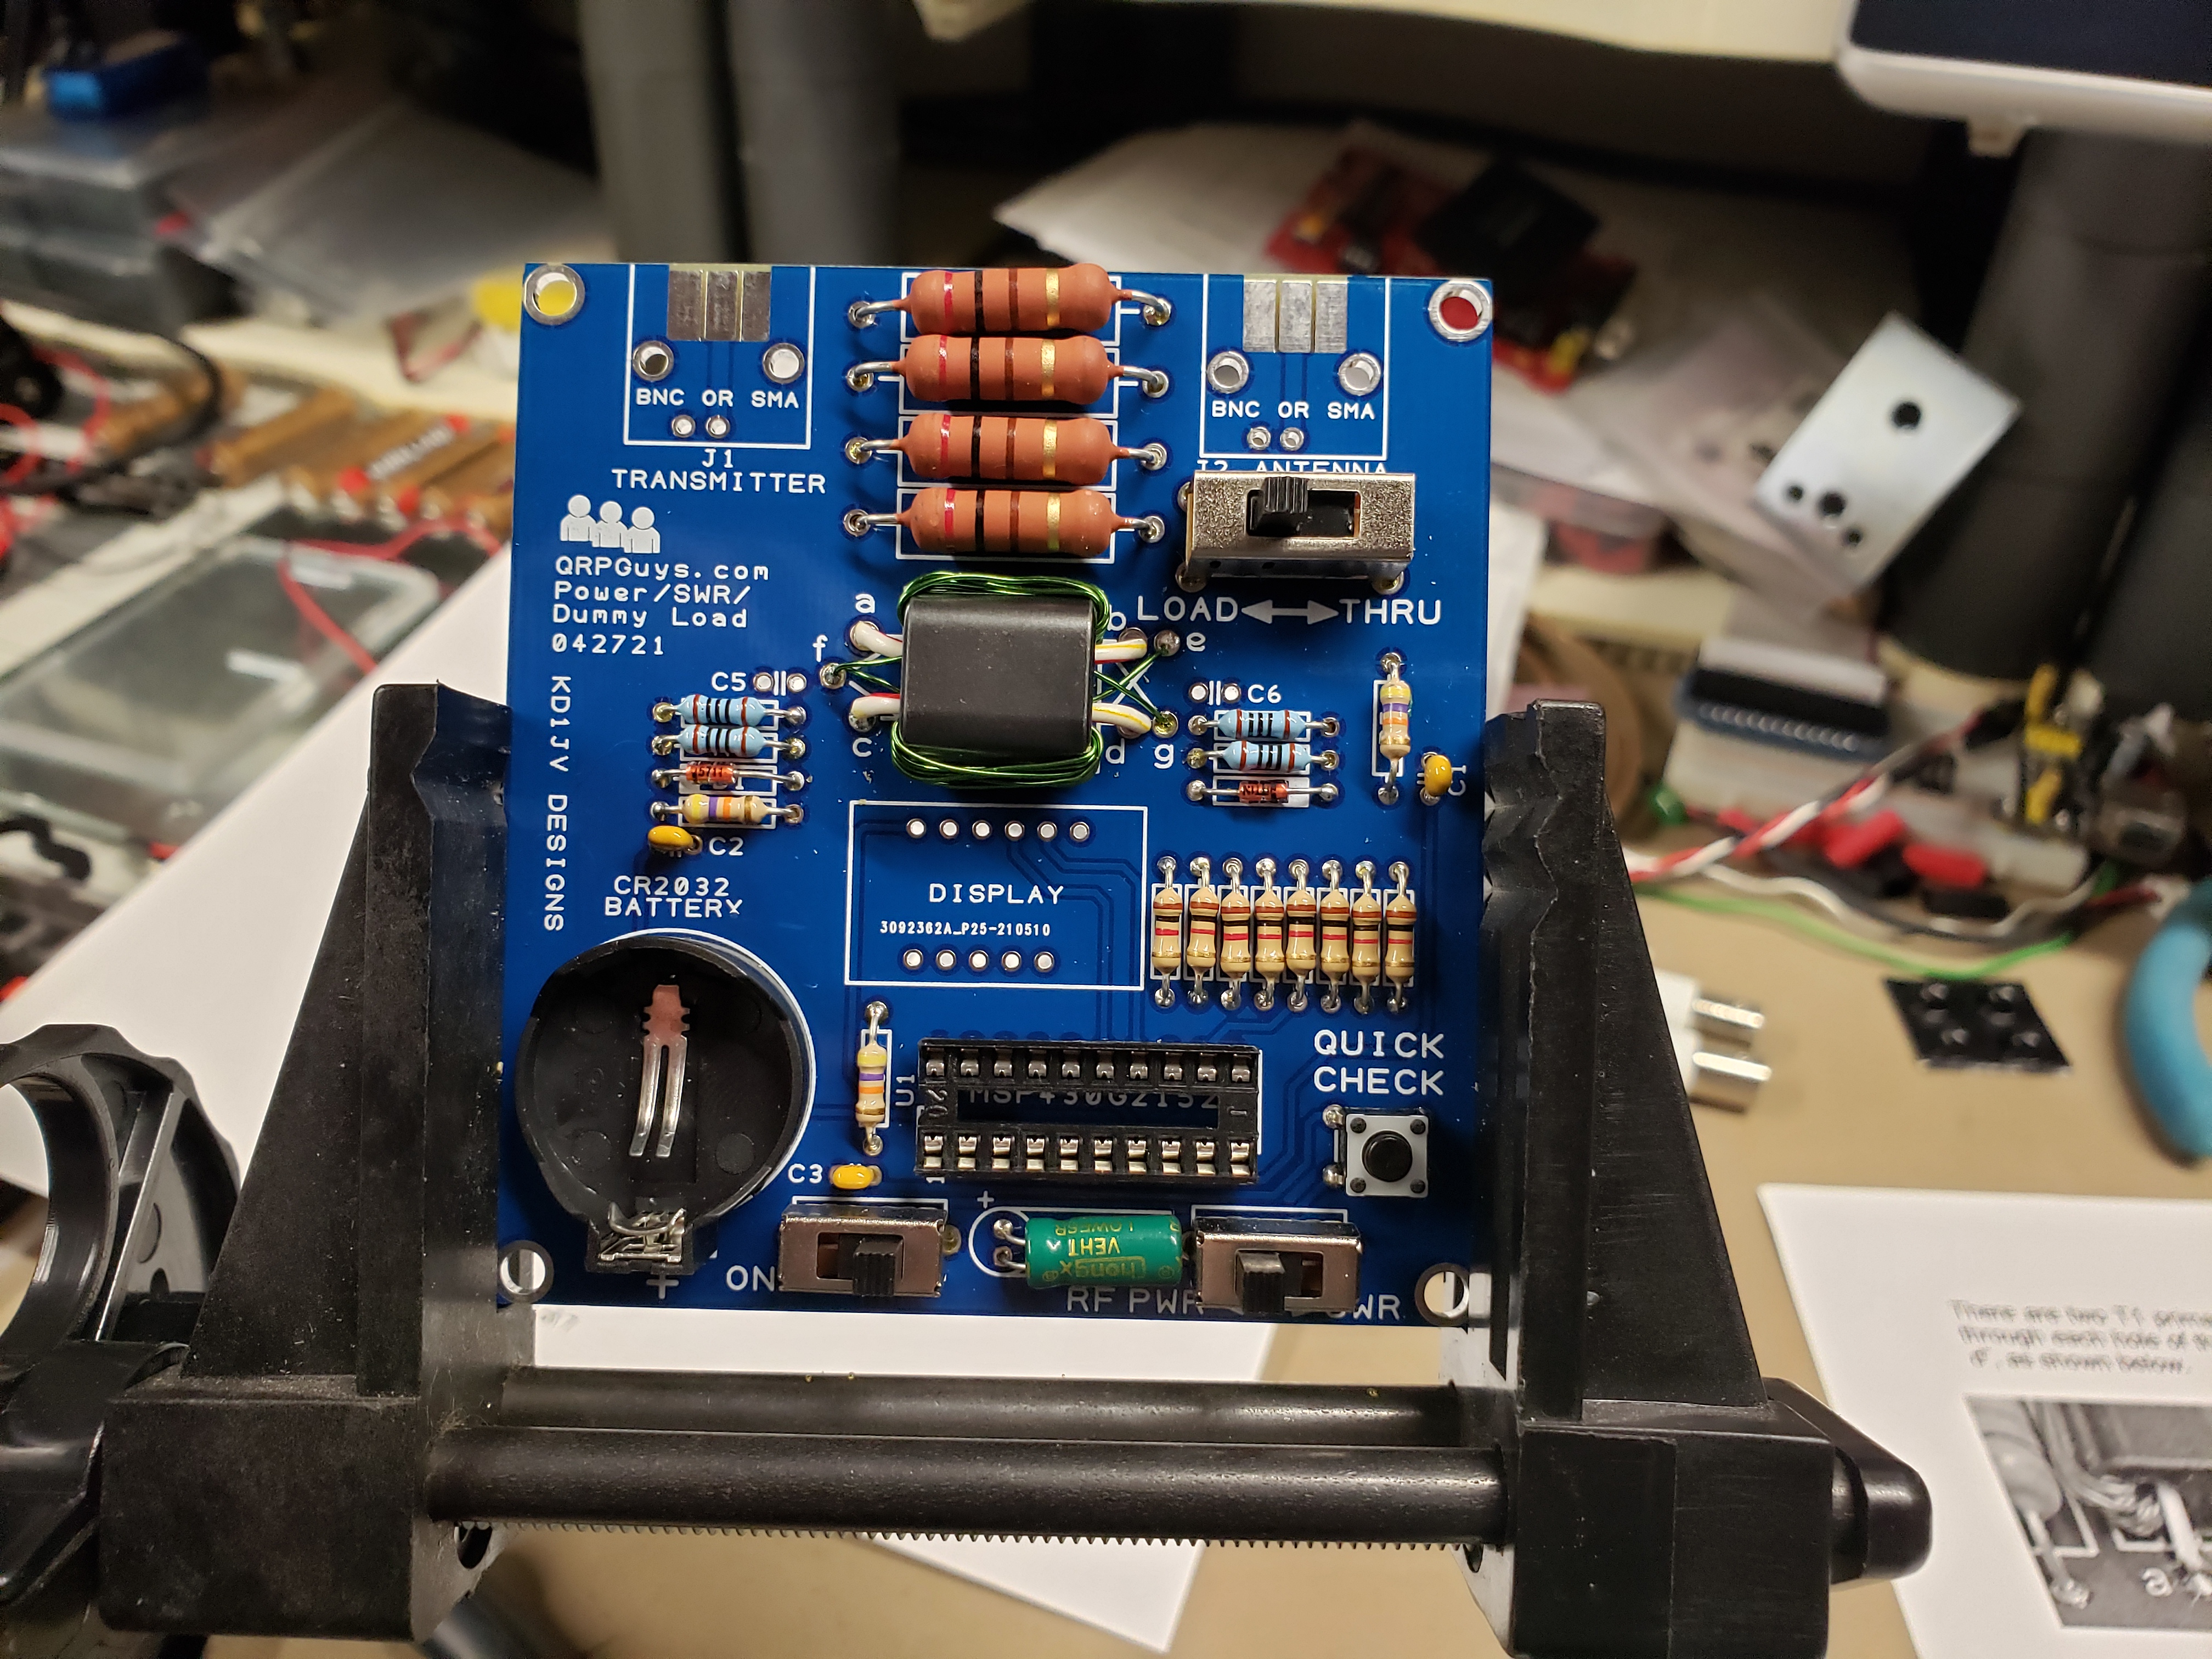
Installing the switches and sockets.
I wired the transformer and then soldered onto the board I had to wind the wires myself before mounting the transformer.
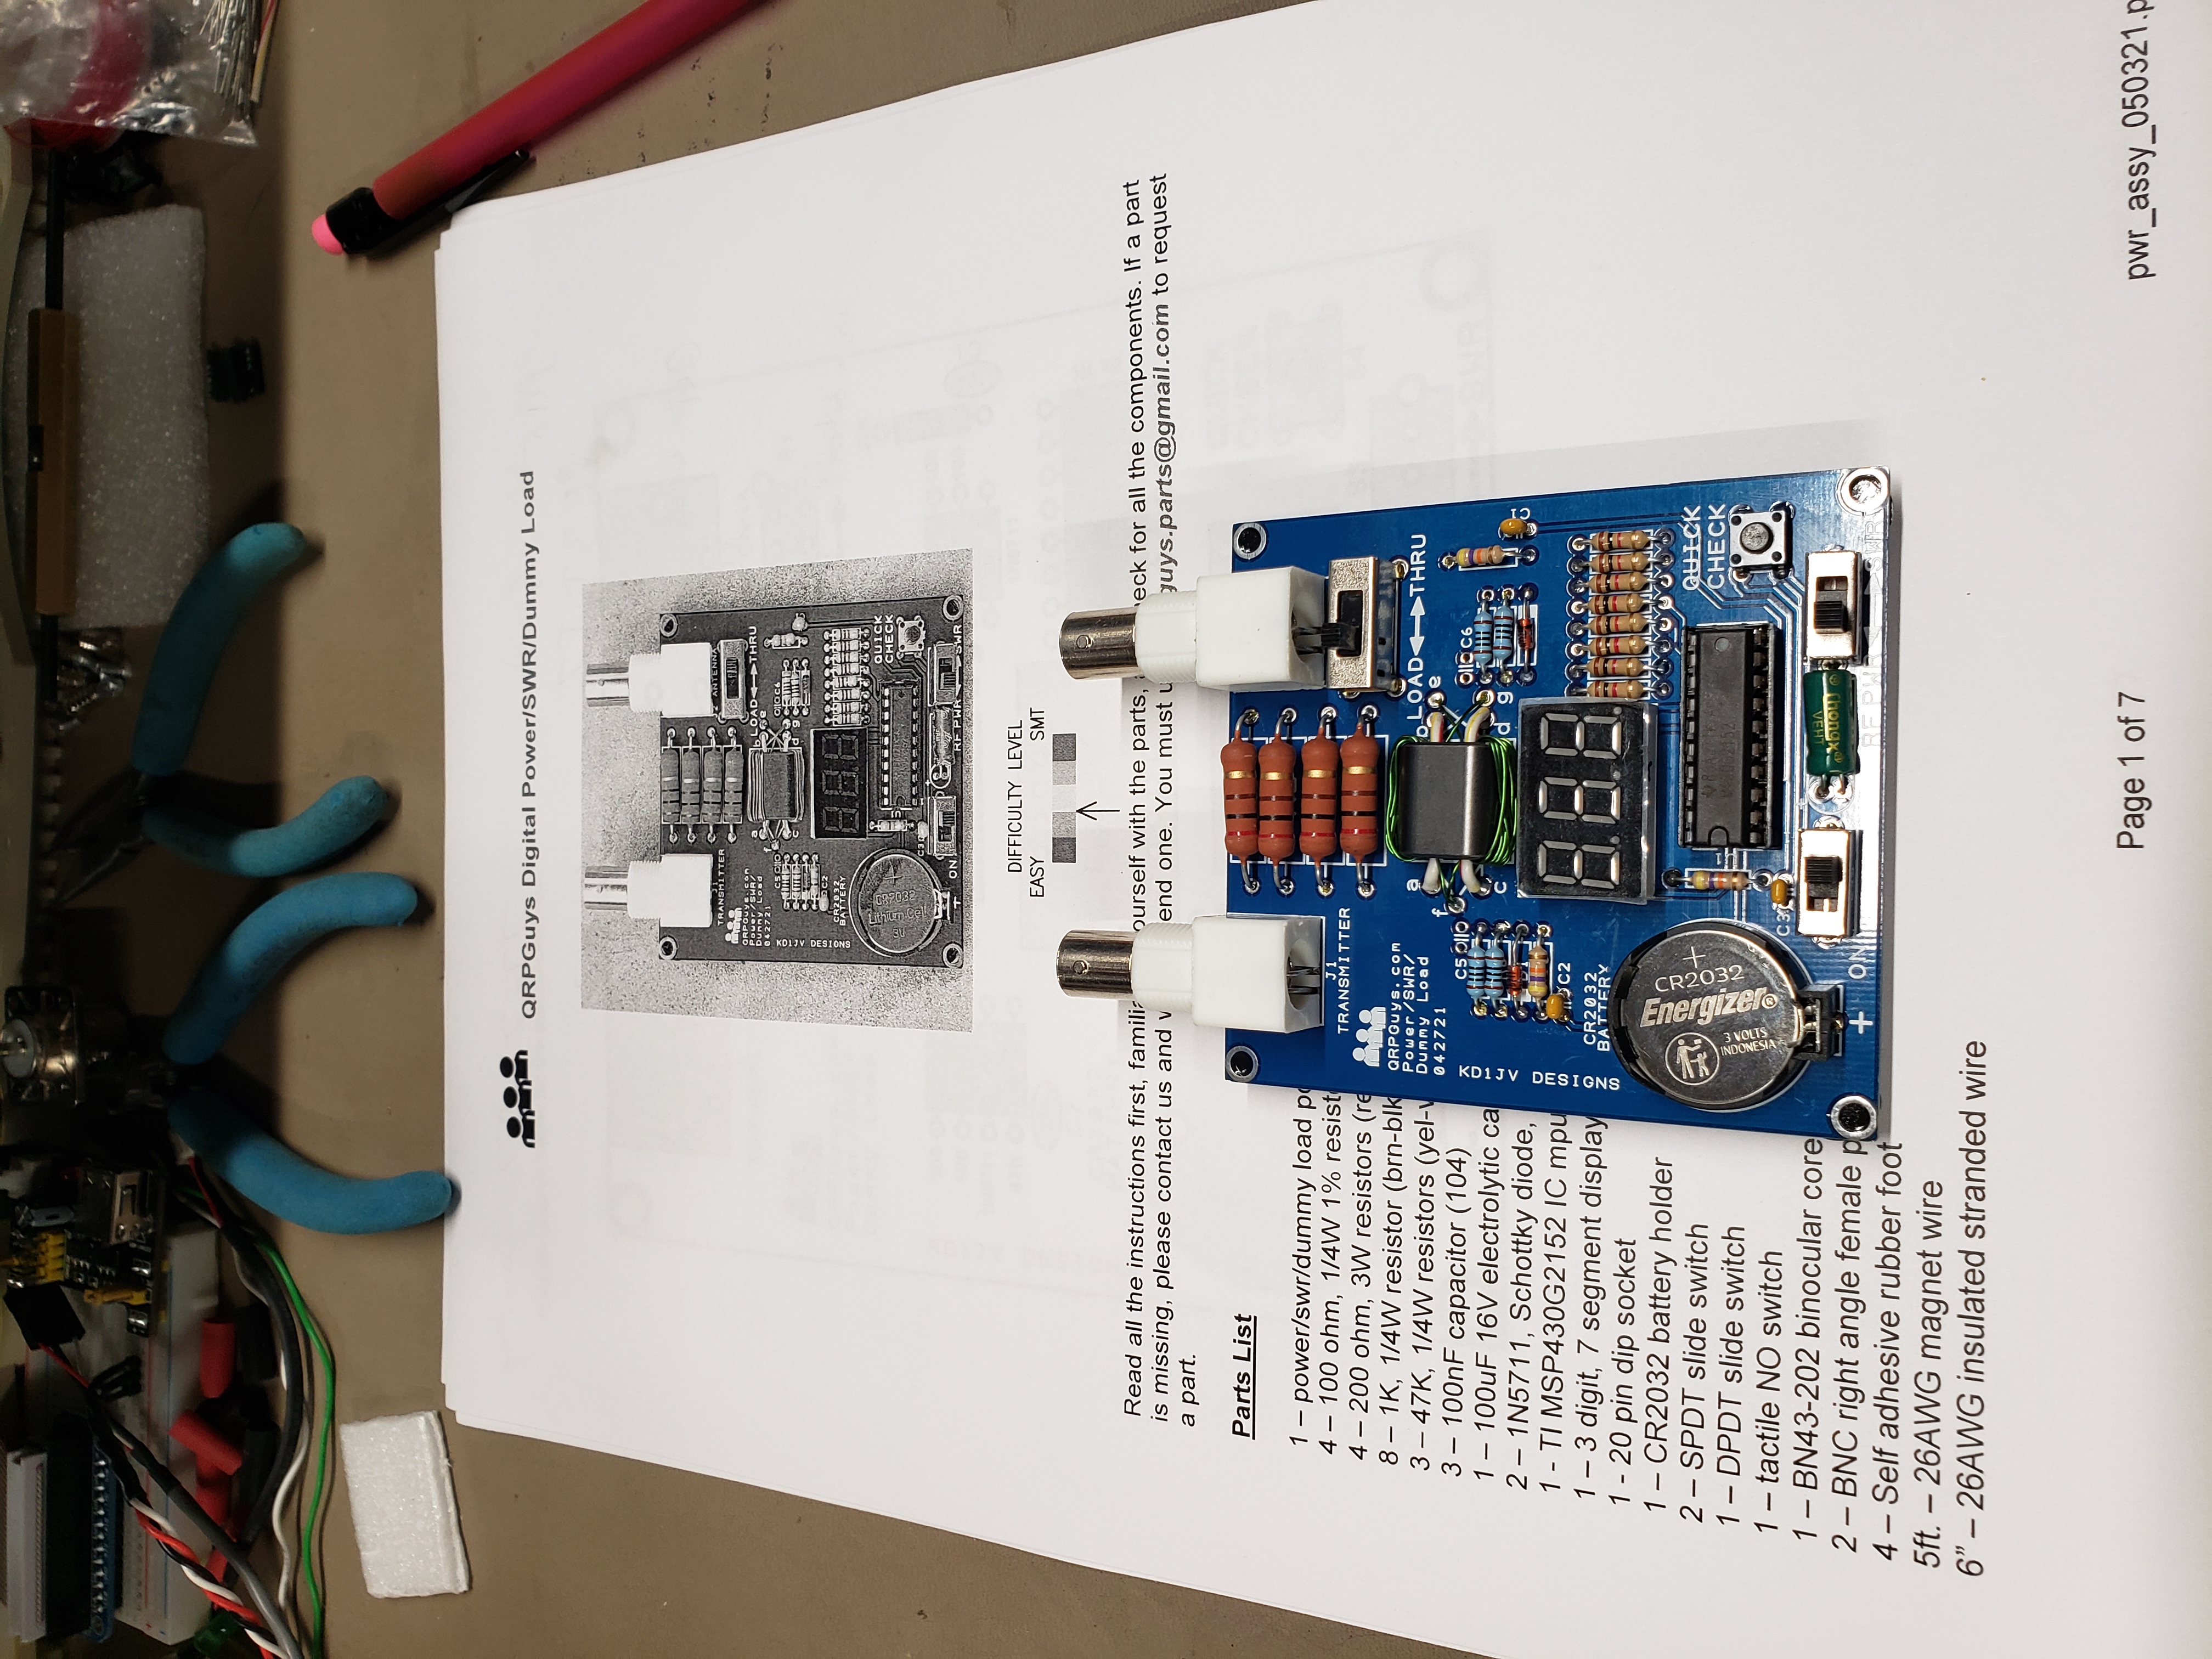
Here is the finished board sitting on top of a printed copy of the assembly manual.
Posted with STEMGeeks
0
0
0.000
When I was small, we had a Ham radio. I always liked talking to the various people that would talk back with me. It was a unique experience that I will always remember. I have not seen a ham radio since my early childhood. I am glad there are still people around that have the skills to build one.