Kit build - QRPGuys Digital FSK Transceiver III
Well I had last week off and finally got around to building the QRPGuys Digital FSK Transceiver III. This kit is a digital Ham Radio transceiver that is capable of outputting 5Watts of power. The kit comes with 3 different frequency board plug-ins. I built the 40M board last week as my EFHW (End Fed Half Wave) antenna is tuned for 40M. The following picture show the build process.
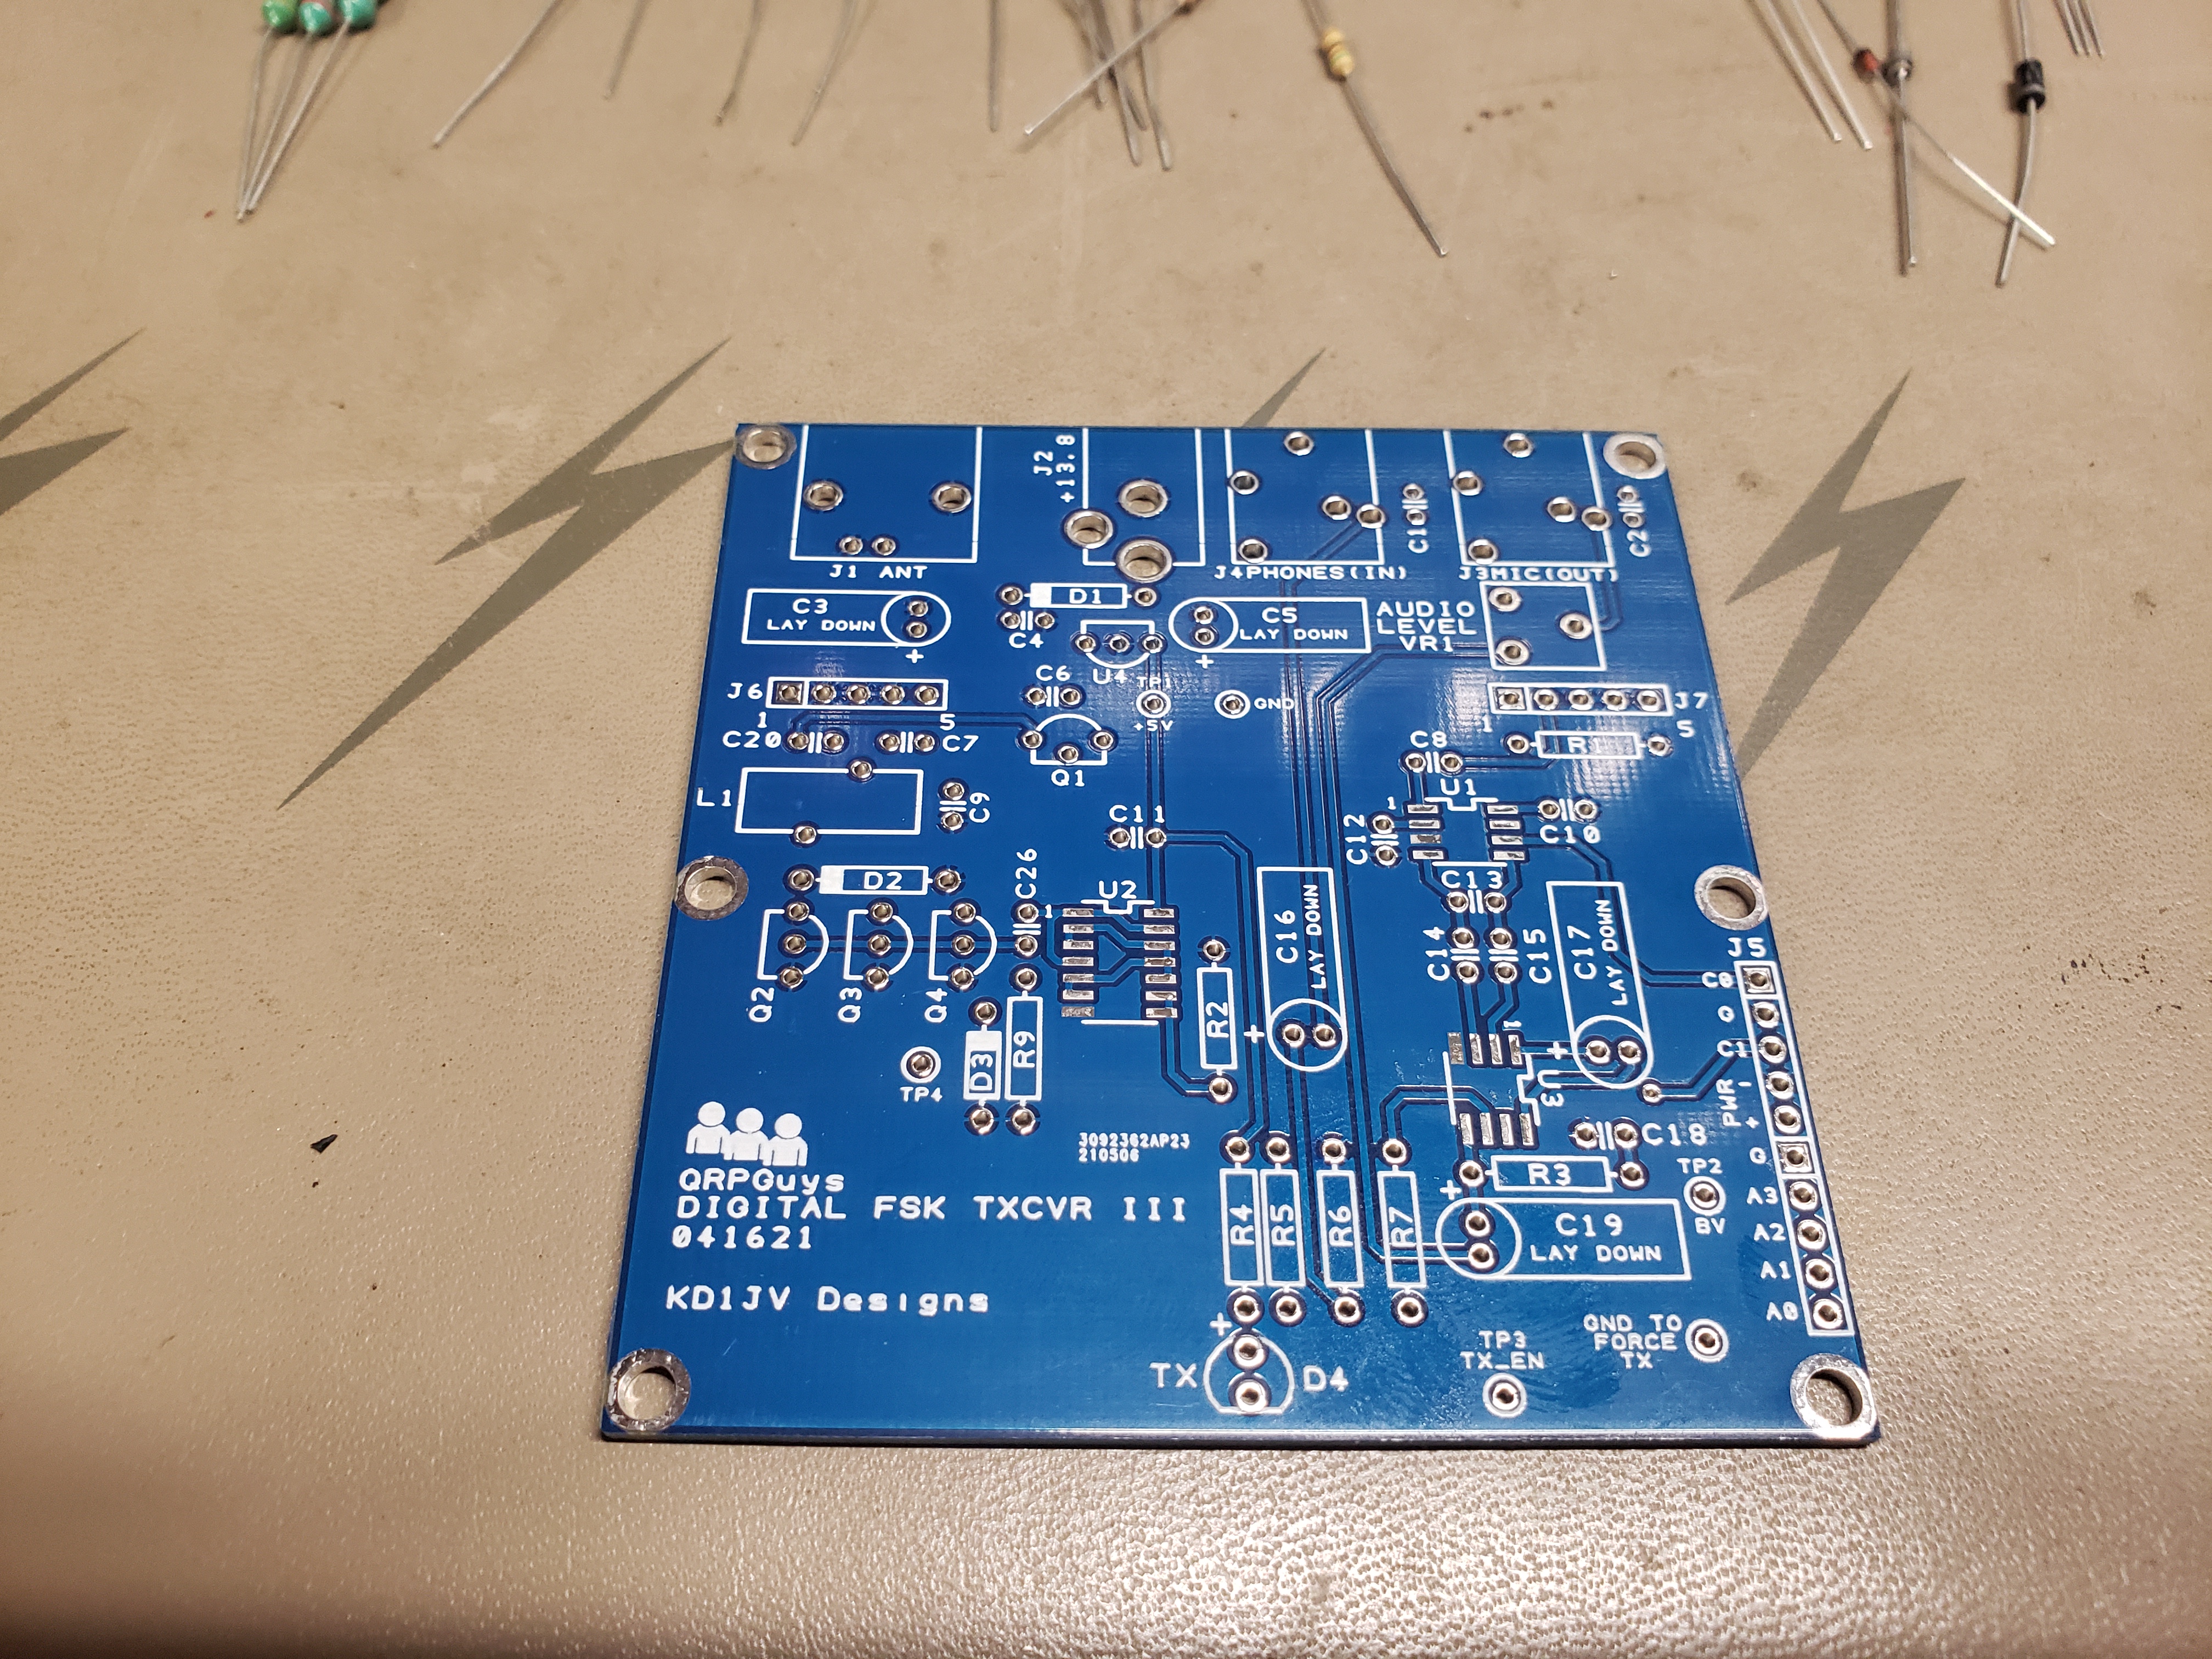
The following picture is the top of the blank PCB.
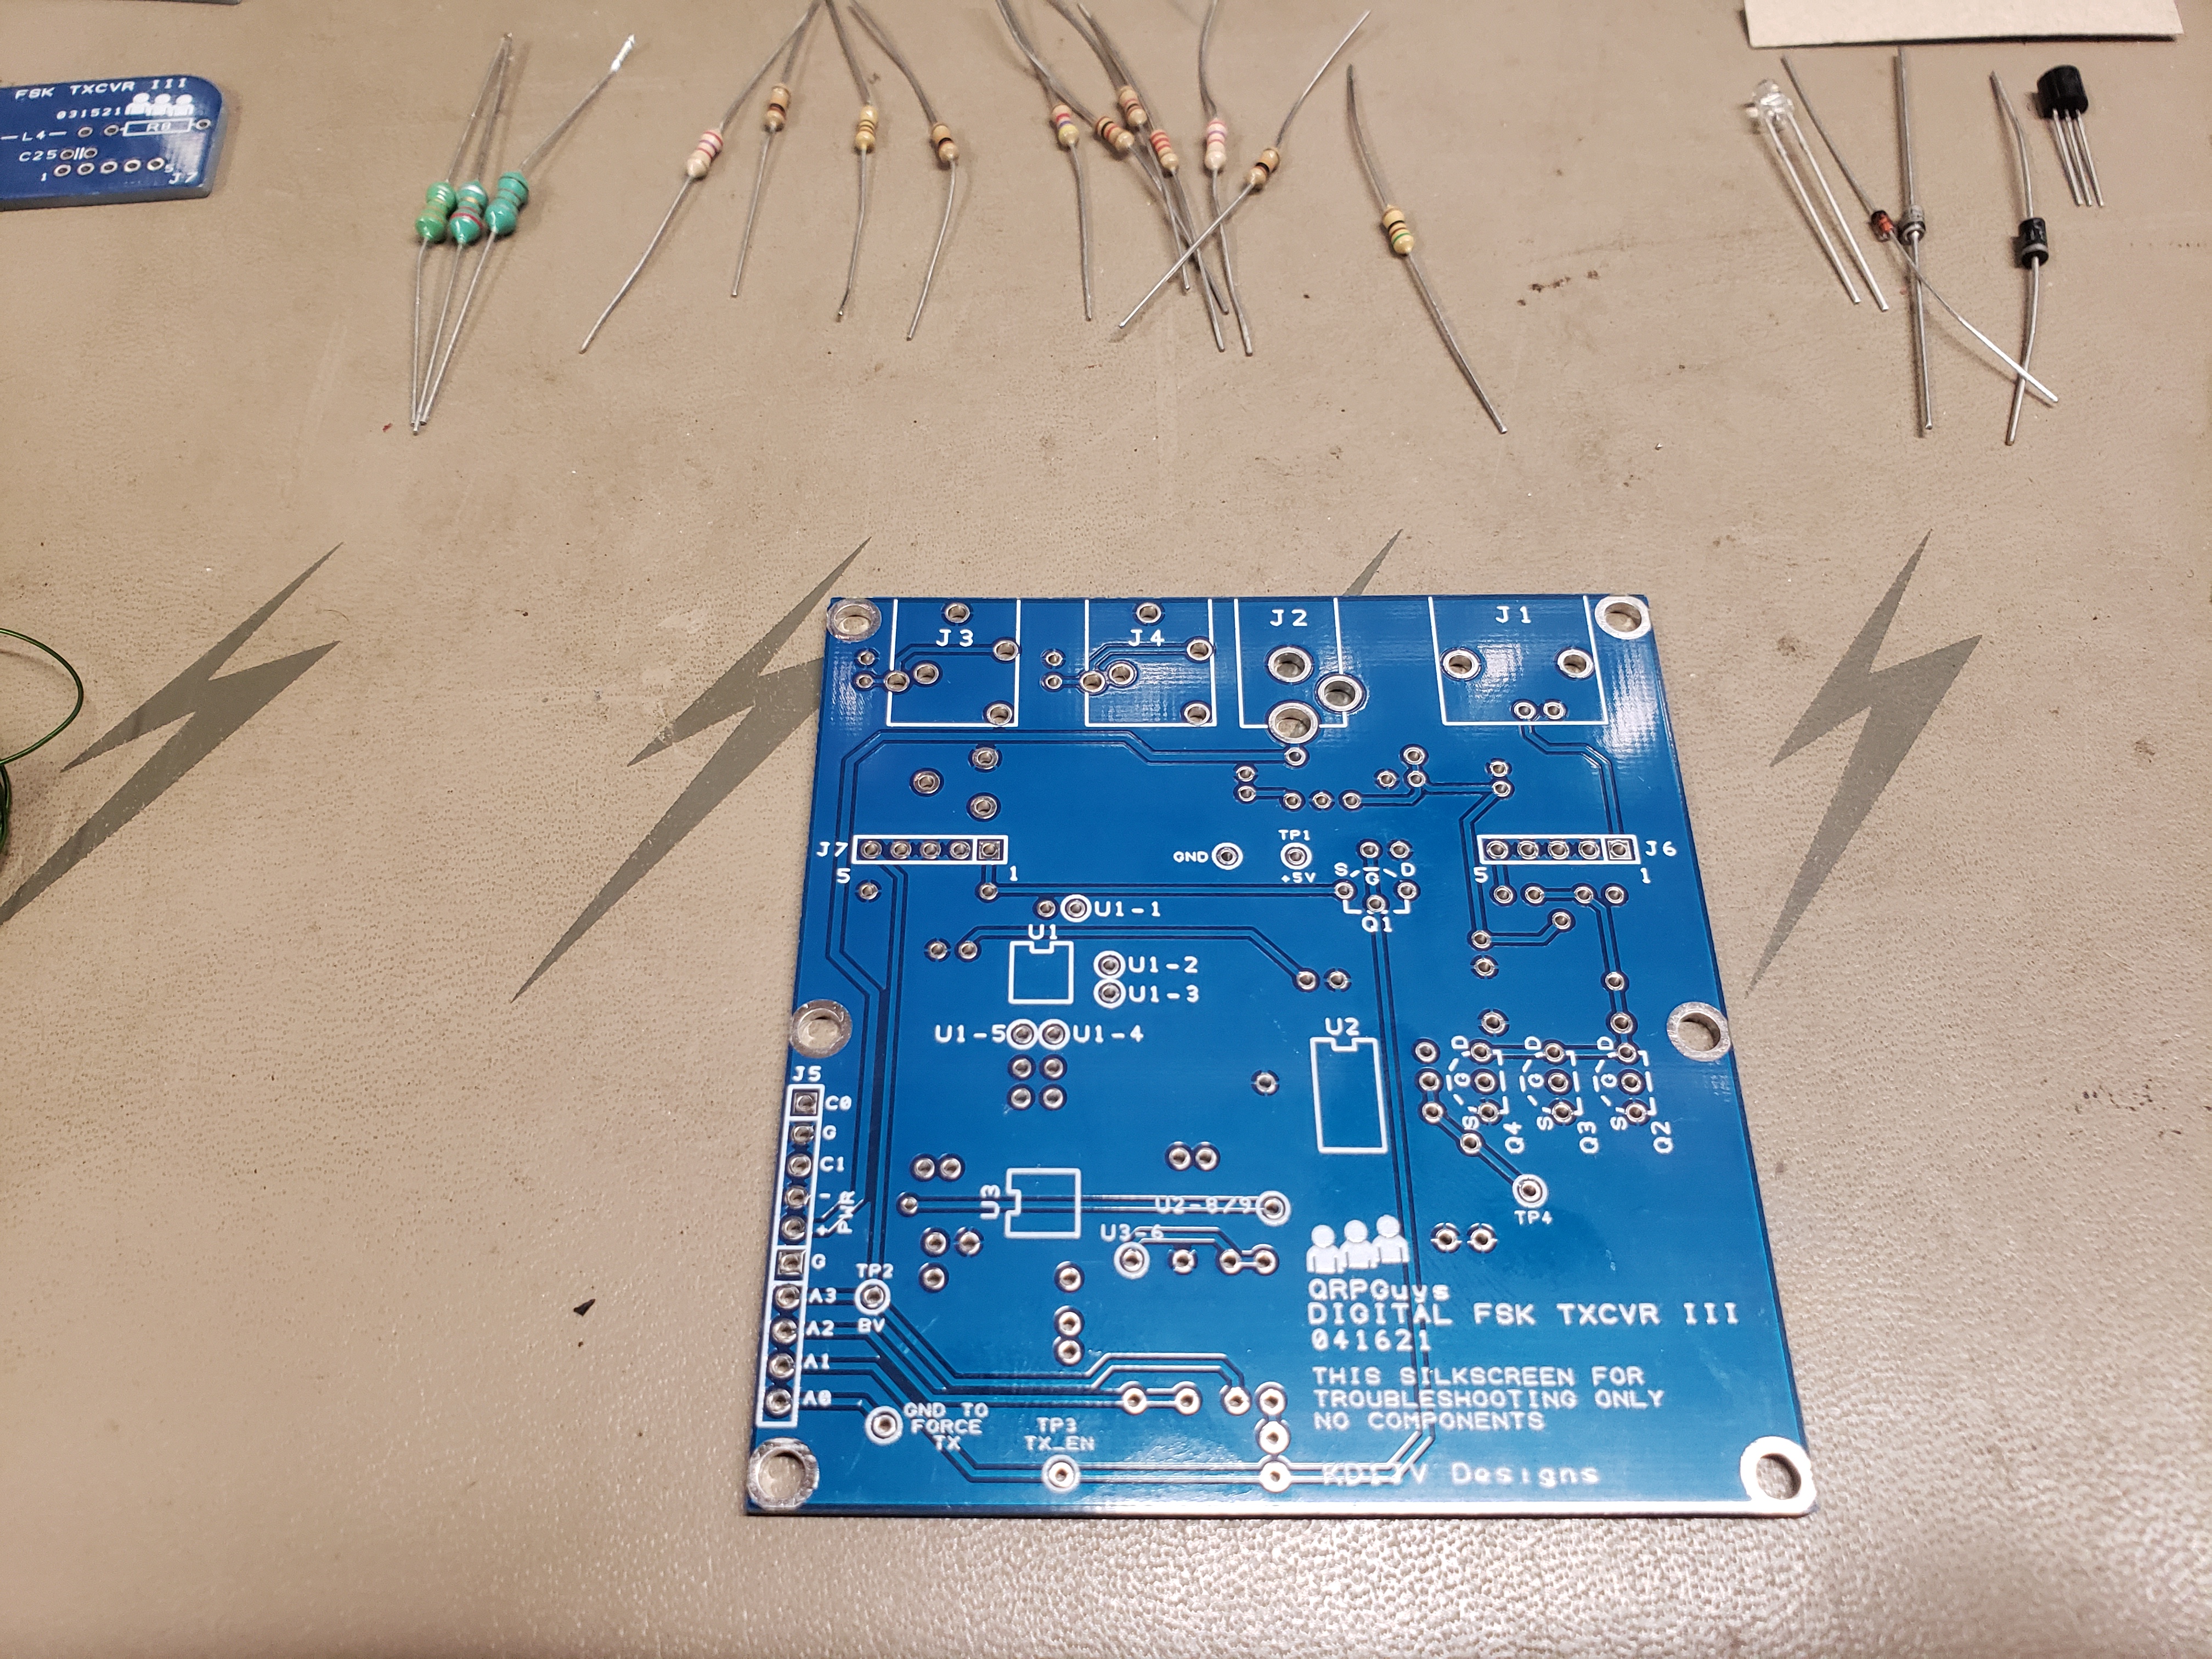
The following picture is the bottom of the blank PCB.
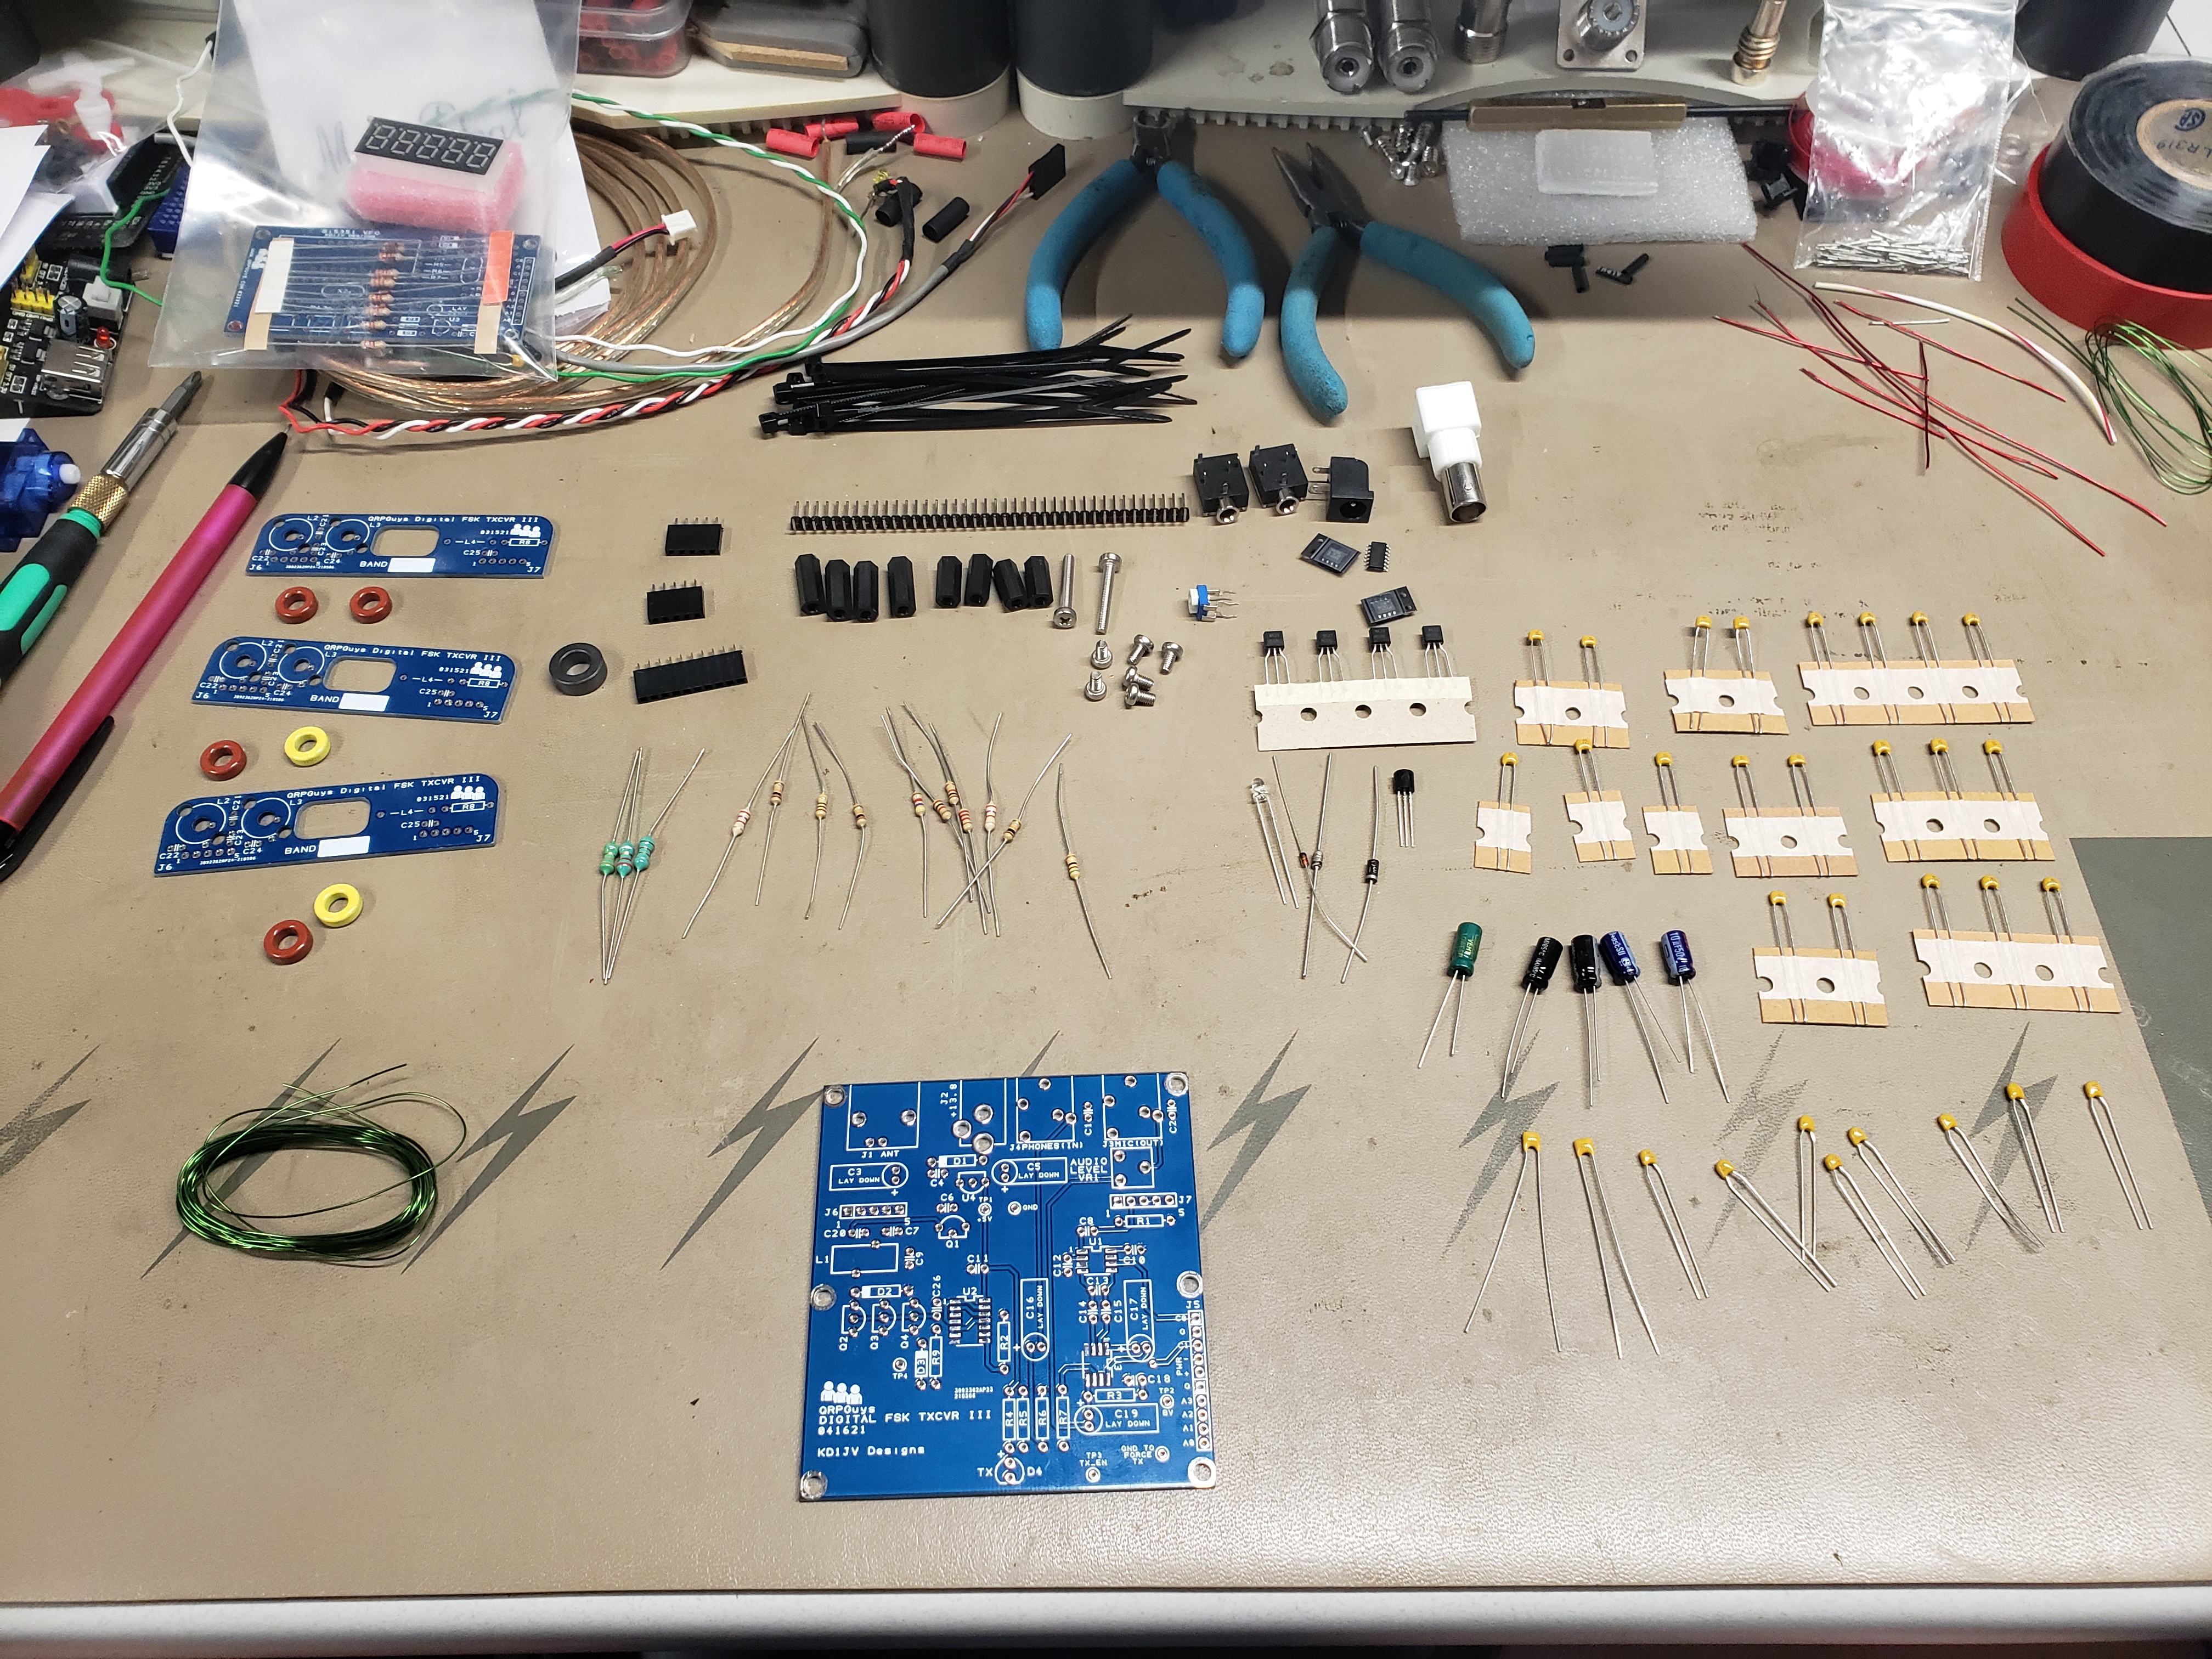
This picture shows all of the components laid out for inventory before starting the assembly.
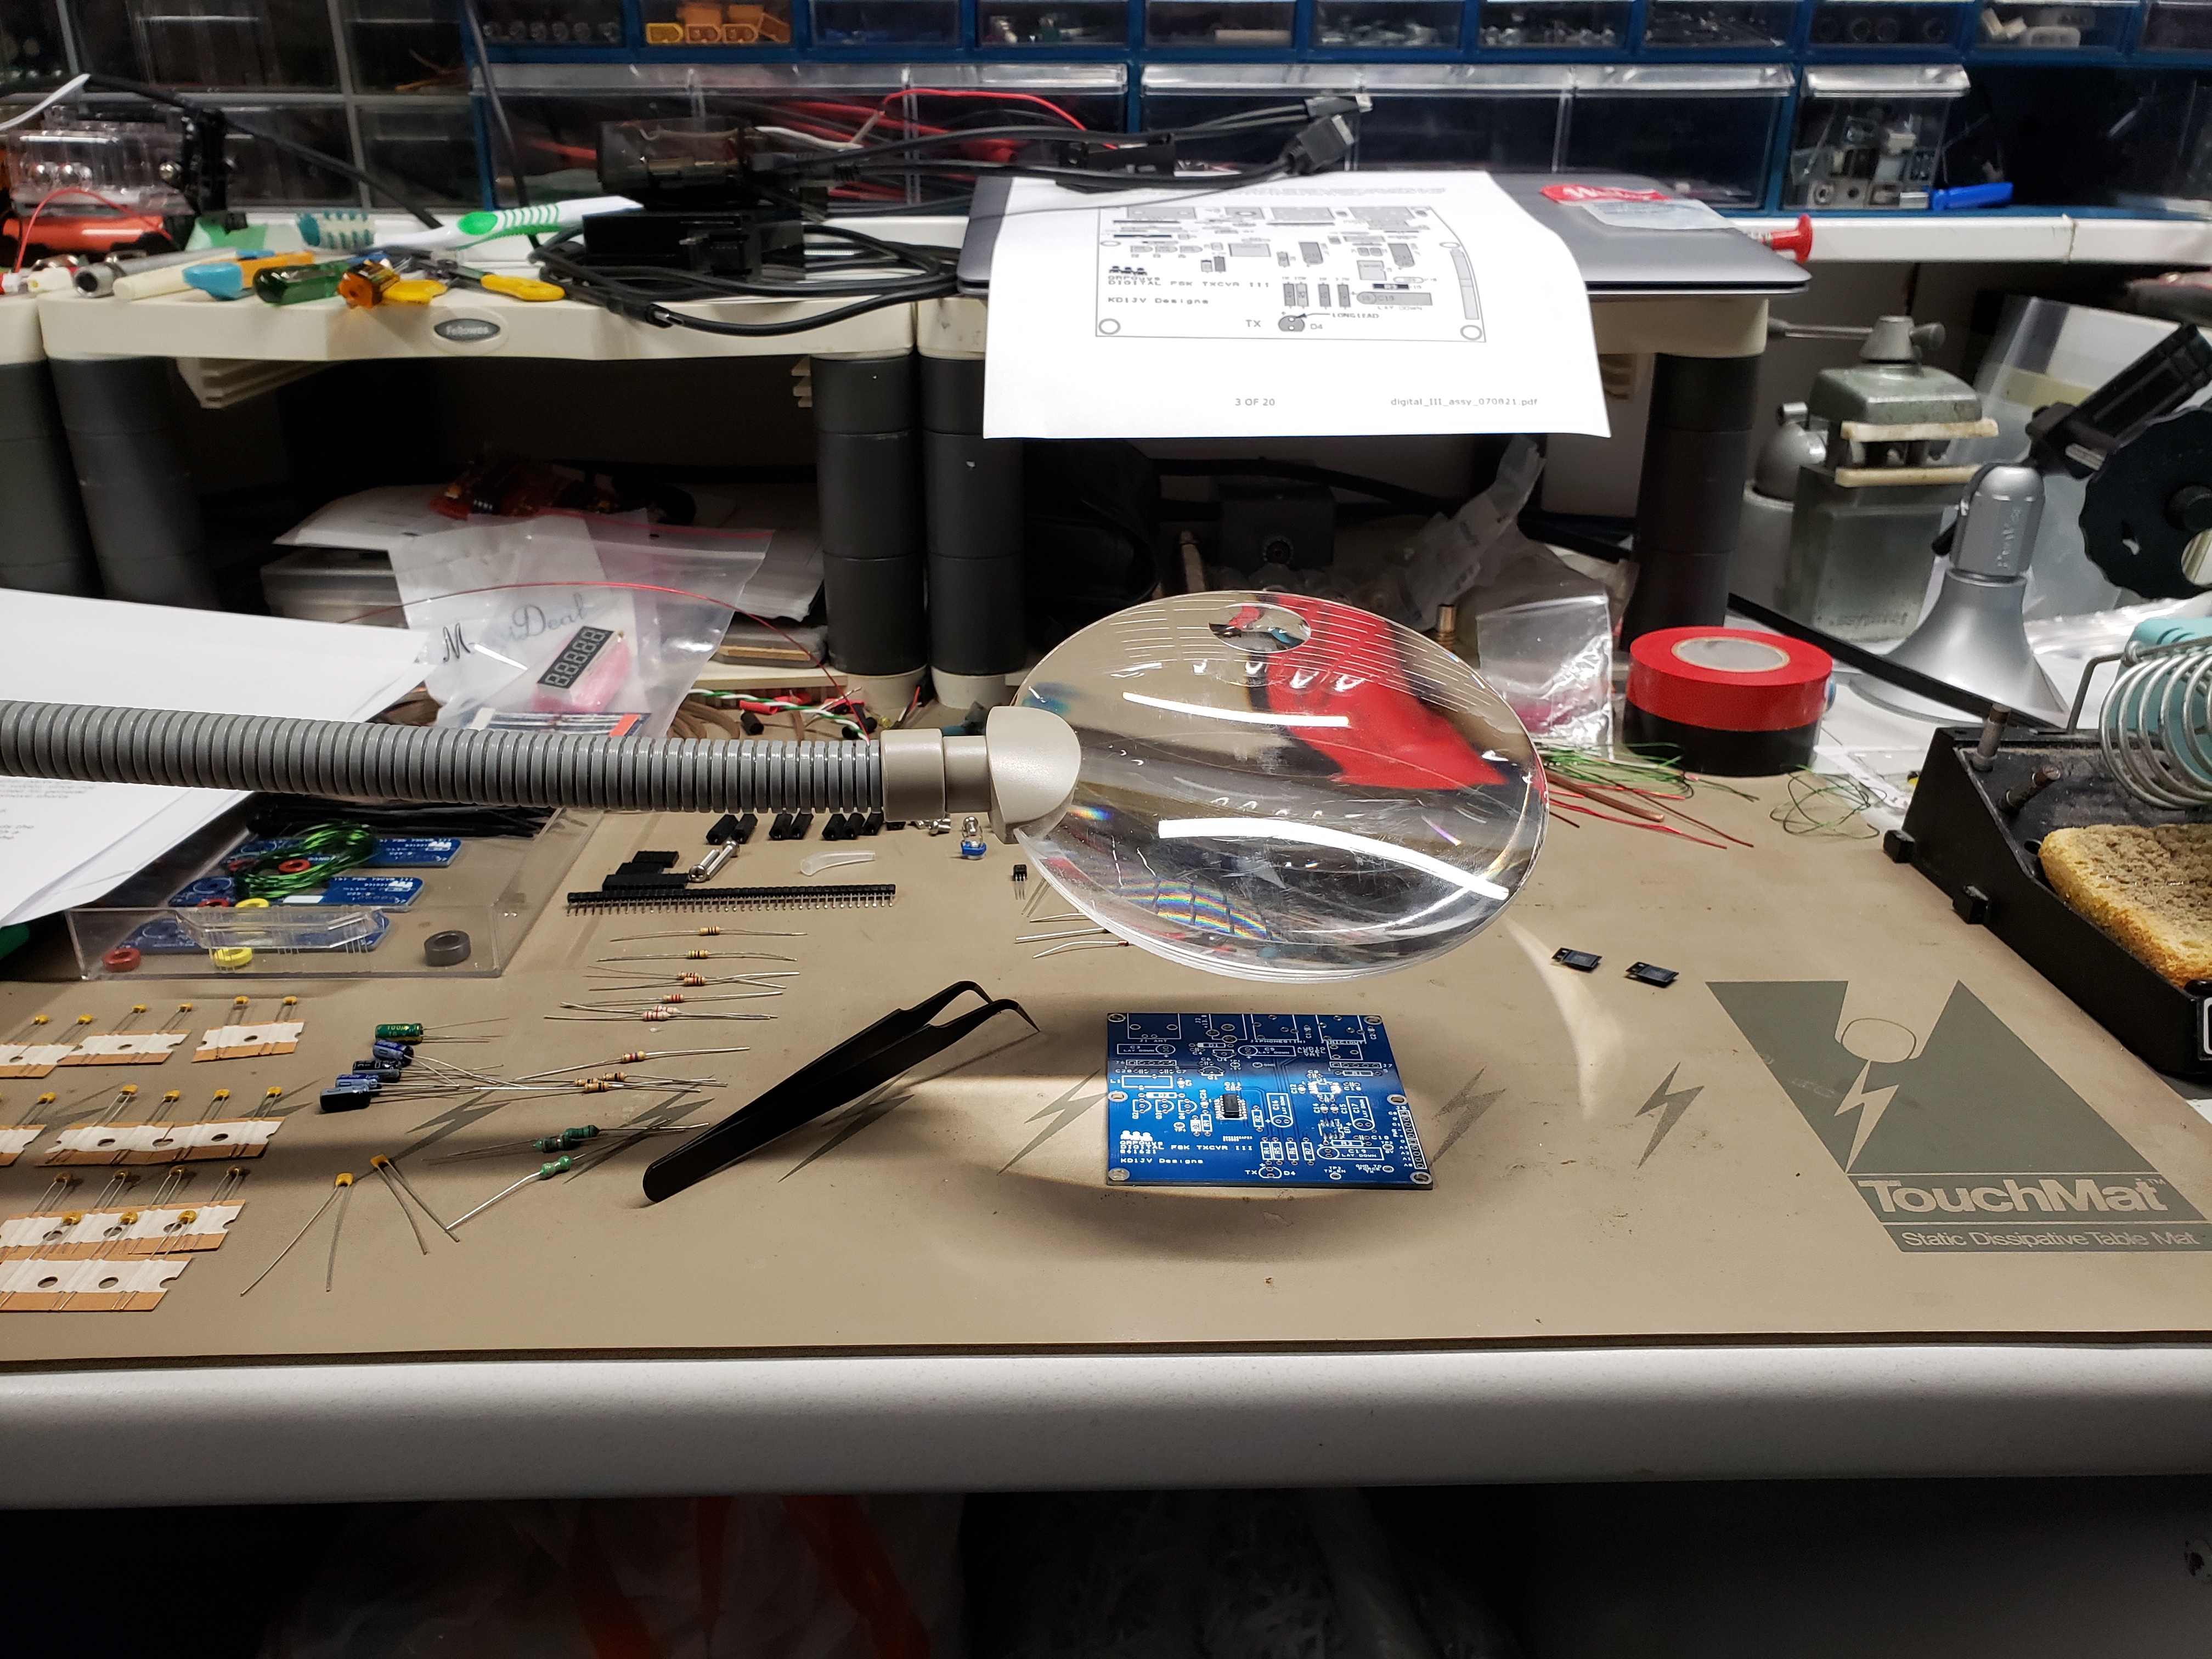
This picture shows the magnifier that I used while soldering the SMB components to the board. The SMB components are very small and required me to hold them in place with the tweezers to solder them to the board. Most of the other components have leads that are mounted by putting the leads thru holes in the board.
Here you can see the resistors and diodes soldered into the board.
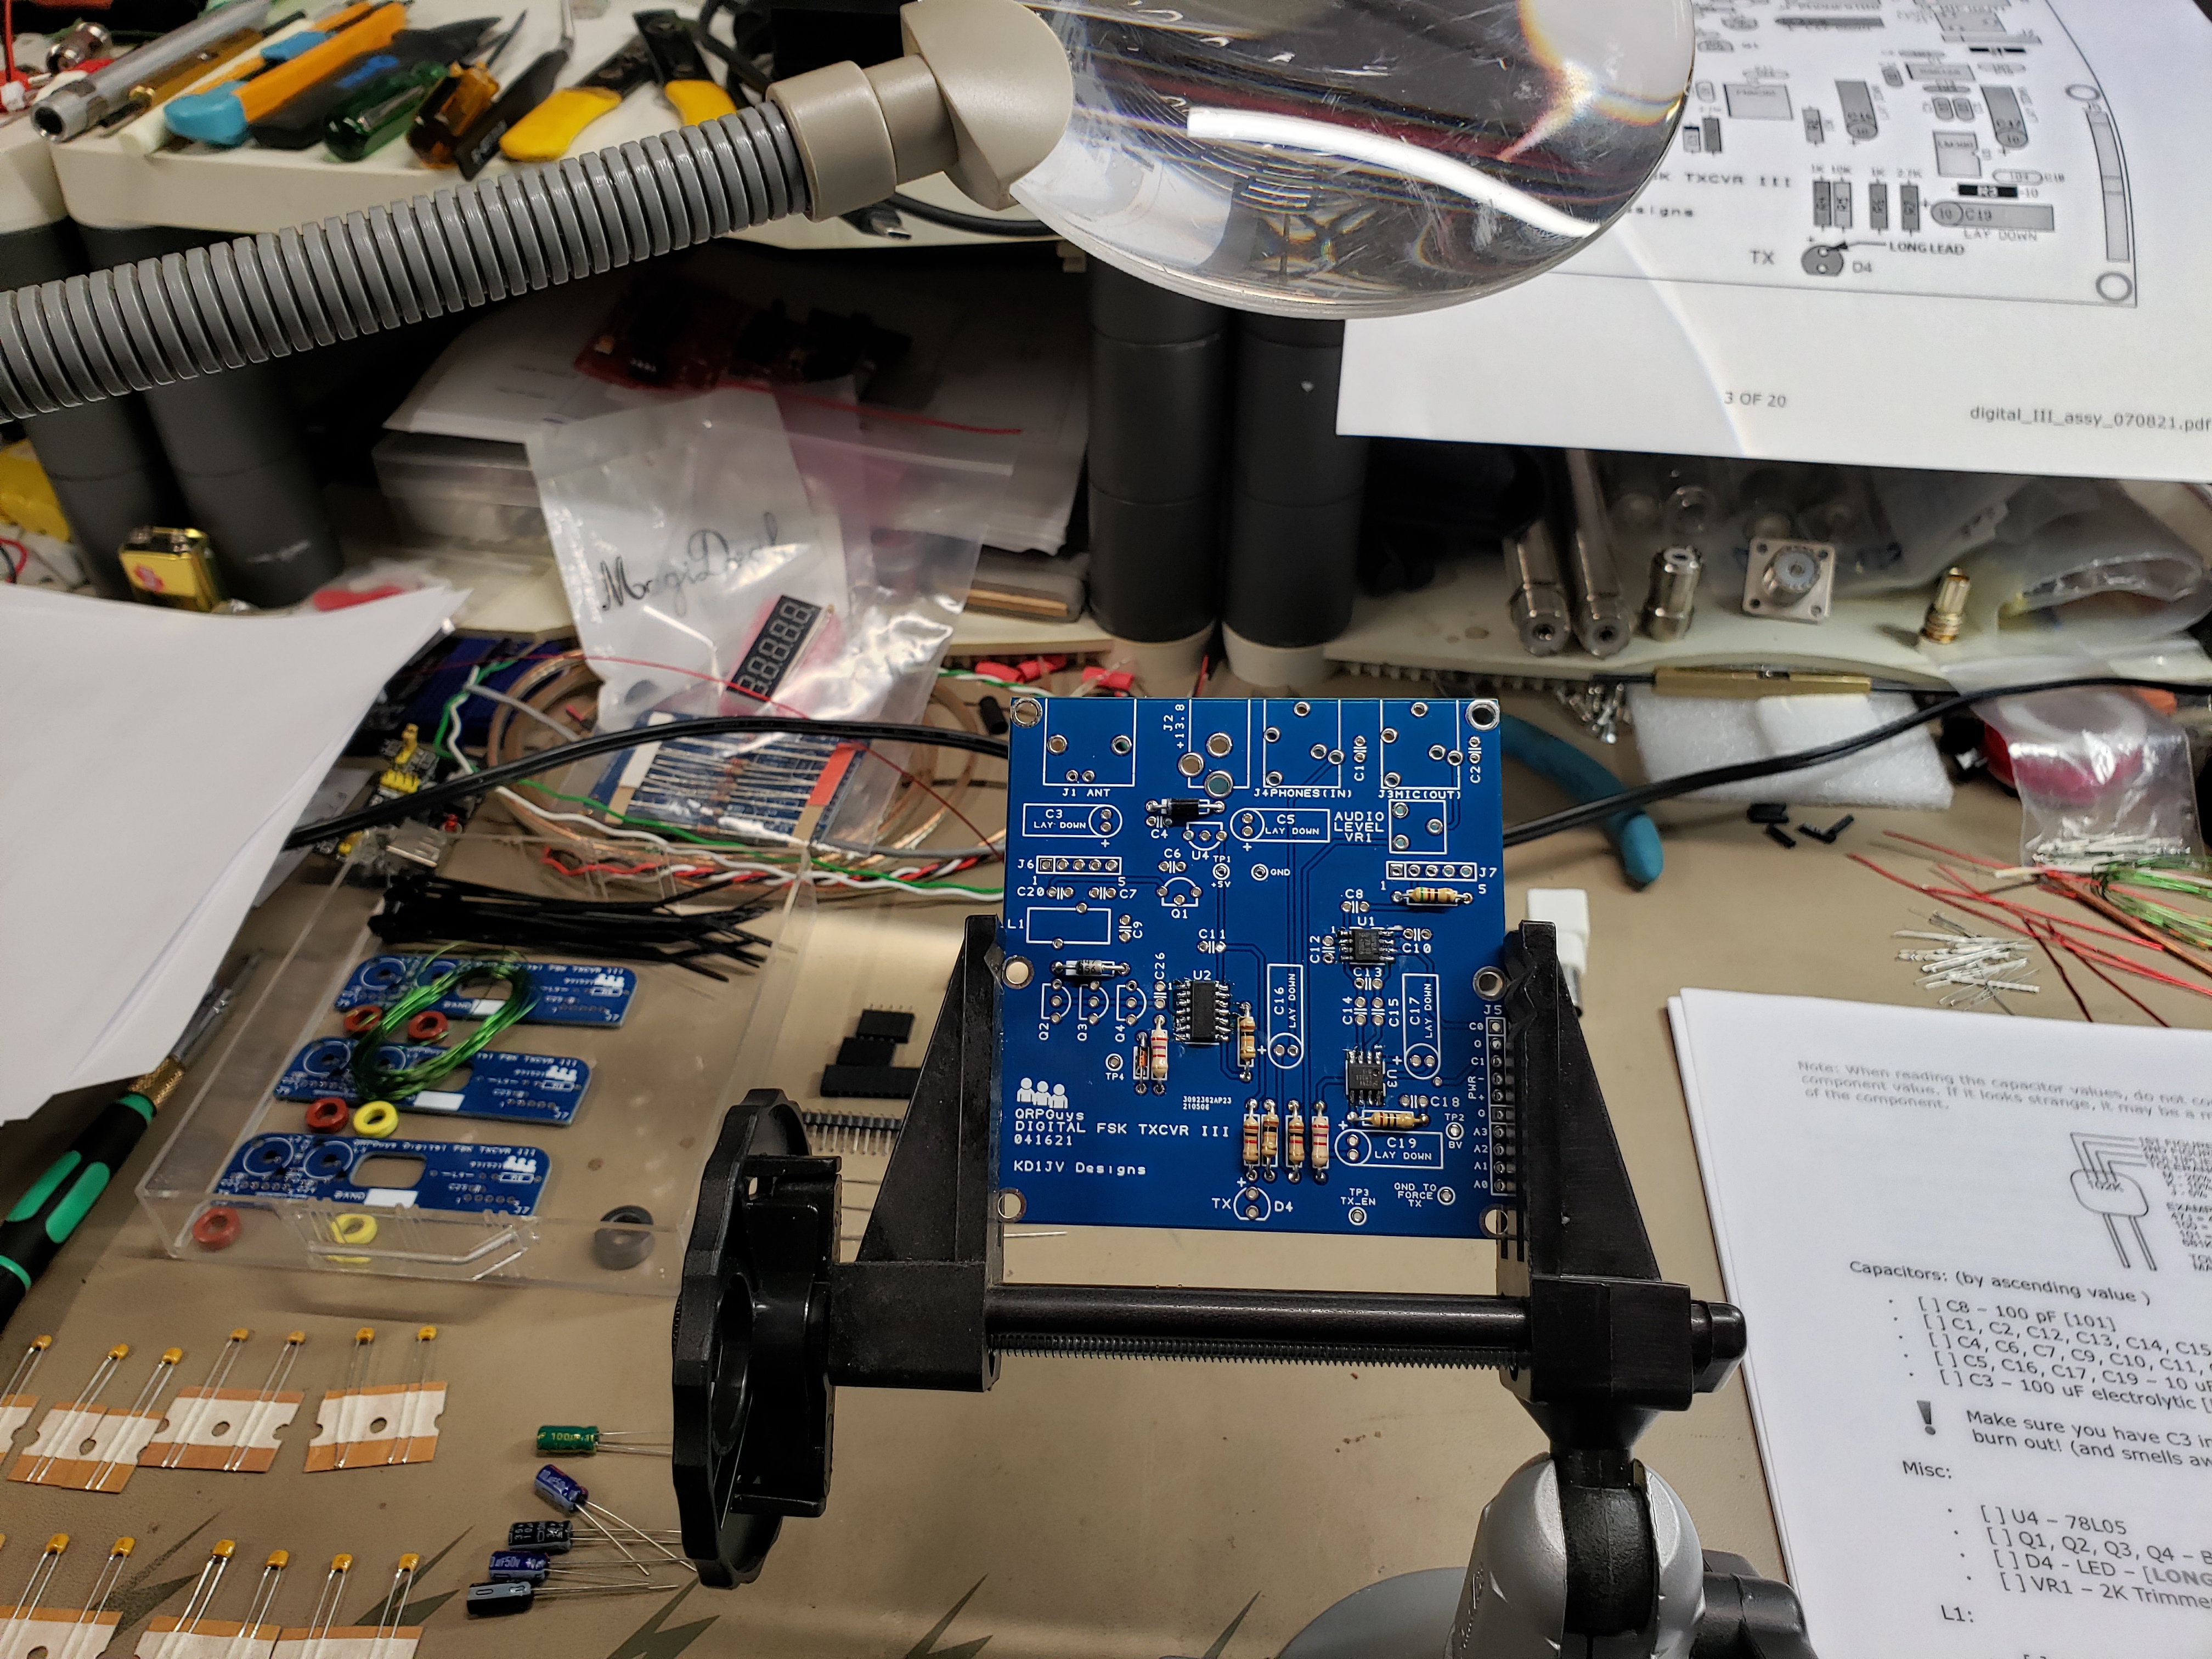
here you can see see the capacitors and a hand wound coil soldered into the board.
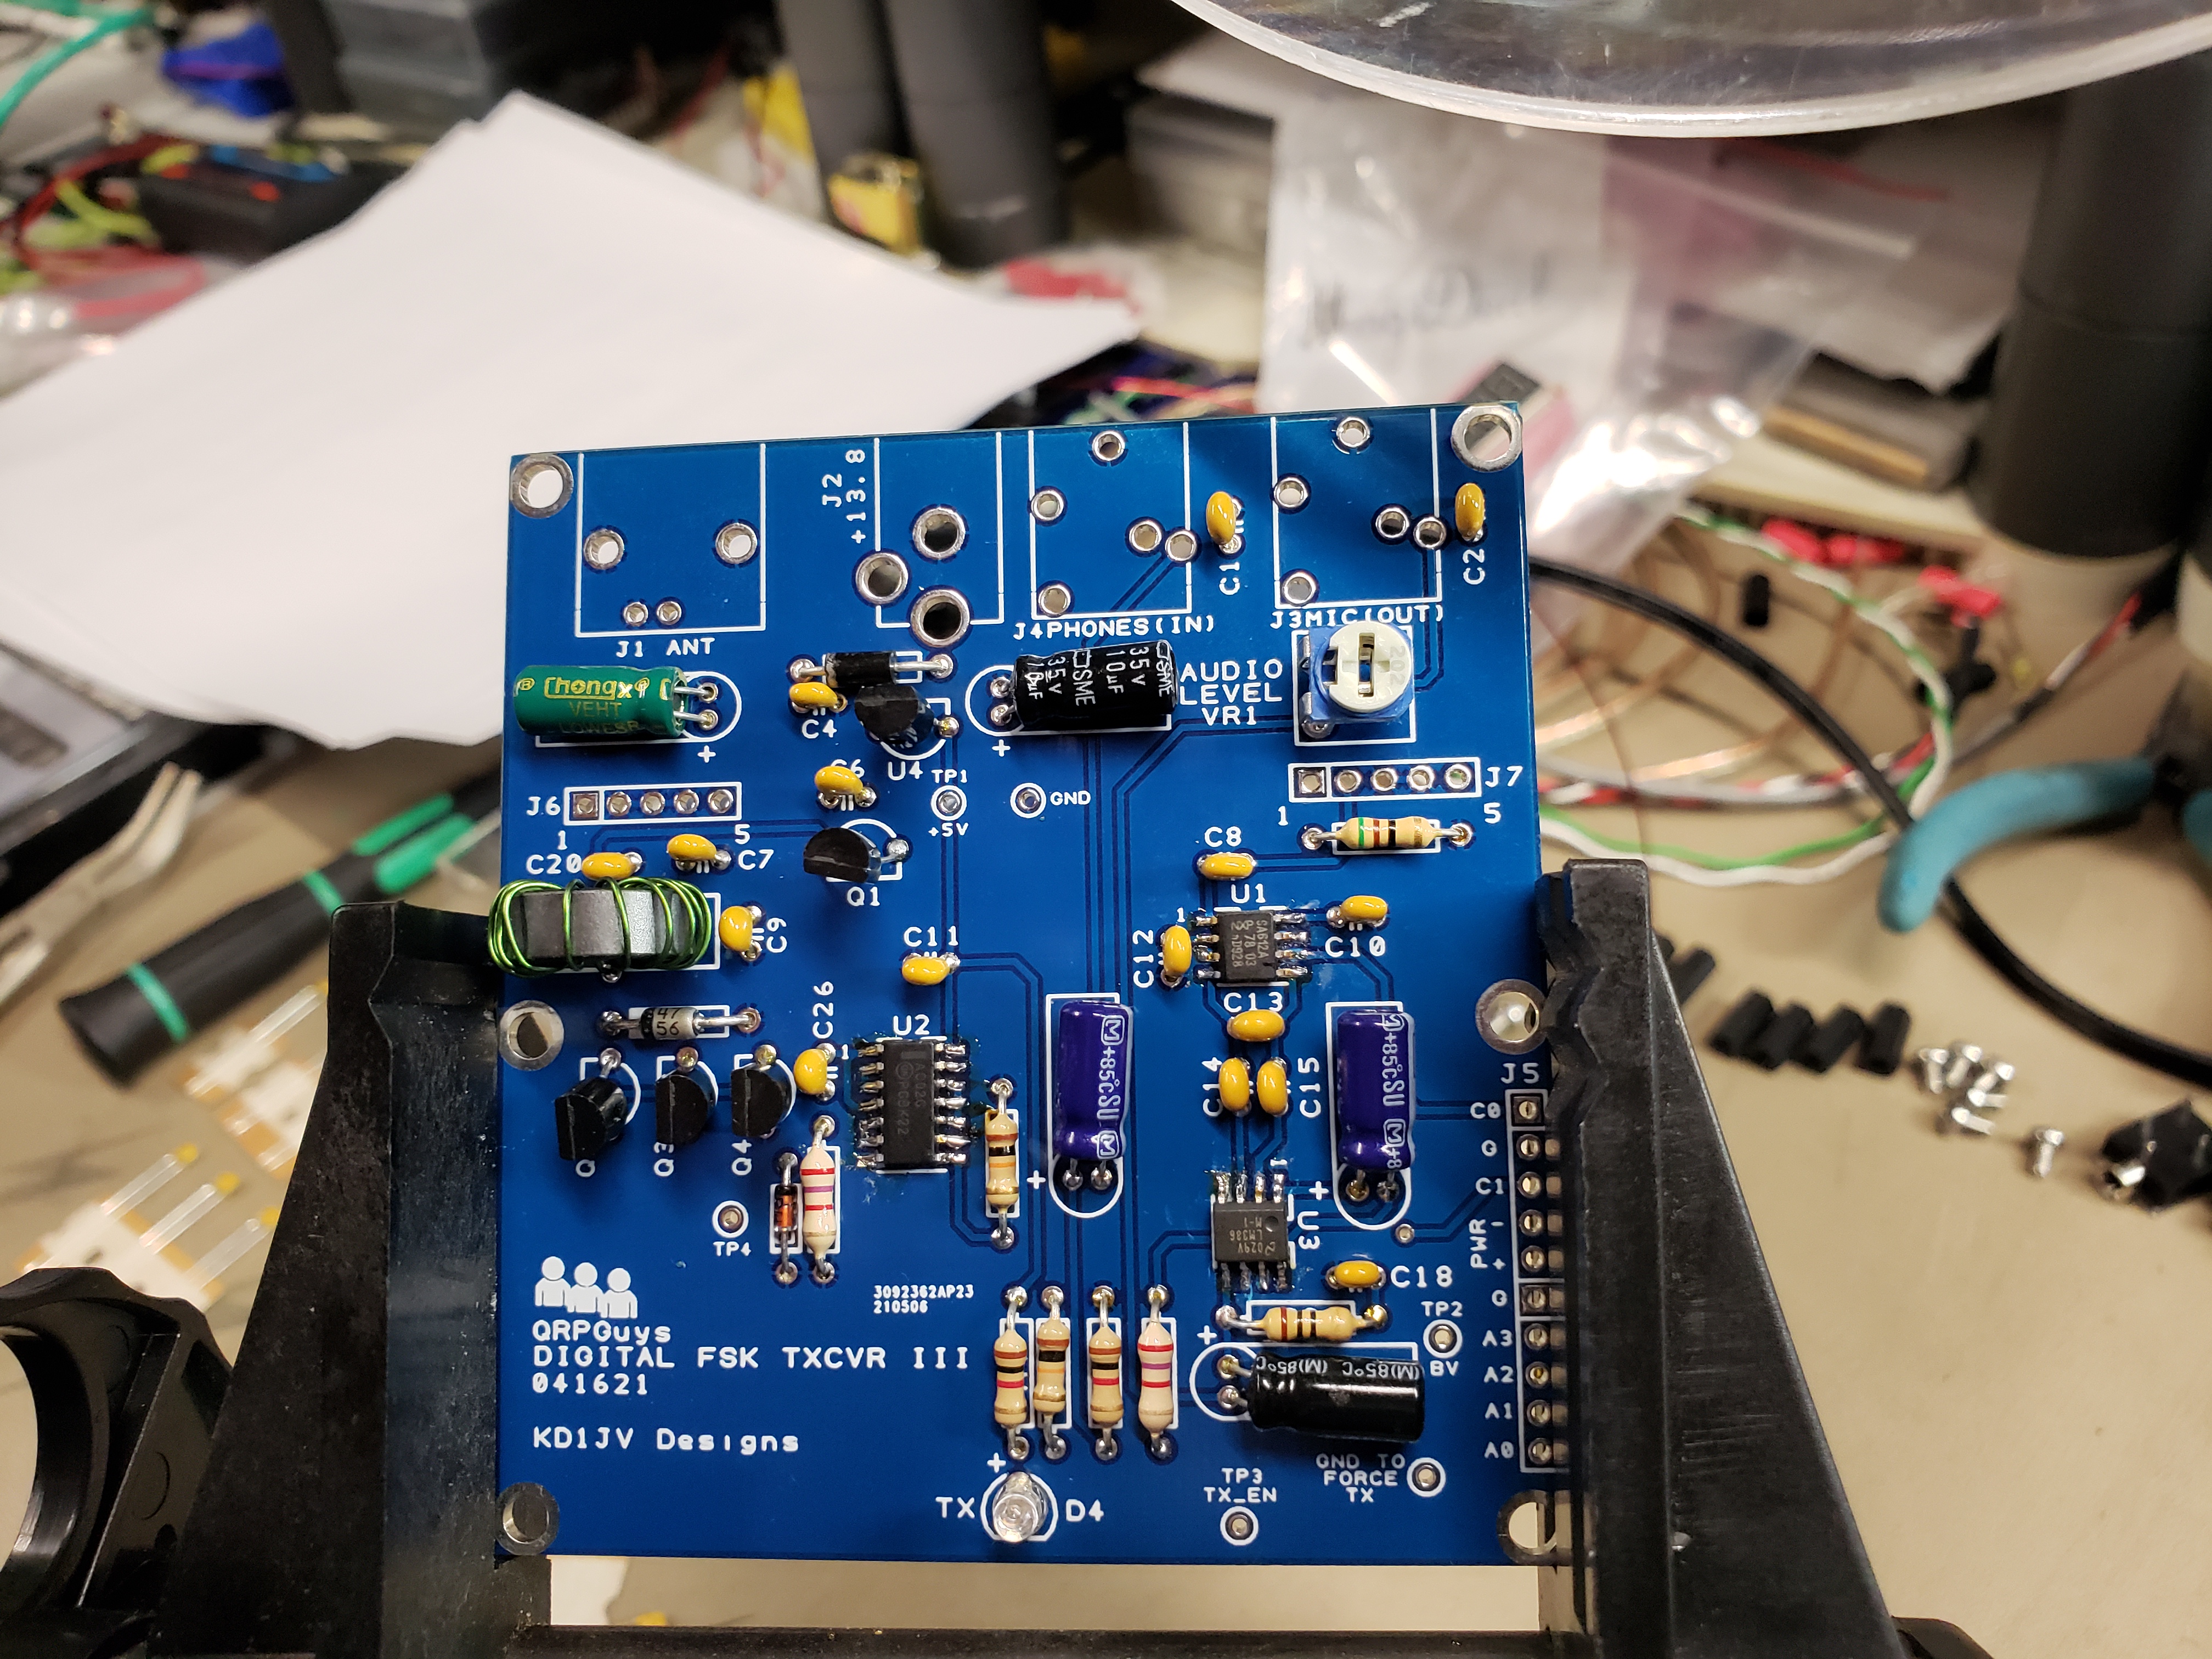
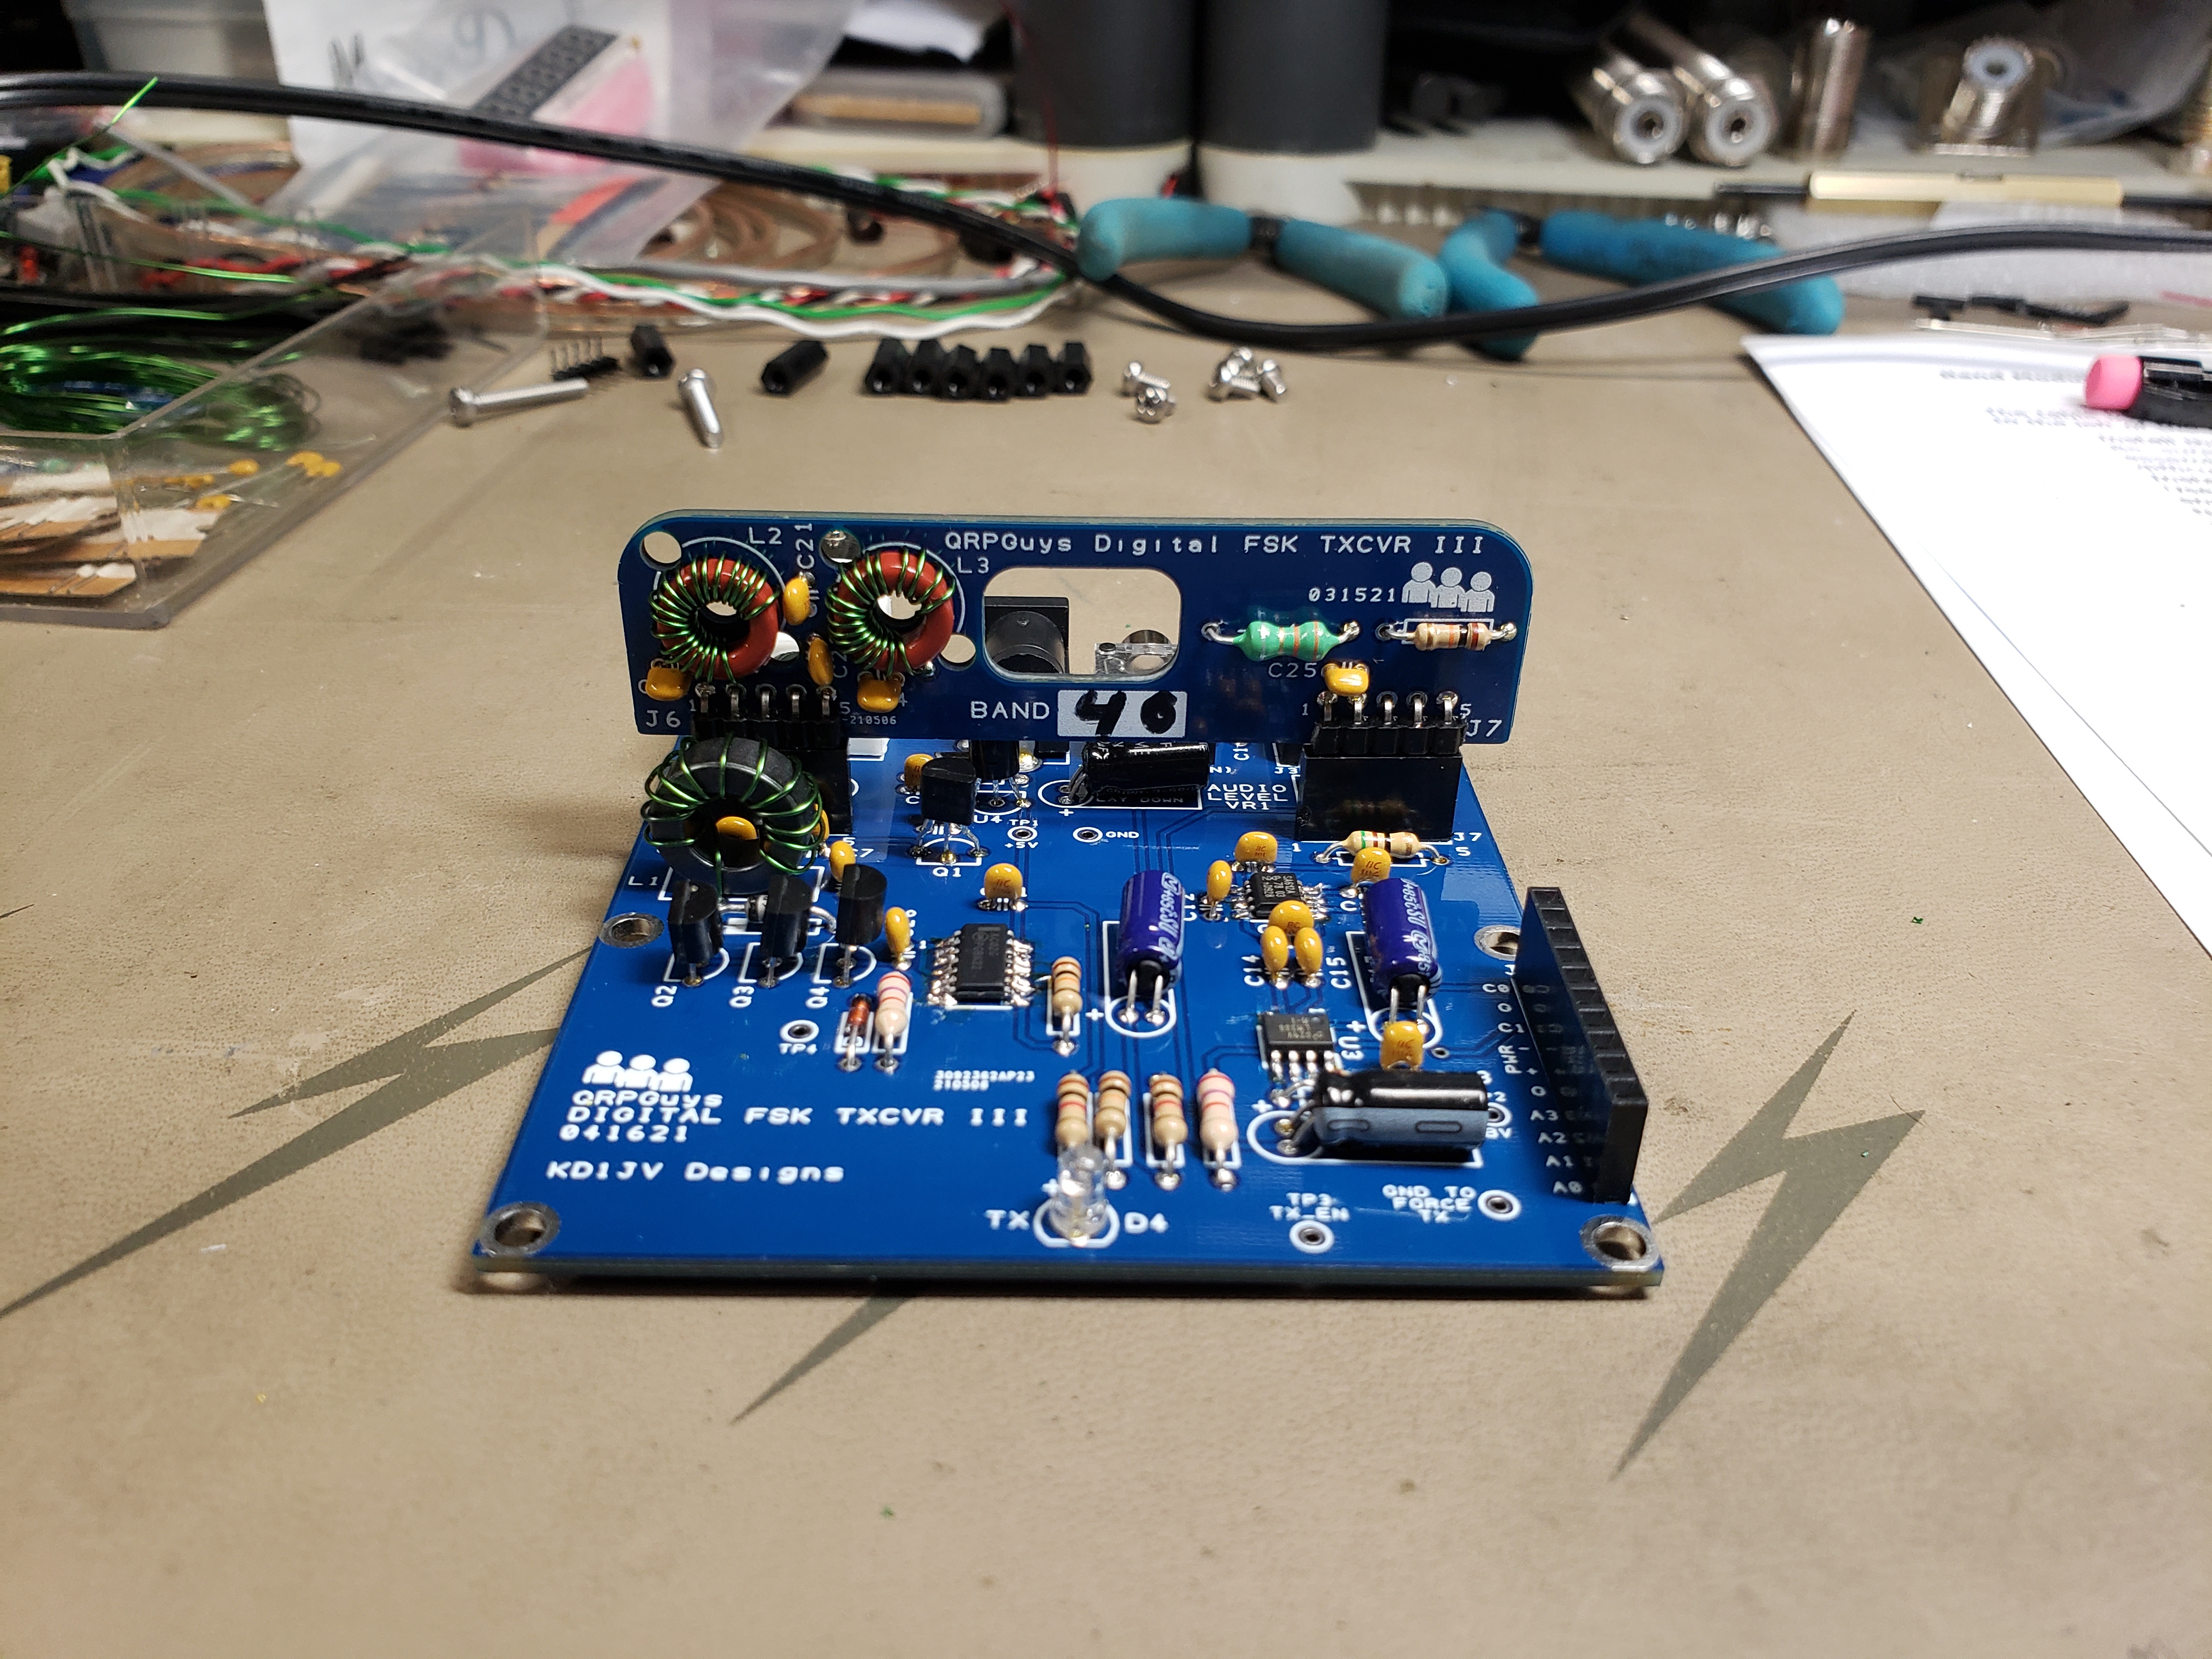
Here is a picture of the completed primary board.
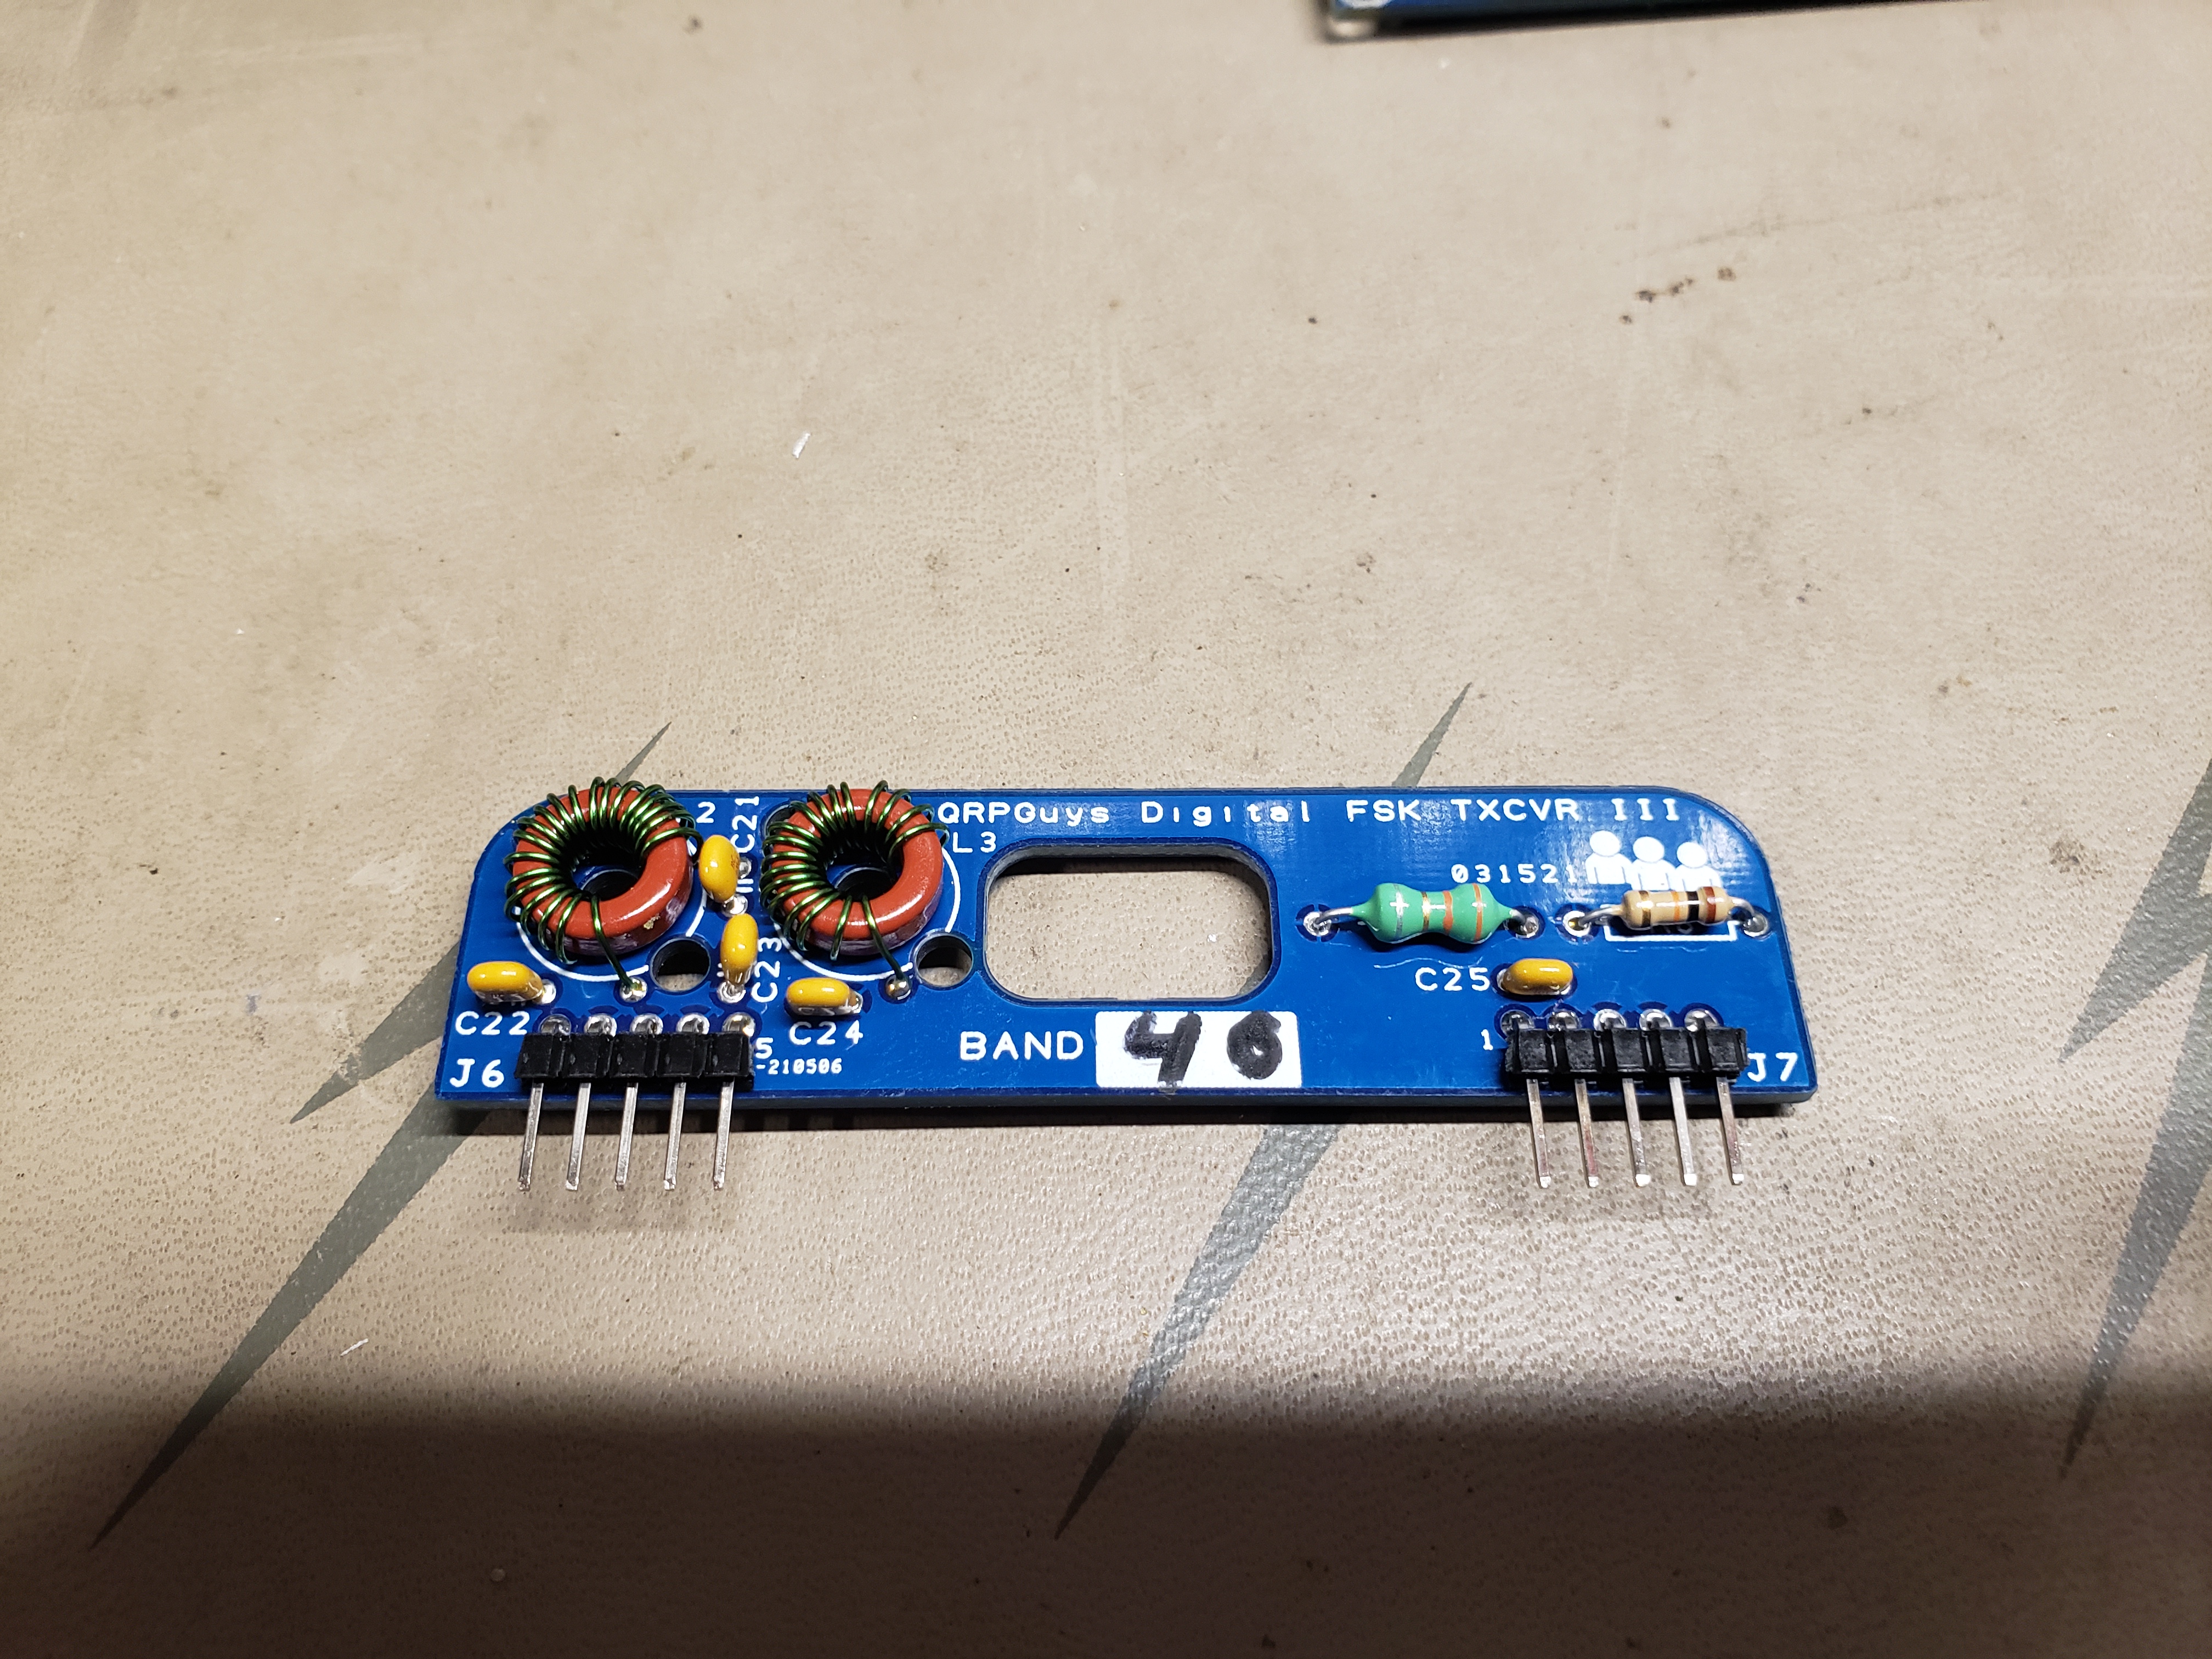
Here is the completed 40M frequency board.
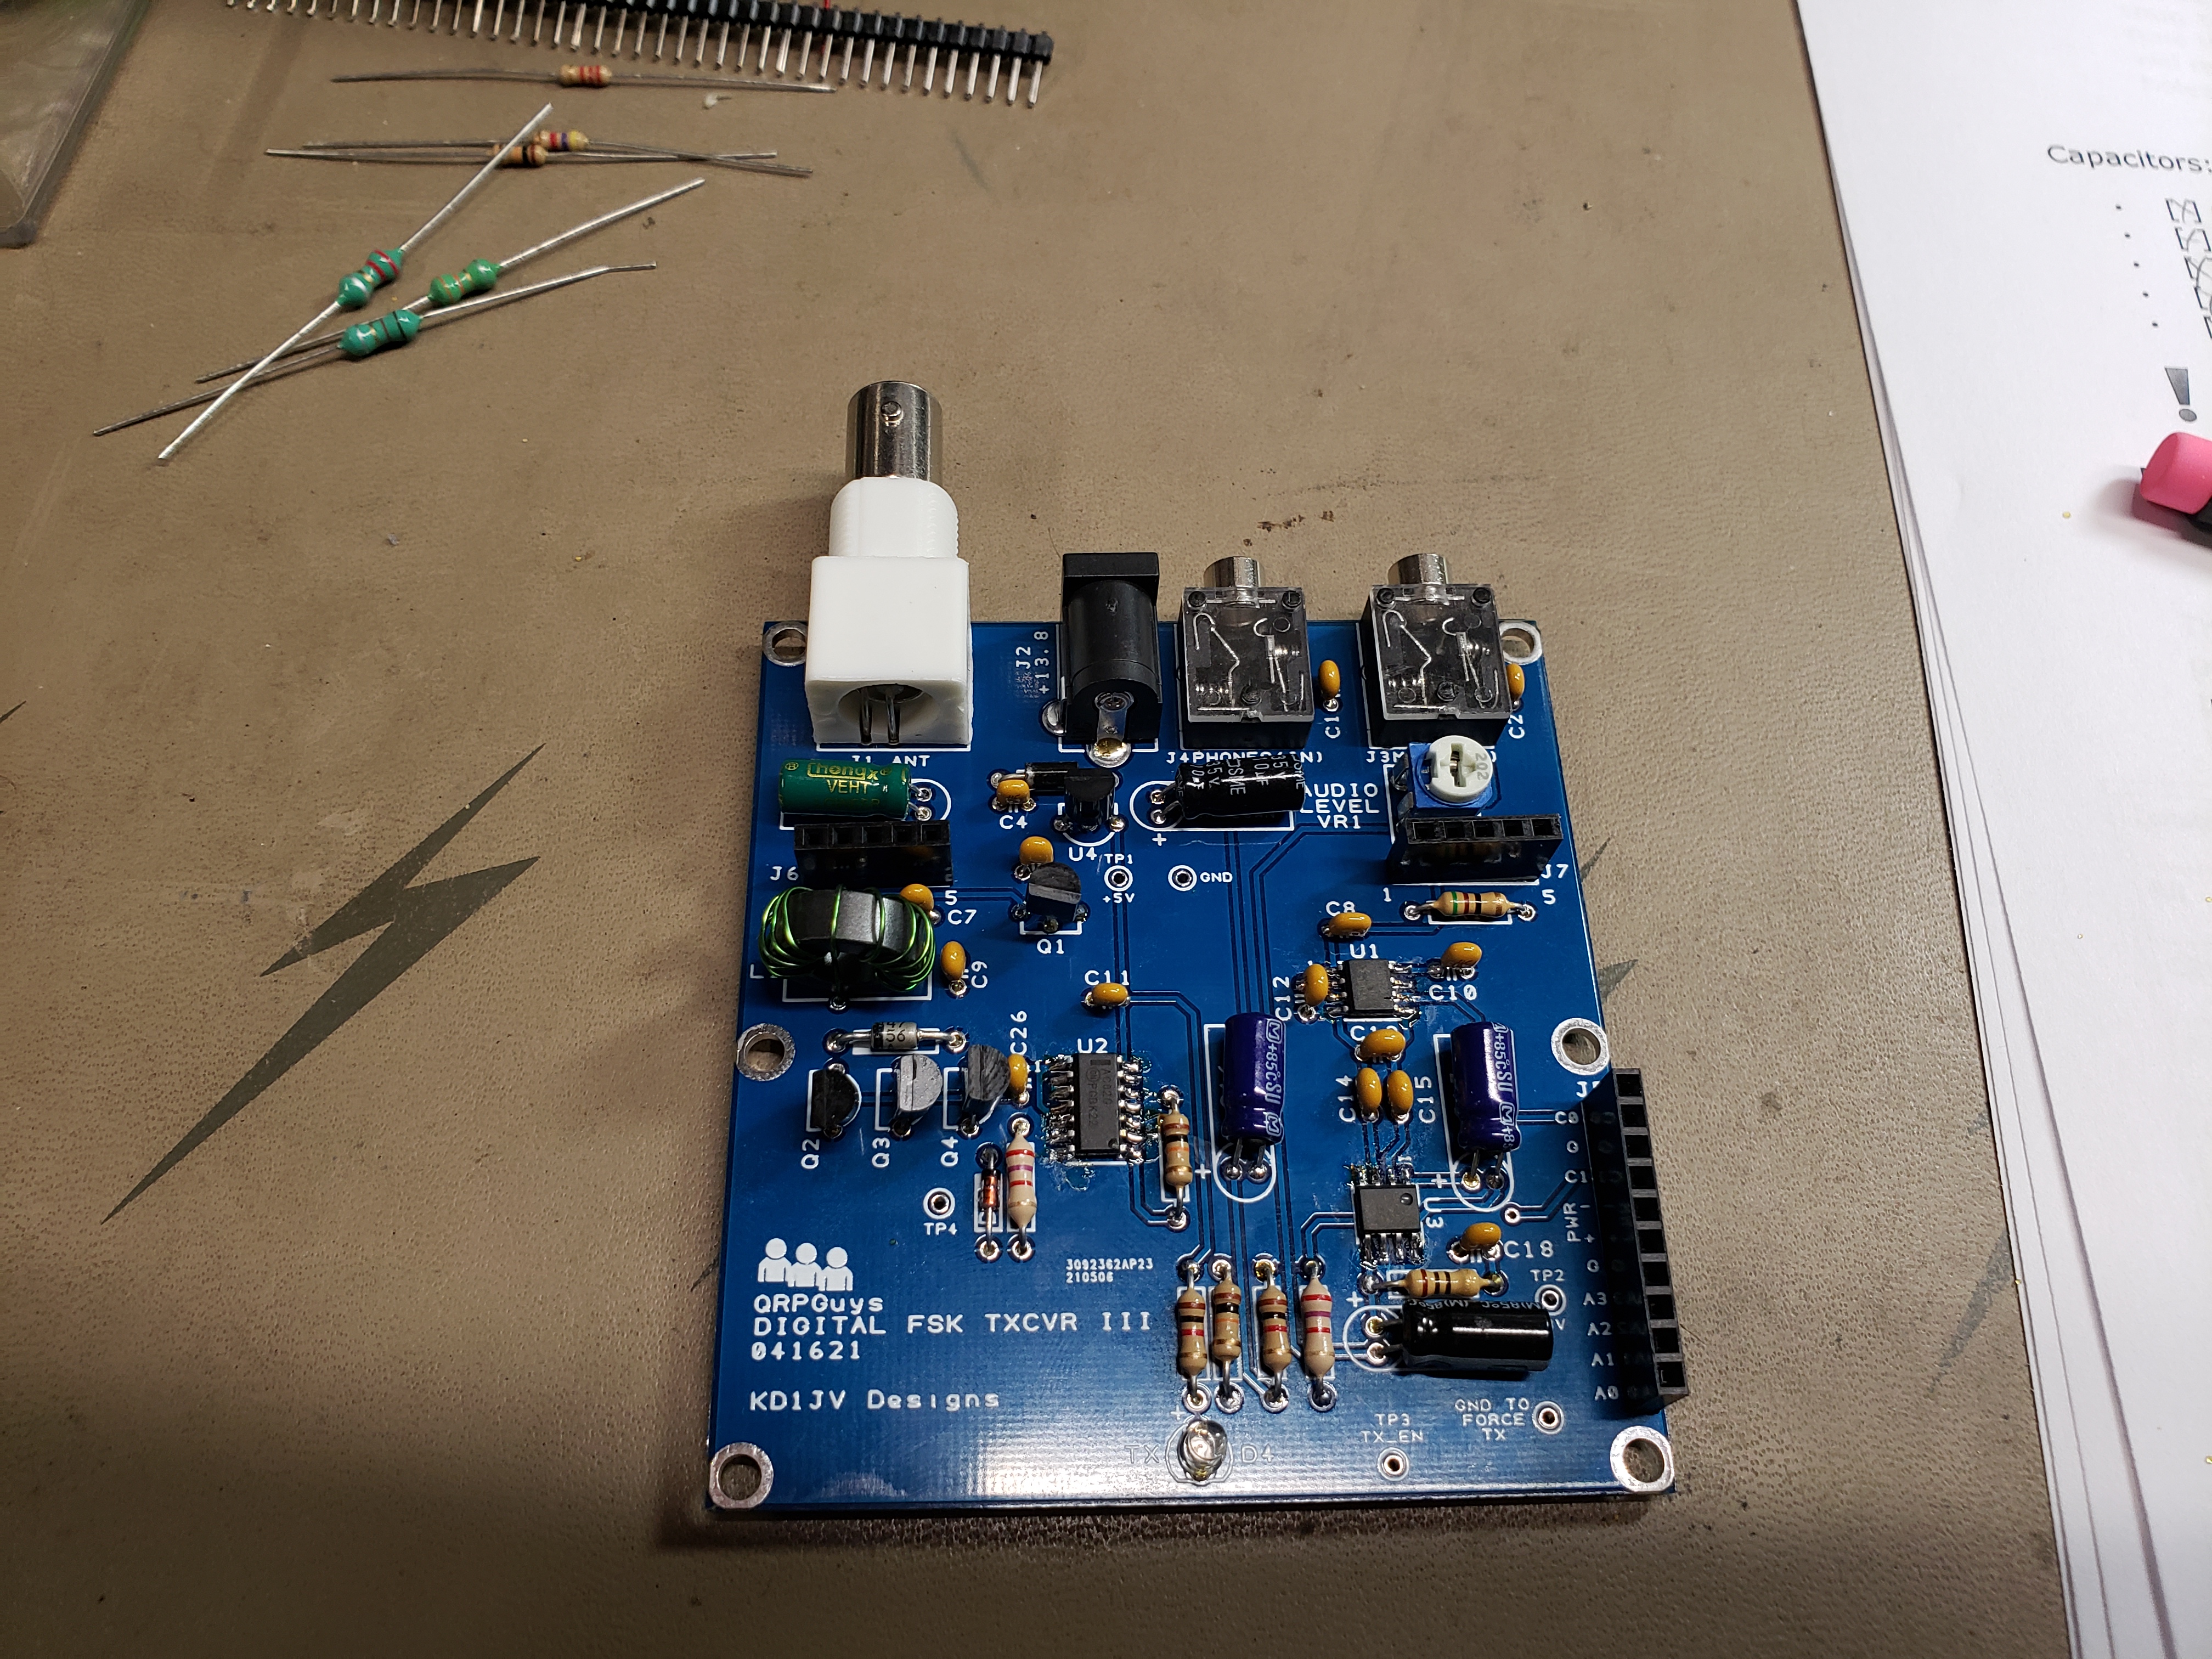
Here is the frequency board plugged into the main board.
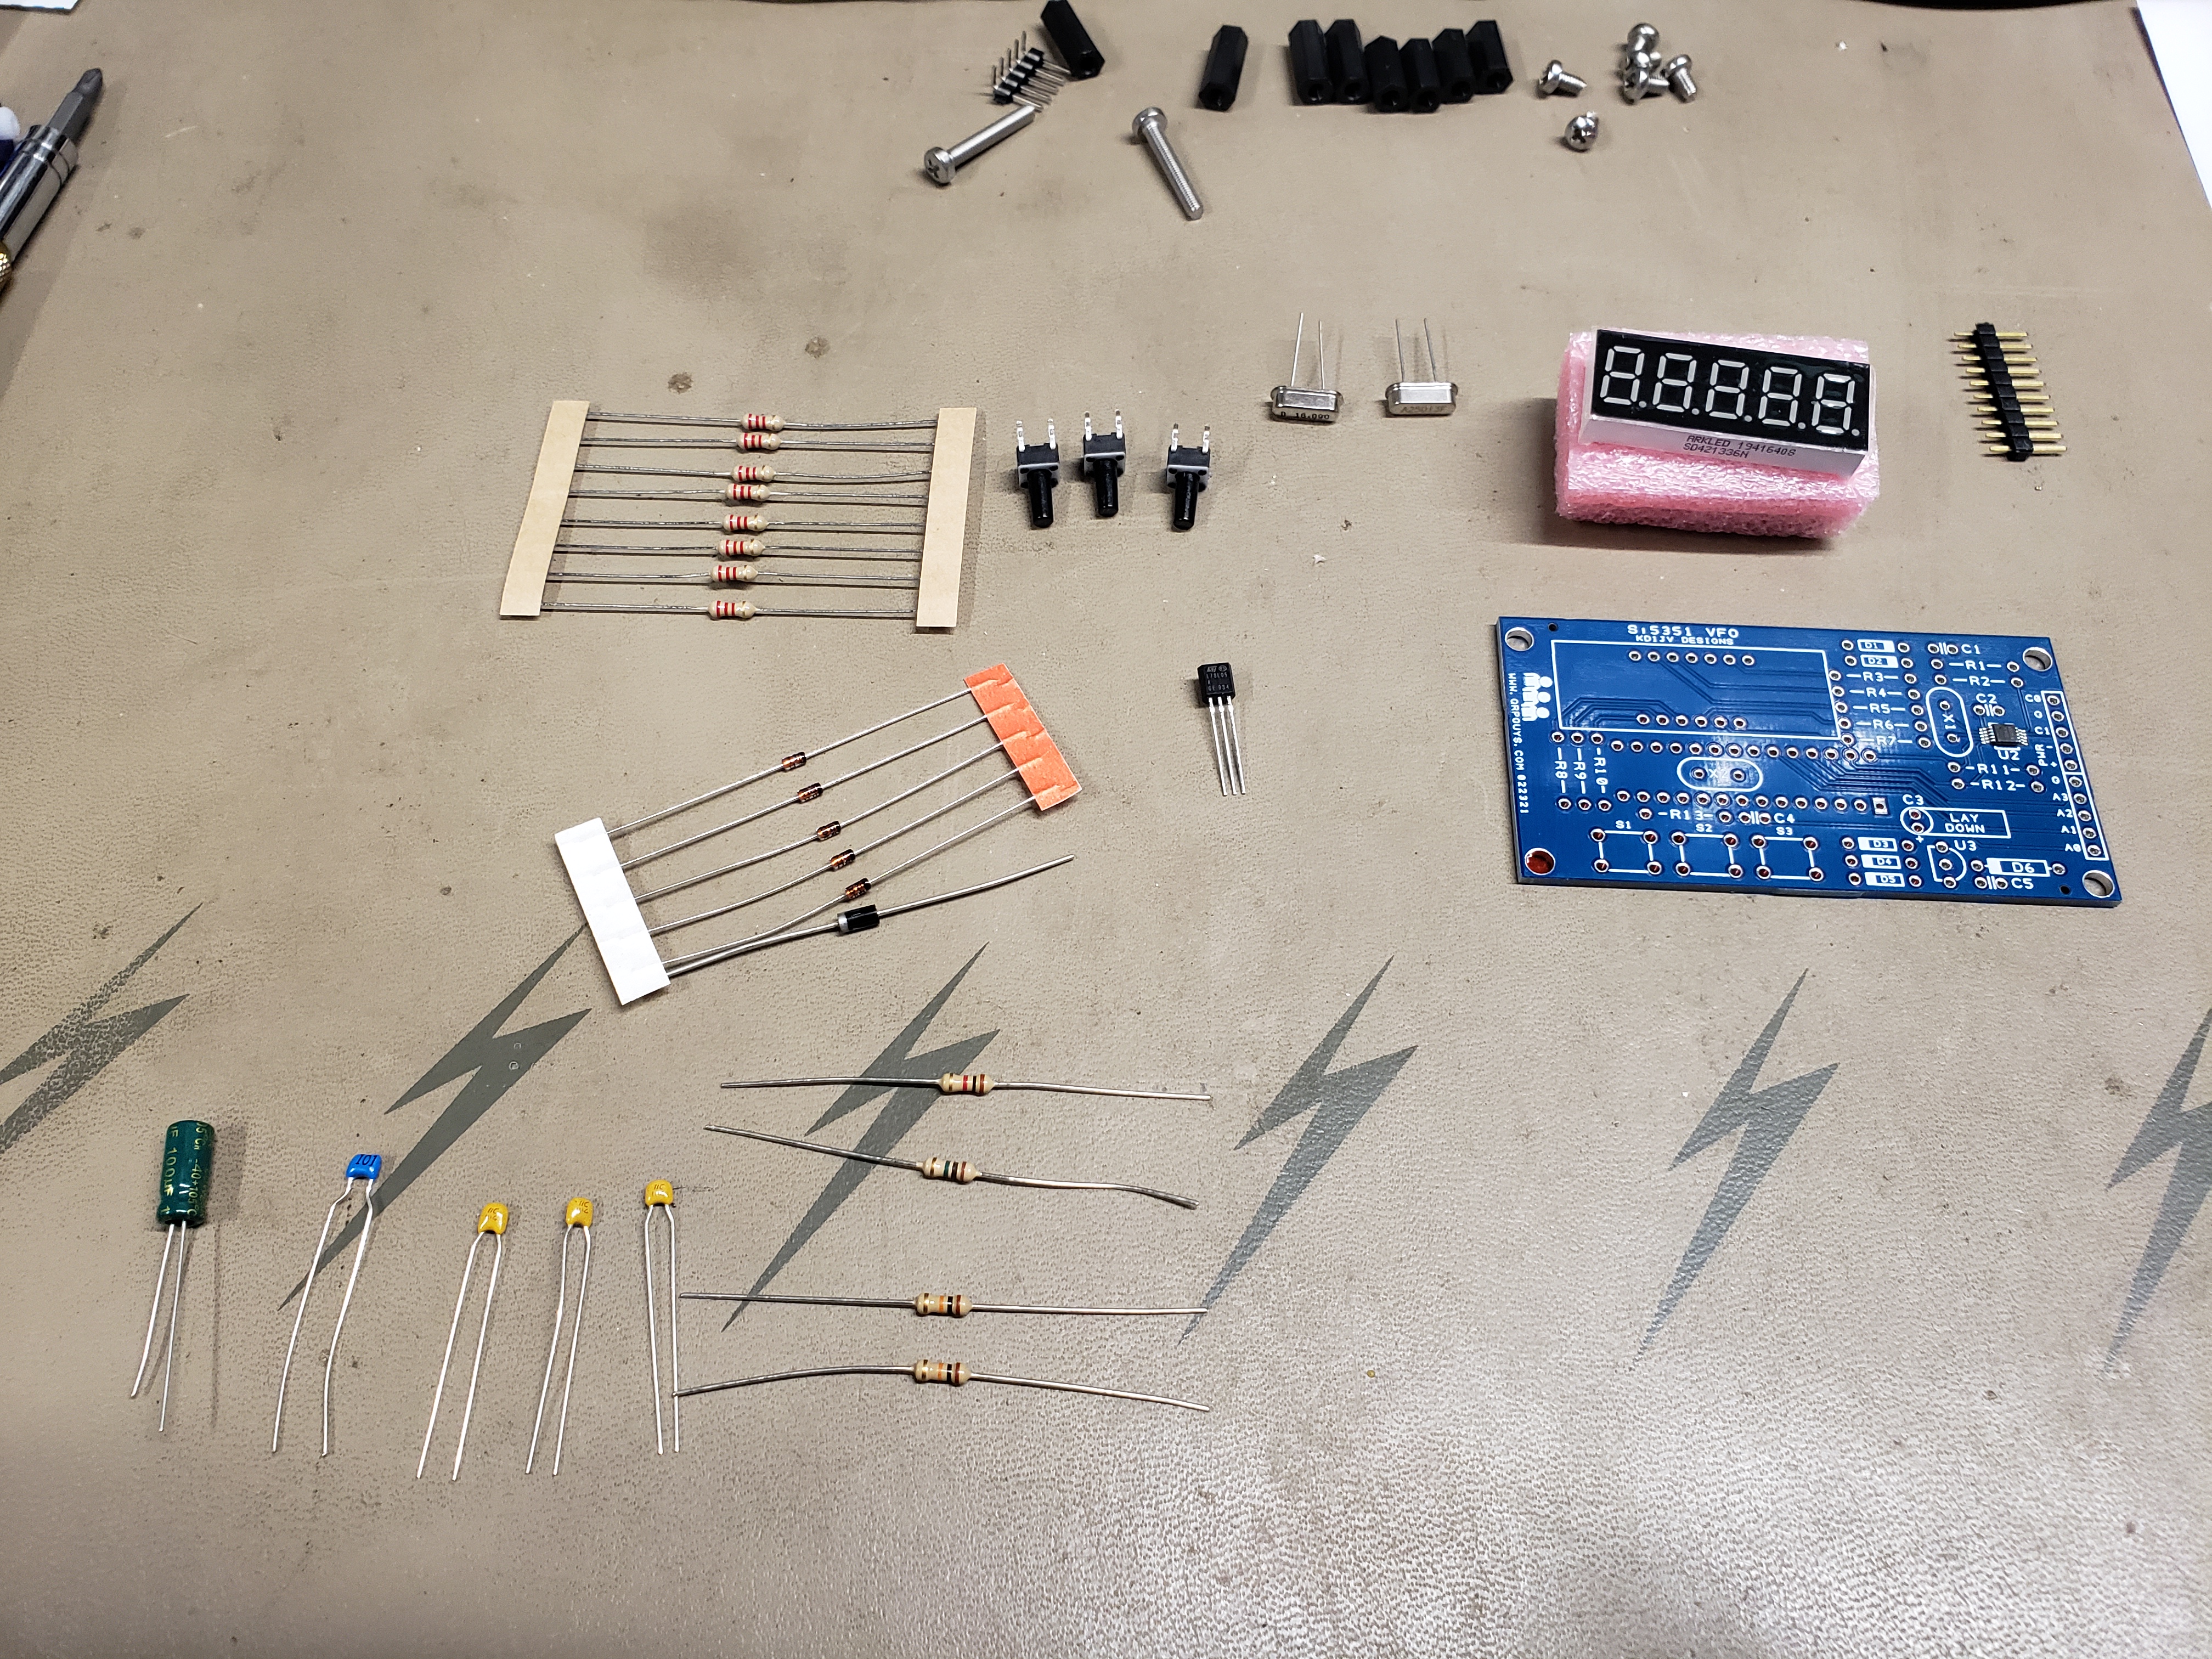
Here the third board with parts laid out for inventory before assembly. This board contains the processor, display and settings buttons.
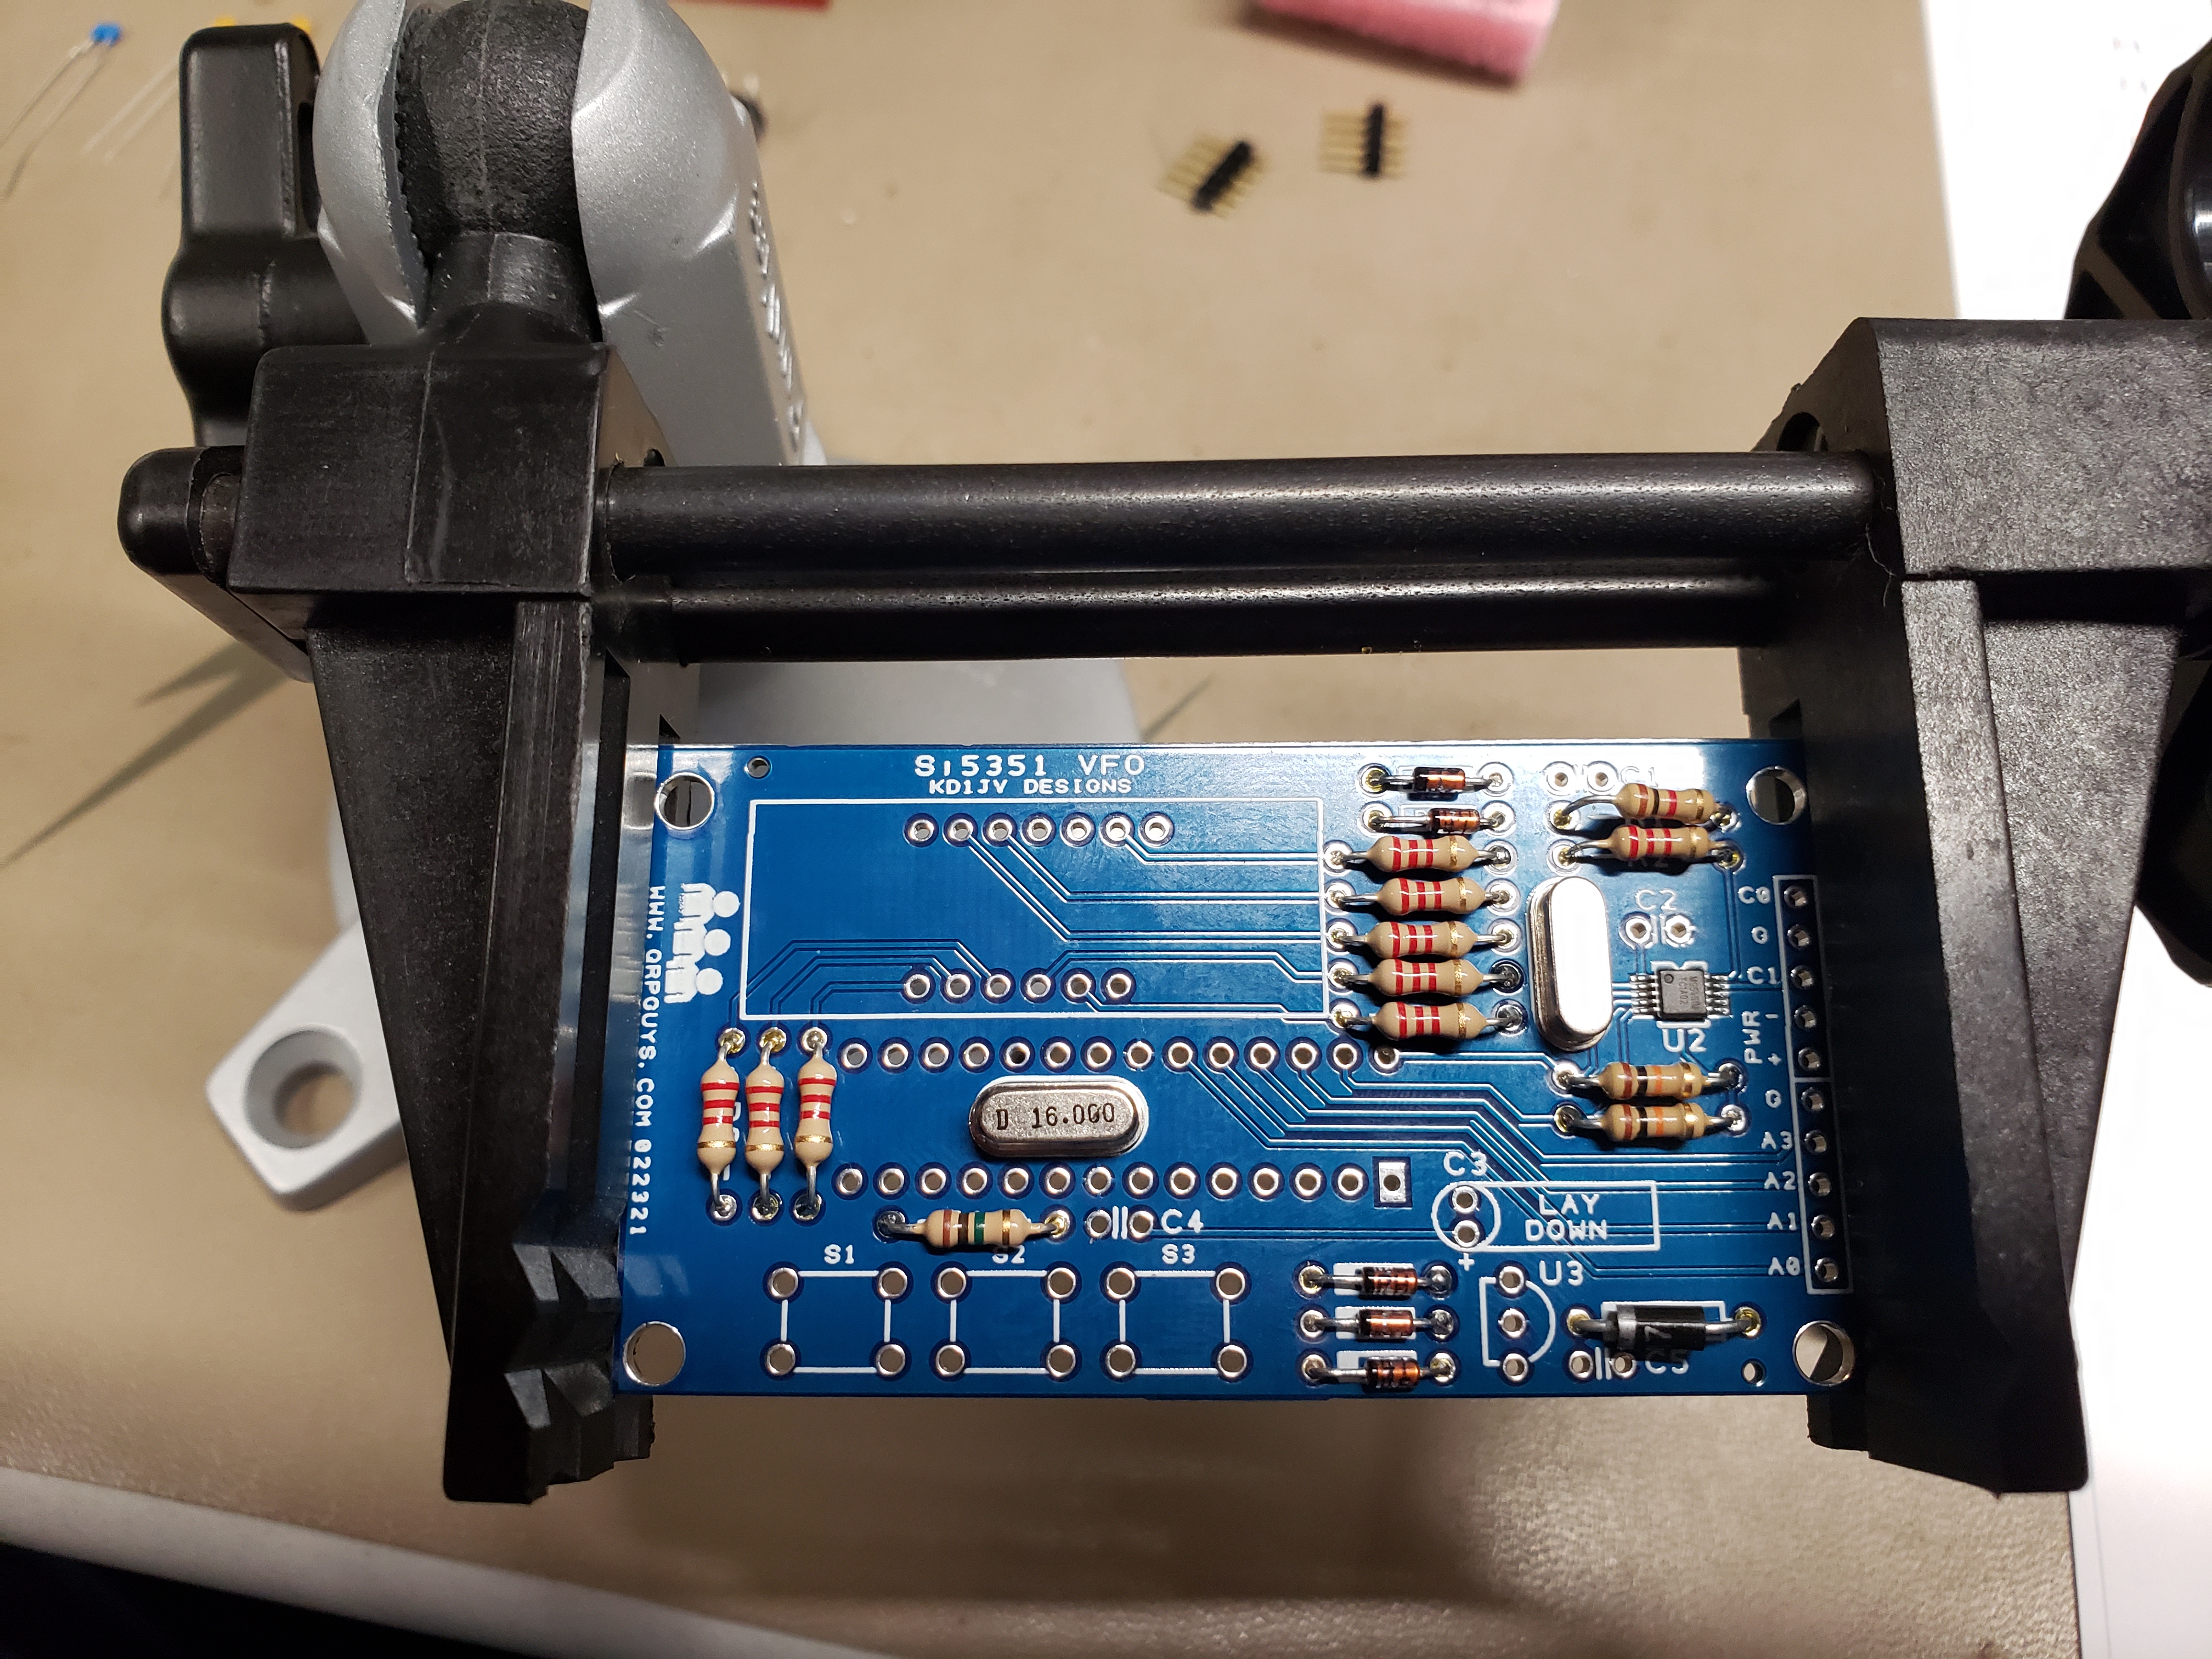
Here are the resistors, diodes and crystals solder into the board.
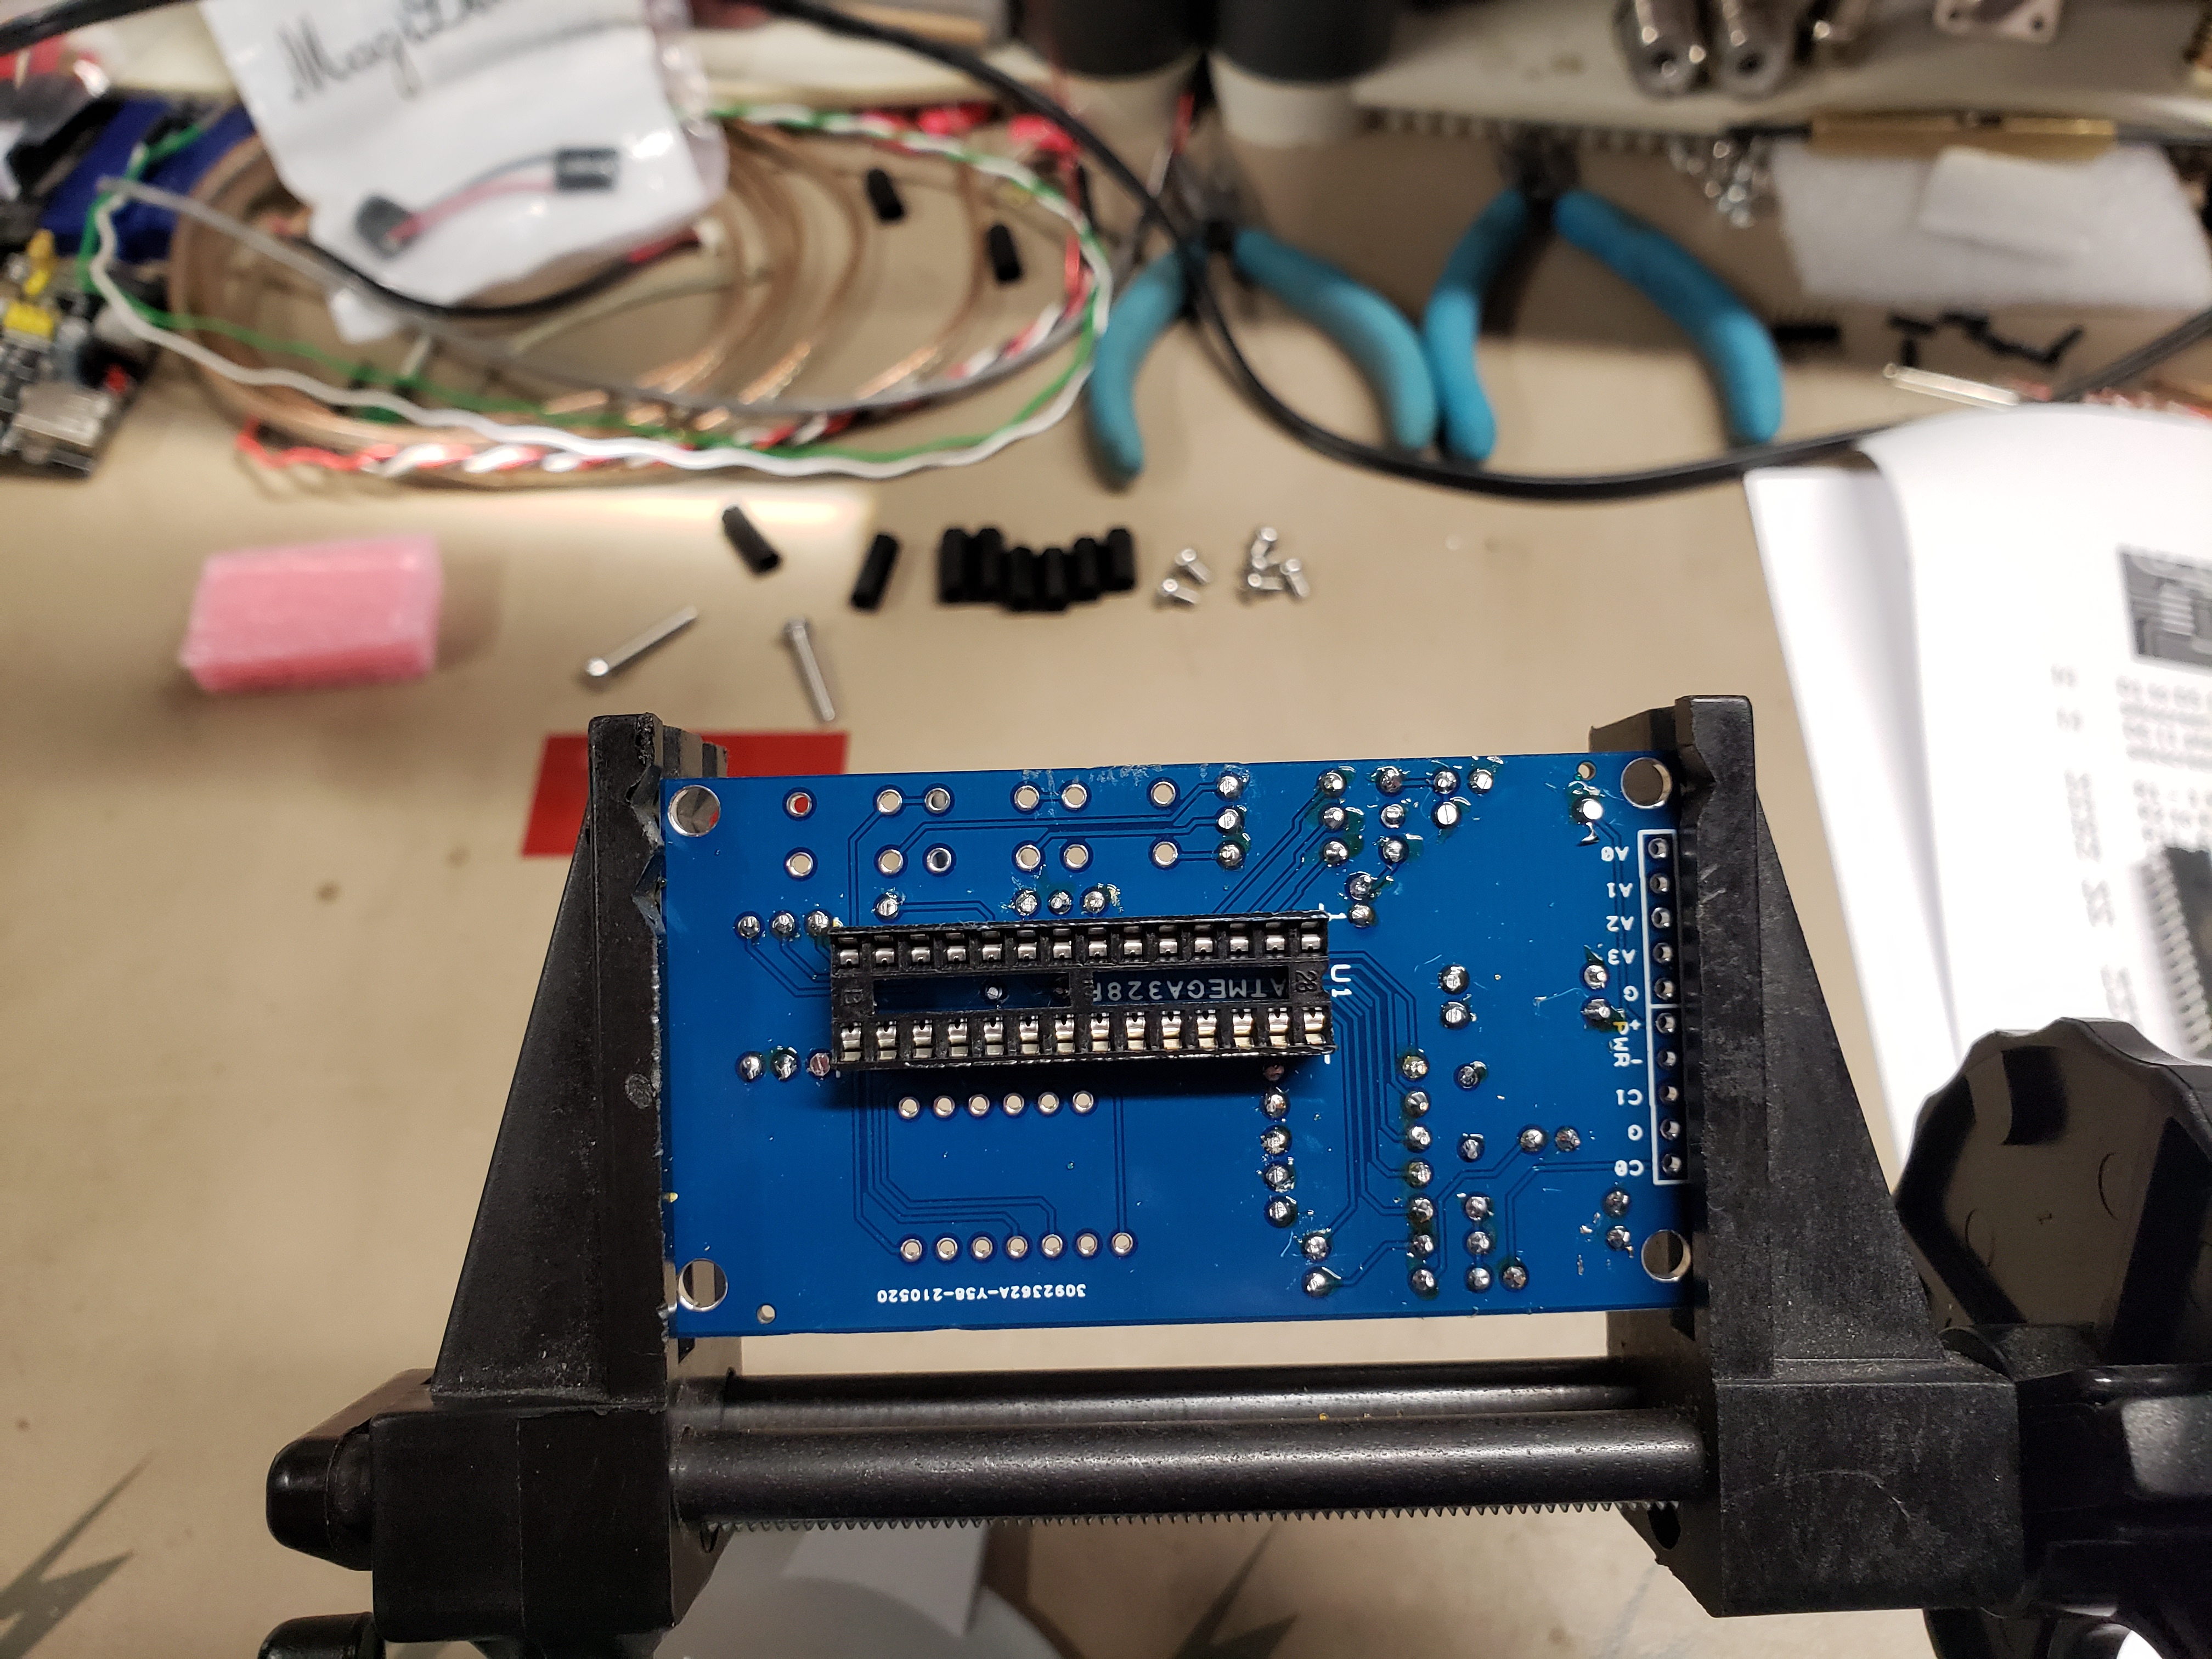
To save space the socket for the processor is installed on the bottom of the board.
Here is a picture of the fully assembled board set ready for testing.
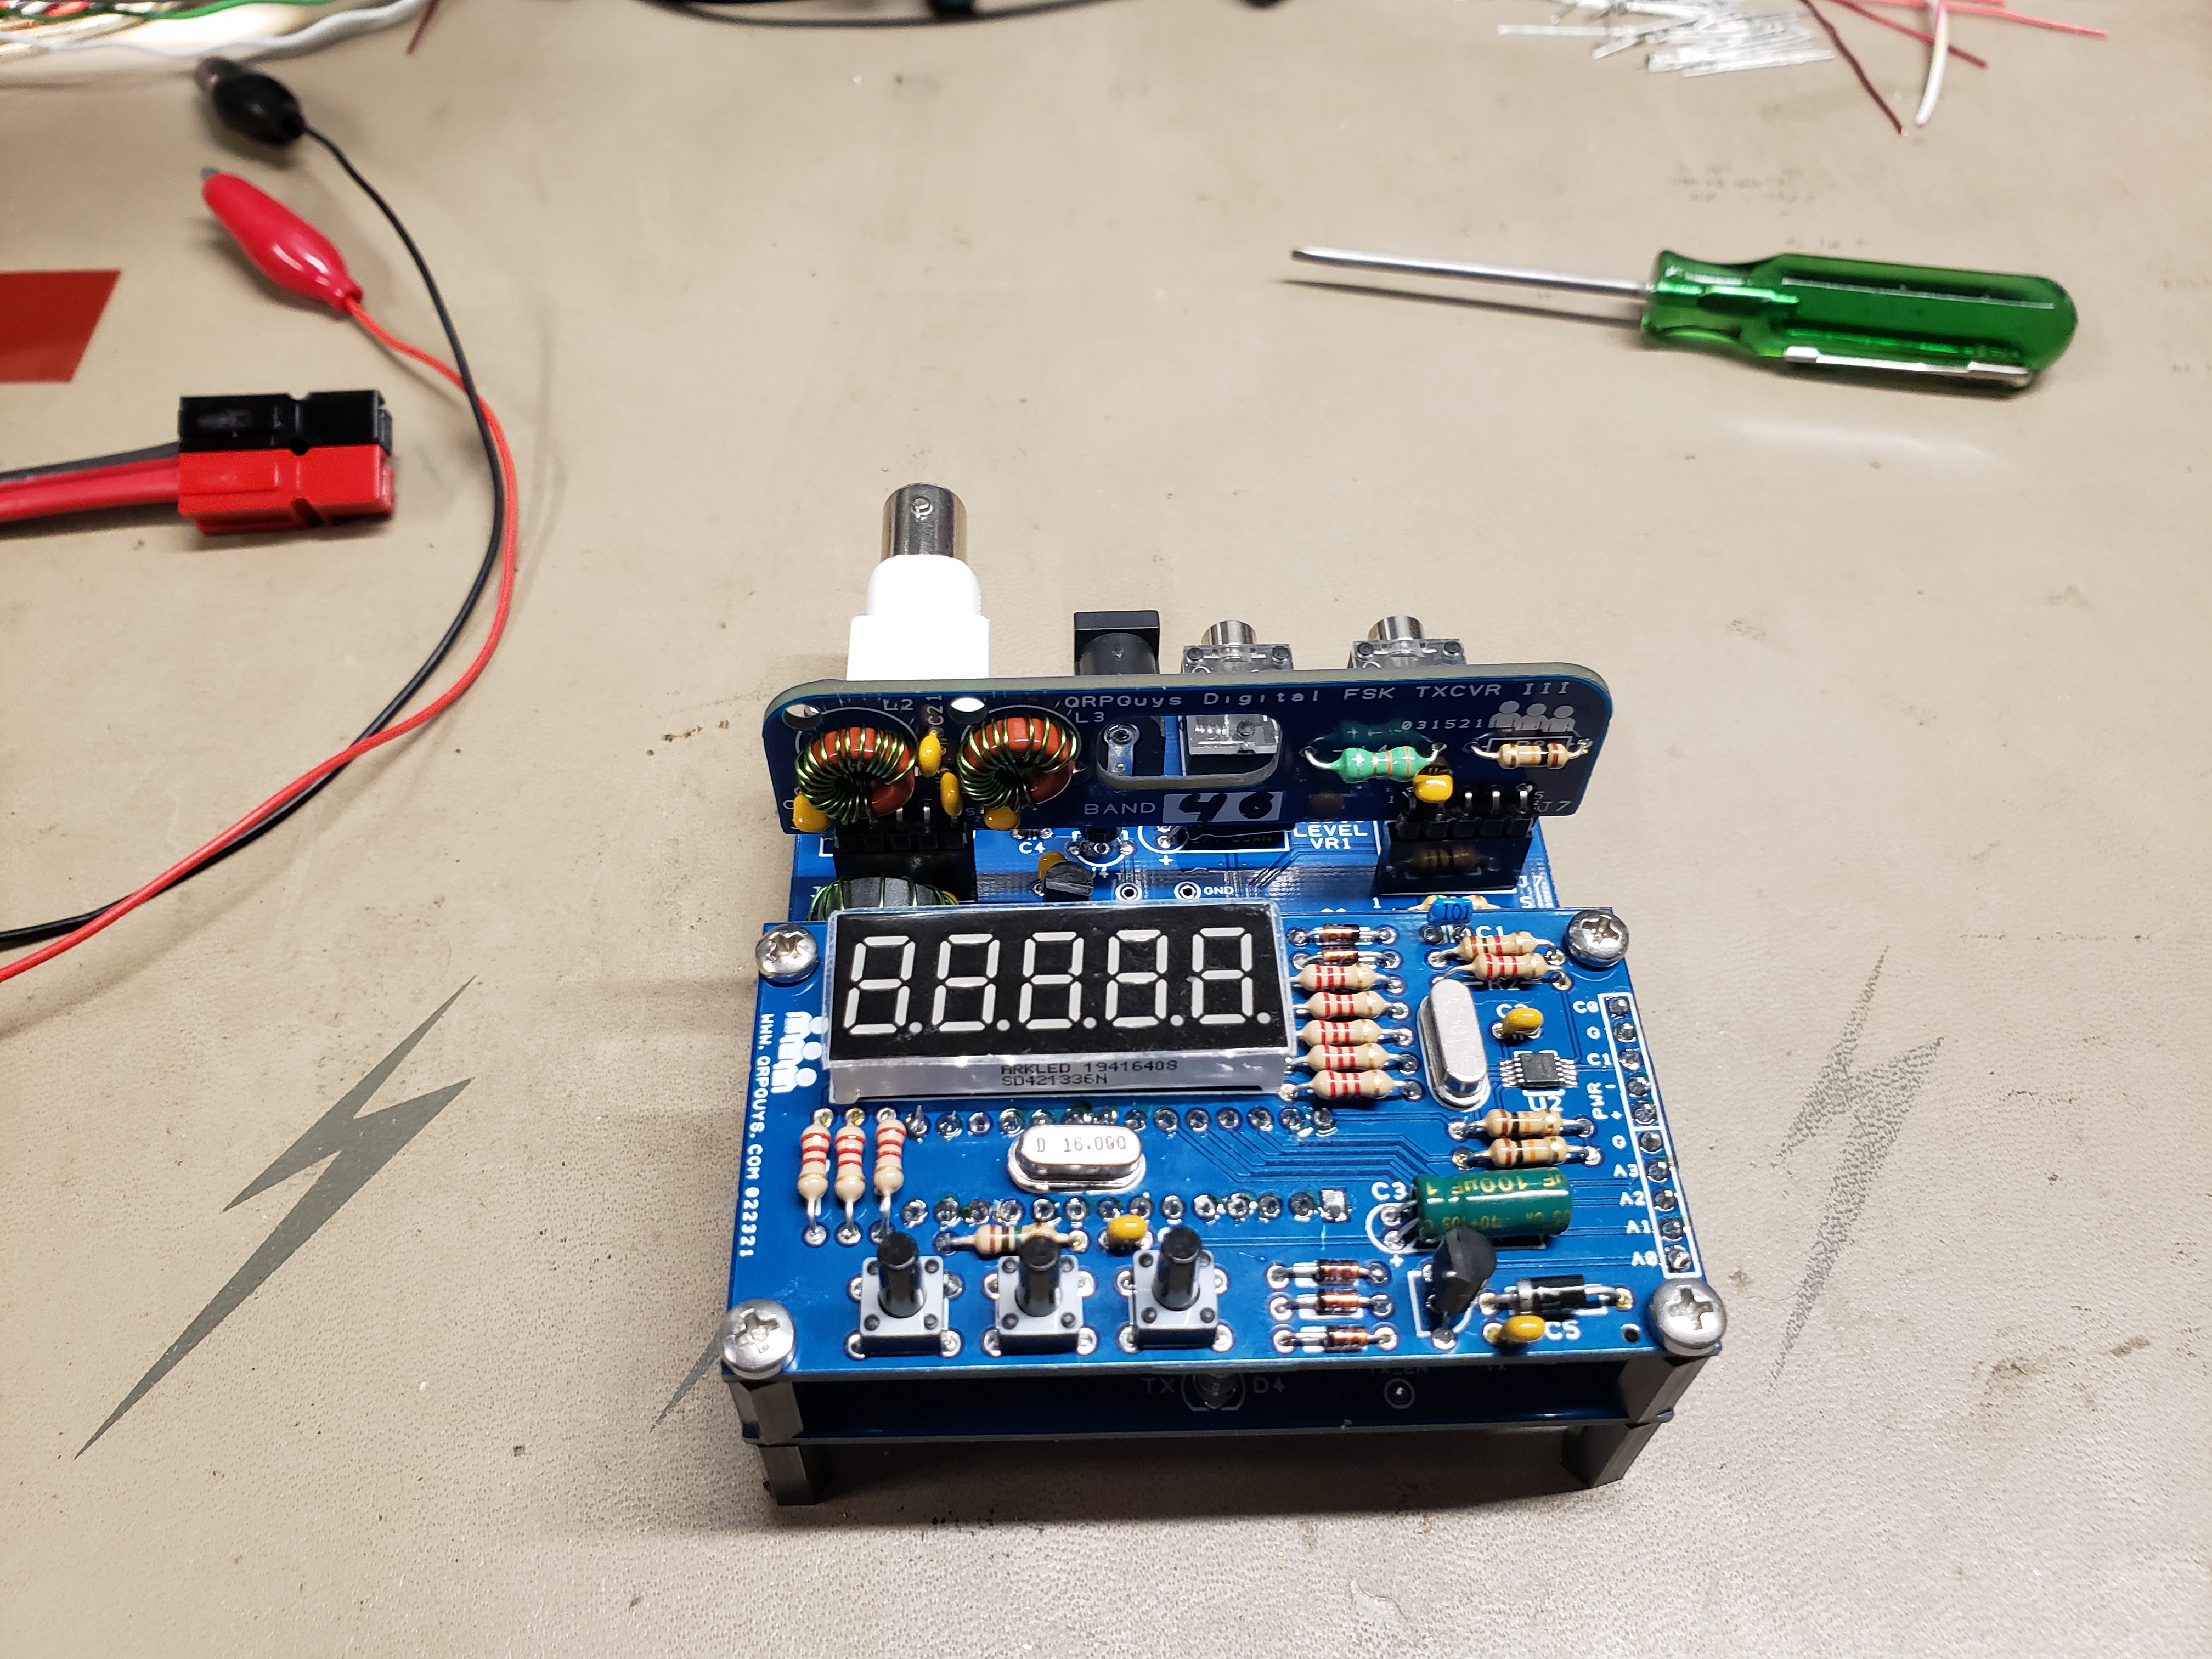
When I plugged in the board for the first test it did not work correctly. I then inspected the board closely and discovered that I had soldered two diodes on backwards. It then passed the initial power up test.
I then was able to connect it to a Raspberry Pi and make my first set of digital contacts. This was with the transceiver outputting about 4Watts of power and I made some contacts as far away as 1000km.
Posted with STEMGeeks
Congratulations @mytechtrail! You have completed the following achievement on the Hive blockchain and have been rewarded with new badge(s):
Your next target is to reach 100000 upvotes.
You can view your badges on your board and compare yourself to others in the Ranking
If you no longer want to receive notifications, reply to this comment with the word
STOPCheck out the last post from @hivebuzz:
Hey @mytechtrail, sorry to jump in off-topic.
Do you mind reviewing and supporting the Hive Authentication Services proposal? That would be much appreciated.
Your feedback about the project is welcome too.
Thank you.
Dear @mytechtrail,
Do you mind supporting the HiveBuzz proposal for 2022 so our team can continue its work next year?
You can do it on Peakd, ecency, Hive.blog or using HiveSigner.
https://peakd.com/me/proposals/199
We wish you a Happy New Year!
Hello I am Fallowing you now to help support the Canada front end on Hive, a room which you have joined. I hope to interact more and soon in the room.
Nice project, and nice feed of projects. I have been looking at similar projects like that from online shops but was not sure, i might go ahead and build on now. That looks fun. Thanks for sharing.
Hey! I recently got interested in ham radio and preparing to pass my license, this kit seems to be a great starting point for digital modes! Can you share a little bit more details about which modes you used and with which software?
I run WSJT-X and operate FT8 on 40M. I run this software on a Raspberry Pi.
Thank you for your reply! I was going to ask for the other parts of your setup but I saw you posted about it today :)
I run WSJT-X and operate FT8 on 40M. I run this software on a Raspberry Pi.