FreeCAD Part Modeling Tutorial 30
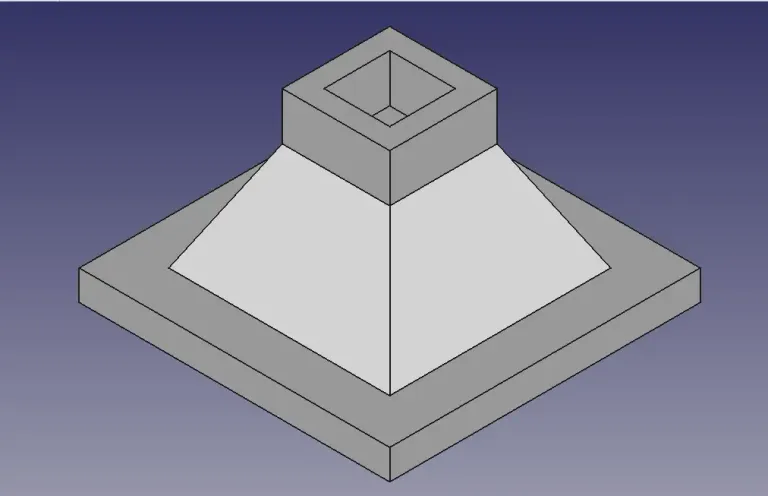
Hello Friends Welcome to FreeCAD Part Modeling Tutorial 30. In this Tutorial I have explained How to Model above part in FreeCAD. This Tutorial is designed for beginner user to understand part design Workbench in FreeCAD and basic modeling approach in FreeCAD.
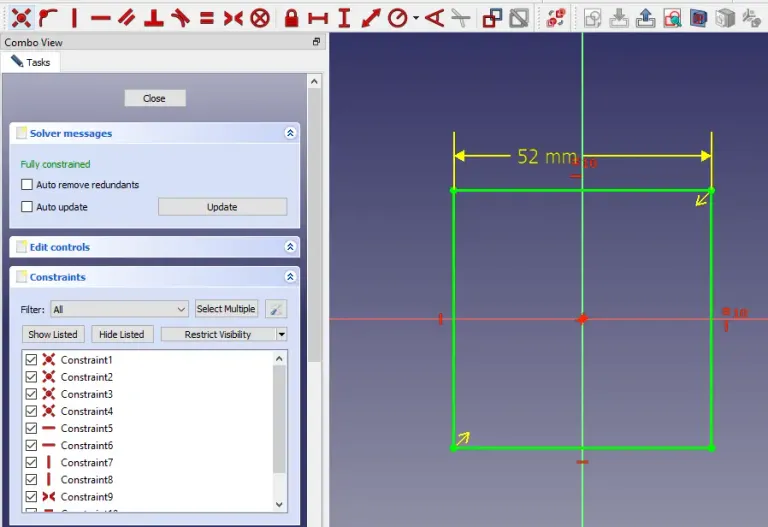
STEP 01-: Create the base profile as shown in below image.
STEP 02-: Now create the Pad of 5mm.

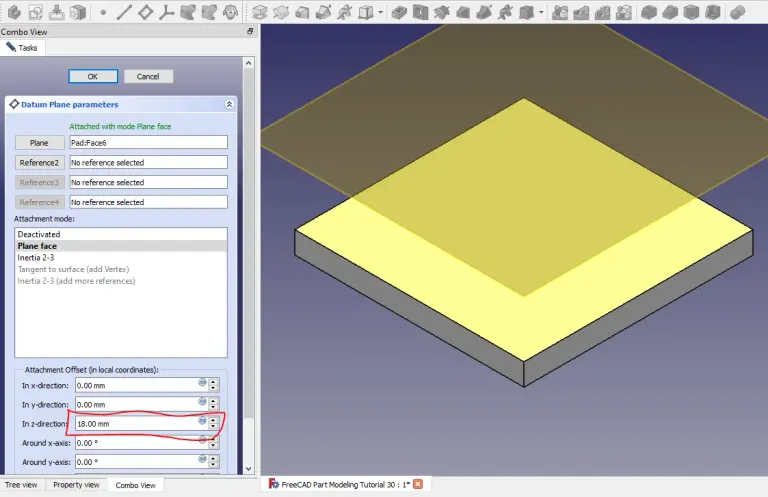
STEP 03-: Create a datum plane at distance of 18mm.
STEP 04-: Now select the face and create the base profile.

**STEP 05-: Now select the datum plane and create the shown profile.
**

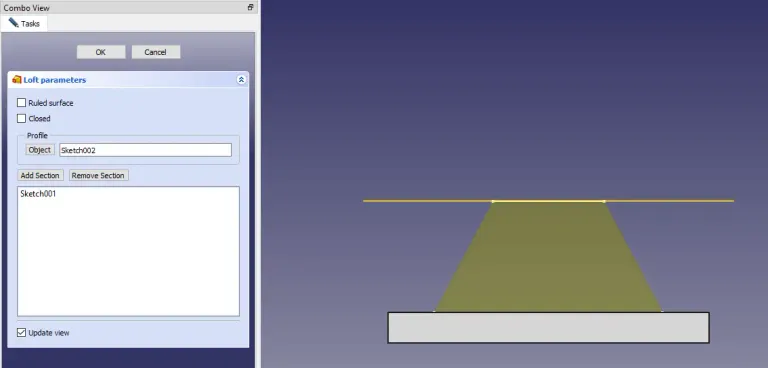
STEP 06-: Now select the loft tool and create the create the profile as shown in the below image.
STEP 07-: Now project the geometry and create the below profile.
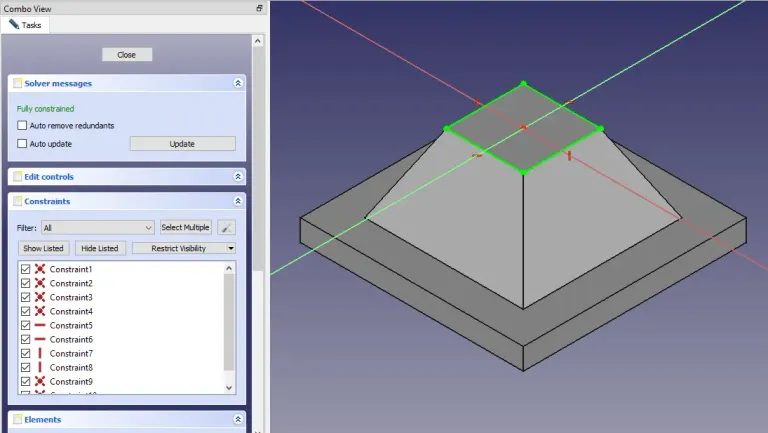
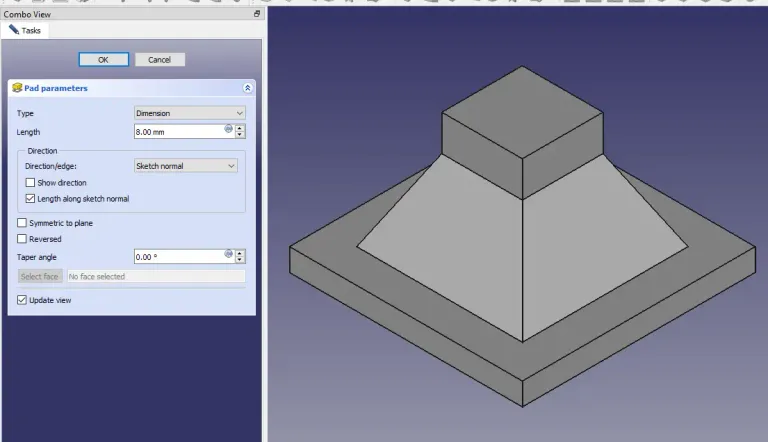
STEP 08-: Now extrude the profile by 8mm as shown in the below image.
STEP 09-: Now select the face and create the square of 11mm as shown in the below image.
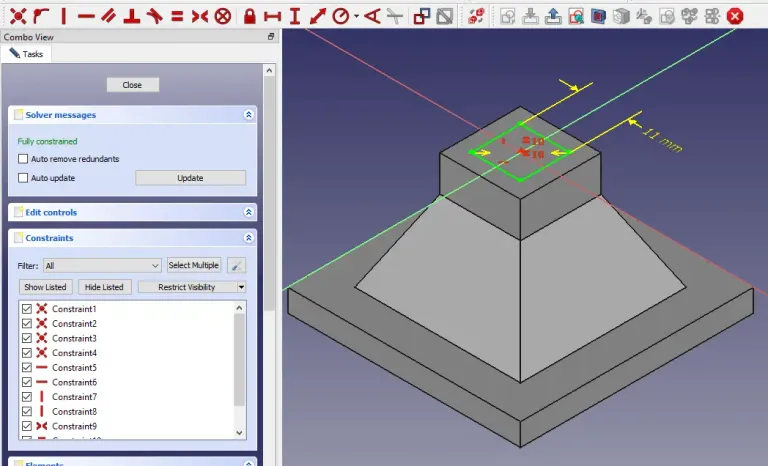
STEP 10-: Now extrude the profile by 8mm as sown in the below image.

“Thank you for reading! If you found this article insightful and valuable, consider sharing it with your friends and followers on social media. Your share can help others discover this content too. Let’s spread knowledge together. Your support is greatly appreciated!”
Posted from my Blog https://mechnexus.com with Exxp:FreeCAD Part Modeling Tutorial 30
Congratulations @mechnexus! You have completed the following achievement on the Hive blockchain And have been rewarded with New badge(s)
Your next target is to reach 500 upvotes.
You can view your badges on your board and compare yourself to others in the Ranking
If you no longer want to receive notifications, reply to this comment with the word
STOP