Two Trees Sapphire Pro Review
The Sapphire Pro is one of a few recent 3D printers that have hit the market using a coreXY kinematics. I’ve previously reviewed the Sapphire S and I’m excited to see how well the Two Trees Sapphire Pro handles itself. Let’s dive in and see how it performs in this Two Trees Sapphire Pro review.
Specifications:
Brand Name:Two Trees
Model Number: Sapphire Pro
Printer Size:405*380*460mm
Build Size: 220mm x 220mm x 220mm
Input rating:110V/220V AC,50/60Hz
Power Supply: 24V – 360W
Operational Extruder Temperature:Max 260C
Operational Print Bed Temperature:Max 100C
Interface Type: Micro SD
Supported Filament:PLA, ABS, PETG, Wood
Weight:11.5kg
Unboxing The Sapphire Pro 3D Printer
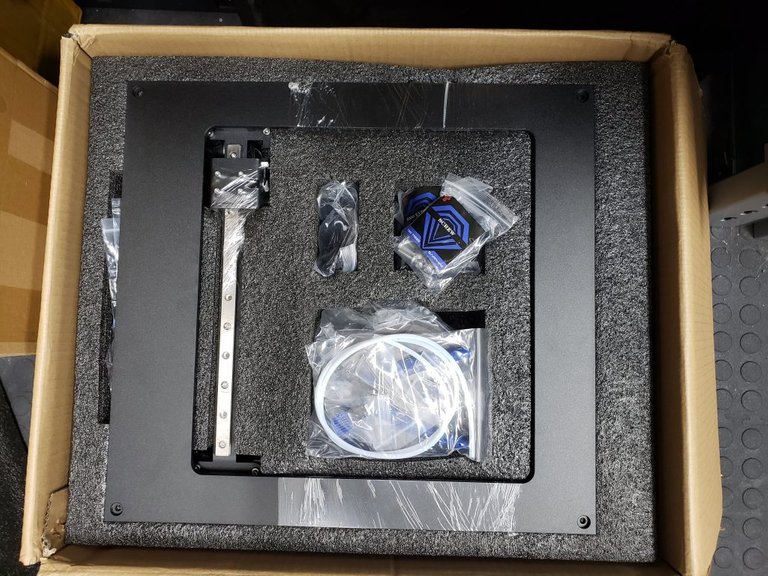
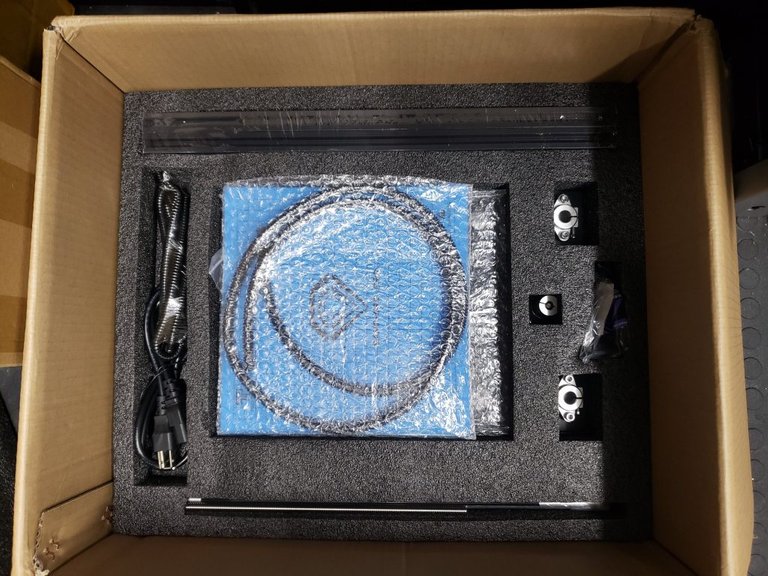
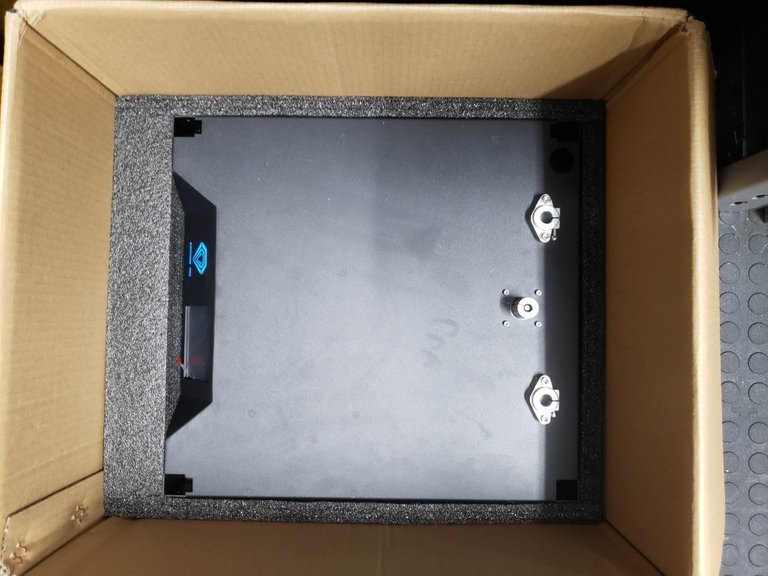
The Two Trees Sapphire Pro coreXY 3D printer arrived with a package size of 500*430*250 mm. Inside the cardboard box is various levels of black soft foam holding the top assembly, bottom assembly, and middle components. The black foam used is not the sturdiest foam but appeared to retain the components safely during shipping. My particular unit came in great condition.
Everything was in the box, the parts list was complete, and I looked for the instructions to begin assembly.
Two Trees Sapphire Pro Assembly
The build instructions were OK with colour photos. The language barrier is evident as they name some components a little strange. An example of this is when they show how to install the Z axis smooth rods, however they refer to them as “Optical Axis”.
There were a few moments during assembly that I questioned the Two Trees quality control process. The heat bed still had the protective film on, but the edges of the bed were quite sharp and sliced my finger a bit. The z axis bearings were also new in plastic bag which was concerning for me since I would have rather they been opened and tested to make sure they were good.
The top XY assembly bolts down onto four tapped 2020 aluminum extrusions from the top down. The steppers for X and Y are mounted on the top plate now vs the Sapphire S which houses the stepper motors in the base and transfers to movement to the top assembly by way of steel rods, bearing holders, and pulleys. The new way on the Pro uses thick sheet steel plates that appears to be pretty sturdy.
The Y axis rails were not tight to the plate. I had to install screws and they did not feel like they were the right length. They felt like they were bottoming out just as the rail was tightening, but they did work. The XY assembly is a system of linear rails, and a CNC plate making for a really clean looking printer that can be easily enclosed by purchasing the acrylic shell also available from Two Trees.
First Impressions & First Print
Flipping the rocker switch at the power input, and then pushing the push button in on the front of the display mount brought the Sapphire Pro to life the same as my previous Sapphire S. I sliced my first print using Simplify3D with the same profile I’ve used for my Sapphire S in the past that I found from the Sapphire Facebook group.
This is where my problems began. Print after print, and layer shift after layer shift. I tried a variety of settings, and no matter what, the print would have massive layer shifts. This was not a pleasant start. I checked for belt slippage, or lifted sections to see if it was a mechanical issue. After a bunch of failed attempts, I noticed the stepper motors themselves were really hot and I proceeded to check the VREF for the XY stepper drivers.
That’s where I found the problem. The VREF for the TMC2208’s were set to 1.6V from the factory which was too high. I lowered the VREF to 1.2V and finally completed a first print. Since lowering the VREF I haven’t experienced any layer shifts. This was another QC issue from the factory.

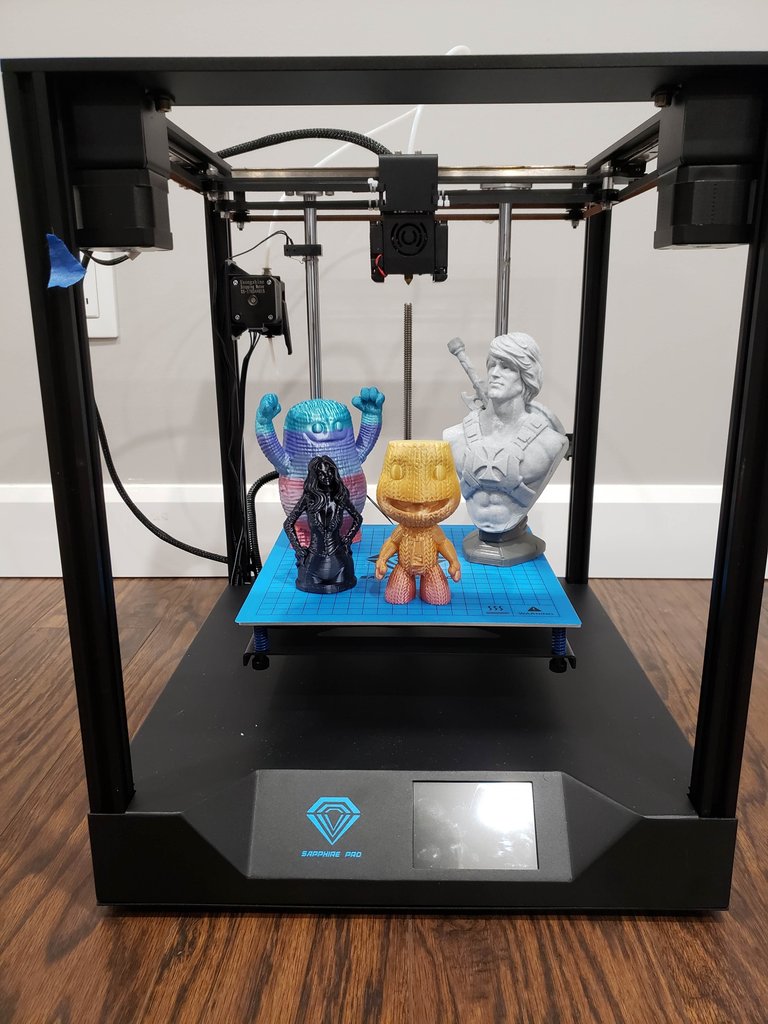
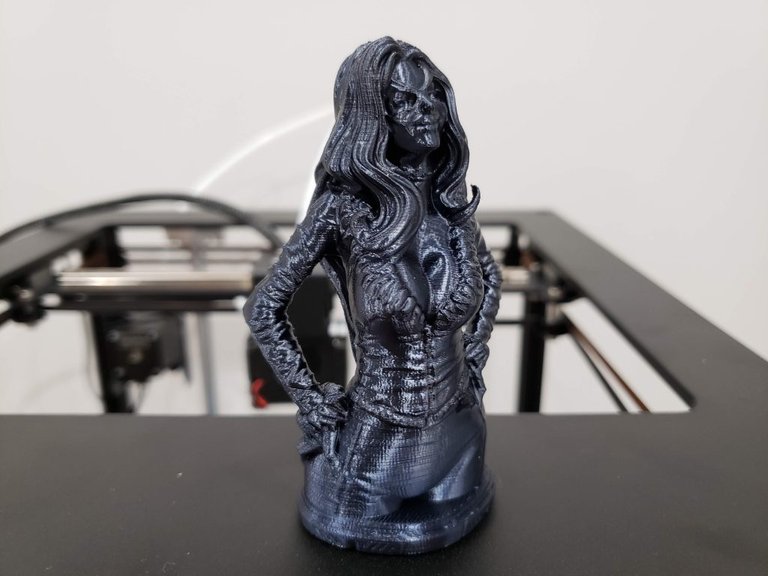
The first print came out OK. It is Blackcat from the Eastman 3D Patreon that I subscribe to. There is some banding along the Z axis but it's not an awful print. Printed using Geeetech silk black PLA.
Printing and Maintenance
The Sapphire Pro uses an MKS Robin Nano control board with TMC2208 stepper drivers for X and Y axis, and A4988 stepper drivers for Z and E. The results are that its a fairly quiet 3D printer. The touchscreen LCD has a clean interface but it does lack in the settings department that we are most familiar with in traditional Marlin based printers. The printer accepts your G-Code files via micro card with a slot located on the right side of the printer.
The stock build surface on the heatbed works very well and I did not have any poor adhesion issues on any of my prints. It actually adheres prints too well and I struggled every time to remove the print for the surface. It does provide a textured feel to the bottom of your print as well. I would prefer if the heatbed came with a strain relief for the wires as well but the printer does not come with this feature.
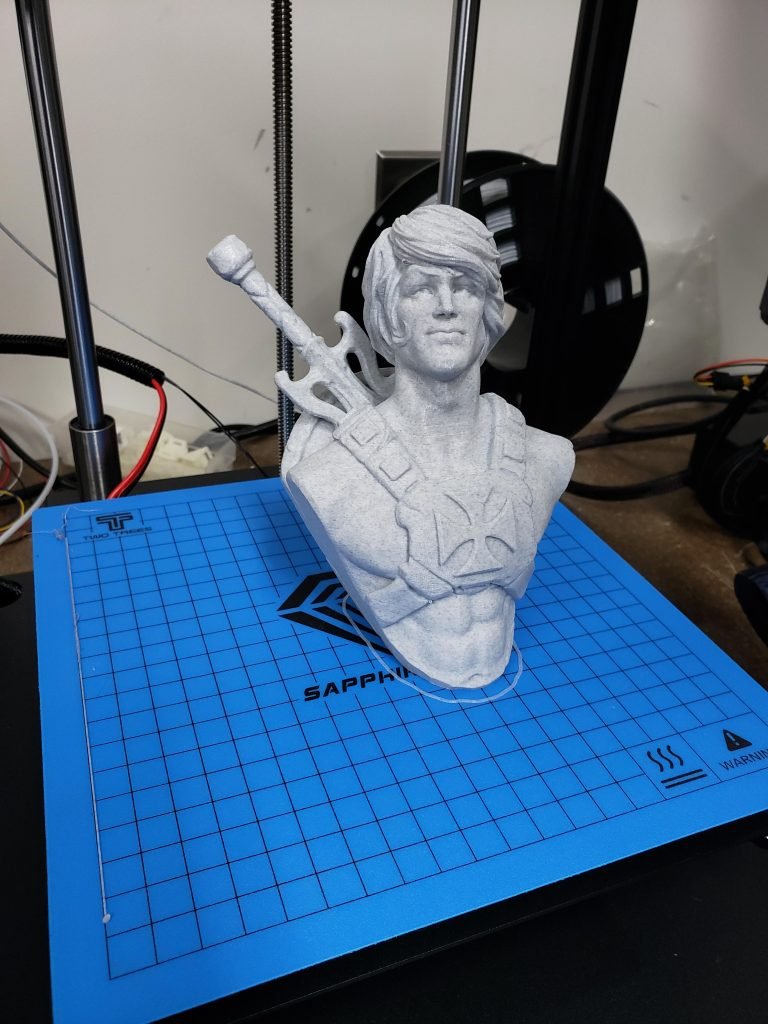
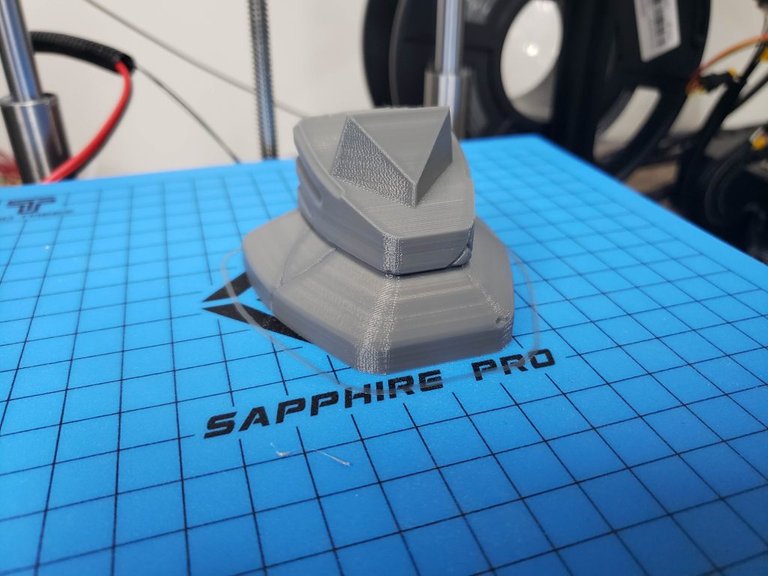
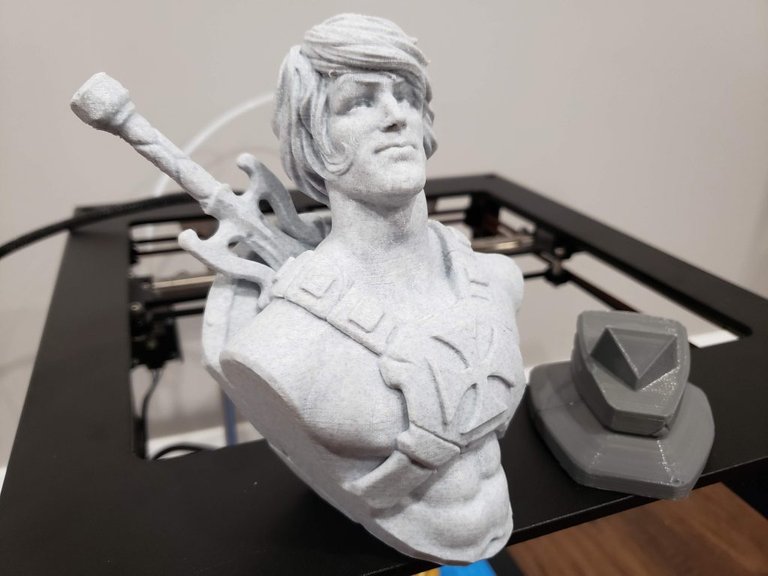
The following print was also from the Eastman Patreon group. The base was printed with grey PLA and the bust was printed with Eryone marble PLA.
I’m still a little uneasy with cantilevered beds on an inexpensive printer but it did not appear to be a problem here. I found that over the course of the all the prints, I didn’t have to level the bed after leveling it manually properly the first time. It seemed to find its z home position consistently providing good first layers.
I did notice that the hot end temperature fluctuates +-3 degrees very consistently. I feel a PID tune is in need as my prints did exhibit some occasional uneven layers along the Z axis that could be attributed to fluctuating temps. I also checked the e-steps on the extruder to see if that could be contributing to the small issues but they were correct from factory.
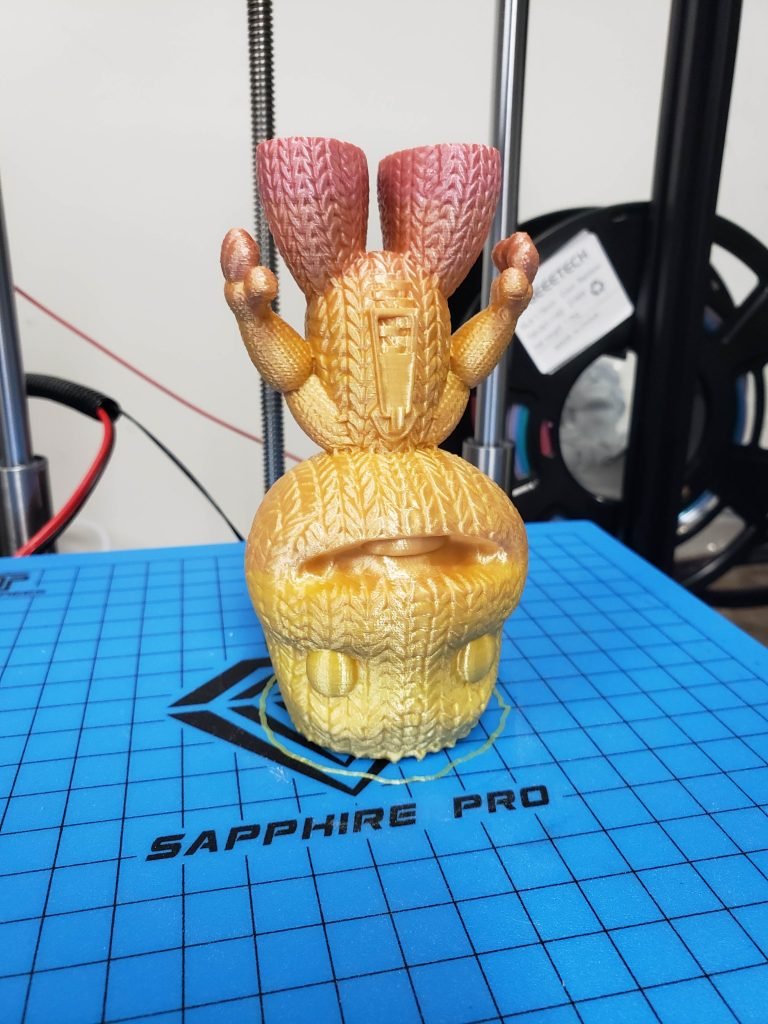
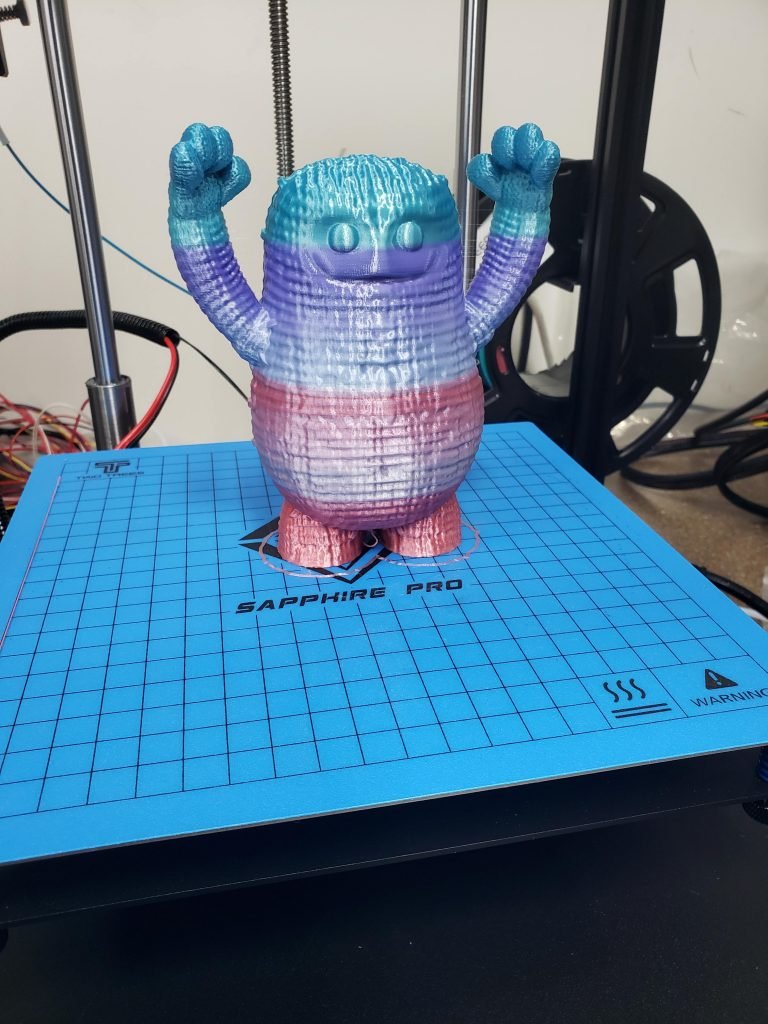
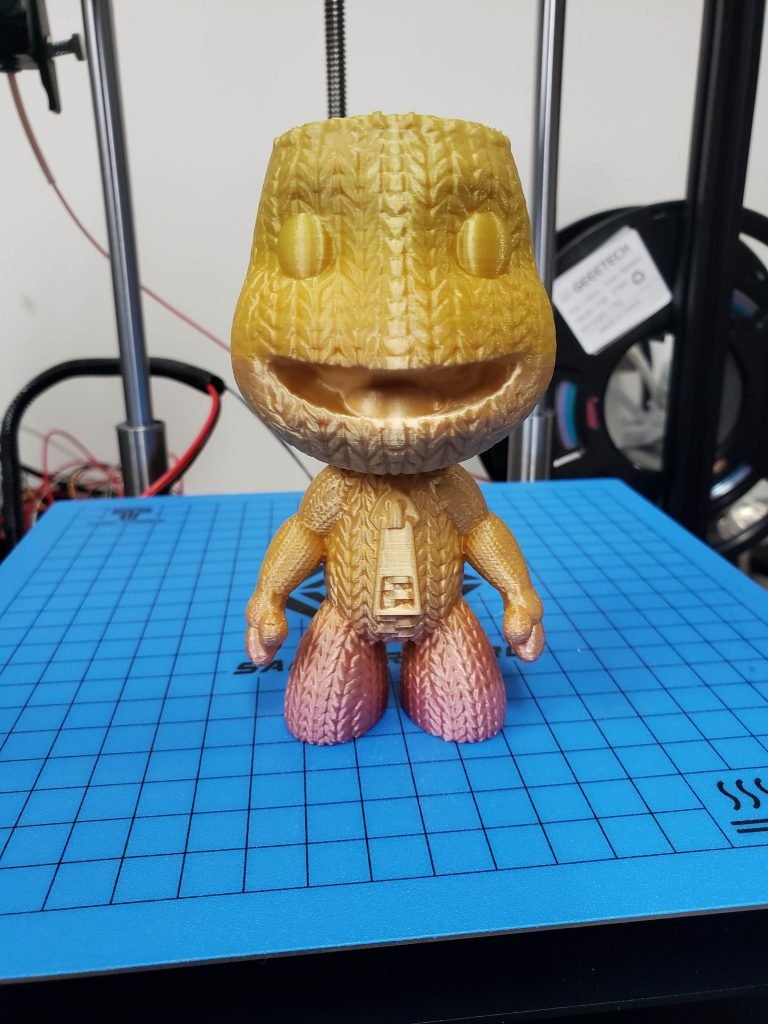
I went ahead and printed a couple Little Big Planet characters from Rober Rollin on MyMiniFactory. They were both printed with Geeetech Rainbow PLA and I was really happy with the results. My kids loved the characters and they were great prints to try for this Two Tree Sapphire Pro review.
A little PTFE oil was added to the linear rails for the X and Y axis to help lubricate them. Changing filament is inconvenient with the spool holder mounted on the rear as well as the extruder. I found the thumbscrew for the BMG clone to be a touch too short and it was difficult to insert the thumbscrew and catch a thread after loading filament into the extruder. That being said, the BMG clone extruder did function well and did its job without any issues during this review.
Community Support
There is a helpful Facebook group you can turn to for support called Two Trees 3D Printer Group. The Facebook group does showcase some fantastic prints from other Sapphire users as well.
Conclusion: Two Trees Sapphire Pro Review
Two Trees provided the Sapphire Pro coreXY 3D printer to me discounted in exchange for an honest review. Most of the printers I have reviewed from overseas have had some sort of QC issues from factory. In this case we had improper set VREFs causing immediate failed prints. The other issues I found were pretty minor.
Once beyond the initial hiccups, the printer certainly can perform well. The aluminum extrusion cube frame fitted with the single piece machined top plate provides a rigid structure. The upgraded MKS Robin Nano board is welcome vs the Lerdge on the Sapphire S and the printer zipped along pretty quietly with the exception of extruder retractions. It’s a quick printer with some nice features and I’m quite happy to have it in my personal farm of 3D printers.
Posted from my blog with SteemPress : https://makerhacks.com/two-trees-sapphire-pro-review/
Hi @makerhacks. It seems to be a correct base to start with.
How stiff is the cantilever ?
Have you done any firmware upgrade ?
Best,
Julien