Rescuing Gadgets./Rescatando Gadgets.[Eng-Esp].
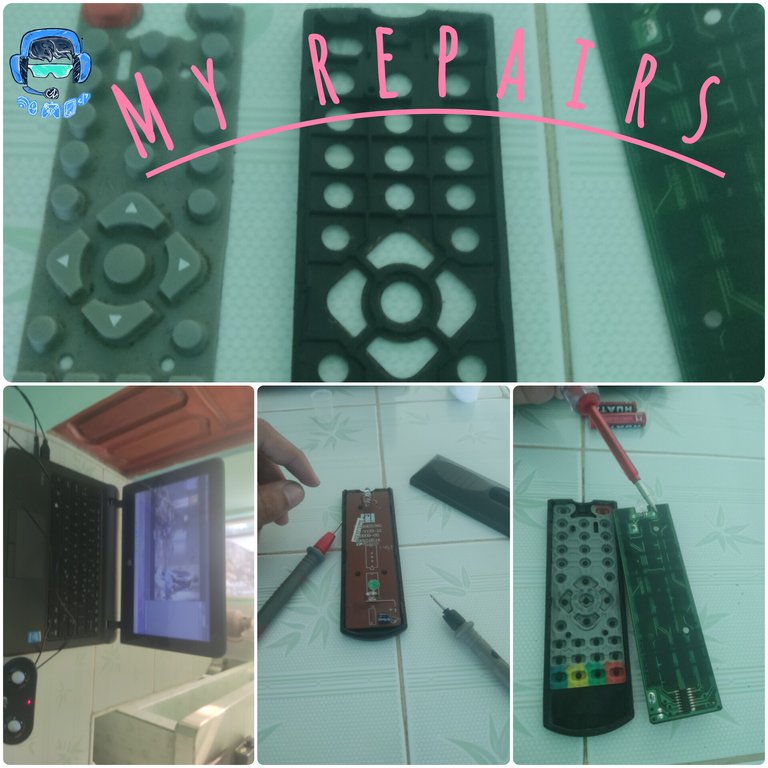
Hello #Geekzone friends, today I want to share with you some repairs I've been working on recently. I fixed a remote control for a set-top box that was broken and one of the speakers on my laptop that had stopped working. Since I have some basic knowledge of electronics, I decided to see if I could repair them.
Hola amigos de #Geekzone, hoy quiero compartirles algunas repareaciones que estuve haciendo recientemente de un control de una cajita descodificadora que estaba estropeado y una de las bocinas de mi Pc portátil que habia dejado de funcionar y pues como tengo algunos conocimientos basicos de electrónica pos me decidí a ver si podia reparar estos.
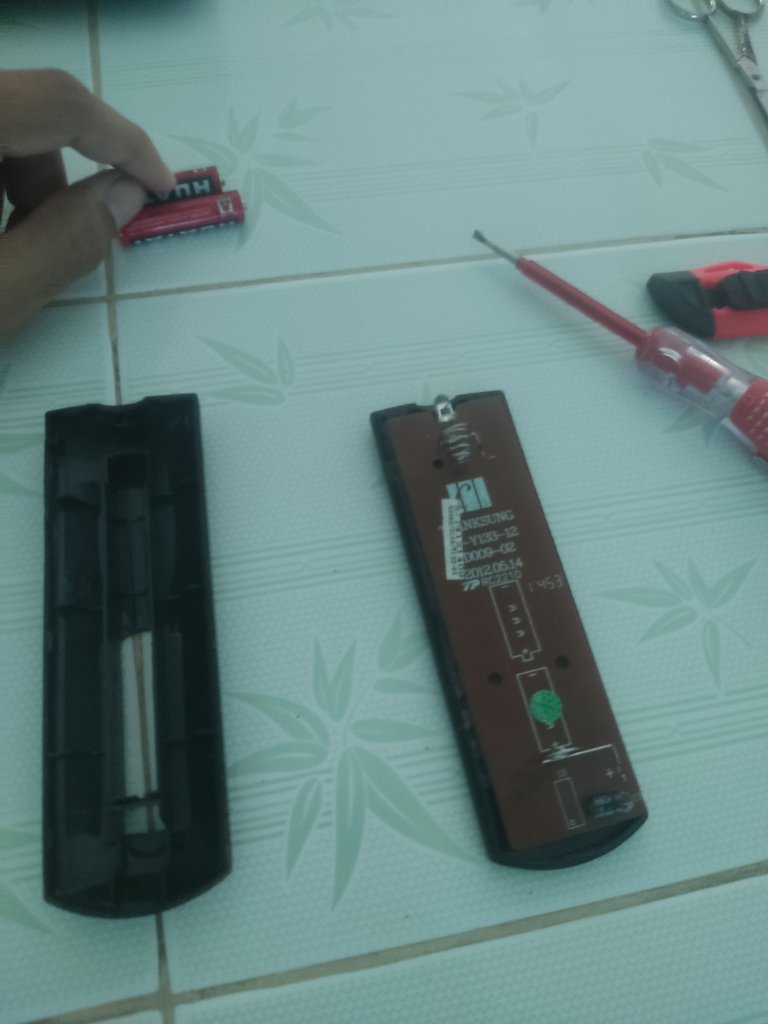
I started by checking the remote control, which had stopped working because my aunt had accidentally dropped it, and it had come apart.
Comenze revisando el control, este habia dejado de funcionar ya que a mi tia se le habia caido accidentalmente y este se habia desarmado.
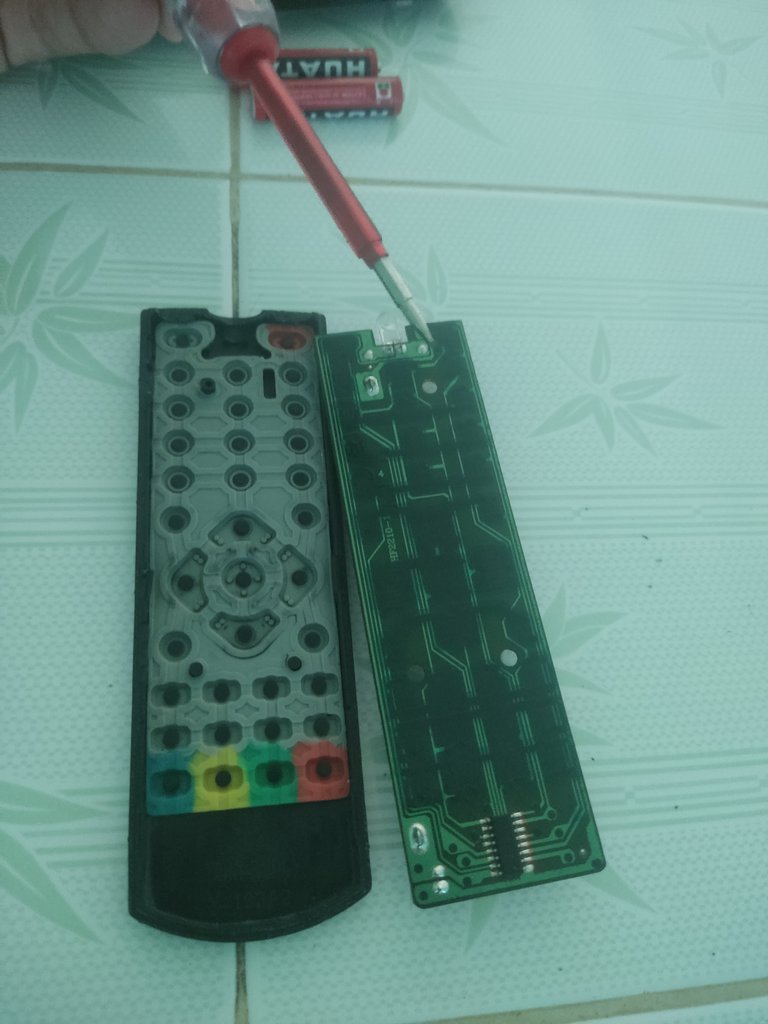
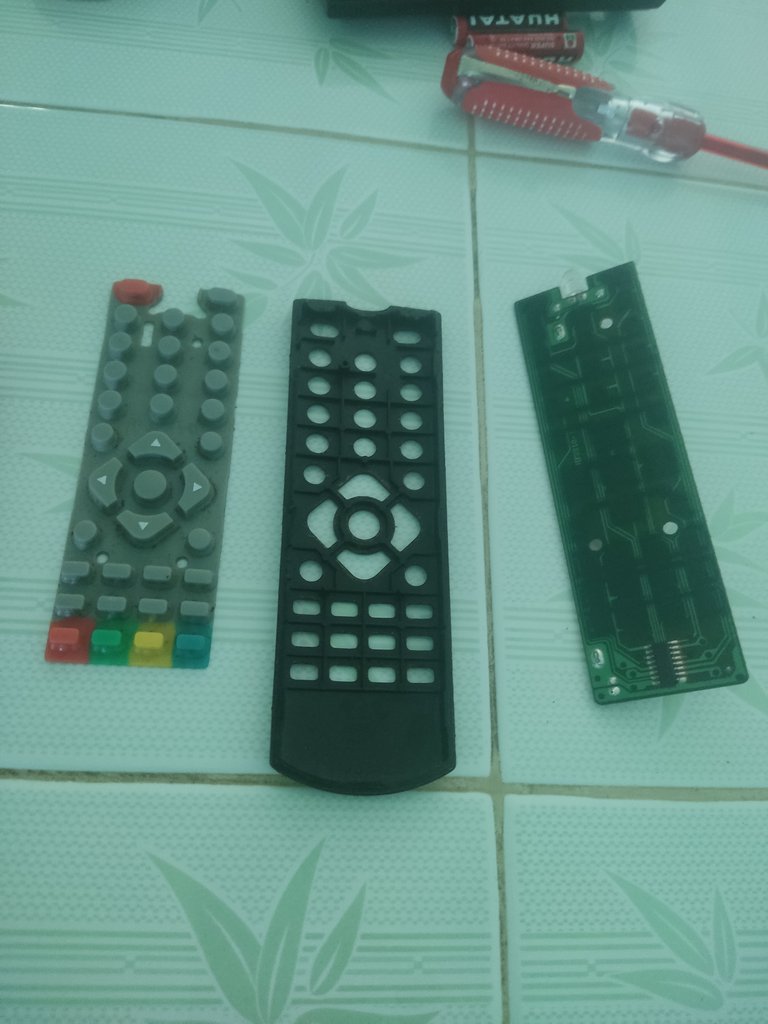
The first step was to disassemble the rest of the remote to thoroughly check that all the components were working properly. Once all the parts were out, I was surprised by how dirty the inside was. The circuit board was covered in dirt and a sticky substance. Upon further inspection, I realized it came from the rubber of the buttons, which seemed to be affected by heat and time, causing it to break down and release this residue inside the remote.
Lo primero fue desmontar las demas partes del control para revisar bien que todos sus componentes funcinaran correctamente.
Cuando todas las partes estuvieron guera me quede sorprendido con toda la suciedad que este tenia en su interior, la placa estaba toda sucia y cubierta de una viscosidad, al seguir revisando esta provenía de la goma de los botones que al parecer por el calor y el tiempo se estaba viendo afectada y estaba desprendiendo esto dentro del control.
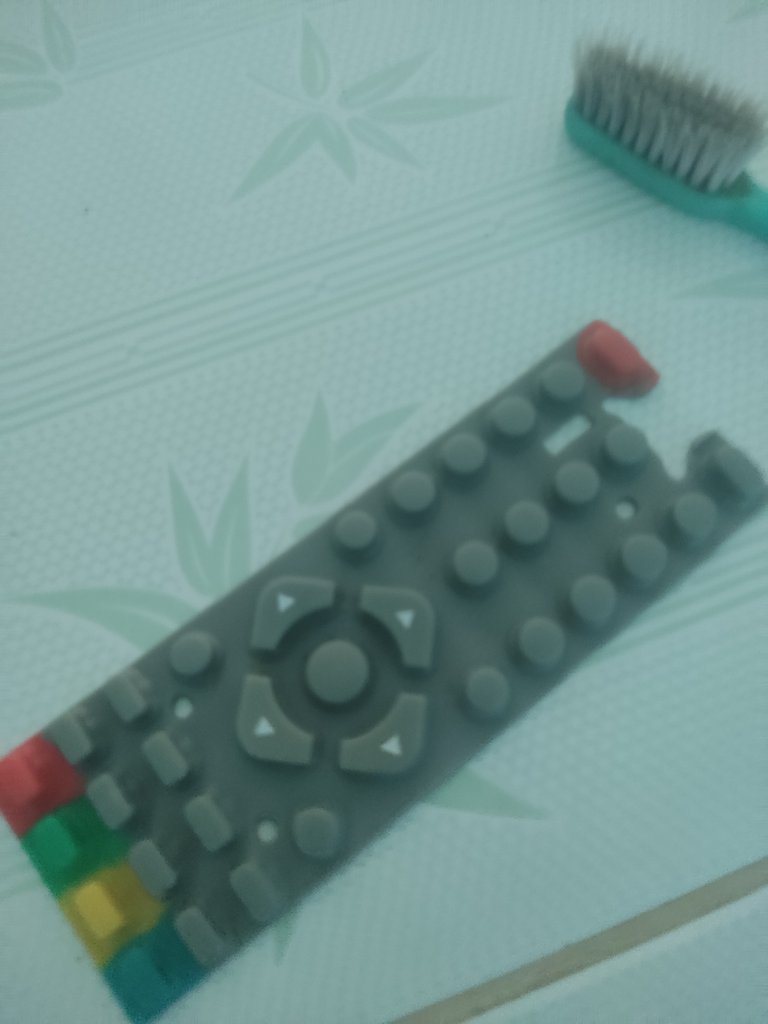
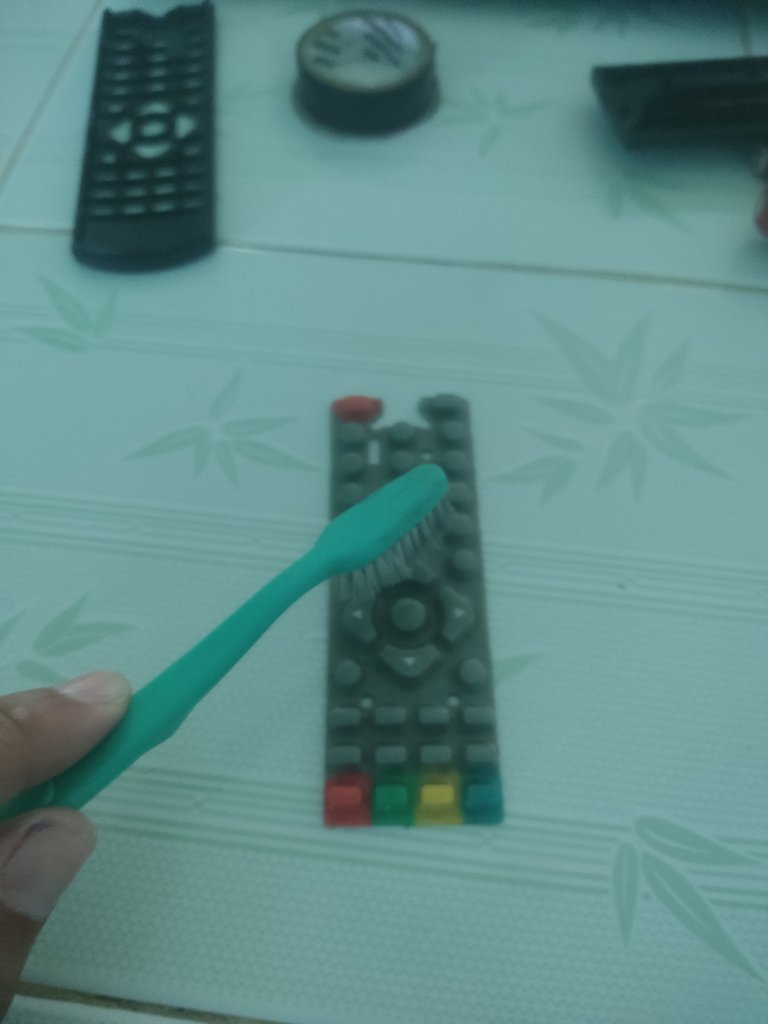
At this point, the next step was to clean the circuit board and the rubber to remove all the dirt it had accumulated. It was really quite filthy 😅.
En este punto el siguiente paso era limpiar la placa y la goma para retirar toda la suciedad que este contenia, realmente estaba bastante puerco 😅
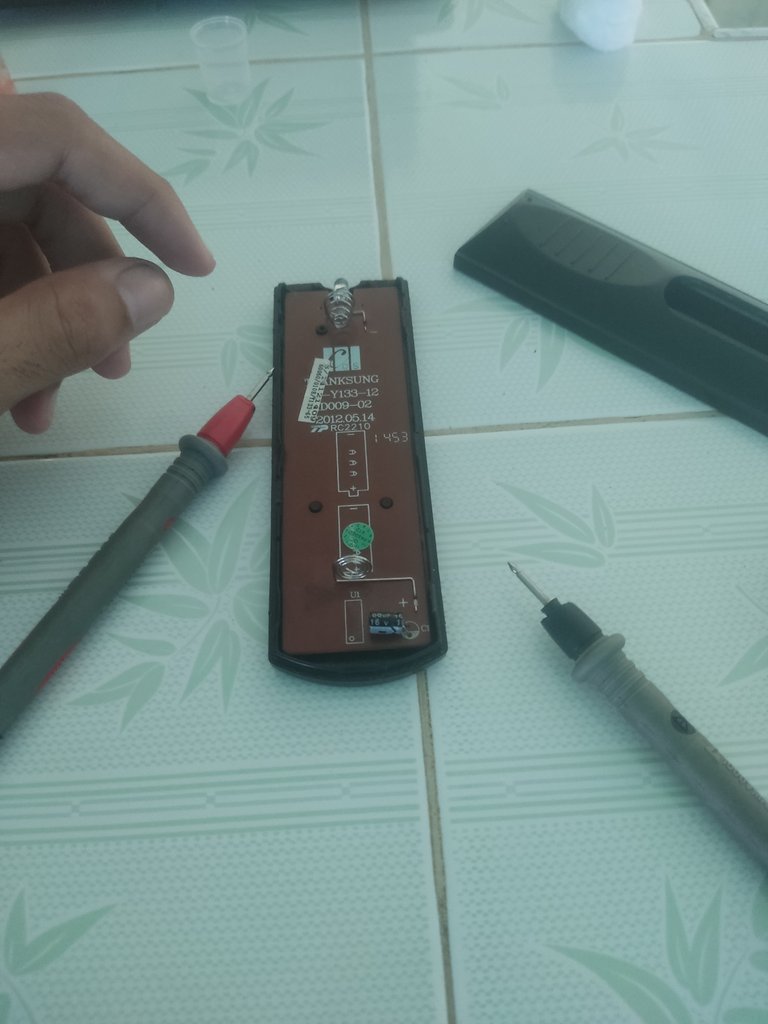
With everything cleaned, it was time to reassemble the remote, but before that, I needed to check that all the components were working properly. Unfortunately, one of the solder points had come loose, which prevented the electrical continuity, causing the remote to malfunction.
Con todo limpio era hora de armar el control, pero antes tenia que comprobar que todos sus componentes estuvieran en correcto funcionamiento, desafortunadamente tenia uno de los puntos de soldadura despegado y esto evitaba el paso de continuidad eléctrica haciendo fallar el control.
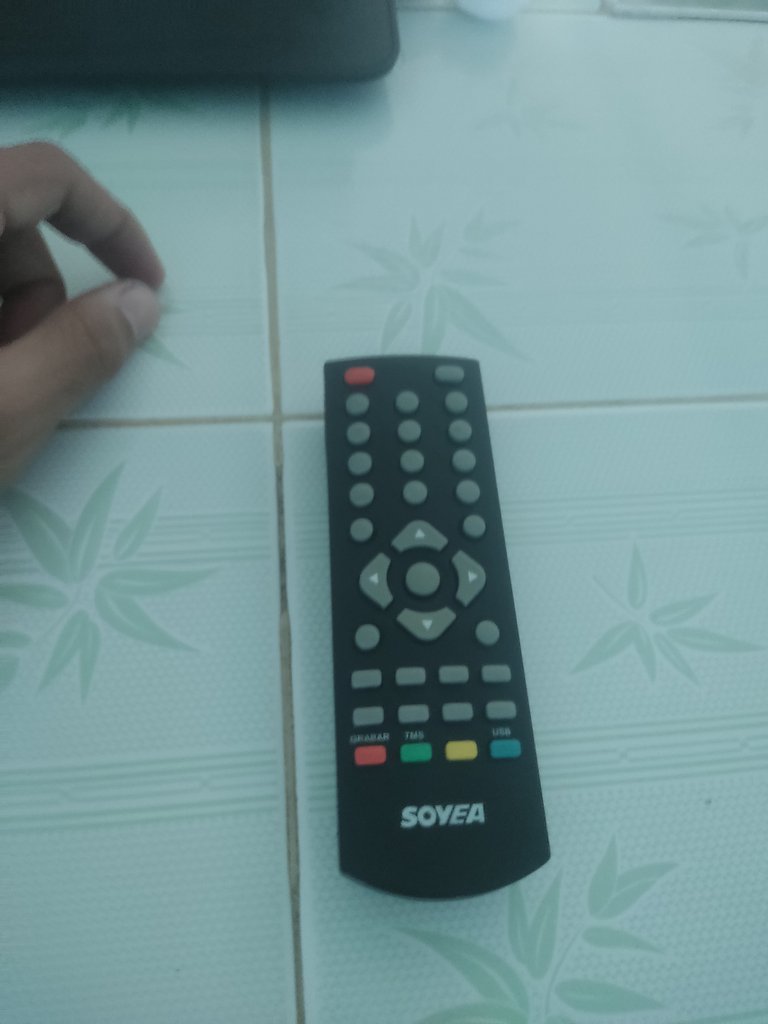
Finally, I took my soldering iron, replaced the loose solder, and checked again to ensure everything was properly connected. All that was left was to reassemble the remote and test if it was working.
This was the final result of the process, and after testing it, the remote was in perfect working condition.
Finalmente tome mi cautin y cambie la soldadura y comprobé nuevamente y ya estaba conectado todo,solo faltaba armar el control y probar si estaba funcionando.
Este fue el resultado final de el proceso y al comprobarlo estaba en perfectas condiciones.
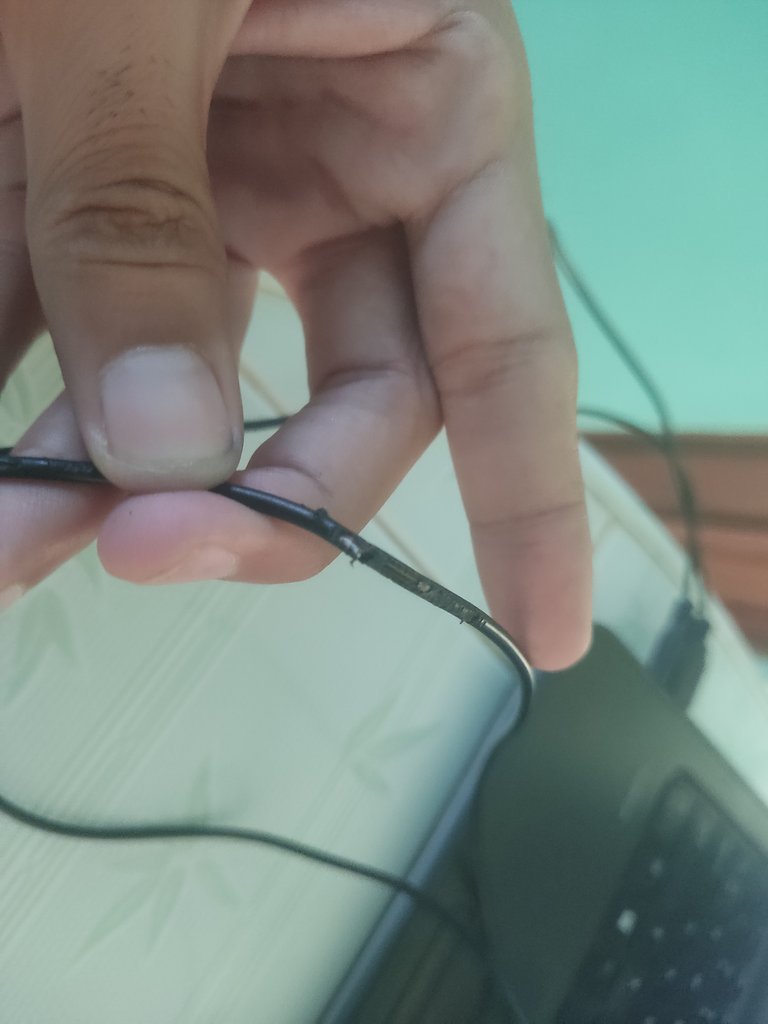
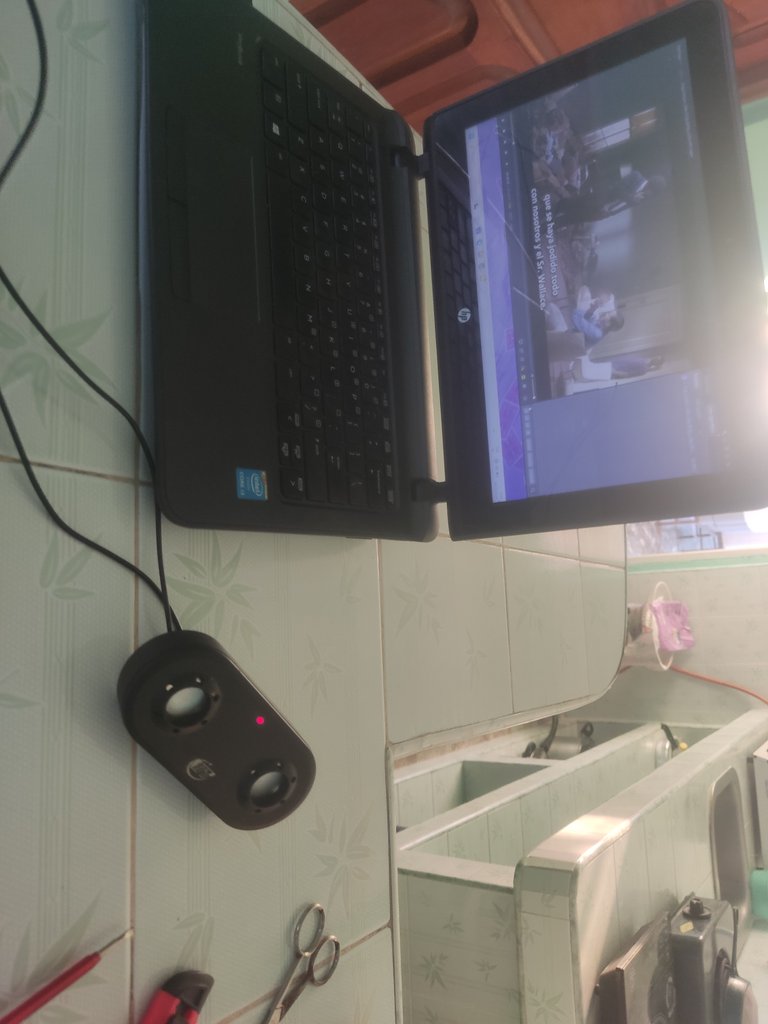
The other task was to repair the speakers. When I checked them, I couldn't believe what I found: one of the wires was chewed and broken. This was causing the malfunction I was experiencing. To my surprise, it seemed to be the work of my beloved hamster!
El otro punto era la reparación, de las bocinas, al revisarlas no podia creer lo que tenian, uno de los cables estaban mordisqueados y partido, esto era lo que proboocaba el falso que teni.(Para mi sorpresa esto parecia ser obra de mi querido hamster)
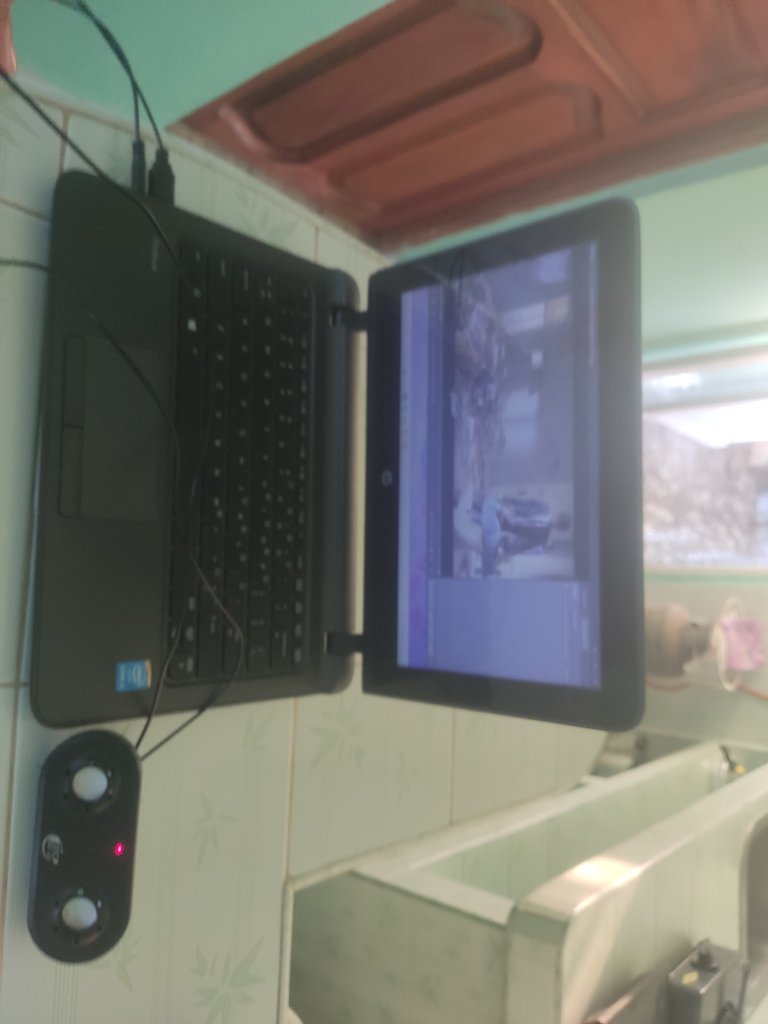
So, I proceeded to restore the wiring by cutting out the damaged section and making a small splice to ensure proper functionality.
After finishing the process, everything looked great and was working perfectly, as if they were brand new.
Asi que procedi a restaurar el cableado cortando la parte afectada y haciendo un peqeño empate entre estos para su correcto funcionamiento.
Despues de terminar el proceso asi quedo todo y en perfecto guncionamiento como si fuesen nuevas.

Saludos @magicalex excelente reparación 👍🏼
🫂
Sending you an Ecency curation vote
Thanks 🖖
Congratulations @magicalex! You have completed the following achievement on the Hive blockchain And have been rewarded with New badge(s)
Your next target is to reach 500 replies.
You can view your badges on your board and compare yourself to others in the Ranking
If you no longer want to receive notifications, reply to this comment with the word
STOPCheck out our last posts:
¡Enhorabuena!
✅ Has hecho un buen trabajo, por lo cual tu publicación ha sido valorada y ha recibido el apoyo de parte de CHESS BROTHERS ♔ 💪
♟ Te invitamos a usar nuestra etiqueta #chessbrothers y a que aprendas más sobre nosotros.
♟♟ También puedes contactarnos en nuestro servidor de Discord y promocionar allí tus publicaciones.
♟♟♟ Considera unirte a nuestro trail de curación para que trabajemos en equipo y recibas recompensas automáticamente.
♞♟ Echa un vistazo a nuestra cuenta @chessbrotherspro para que te informes sobre el proceso de curación llevado a diario por nuestro equipo.
🏅 Si quieres obtener ganancias con tu delegacion de HP y apoyar a nuestro proyecto, te invitamos a unirte al plan Master Investor. Aquí puedes aprender cómo hacerlo.
Cordialmente
El equipo de CHESS BROTHERS
muy buena reparación!
Muchas gracias 😊