Turning your Ginger Bug into Ginger Beer
The last post was about growing a Ginger Bug. Here’s how to give its life purpose and meaning – making you some Ginger Beer! You might have seen that post about fermenting your own Ginger Bug. If not, check it out before continuing. Ill help to explain the process little.
It’s really easy to grow your Bug into Beer. Here’s how –
Stage 1:
- All you need to do is boil 2 litres of water, turn off the stove to take your pot off of the boil.
- Add 250 – 300 grams of raw sugar to the hot water and let it dissolve. I find 300 grams gives a beer that’s a little too sweet for my tastes. 250 grams is just right for me!
- Grate a good sized chunk of Ginger and add it to the sugar water. Start with a good handful, then adjust the amount with each future batch you brew until you know what’s right for you.
- Cover the pot and let it cool. I usually prepare mine in the evening and let it cool overnight.
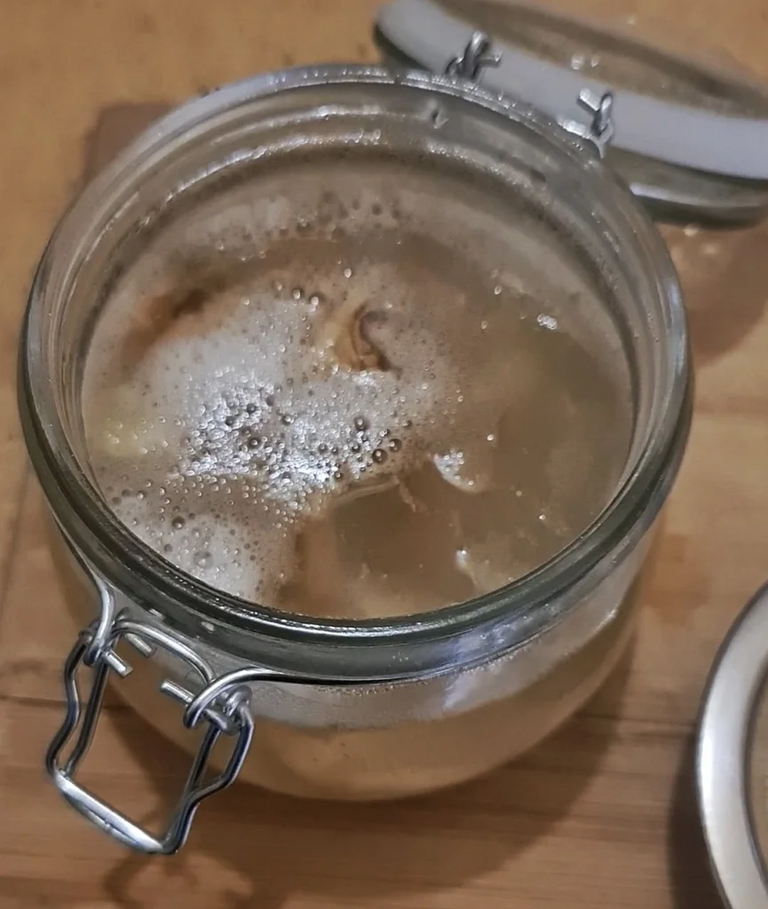
- When its cool, strain the mix and add some of the liquid from your Ginger Bug. About half a cup should be enough. This liquid contains the microbes that will ferment the sugar in your Ginger Beer, making it bubbly.
Stage 2:
- Add the juice of 2 lemons. I think that the acidity slows down the growth and metabolism of the yeasts, giving you a better brew.
- Add another 2 litres of water and mix everything thoroughly.
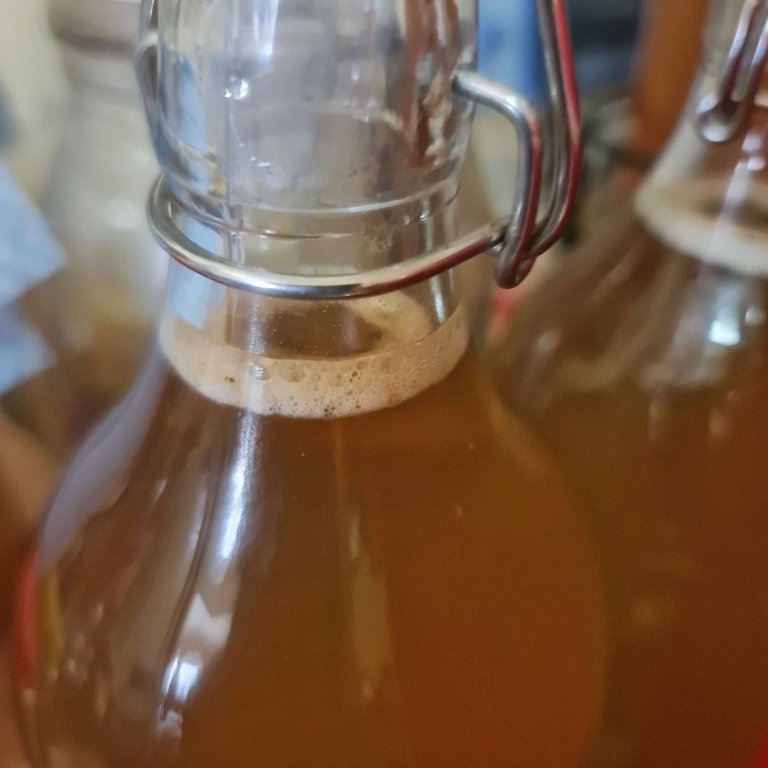
- Pour this mix into bottles that have tightly sealing lids. I like the clamp style bottle.
- Leave for 3 days, longer in the cold weather.
- After a day, you should see bubbles forming at the top of the liquid. This is a great sign that you’re on your way to great Ginger Beer! Your microbes are busy fermenting the sugar in the mix.
After 3 days, crack open the seal on one of your bottles. If you get a hiss and bubbles, you’re on a winner. If there’s not many bubbles, especially in cold weather, give it two more days of brewing time. Give it a taste. If it’s perfectly suited to your taste, put the rest of the batch in the fridge and enjoy your Ginger Beer. If your brew isn’t bubbly enough, let it ferment for a couple mote days and try again.
If your brew isn’t ‘Gingery’ enough, you will need to add more Ginger to the next batch and try again. If too sweet, a little less sugar will be the answer. You’ll have to play around with the ingredients to get your Ginger Beer exactly to your taste. This version of Ginger Beer loses it’s carbonation quickly once out of the bottle, so drink quickly if you like your palate tickled.
It might take a couple of batches to get it perfect but you’ll get there!
Good luck and don’t forget to feed your Bug, ready for the next batch.

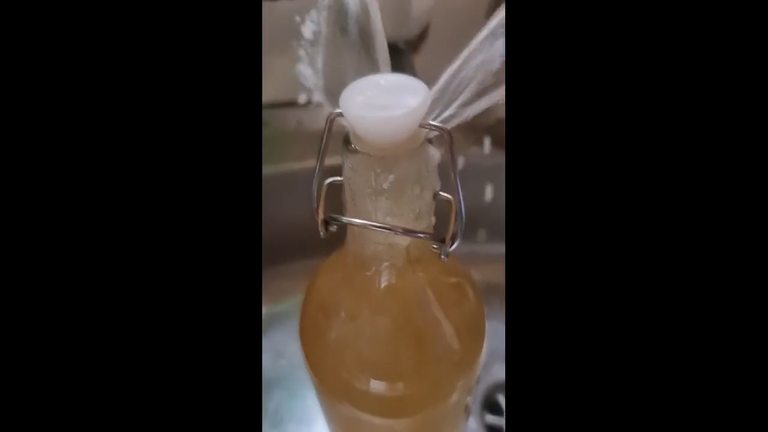


Well at least you got a photo of the explosion. That's the important part in this day and age. The mess can wait. 😉
You wouldn't believe how sticky my phone got while filming...
Great advice!! I am excited to give this a try. Today i am going to the bulk store to get granulated sugar and I already have ginger and spring water set aside. I am excited to get back into making herbal ferments!!
You'll love it!
I have wanted to make this and always wondered if it would get too bubbly. It was funny but sad for you to be cleaning the kitchen up.
I'm making anther batch today. Might be explosive by the weekend!
oh oh! :))
I've just cracked open a bottle of the new batch. The secret seems to have been less sugar and smaller bottles. Hooray, mess free Ginger Beer!
Yay! No mess!
Spotless kitchen even 😇
There ya go!
I used less sugar in this batch and refrigerated after one day. We'll see what happens!