DIY Worm Castings Tea
Hi Hive DIY and gardening enthusiasts! Here's another simple DIY project from Ligaya Garden. When you've finished reading the post (and hopefully upvoted it), please feel free to comment with any design changes or other uses that you might try for this project.
This one is worm castings tea...
Lets' have a look!
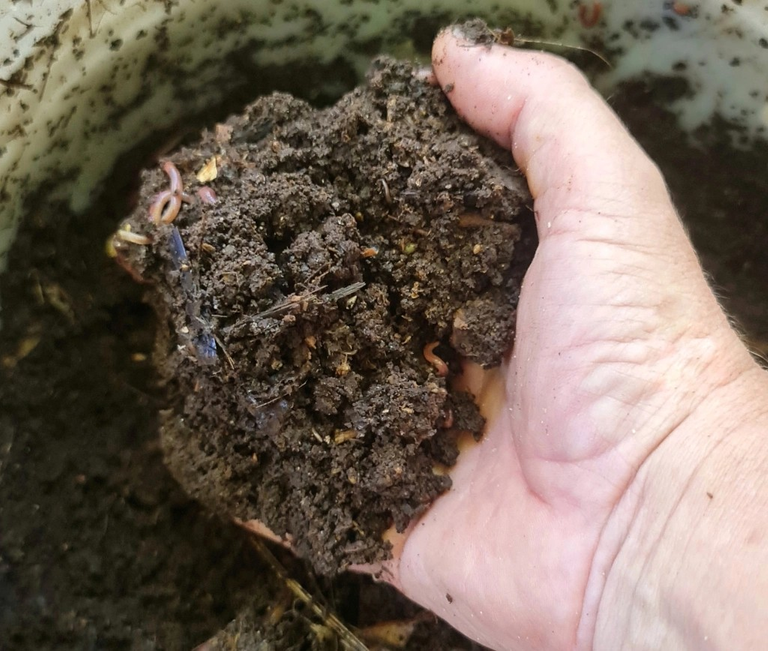
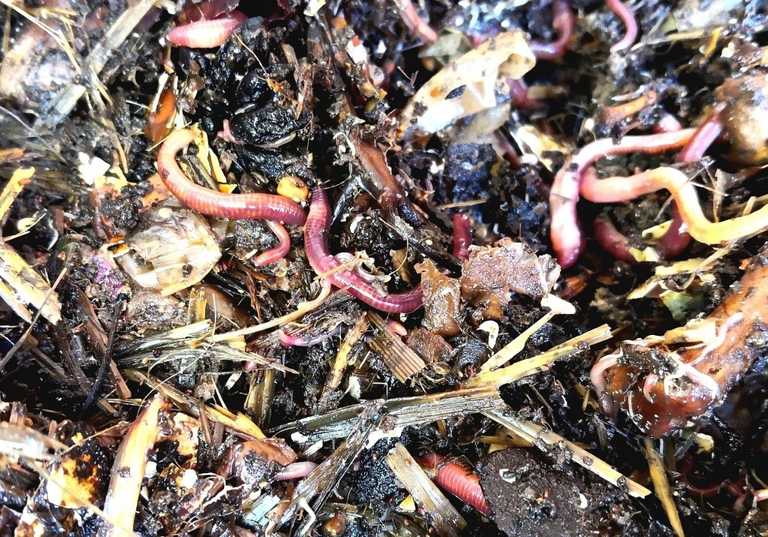
The waste products from everyone’s favourite hermaphrodites can be used to make a super-nutritious brew for feeding your garden. It doesn’t just feed plants but the soil itself and all the life within it.
Worm castings contain more nutrients and bacteria than many other fertilizers. They include minerals such as phosphorus, magnesium, potassium and calcium, manganese, copper, zinc, iron, cobalt, boron, carbon and nitrogen. Practically everythig a growing plant needs!
When we say ‘worm tea’ we are not talking about the leachate that derains from the bottom of your worm farm. This is more correctly called ‘leachate’ and is a mix of the secretions of the worms within the farm, leched material from the decomposition of vegetable material and excess moisture in the worm farm itself.
A well maintained worm farm should produce little or no leachate.
This liquid can contain pathogenic bacteria from the foodstuffs in the worm farm and, while it can be used on your garden, sohould not be applied directly to plants like your leafy greens that are going to be for dinner tonight.
What we mean by ‘worm tea’ or ‘worm castings tea’ is a brew of the worm castings themselves in water. It’s dead easy to make, as you’ll see…
How to make worm castings tea.
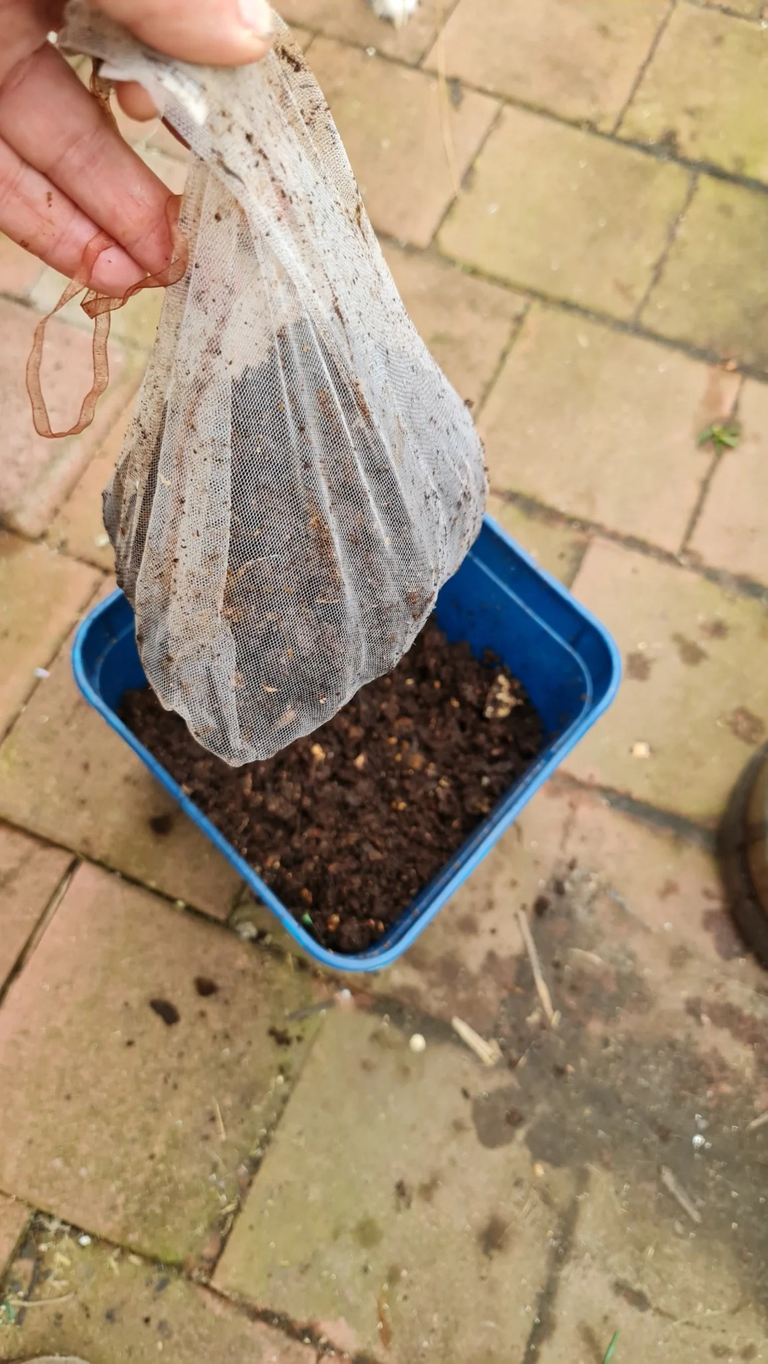
It’s a simple thing to do, all you have to do is get a couple of handfuls of worm castings (I use one big handful to a 20 litre bucket), put them into a finely woven bag such as calico and suspend them in the container of water – think of it as a giant tea bag. Suspend the bag in a large container of rainwater and away you go!
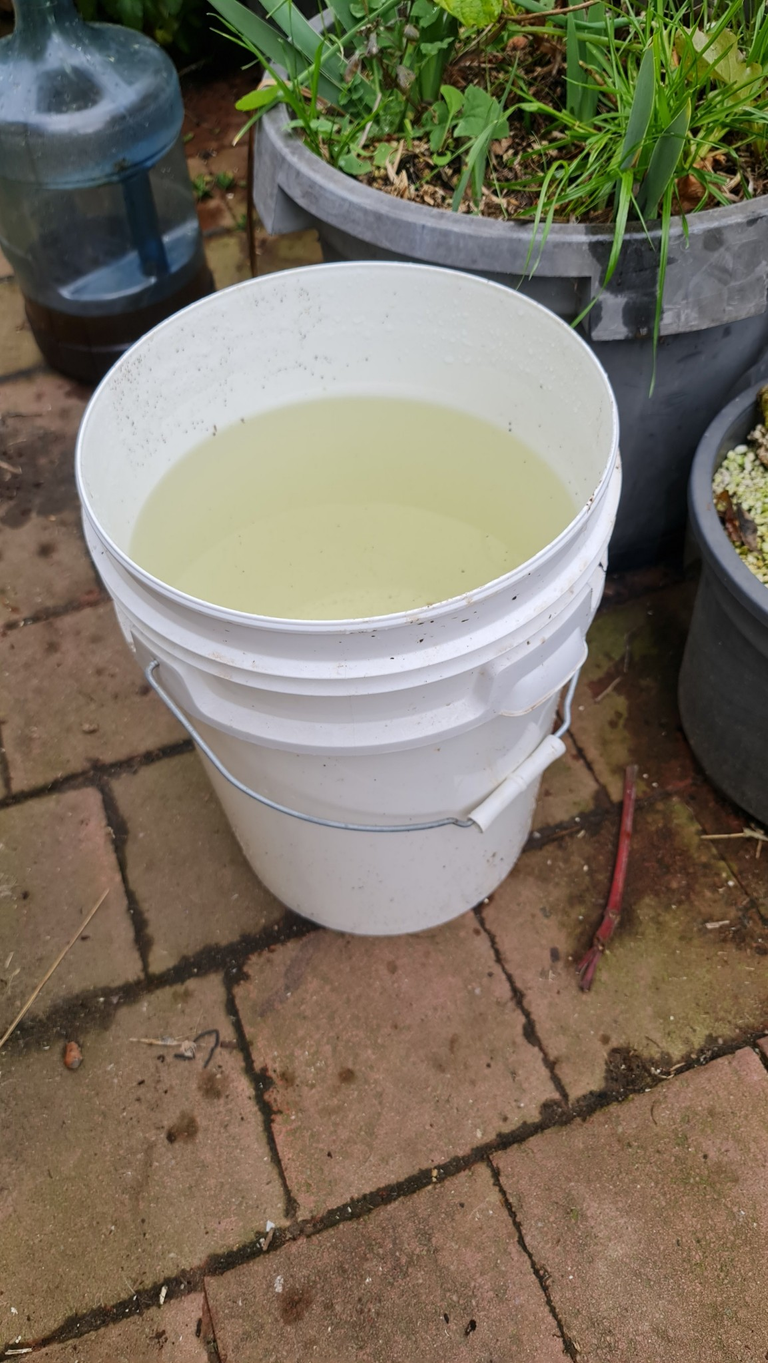
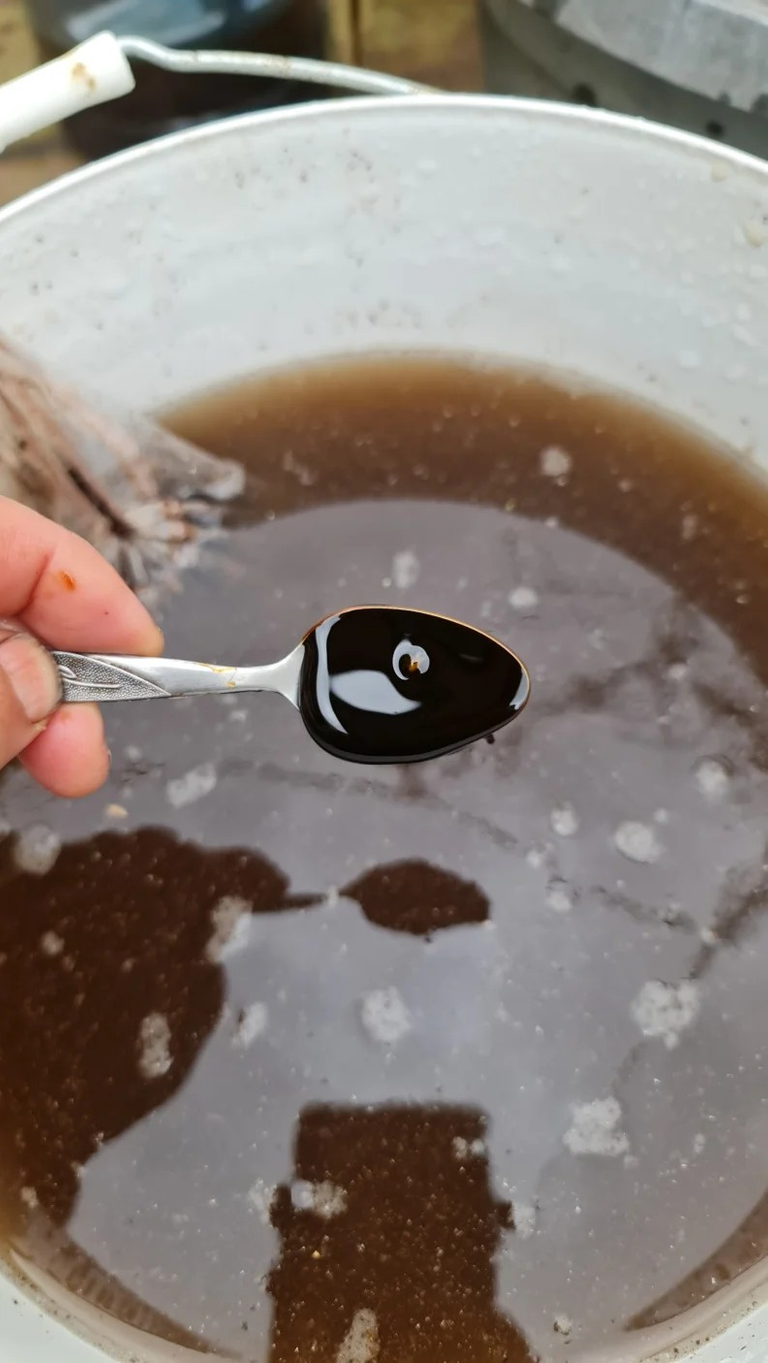
Stir them around from time to time and when the water’s lovely and brown, remove the bag (putting the castings on the garden or into the compost) use the water on your plant as a root drench as is or dilute it a further 50 or even 100:1 with water and use it as a foliar spray.
That’s the basic idea. I like to step it up a notch and brew bigger batches with a bubbler to aerate and constantly move the water through the castings as the bag hangs in the container. The tea is then called an ‘aerated tea’. You can find much more info about aerated compost teas on our page here.
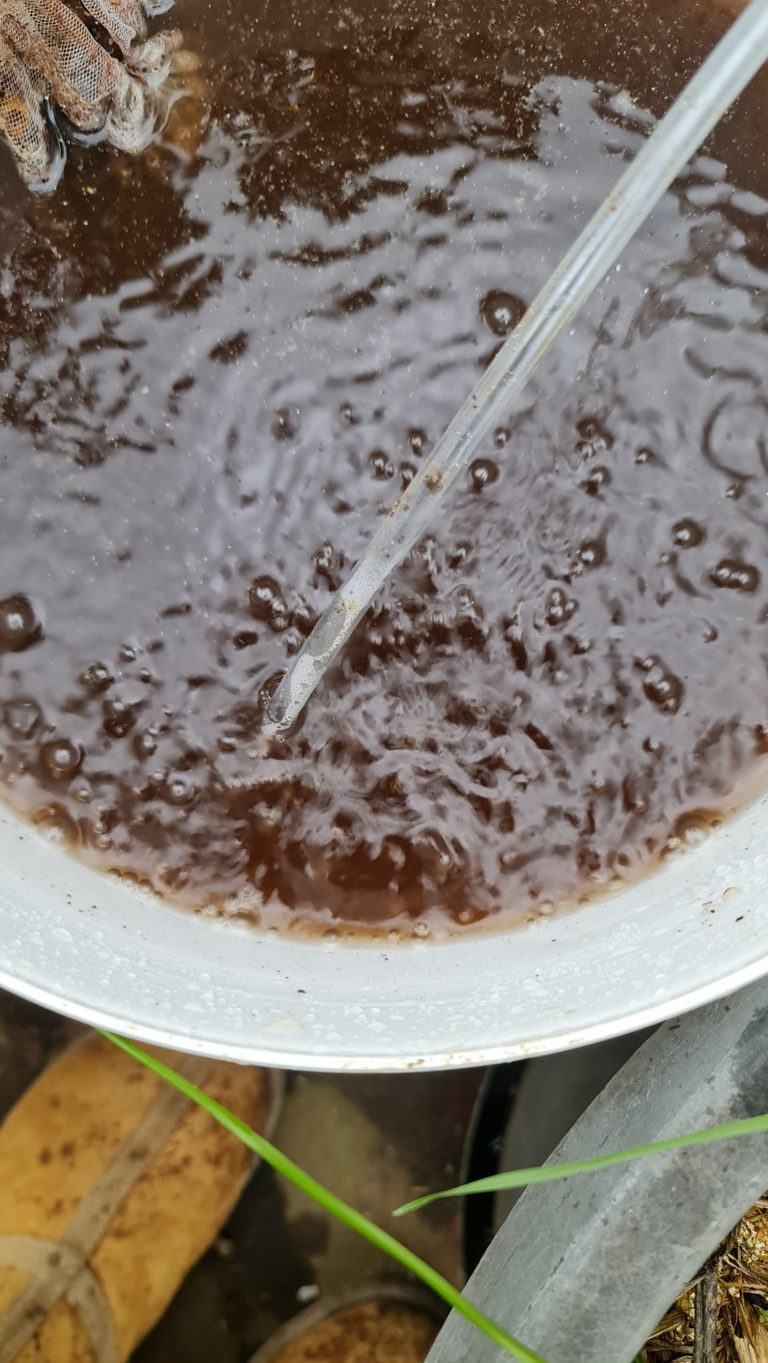
You can use an aquarium pump with an airstone or go bigger like I did and use a commercial air pump. My pump has a flow rate of 35 litres per hour but you can go even bigger if you want to. Make sure the flow of the bubbles is a bit more than a gentle bubbling but not crazy.
I like to let brew mix for a minimum of 4 hours and as much as 24 hours to get all the microbes well aerated and get as much oxygen into the water as possible. Just remember to check that your pump isn’t getting too hot and give it a break if it is.
You can add 1/2 tsp of molasses for every 10 litres of water.You can add 1/2 tsp of molasses for every 10 litres of water.
If you want to take it even further (the sky’s the limit reallly), add molasses to the water at a rate of 1/2 teaspoonful of molasses to 10 litres of water to feed up the microbes and give your brew a huge kick!
You’ll know when your aerated brew is ready because there will be a sweet, earthy smell and/or there will be bubbles on the surface of the brew thar stay longer than those from your air source.
If you have too many bubbles hanging around on the surface, it’s not a bad thing but points to the fact that you’ve used too much molasses for the size of your brew- it’s been too nutritious for the microbes.
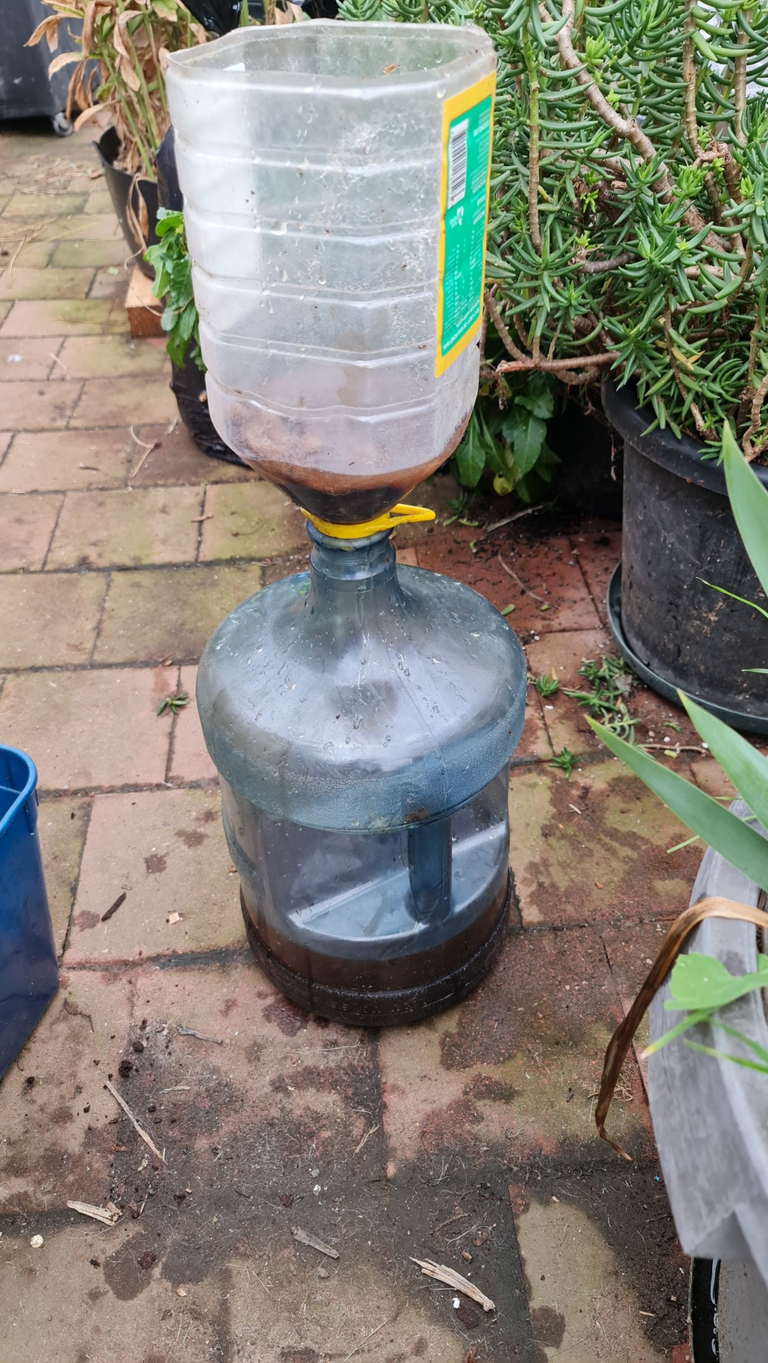
I use the brew in our aquaponics and our dripper systems. To do that, I like to filter the fresh brew through some fine material before adding to the aquaponics water or our fertigation setup for distribution throughout the front garden.
If you’re thinking of starting a worm farm or want a few tips on making yours run nicely to keep your worms happy, check out our vermicomposting page.


I need to brew proper worm tea more often... lol.. my worm farm has been sadly neglected. Well fed, not stinky, loads of worms... but not super "integrated" into my workflow
thanks for the good post
No worries!
Your post is very helpful to those people who have the passion for cultivating different plants. Thanks for sharing your brilliant idea.
No worries! Glad to share.
Omg and I was thinking you were gonna drink it at the end. 😂 It's probably not tea because it's not drinkable. 😆
We gardeners call it a tea...but we're strange folk...
We're any worms harmed or drowned in the making of this tea?
I figure it would be hard to completely separate them all from the castings.
I never realised that the leachate and castings were that different. Once again I learnt something new.
In an emergency, worms can inflate their clitella like little life vests and float on the surface. Then I skim them off with a net and place them back in the worm farm.