Catching the Ginger Bug
No, I’m not talking about pest control, I’m talking about a wonderful, wild fermented, easy to make pro-biotic drink for Summer that can be extended to make delicious Ginger Beer. We use our garden grown Ginger but shop bought stuff will do the trick
Unlike similar kitchen ferments such as Water Kefir and Apple Cider Vinegar, Ginger Bug doesn’t rely on a SCOBY or Mother for fermentation. It works on wild yeasts that are found on the Ginger, in your kitchen or in your garden. You can also make it with Turmeric or Galangal rhizomes but then it’s not called Ginger Bug.
The drink that you make from Ginger Bug isn’t like Ginger Beer, that does require a SCOBY like organism called a Ginger Beer Plant. In a sense, it’s like Sour Dough in that it only uses wild yeasts and is used just like Sourdough starter but it is in a pleasant liquid. Taste wise, it’s gorgeous and I can’t tell it from regular Ginger Beer. You can also mix it with juices to get fizzy, tangy drinks with a strong note of Ginger.
Making Ginger Bug –
Making Ginger Bug is a two step process. You’ve first got to feed up the yeasts that will create it, then you need to maintain it for a few days until it is strong enough to use.
Step 1
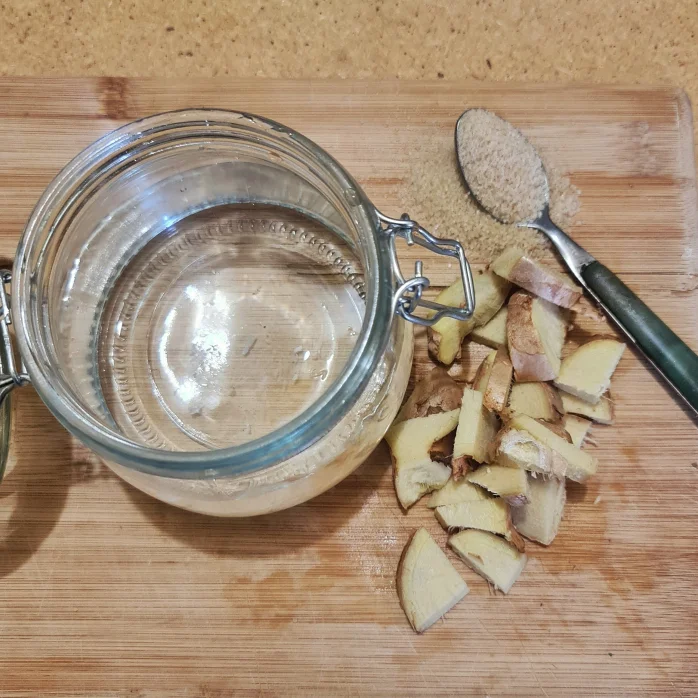
- Get yourself some fresh, organic Ginger. Slice it up until you have around 30 grams. I usually just grab a small handful – I’m not big on measuring! It doesn’t need to be grated, just finely chopped.
- Add the Ginger to 2 cups of unchlorinated water in a jar.
- Add to that, 2 teaspoonfuls of nice quality sugar.
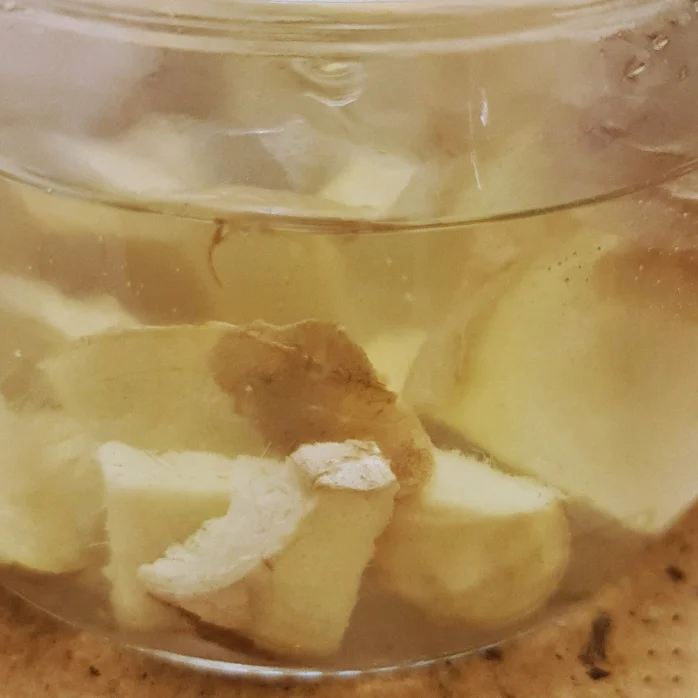
- Mix it all in and cover your jar. Give it a good stir and leave it for 2 days.
Some folks recommend using a sealed jar.. This sure builds up the bubbles but I find that a covered jar is better. The yeasts that grow on the Ginger rhizome are aerobic after all and like to breathe.
Step 2
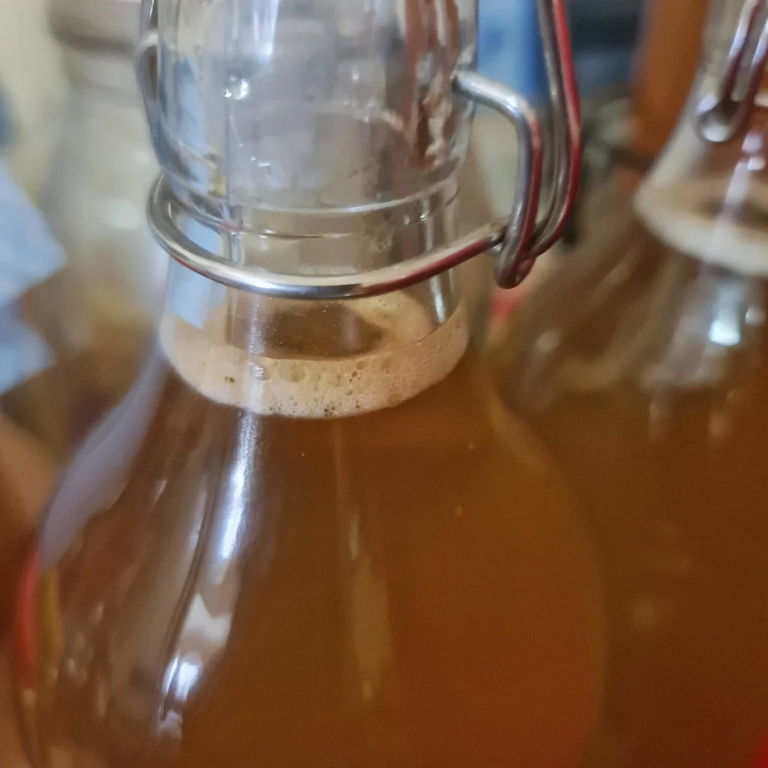
Every day after that add a teaspoonful of sugar and stir. After around 6 days, your brew should be cloudy and bubbly. The bubbles are CO2 that are formed by the yeasts in the mix as they feed on the sugar. Congratulations, you’ve caught the Ginger Bug!

Step 3
After 5 or 6 days, your Ginger Bug will be cloudy and a little bubbly. It’ll have a pleasant fermented smell with a strong touch of Ginger. Shortly I’ll be posting about how to use it to make Ginger Beer but for now, just keep yours in the fridge. Feed it a little sugar every couple of days and throw in some grated Ginger a couple of times a week to keep the beast fed.
There’ll be another post in a couple of days detailing how to make your own Ginger Beer from your Ginger Bug.


Every time I've tried to make it it goes off or I just give up and chuck it. I need to persist.
I've had a couple of tries that went sour quickly. Not sure why. I dont make it often but now I have a better handle on the Ginger Beer making, I'll have to dig deeper.
!BBH
Wonderful! I will definitely give this a try. Do you think it would be alright to feed the ginger bug evaporated cane sugar? Or should I stick to raw sugar or as we call it here - blonde sugar - which is slightly more refined?
Any kind of sugar will do. I use raw sugar as less refined stuff is much more expensive.