Installation of ssd drive and quick installation of windows 10 / Montaż dysku ssd oraz szybka instalacja windowsa 10
Hello, today I would like to introduce you to the process of installing a disk drive in a laptop.
My laptop is a Lenovo G500 and it is quite simple to disassemble.
First we unscrew the screws that cover the back shell of the laptop (they are located me under the battery) and try to locate the disk usually immediately visible as a rectangle.
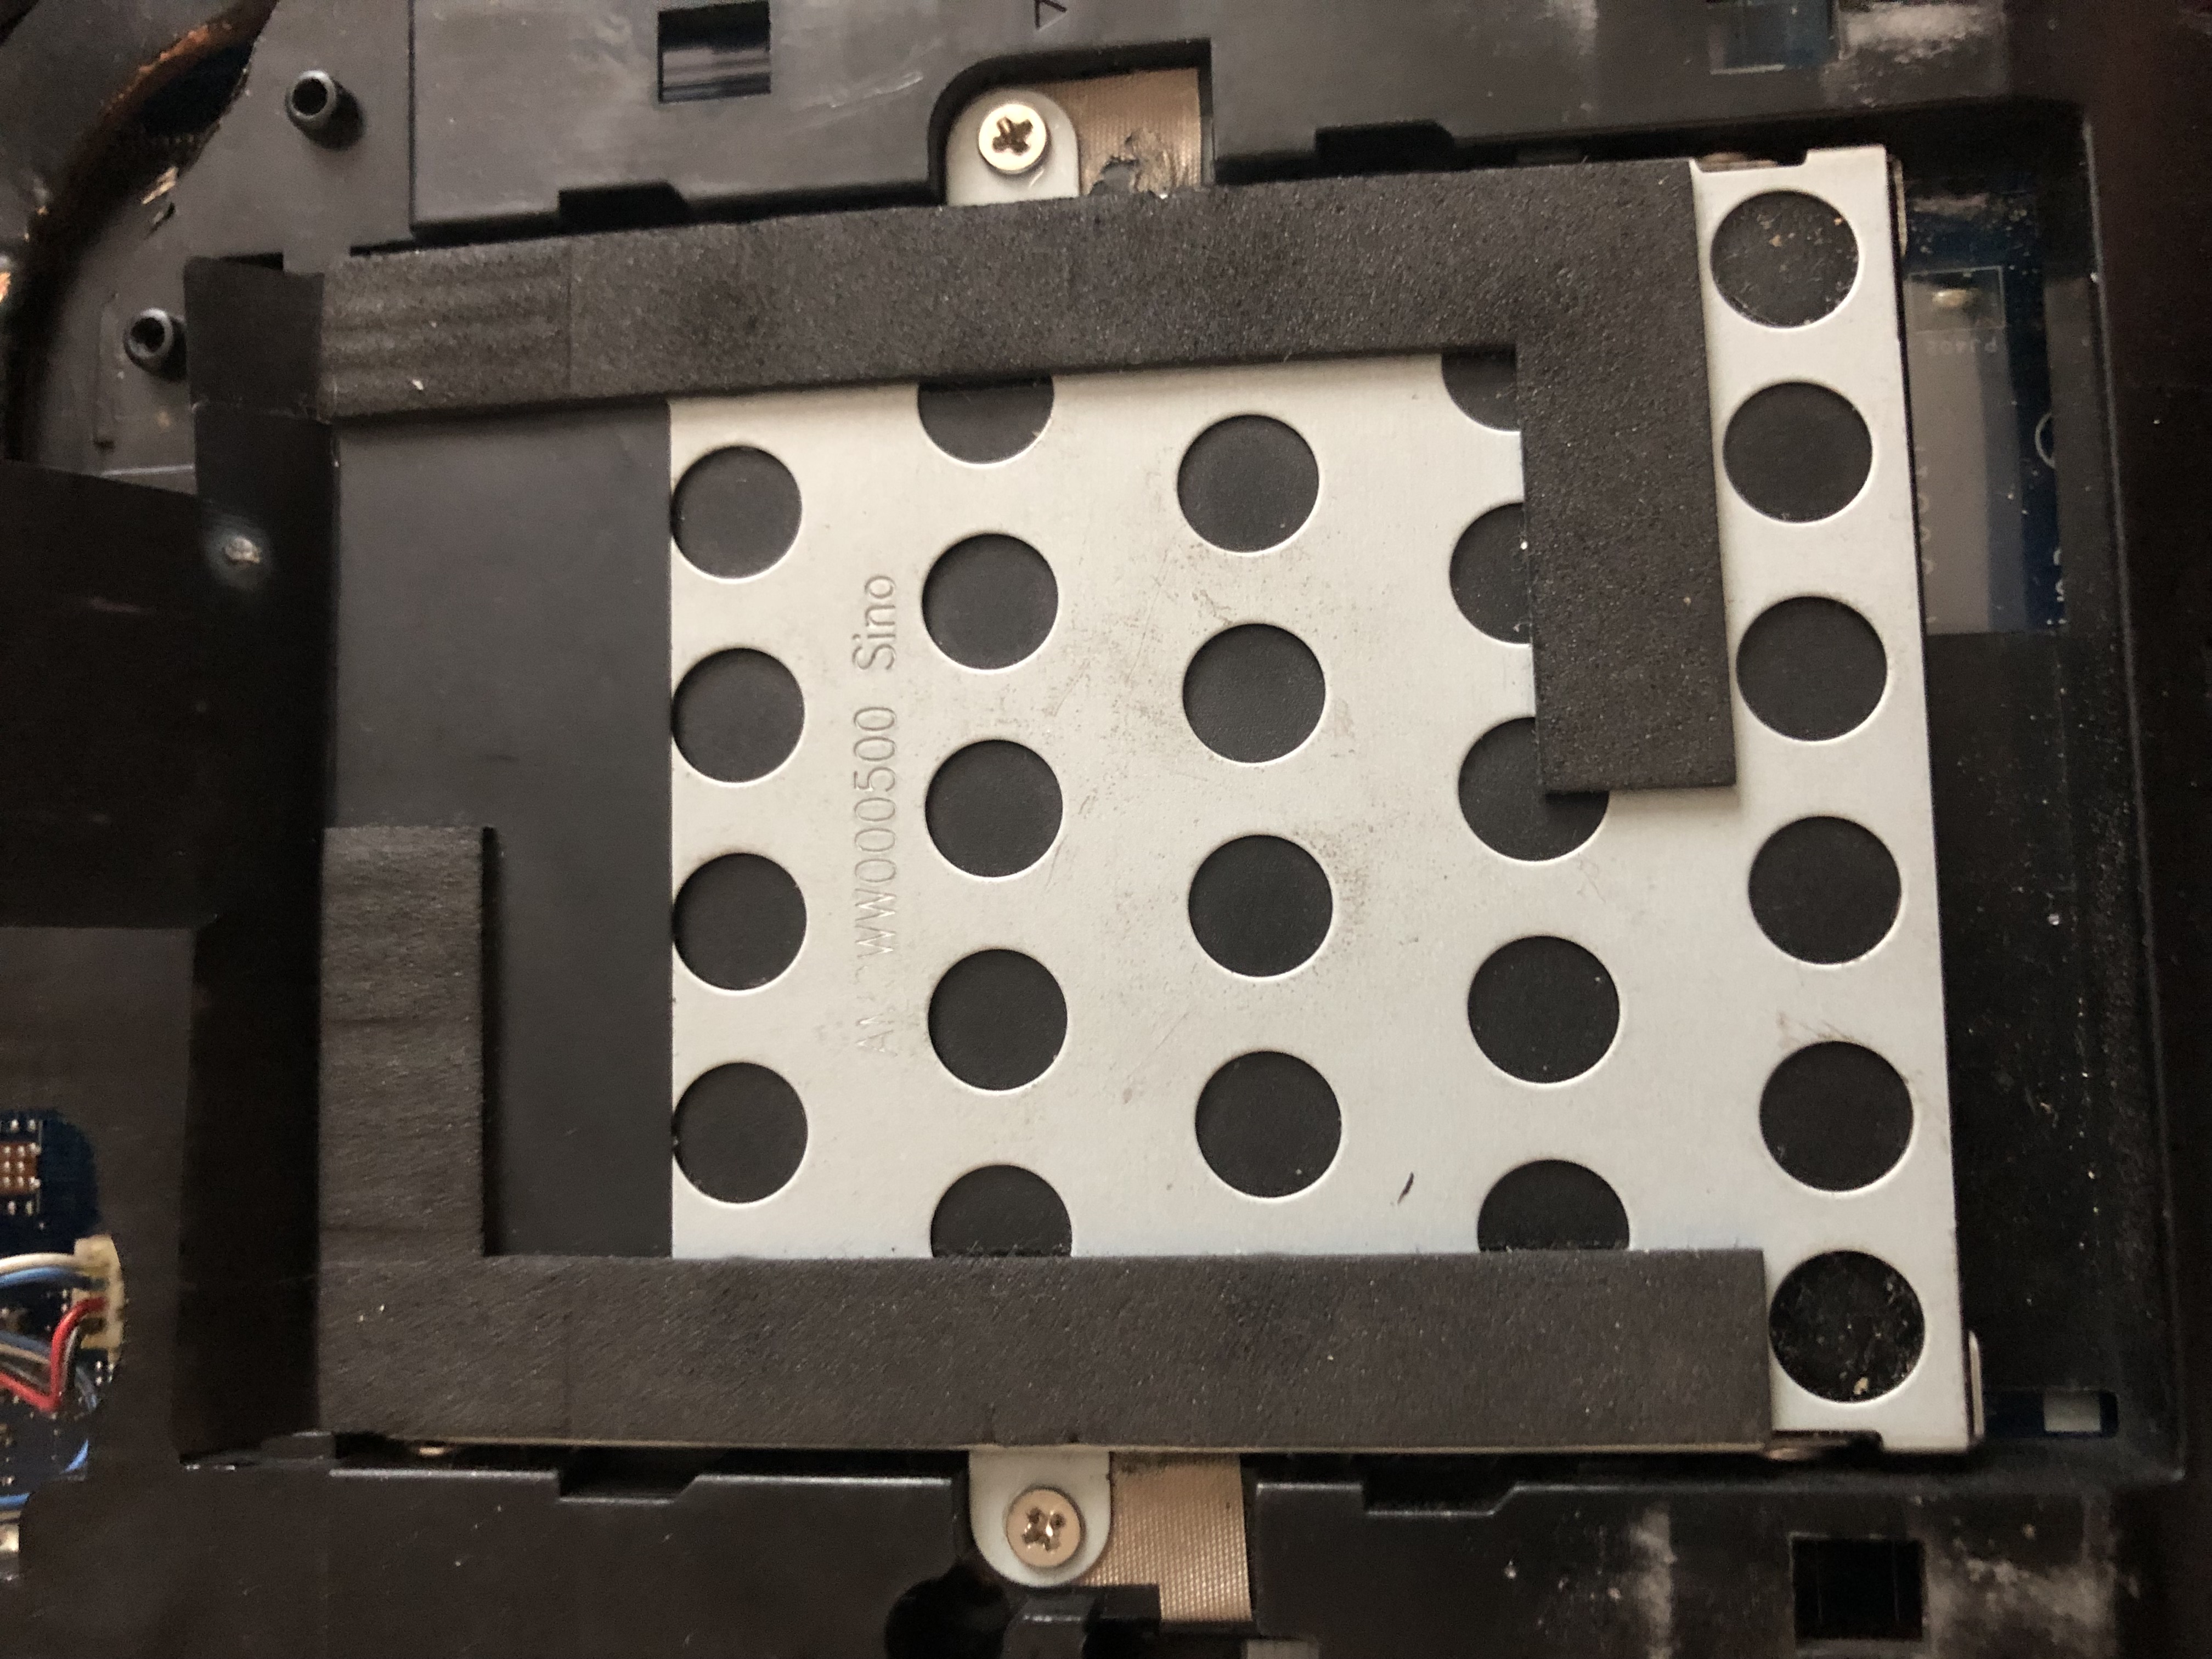
This is where the disk is located on the small drawer. We need to remove the two screws on the side and then pull out the disk ( hdd or ssd there is no difference here we pull out the same way).
Having in hand our drive removed from the laptop, we remove the four screws on the side that held this drawer.
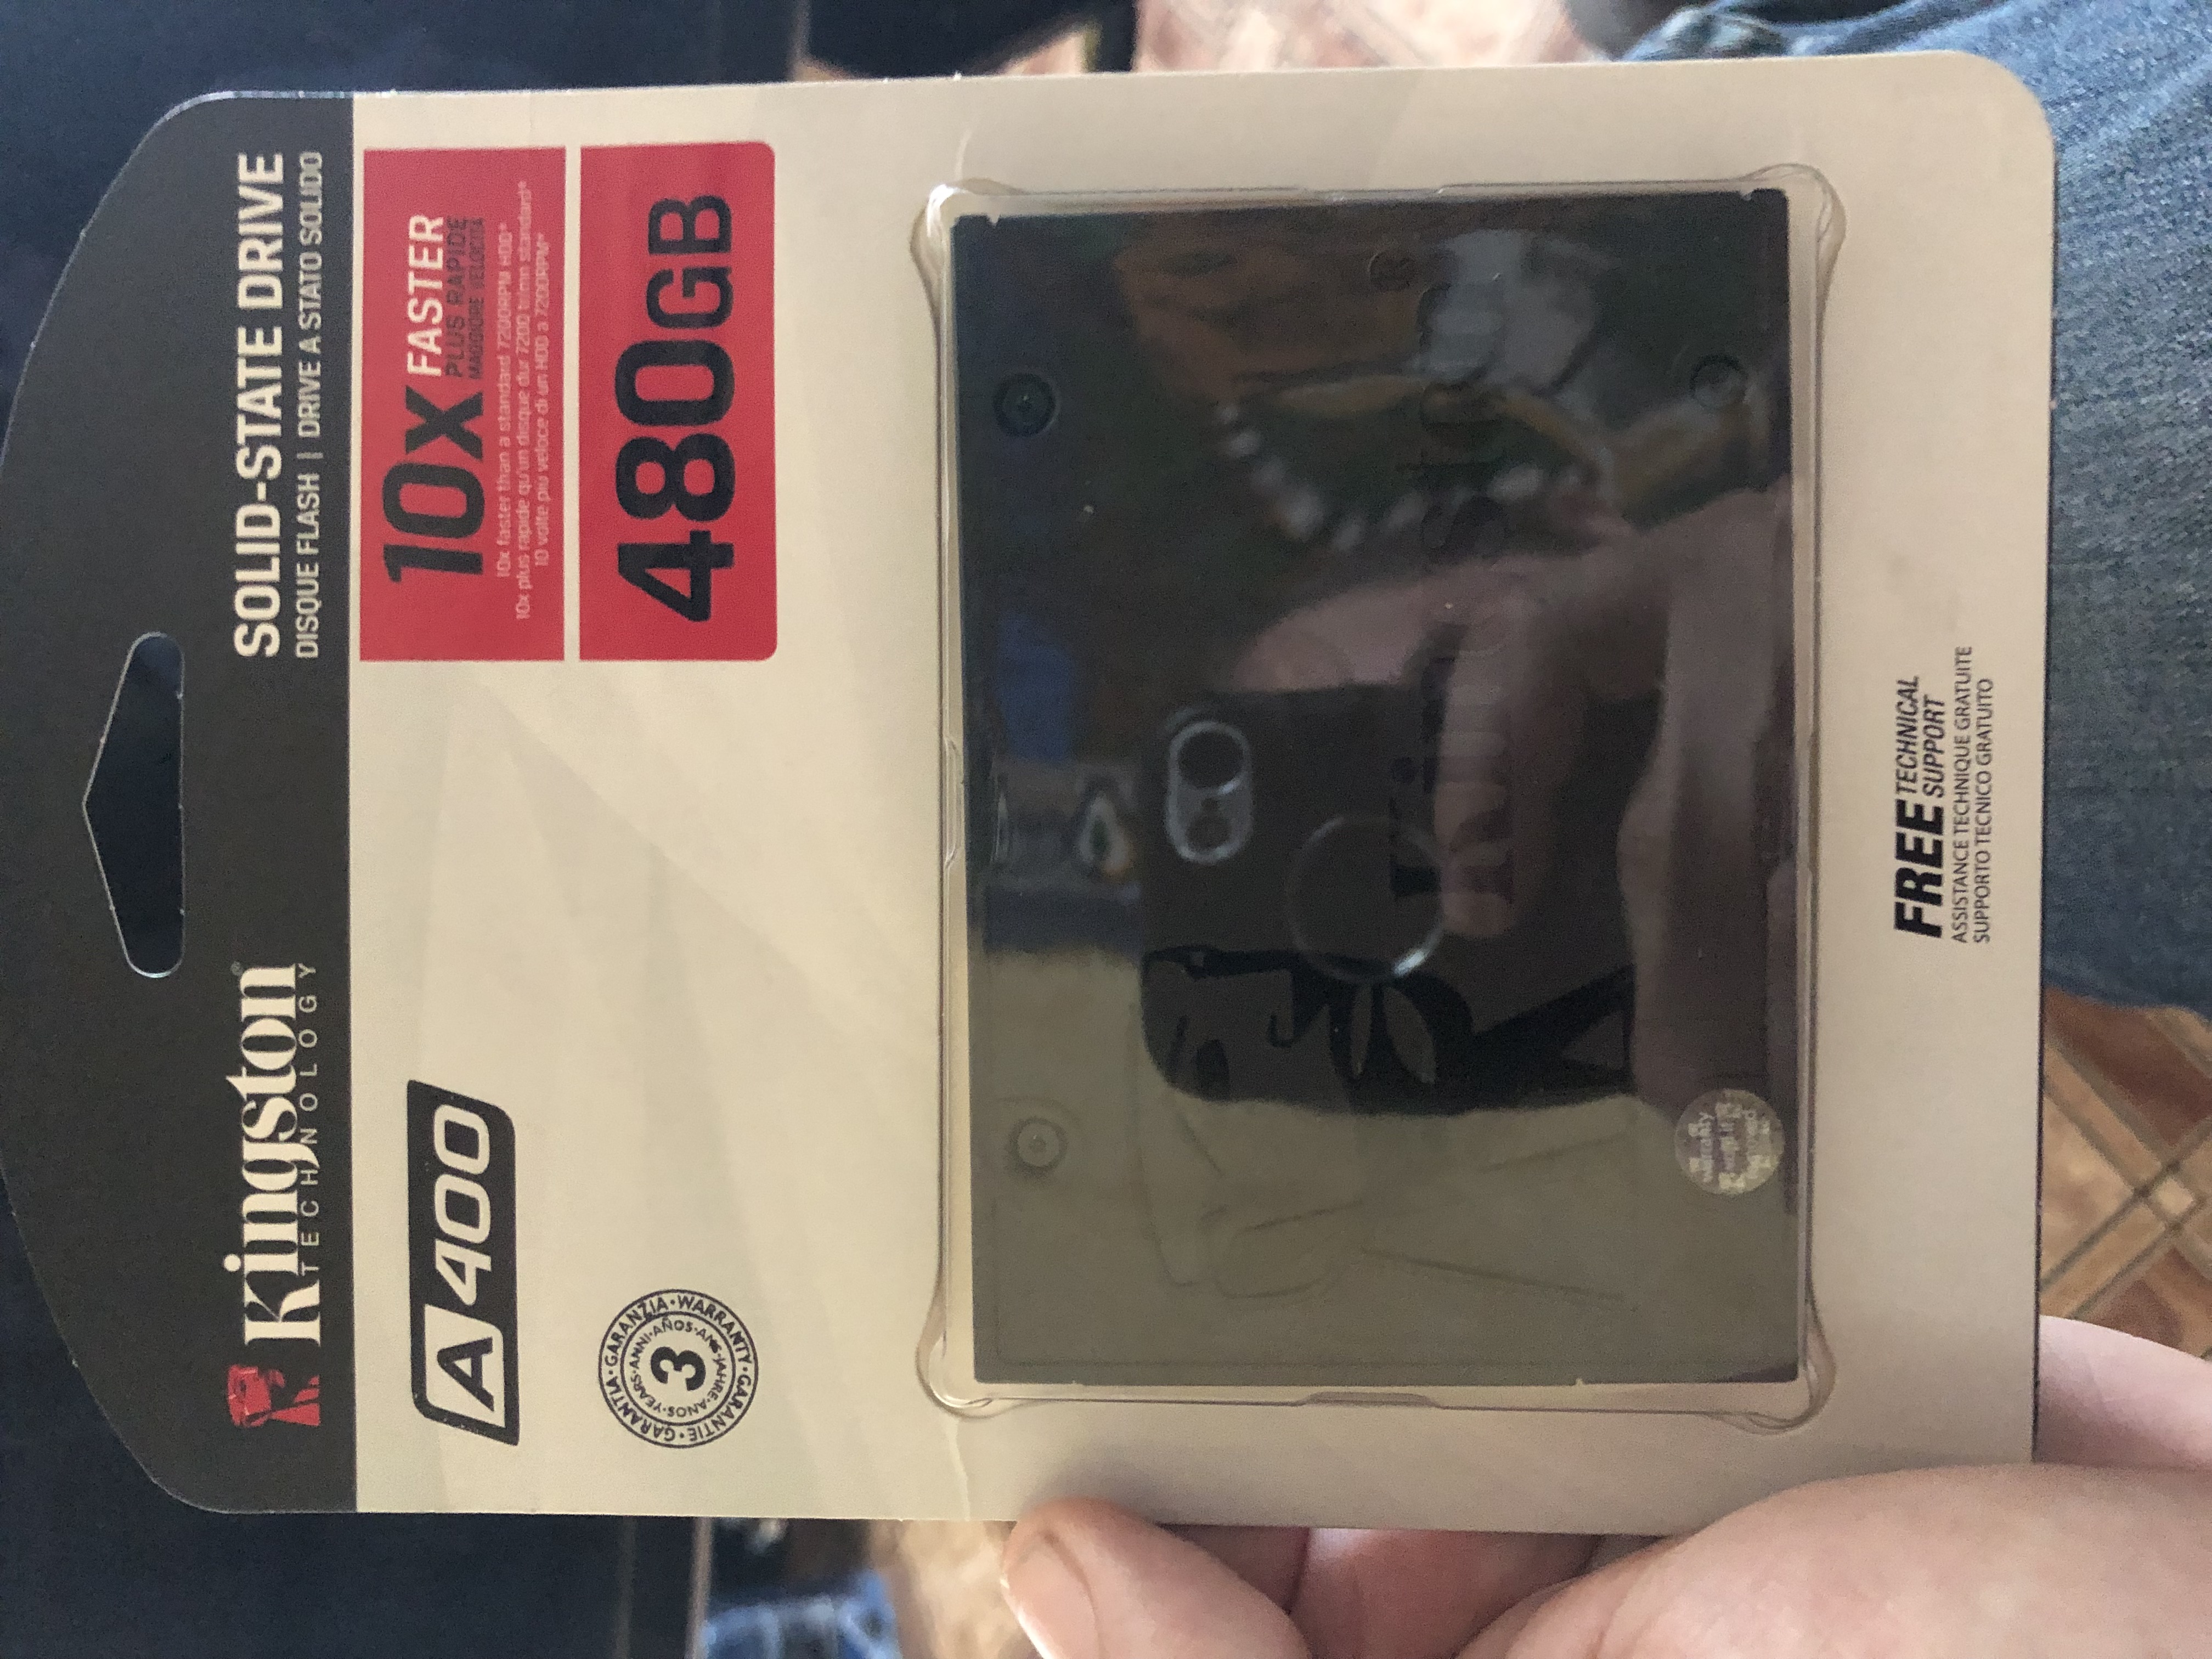
We take out the old drive and hide it in a safe place (if it's not broken, of course, it will come in handy) we wipe it lightly because usually in this place we will rarely clean anything so we can wipe the dust lightly with a dry cloth or paper. We take a new drive.
I bought a 480 GB ssd. Previously, I only had a 120 GB SSD which was sometimes very problematic and often lacked space.
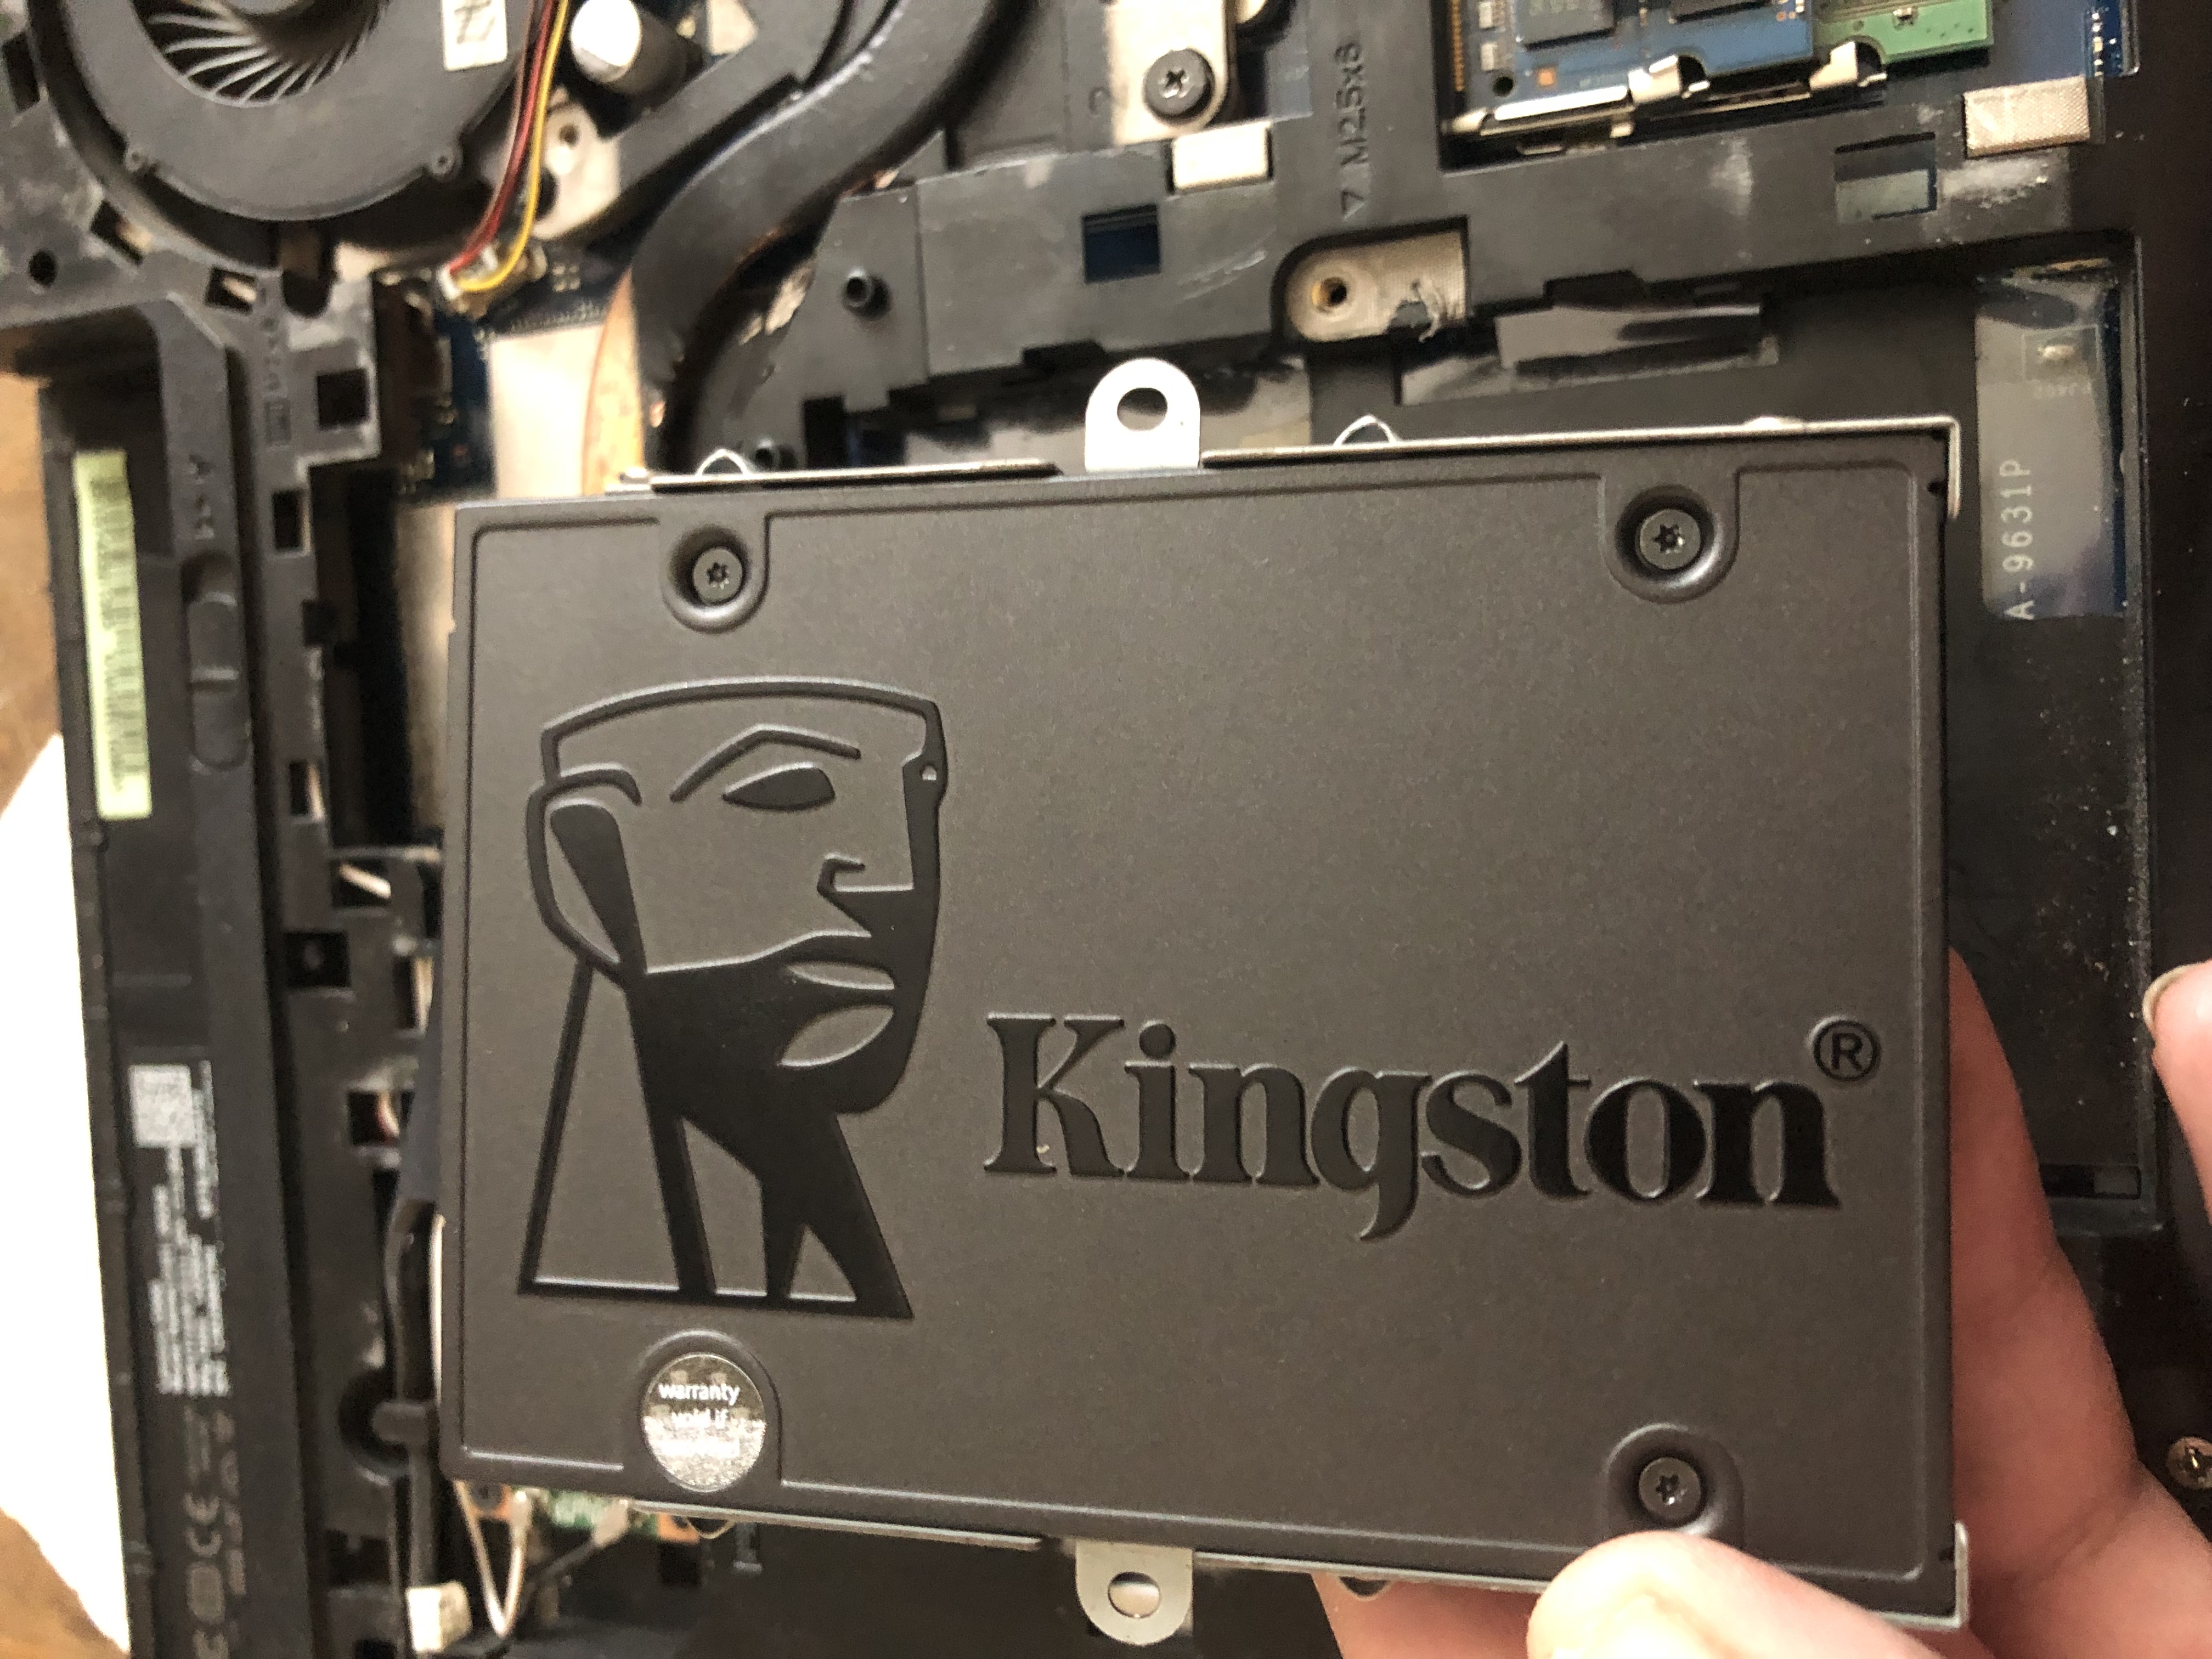
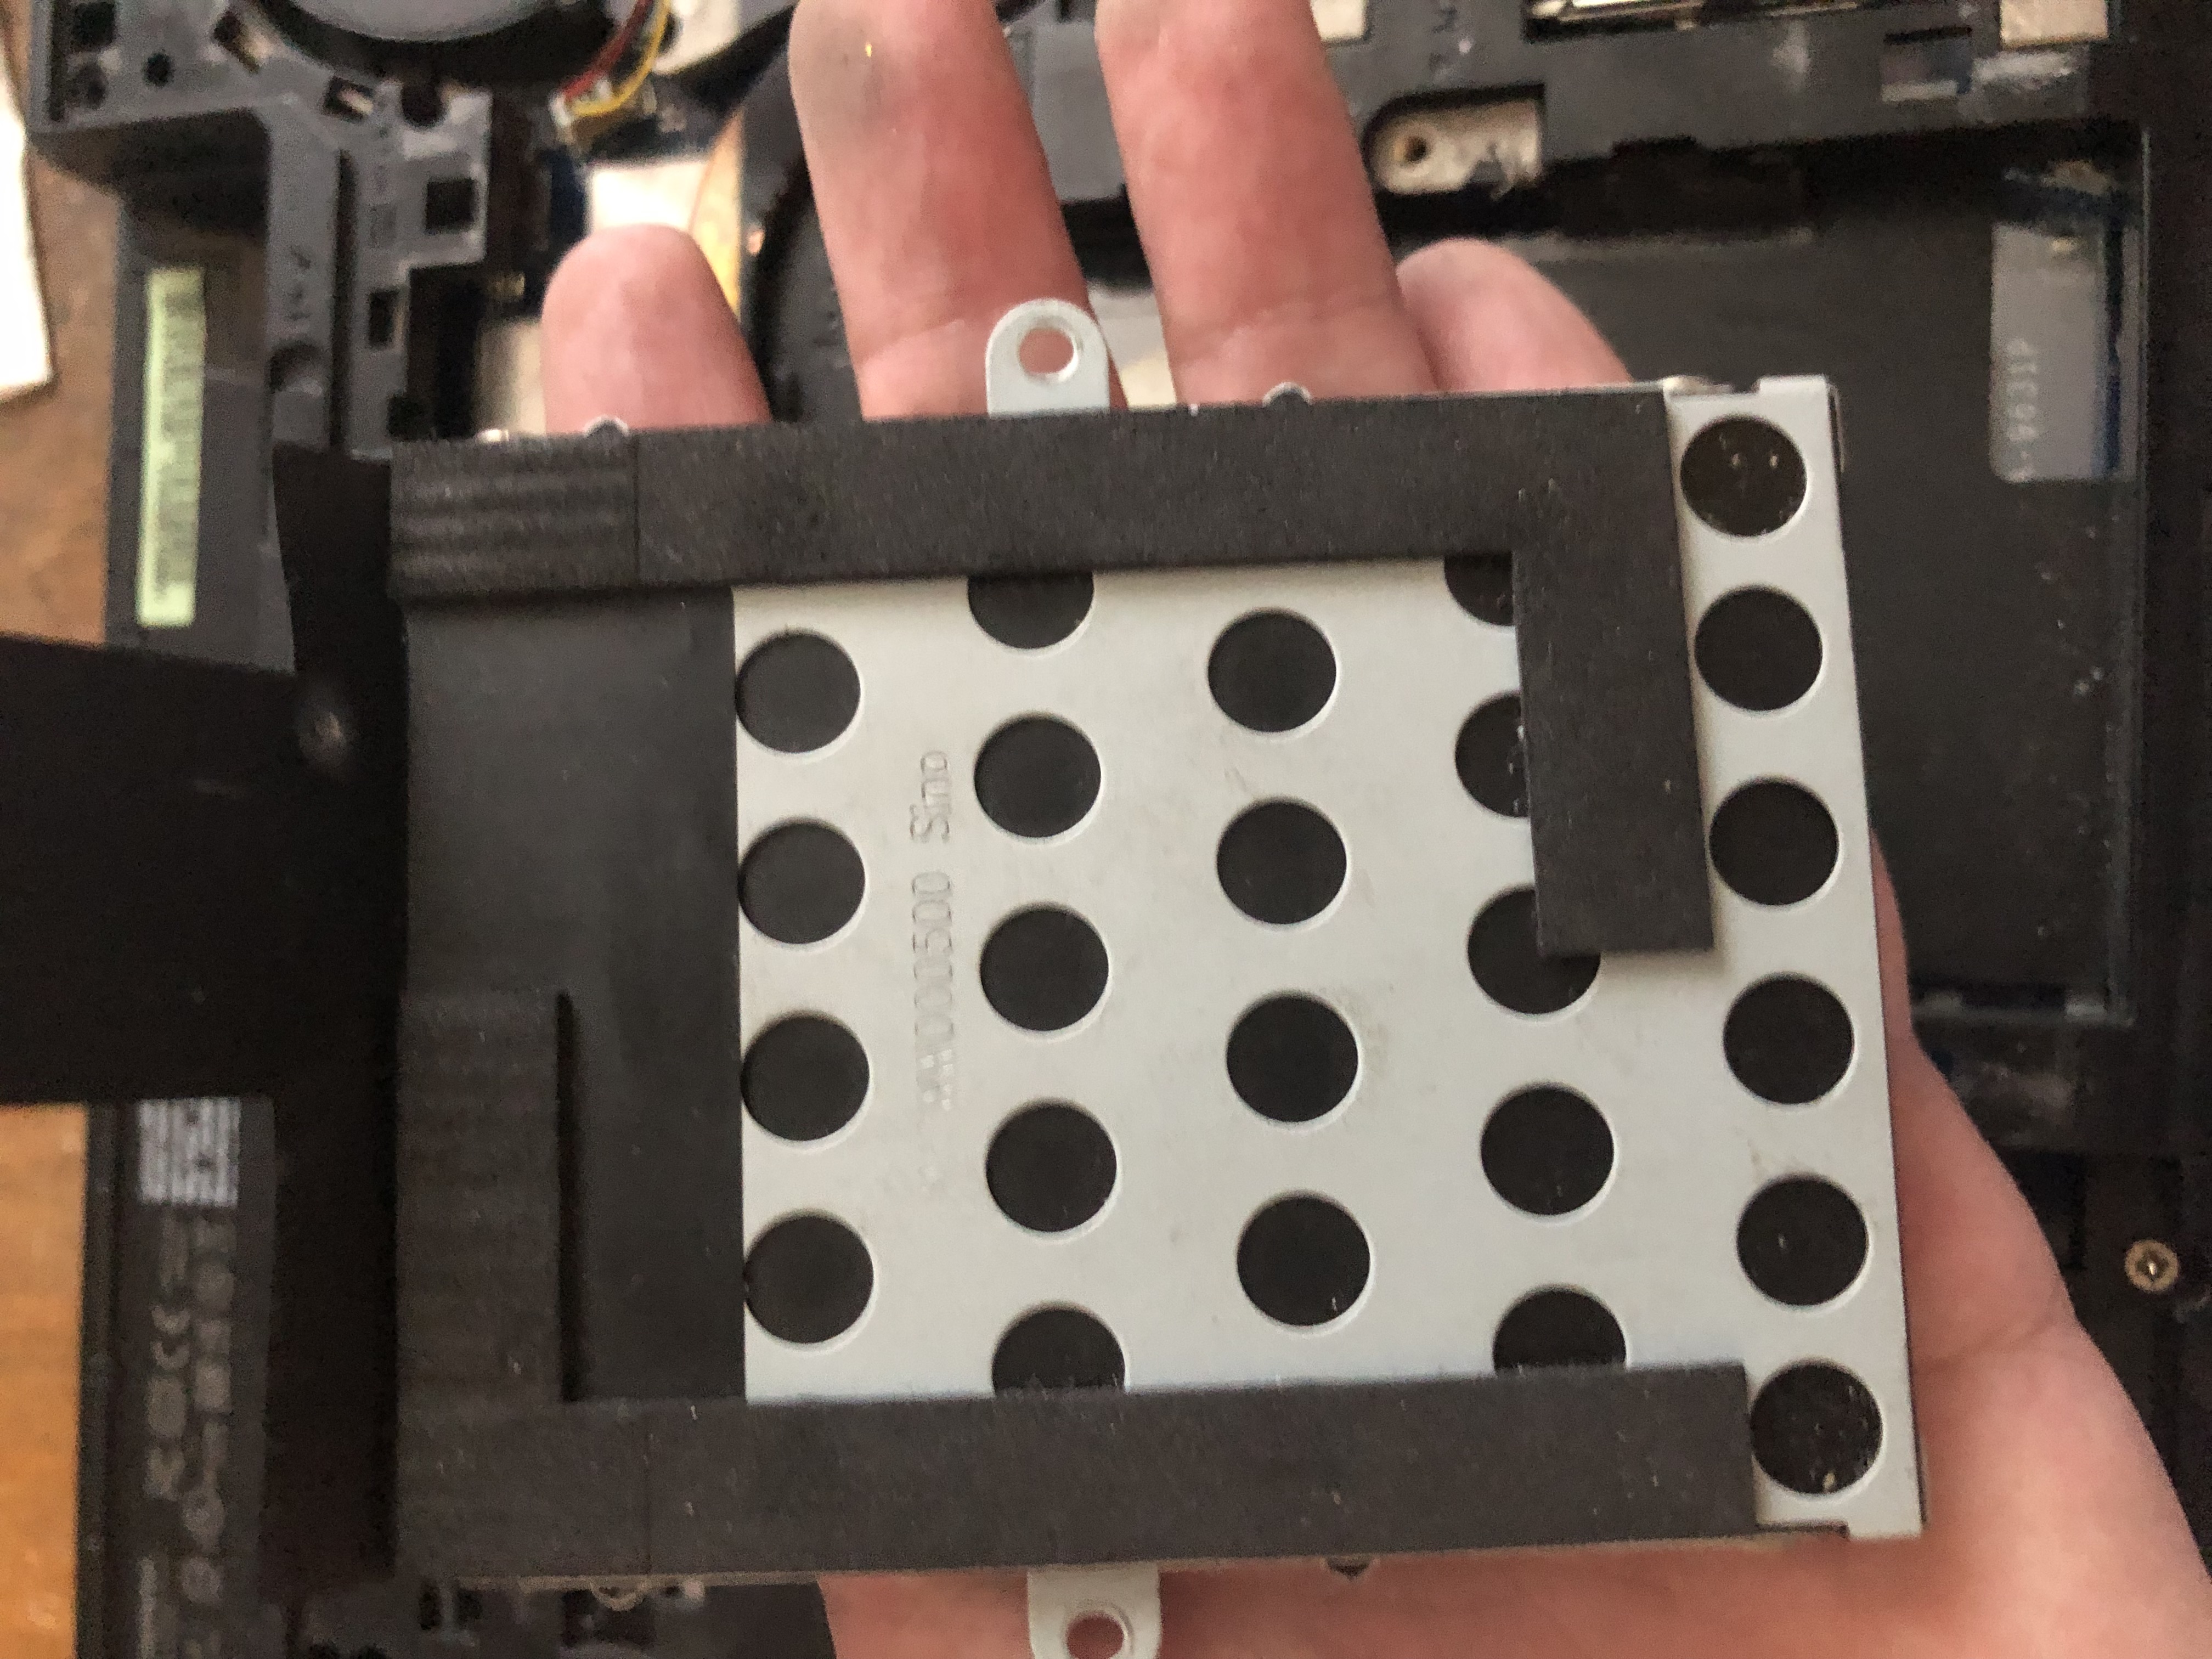
Mount using the same drawer that held the previous drive and tighten all the screws.
Gently push the disk into place so that the screw locations overlap and screw it in place.
 .
.
Check that all the screws are tightened and put the back cover and screw it down then put the batteries and plug in all our devices( power adapter, mouse, internet)
To the USB port we plug in a flash drive (pendrive) on which we have a copy of windows and turn on the laptop.
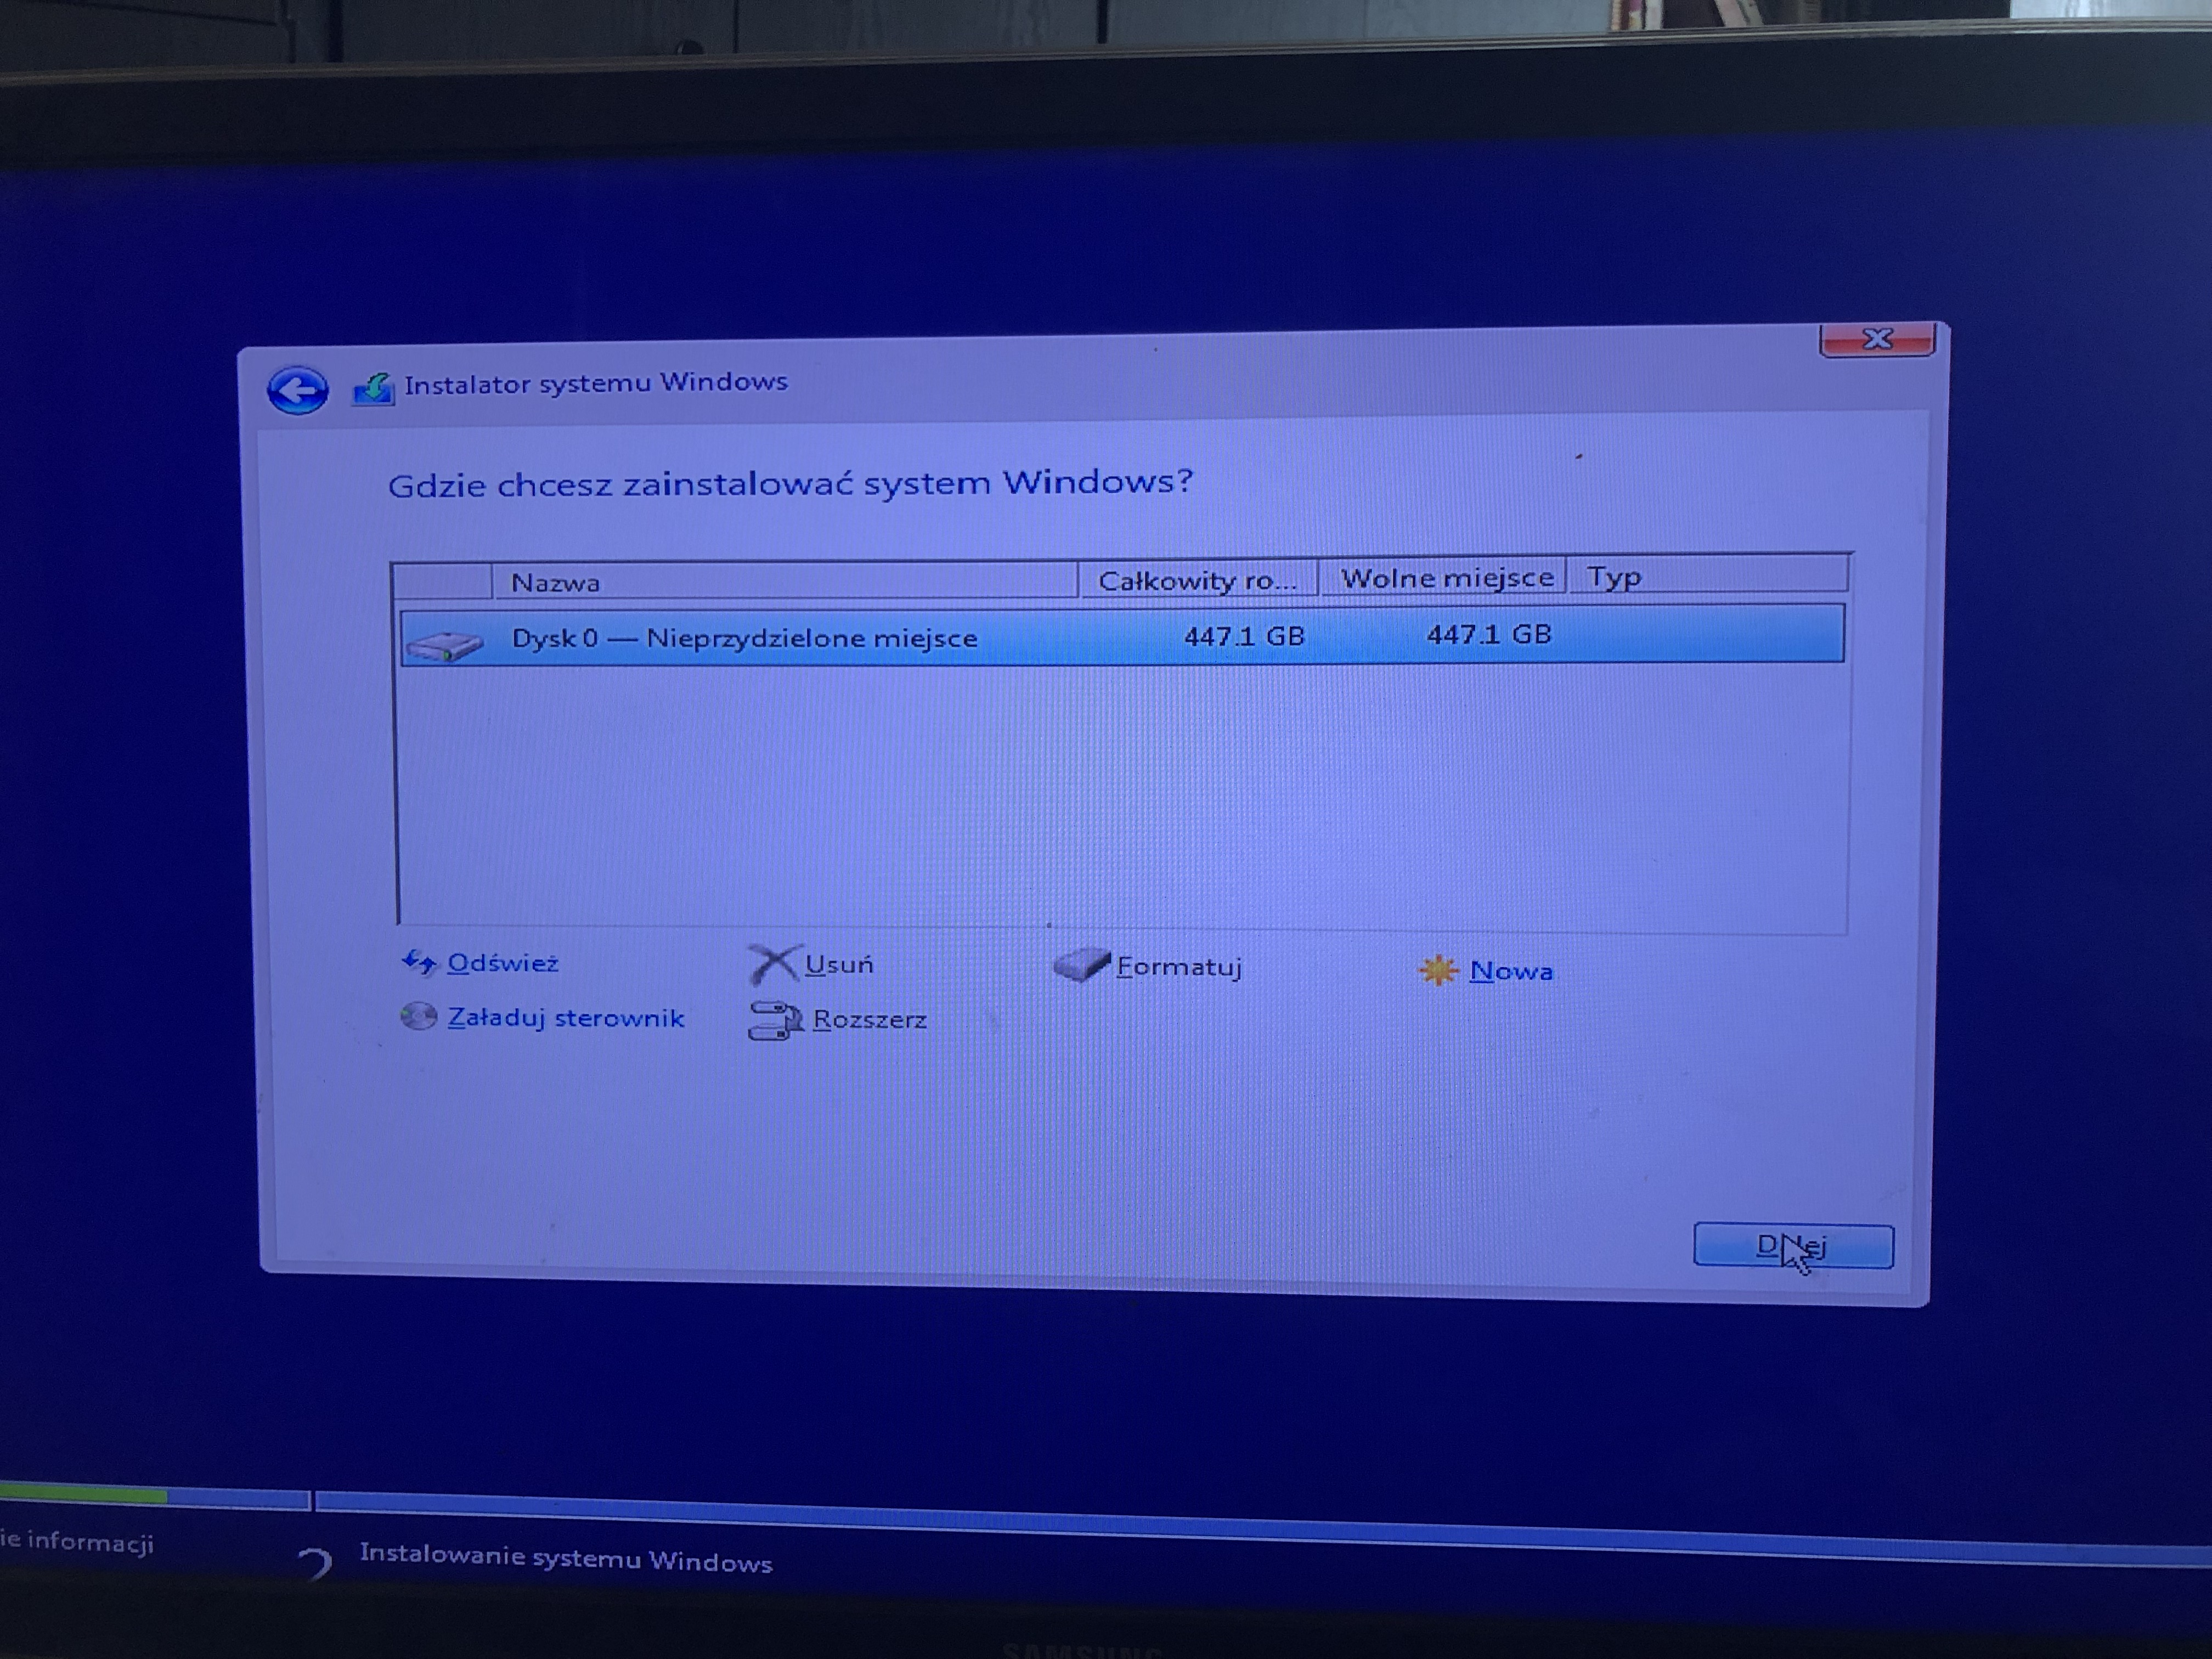
Windows loading icon will appear and then we get a message if we want to install the system we click yes.
The system will slowly upload it will take about 10 minutes it will ask us to log in to our Microsoft account when we do this our Windows will be fully legal and additionally sync some things. After uploading we will have a fully clean computer, of course important things we can rip to the cloud or to a flash drive beforehand and transfer later.
Witam serdecznie dziś chciałbym wam przedstawić proces montażu dysku w laptopie.
Mój laptop to Lenovo G500 i jest dość prosty w demontażu.
Pierw odkręcamy śrubki, które przykrywają powłoke tylna laptopa (znajdują się one mnie pod bateria) oraz staramy się zlokalizować dysk zazwyczaj od razu jest widoczny jako prostokąt.
W tym miejscu na małej szufladce jest umieszczony dysk. Musimy wykręcić dwie śrubki po boku i następnie wyciągnąć dysk ( hdd bądź ssd nie ma tutaj żadnej różnicy wyciągamy tak samo).
Mając w dłoni nasz dysk wyjęty z laptopu, wykręcamy z boku cztery śrubki, które trzymały ta szufladke.
Wyciągamy stary dysk i chowamy go w bezpiecznym miejscu (jeśli nie jest oczywiście zepsuty, przyda się) przecieramy lekko bo zazwyczaj w tym miejscu rzadko będziemy coś czyścić wiec lekko sucha ściereczka bądź papierem możemy przetrzeć kurz. Bierzemy nowy dysk.
Kupiłem 480 GB ssd. Wcześniej posiadałem tylko 120 GB SSD co bywało bardzo problematyczne i często brakowało mi miejsca.
Montujemy za pomocą szufladki tej samej co trzymał poprzedni dysk i przykręcany wszystkie śrubki.
Delikatnie wciskamy dysk na miejsce tak by miejsce na śrubki pokrywały się i zakręcamy.
.
Sprawdzamy czy wszystkie śrubki skręciliśmy i kładziemy pokrywę tylna i zakręcamy następnie wkładamy baterie i podpinany wszystkie nasze urządzenia( zasilacz, myszkę, internet)
Do portu USB podpinany pamięć flash (pendrive) na której mamy kopie windowsa i włączamy laptop.
Pojawi się ikona ładująca Windows i następnie dostaniemy komunikat czy chcemy zainstalować system klikamy tak.
System będzie się powoli wgrywał zajmie to około 10 minut poprosi nas o zalogowanie się na nasze konto Microsoft kiedy zrobimy to nasz Windows będzie w pełni legalny i dodatkowo synchronizują się niektóre rzeczy. Po wgraniu będziemy mieć w pełni czysty komputer, oczywiście ważne rzeczy możemy wcześniej zgrać na chmurę bądź na pendrive i później przelać.
Que bueno estas en camino de la evolución de la tecnología trabajar con disco duro mecánico hoy en día es un trabajo lento. Ssd lo máximo y buena marca la que adquiriste.
con el SSD es mucho más fluido todo te felicito es una gran compra la que acabas de hacer y verás todo mucho más fluida