SUPERVISED CLASSIFICATION OF A SATELLITE IMAGE (LANDSAT-7)
Supervised Classification is a technique used for extracting information from image data. The process includes the classification of pixels of an image into different classes based on the features of the pixels. Supervised classification can be conducted in 2 main stages. The first stage is called Training Stage and the latter is called Classification Stage.
In the training stage of the process, a set of vectors called training samples is established by the user through which the supervised classification is conducted. The number of classifiers is depended upon the number of inputs by the user. For example, if the user identifies 5 different land cover classes in its training data, the supervised classification conducted will output an image of the scene using the data and will have 5 different class distinctions. In this study, four land cover classes were used which included water bodies, bare land, built-up areas, and vegetation using the Random Forest techniques; however, there are several other supervised classification techniques like maximum likelihood, minimum distance, etc.
After clipping the vectorized region of interest from the satellite image, the final product saved as “geotiff” is imported to SNAP (Sentinel Application Platform) software for analysis.
Below are the procedures to import the data into SNAP:
i. Navigate to the File > Import > Generic formats > GeoTIFF
ii. Select the product which you saved as “geotiff”
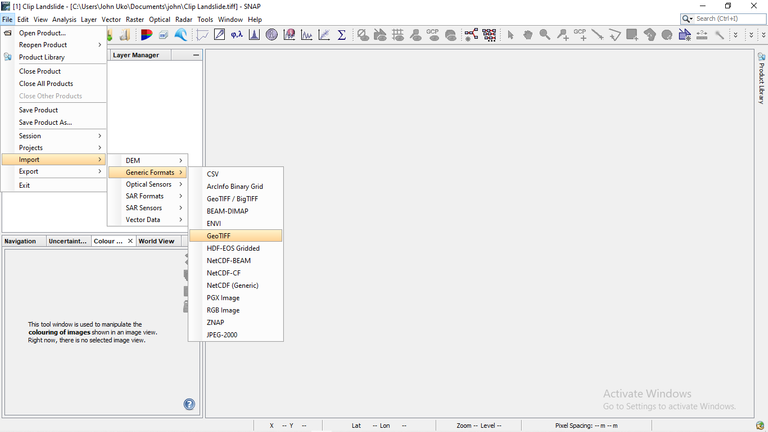
Importing the GeoTIFF data
iii. Once it has been imported, navigate to Window > Open RGB Image Window; then select the bands, for LandSAT-7 use 3-2-1 bands.
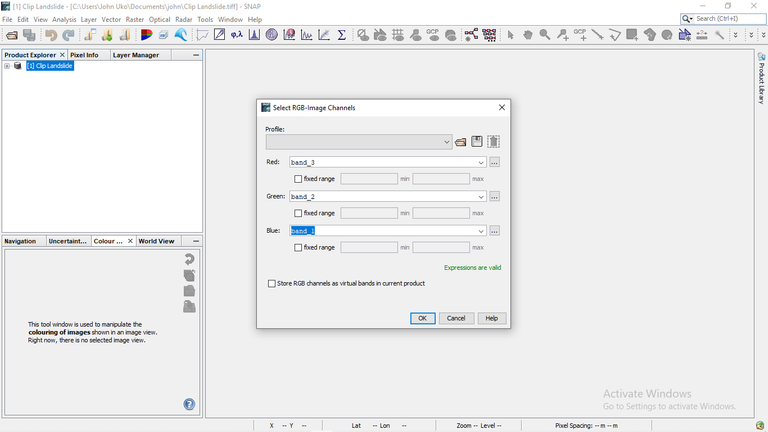
Selecting suitable bands for LamdSAT-7
iv. Once you click “Ok,” the clipped polygon will appear in its correct band.
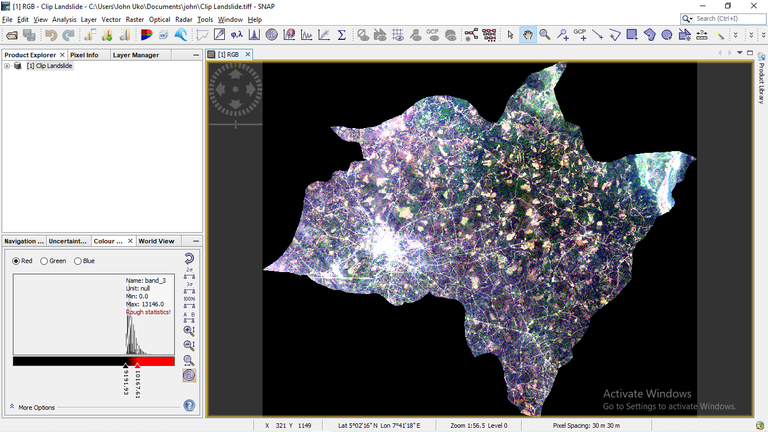
Imported satellite image into SNAP
Once the satellite is imported to the SNAP software, below are the procedures to carry out the supervised classification:
Step 1: Navigate to the Raster-> Classification-> Supervised Classification-> Random Forest menu ( or any other technique of your choice).
Step 2: Select the image to be classified
Step 3: Select the desired samples to be used
Step 4: Select all the source band names you wish the classifier to use.
Step 5: Click on Run. The figure below describes this process.
The result of the supervised classification of the Landsat image using the Random Forest technique is seen below.
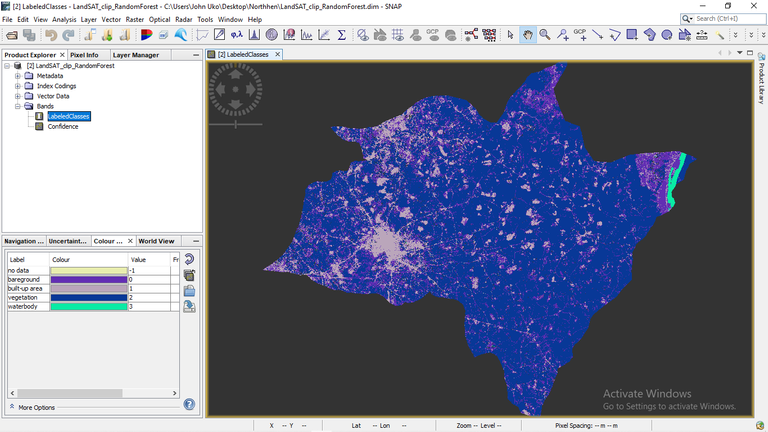
LandSAT-7 Random Forest classification
Thanks for your contribution to the STEMsocial community. Feel free to join us on discord to get to know the rest of us!
Please consider delegating to the @stemsocial account (85% of the curation rewards are returned).
You may also include @stemsocial as a beneficiary of the rewards of this post to get a stronger support.