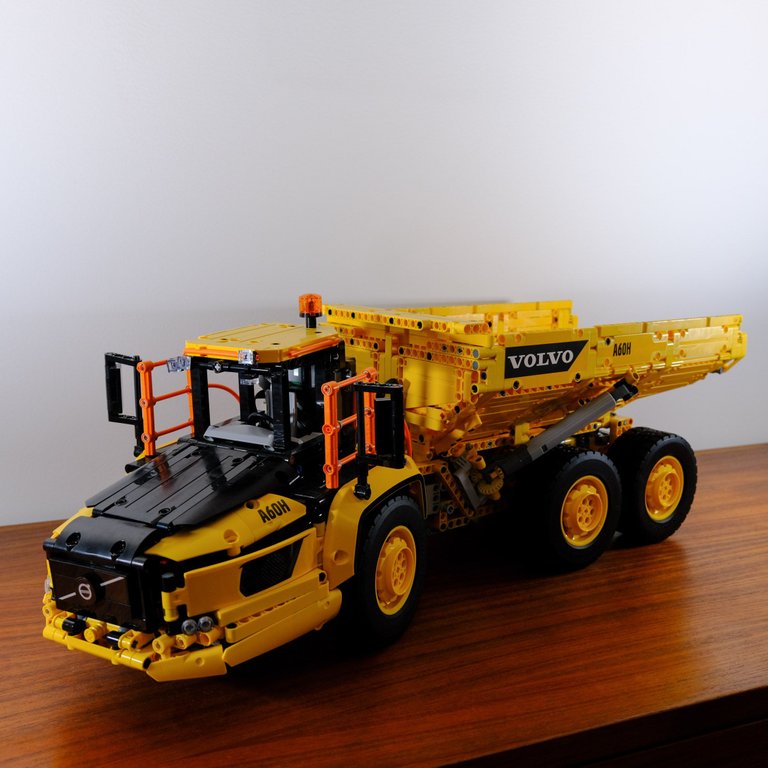
Lego - Building a Dakar Style racing truck
Okay to understand this build you need to understand that Dakar racing trucks look a little like this...

A Dakar Truck was originally for the Paris to Dakar rally, which doesn't go from Paris to Dakar anymore, in fact I'm no expert, but I think it just goes around Saudi Arabia now and by coincidence the last stage is today - the 15th of January, so it's all very apt. Think truck that is build to drive fast through deserts and offroad. There are sections for cars, a motorbikes, but importantly for us - Trucks, because racing Trucks is cool
Here are some video highlights from a couple of days ago:
So now that you understand what we are trying to make, you also need to know the raw materials - which is this
It is Lego Set 42114 - the Volvo 6X6 Hauler - it's 2193 pieces of technic wonder, it's huge and it's remote controlled.
And with the help of some amazing instructions from a rebrickable user called XaeroZKota we are going to use about 1400 of those pieces and have about 600 steps to rebuild this into one of those very cool Dakar trucks.
So let's get underway
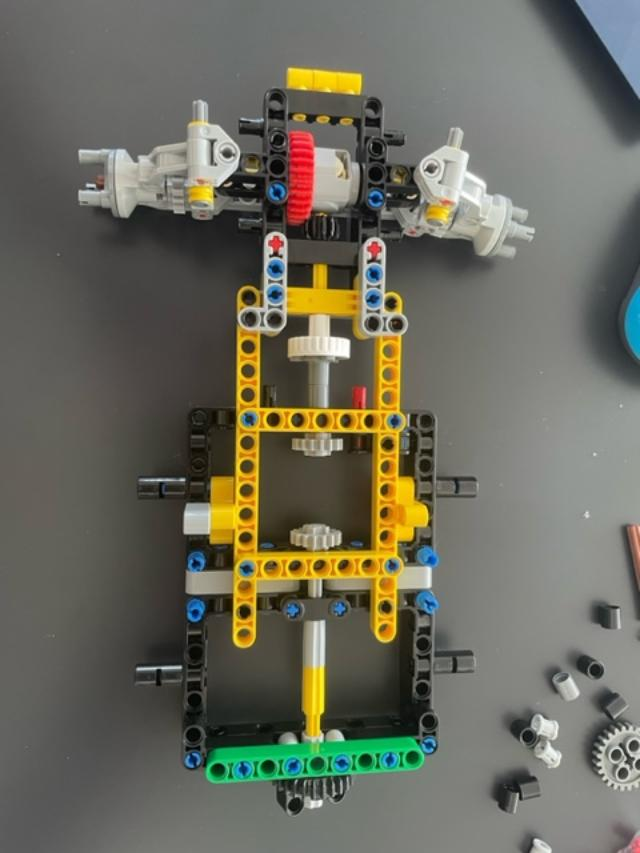
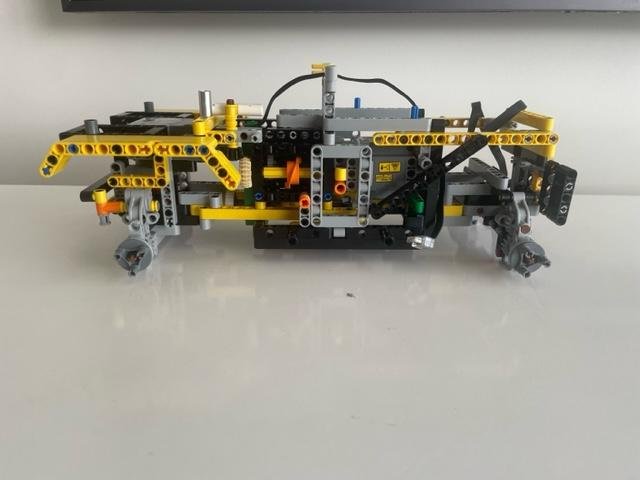
Like all good Lego vehicles it started with some black squares which you build a chassis around it - at about 60 steps in and it looks like this , you can already start to see the core of the drive shaft as well as the front (or are they the back) axle.
Another 60 odd steps and this getting pretty serious, it has now been revealed that this was the Back axle, by the appearance of a front axle which is nice and we have the the first of the motors (there will be three and a controller) so also the first of the electrical cords snaking through the build.
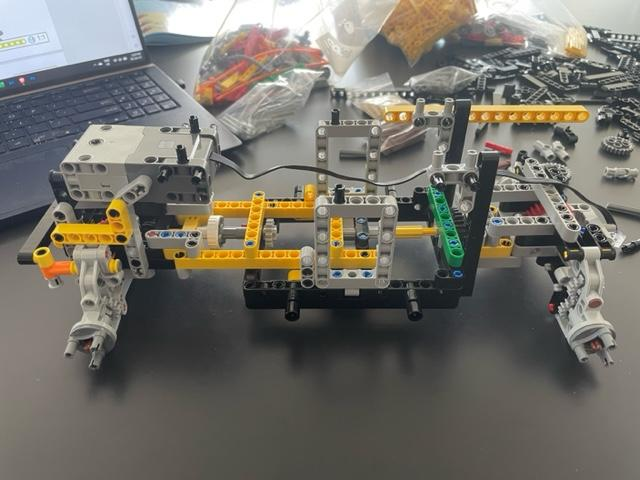
I should mention here you can see piles and bags of different types of pieces in the background - which you are rebuilding something this big you need to organise all of the parts - there was about an hour's work taking the Volvo Hauler apart and ensuring everything was easy to find for the next build.
30% in (as you can see in the background step 183 - and we have to more motors sitting right in the middle of the vehicle:
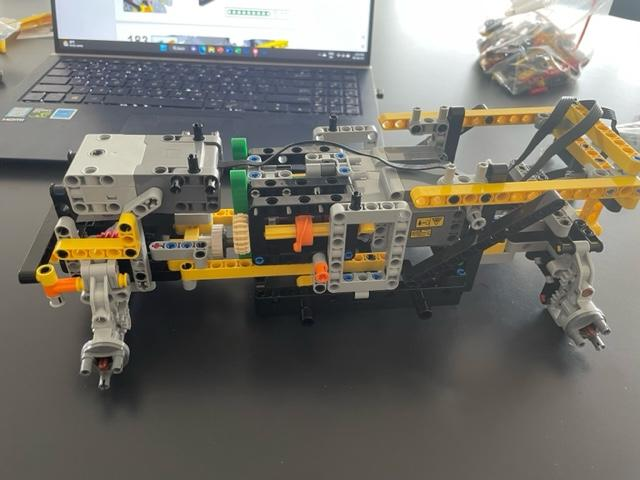
I know it doesn't like like much has happened in this section, but this is so much more solid now, we also have the start of the bodywork with the front wheel arches now in place - of course as this is the offroad truck it sits very high
Okay so this is the key difference between what are called MOC's (my own creations) or Alternative designs which are not designed by Lego, but by amateurs - they build in modules, it's always so much easier to understand what you are building earlier in the process with MOCs - case in point the last step of any official Lego car is the wheels. But we are half way through and bang we throw some wheels on it

I didn't know it at the time but I could have actually powered this up and run it at this stage stage, sort of a weird Frankenstein remote control half truck.
I should also mention the design clearly states that it's built in three sections, the Chassis, the Cabin and the rear body, which are all only joined by a few pins
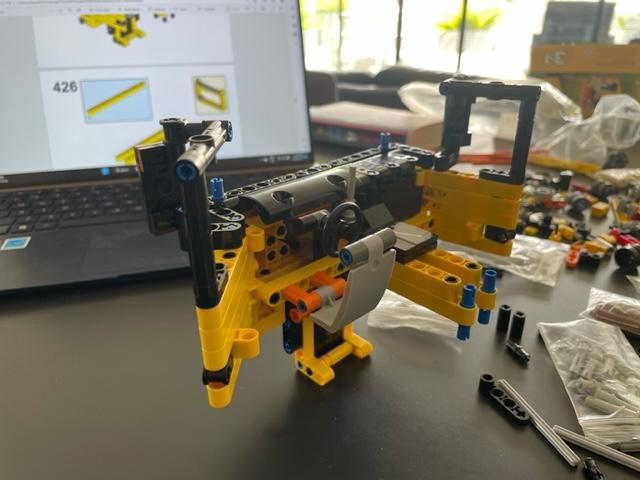
So I guess it's time to put part one to one side and start on the cabin. You are quite literally building this as a separate unit. And we encounter probably the only visual problem I have with the model. The drivers seat is a little silly, it's out of scale to the rest of the build, but it's difficult to see in the final model so it's okay. As you can see we are at set 425 - so it's late in the build.
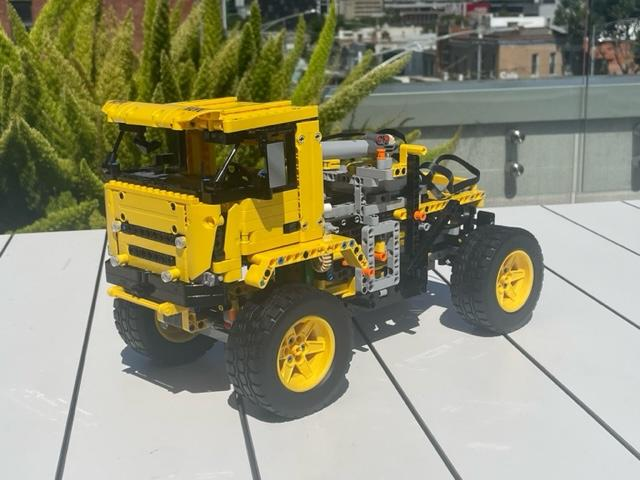
And eventually (about 90% of the way through the build) you finish the cabin and you attach it to the Chassis and it's definitely looking like a truck now. The mystery of the 'lifter' from the dump truck is revealed as well, it manually opens the cabin so you can get to the 'engine'
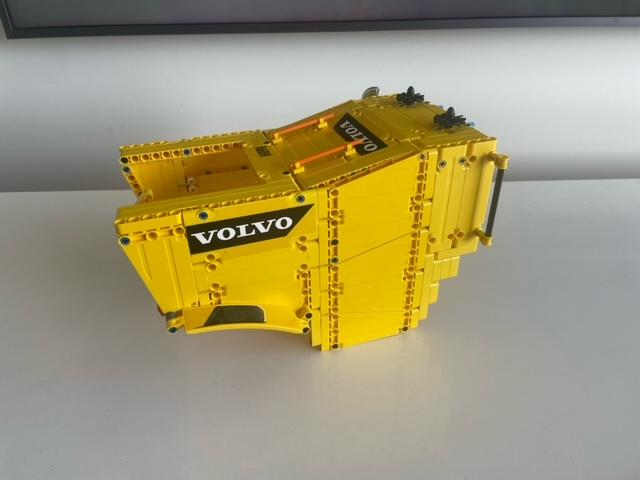
And the final part of the build, and this one is really weird - it's only about 40-50 steps of the entire build and it's basically a cover for the rear of the truck. it looks a little like a garbage truck here, but the space in the back will take a couple of spare wheels, the top part (near the orange rods) opens so you can access the controller to turn it on and off (although this is still fiddly)
The looks are important - the instructions never tell you these things but with MOCs it's important to work out how to reuse the 'stickered' pieces from the original, I had to build and re-build a few pieces but I think where the Volvo logos (as well as the A60H stickers) have ended up works.
From here it all gets put together, and then it's time to learn how to reprogram the remote control device with the Lego 'powered up' app - which is perhaps the most difficult part. This app allows you to build a program for the control - it's not simple, but also not too hard, once I find a youtube tutorial for it. But will it work? - well come back tomorrow for the answer......
Oh that looks like fun.
Looking forward to the test-drive. :-)
Oh yeah, that's awesome. I love lego builds that include movable parts and motors. Sweet!