Repaired my friend's Philips BT5200 trimmer
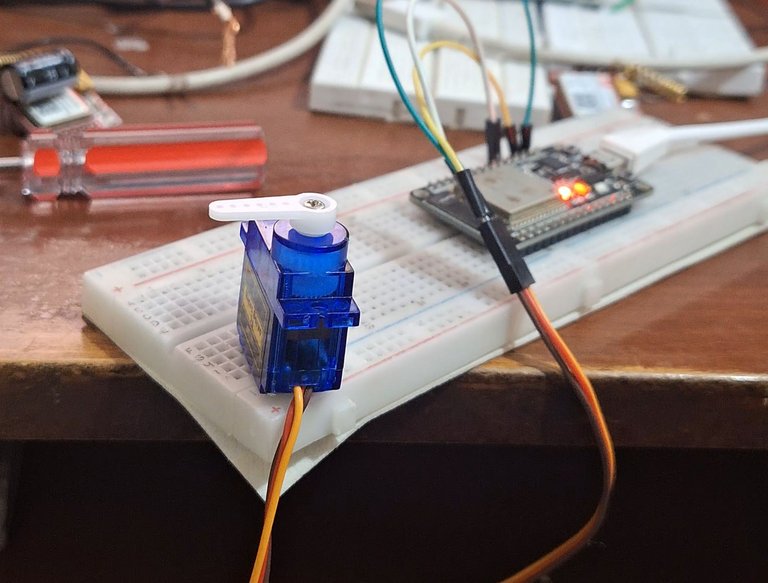
Today, I was engrossed in my latest project—getting an ESP32 module to control a servo motor for smooth and precise movements. This setup will play a crucial role in some exciting upcoming projects I have planned. While experimenting with the servo and fine-tuning the code, I was reminded of the endless possibilities that connected devices like the ESP32 offer. The work was fascinating, but my day took an unexpected turn when a friend showed up with a Philips BT5200 trimmer that needed repair.
Diagnosing the Problem
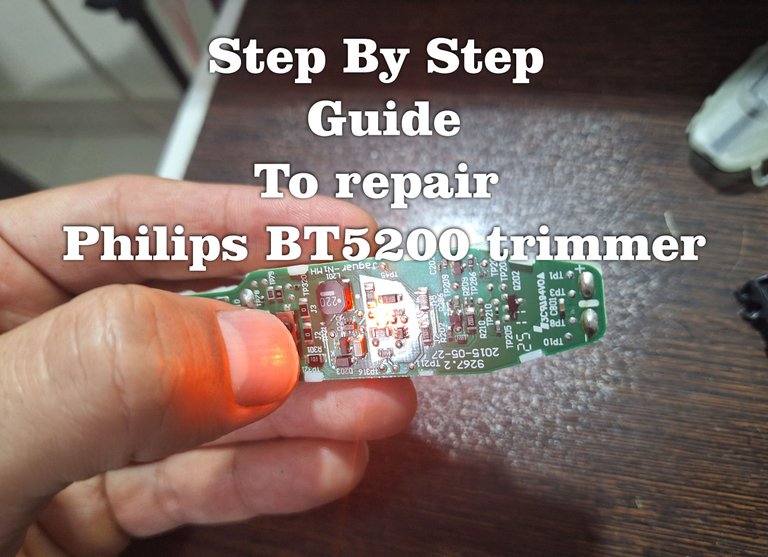
The trimmer wasn’t working due to faulty internal batteries. As someone who loves taking things apart and fixing them, I saw this as an opportunity to document the repair process for anyone facing similar issues. Here's a step-by-step guide to help you repair a Philips BT5200 trimmer and bring it back to life.
Step-by-Step Repair Guide for Philips BT5200
1. Opening the Top Frame
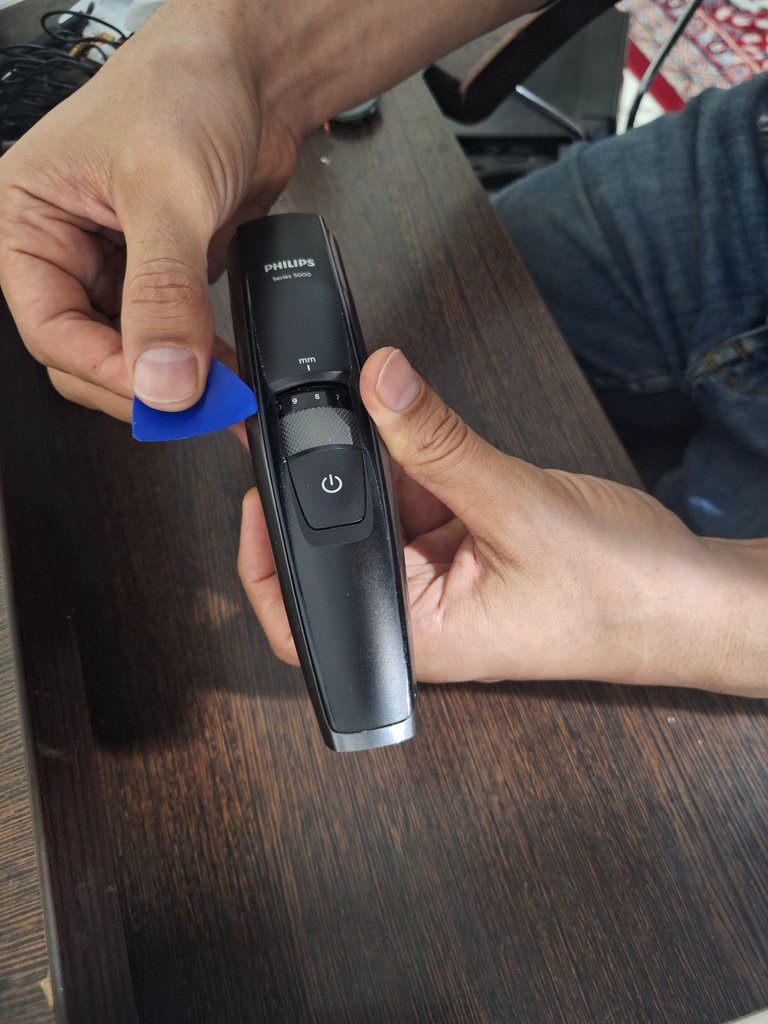
Start by gently prying off the top frame of the trimmer using a plastic pick or prying tool. Insert the pick carefully, applying minimal pressure to avoid damage. The frame should come off smoothly, revealing the inner components.
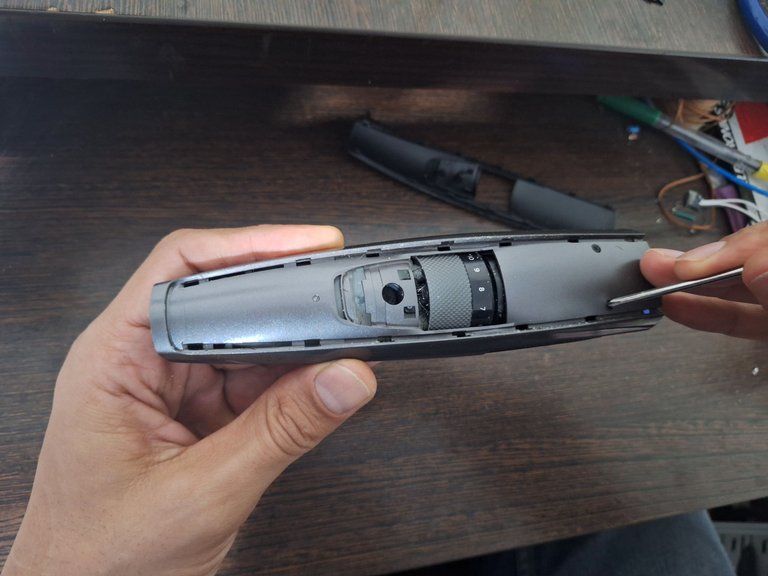
Remember, not too much pressure is needed, it should go smoothly with not much effort. and when you opened it, it look like this:
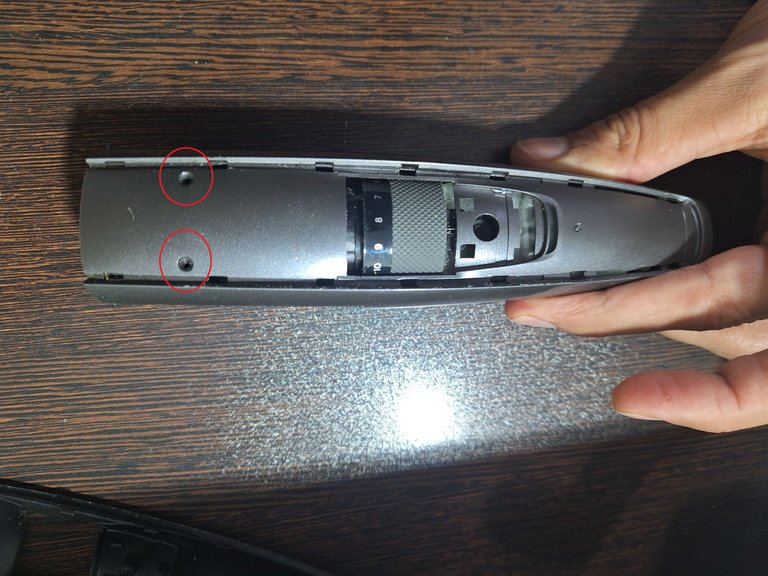
2. Removing the Initial Screws
Once the frame is off, locate and unscrew the two screws that secure the internal assembly. Use a precision screwdriver to avoid stripping the screws.
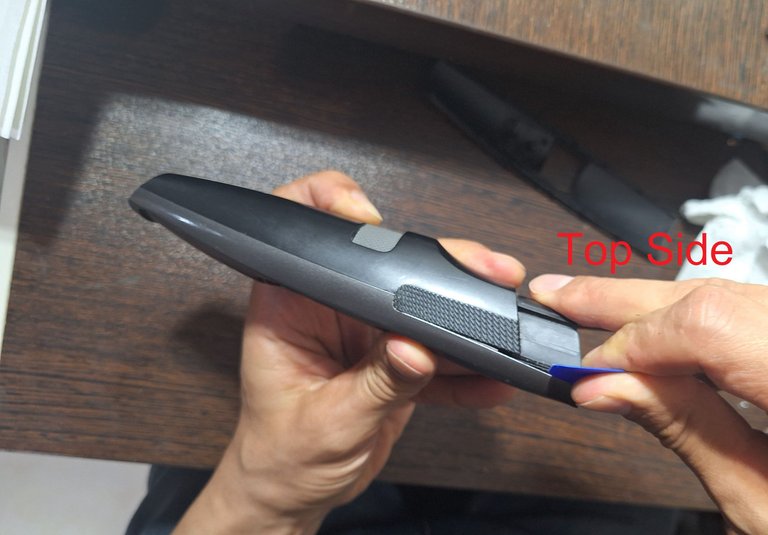
3. Detaching the Next Frame
To access the next layer, carefully detach the frame starting from the top side. Attempting to open it from the bottom will make the process unnecessarily difficult.
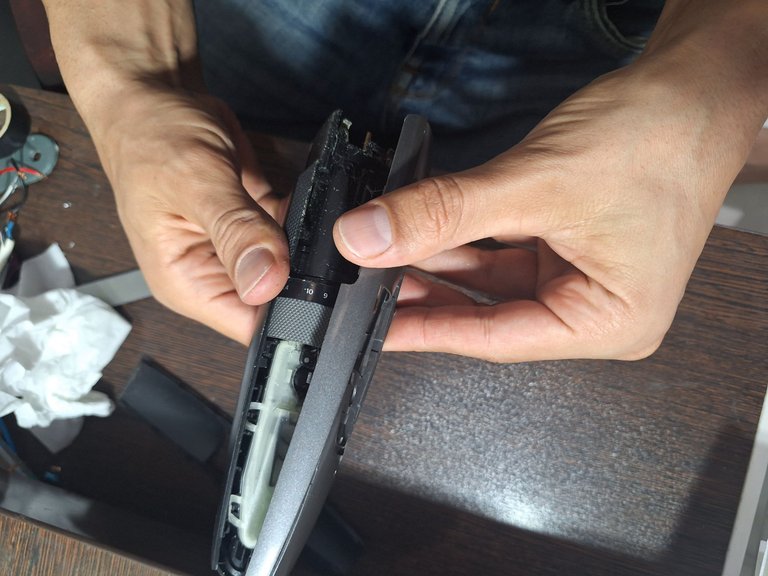
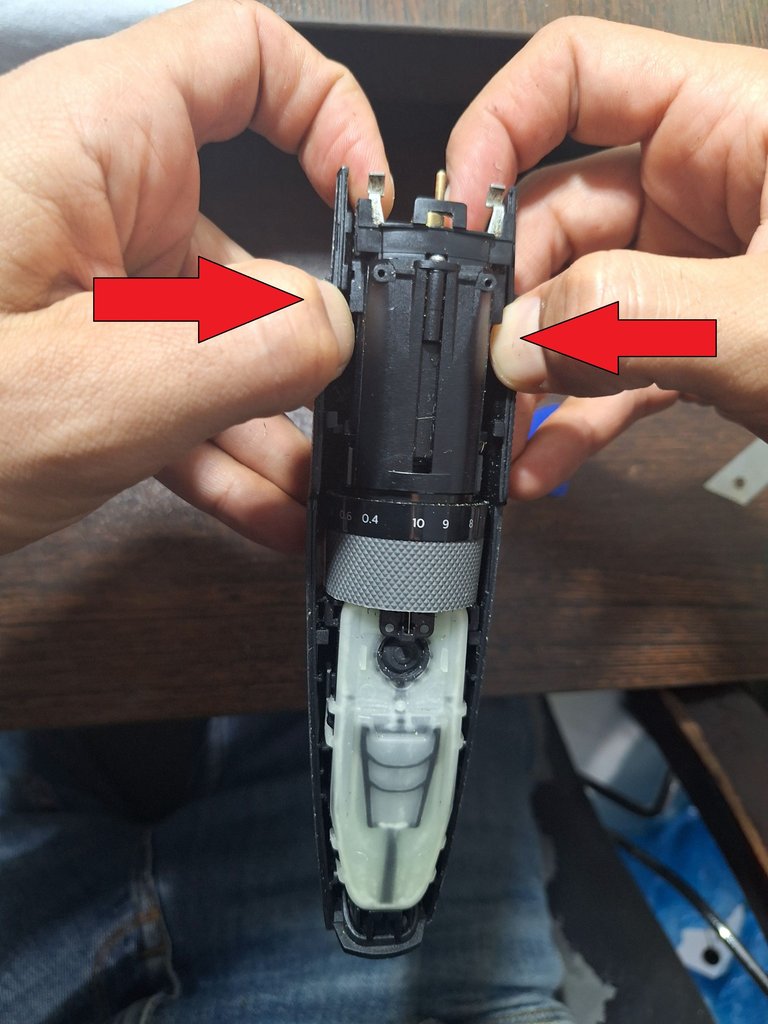
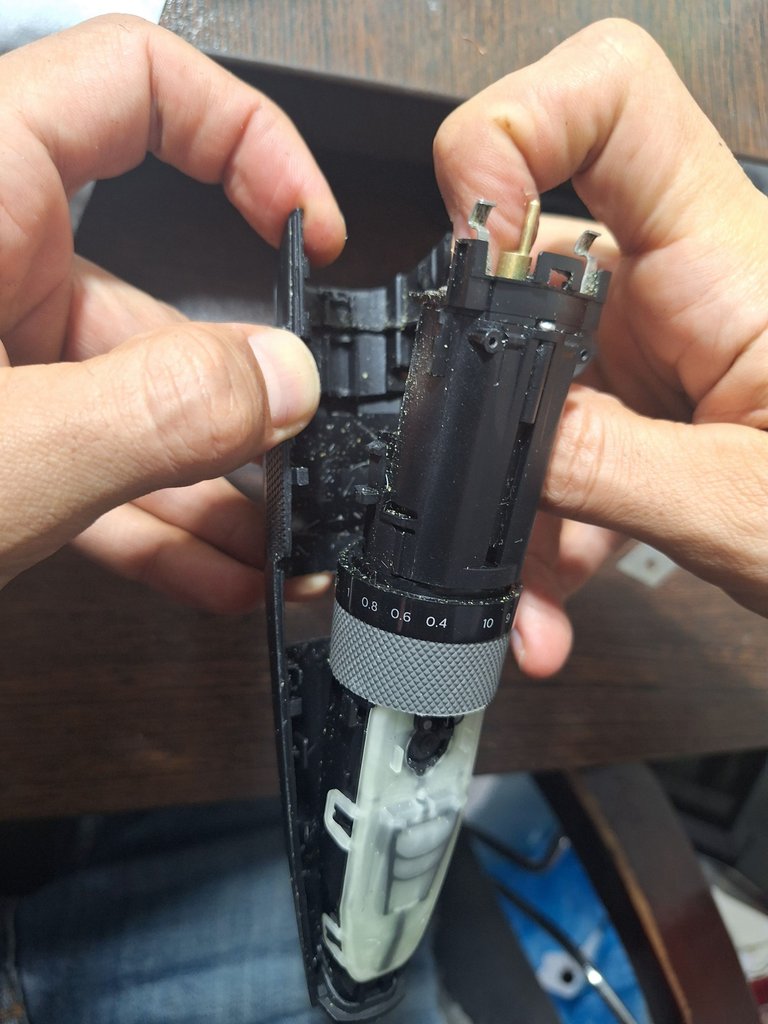
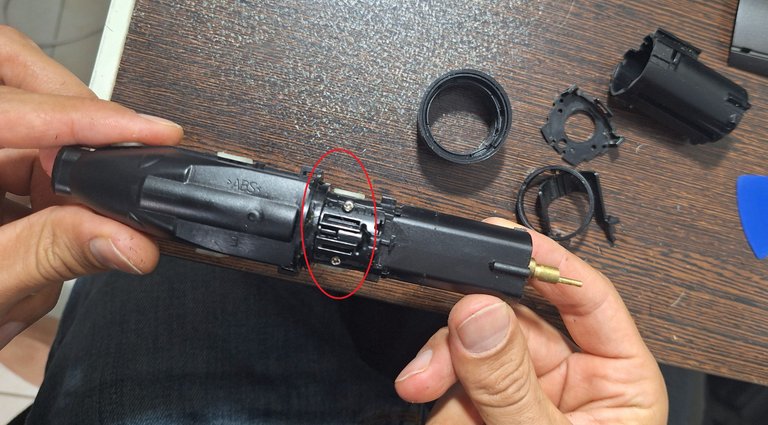
4. Separating the Body
Hold the two sides of the trimmer body firmly. Use your thumbs to pull them outward while pushing the middle part upward with your index fingers. This requires a bit of force but should separate the parts effectively.
5. Accessing the Internal Screws
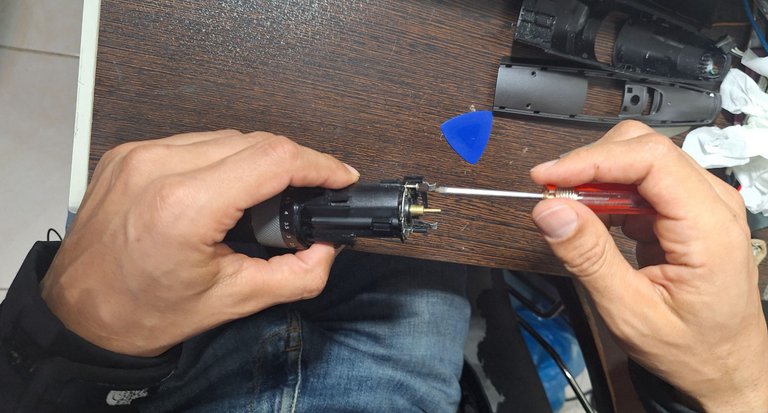
Next, unscrew the top screws to release the internal components. This will allow the inner assembly to slide out.
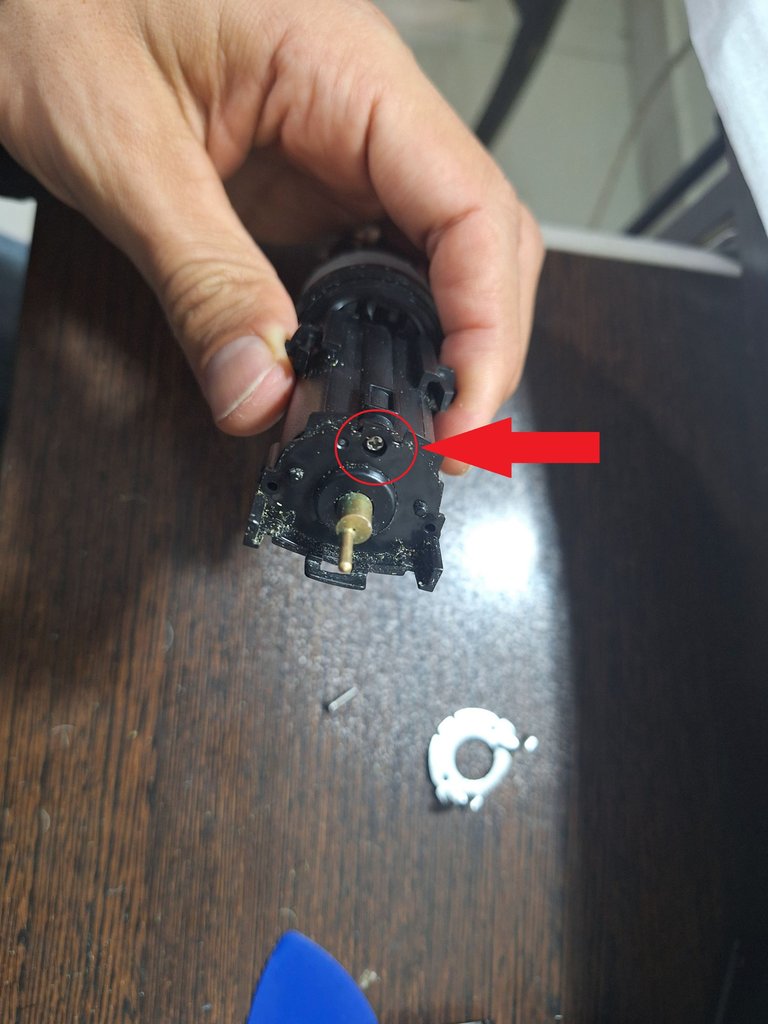
Unscrew this one as well:
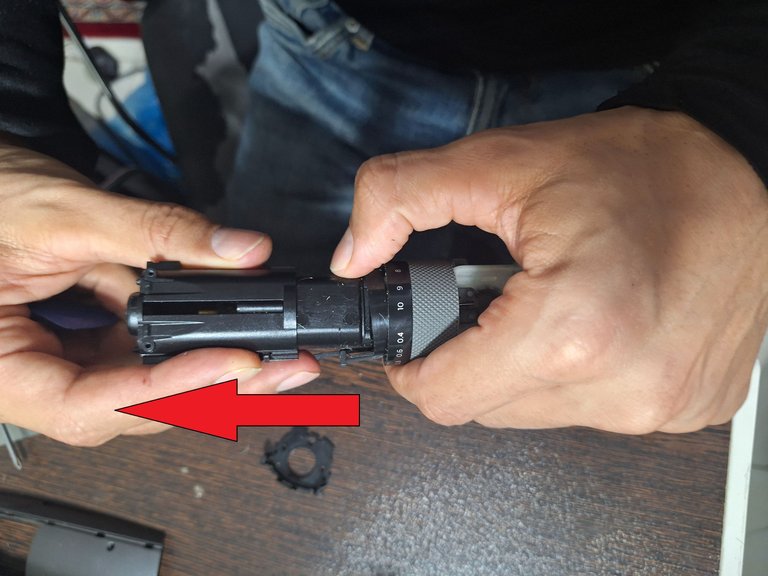
Then this part should come out easily by pushing it out in this direction:
And then unscrew these two screws:
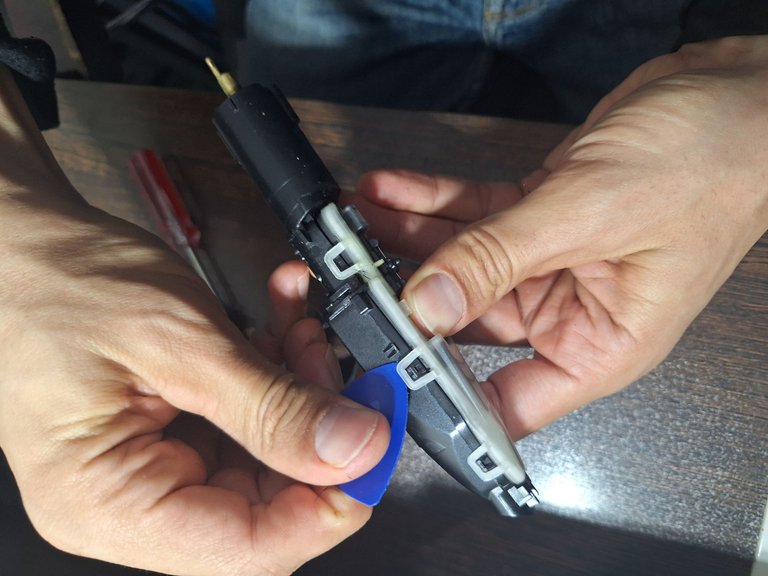
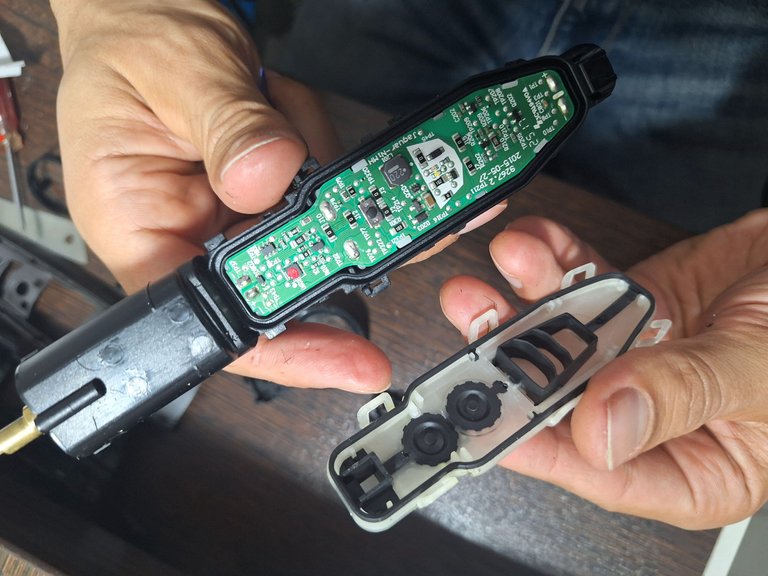
Next step just open this white plastic cover like this open all the hangs
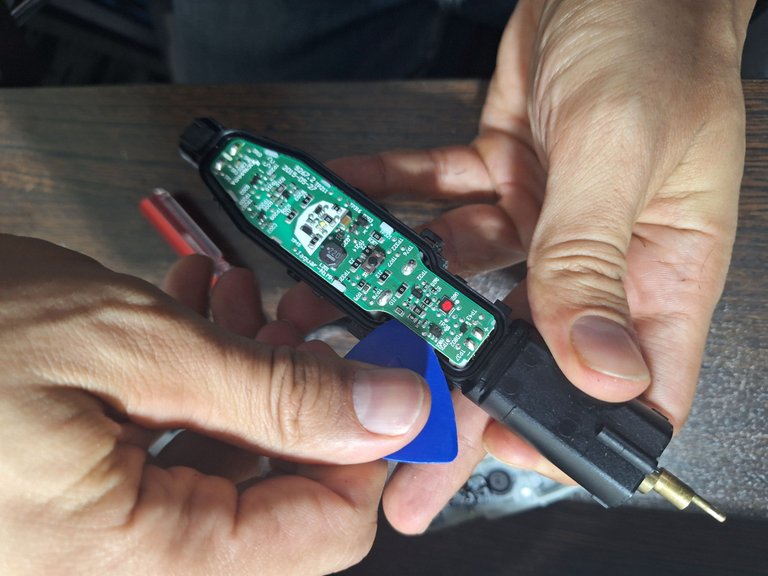
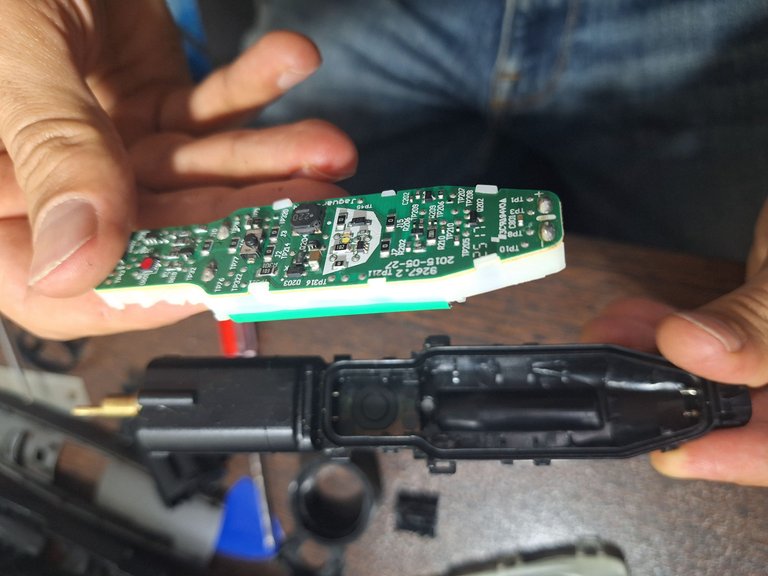
The board should come out easily by putting the pick there and pushing it up:
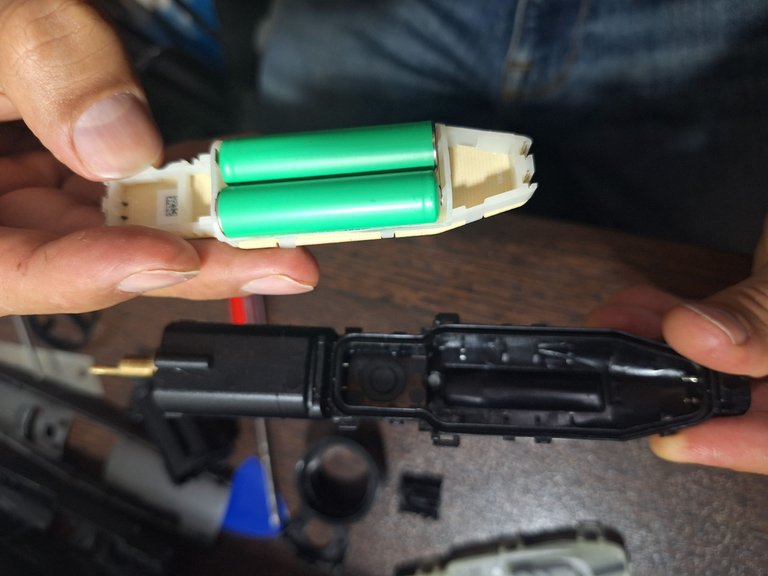
Now if you flip it you can see the batteries:
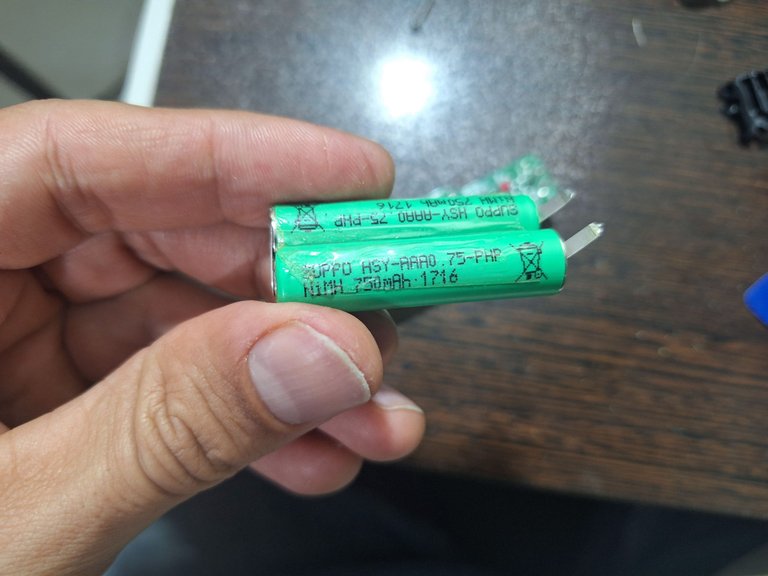
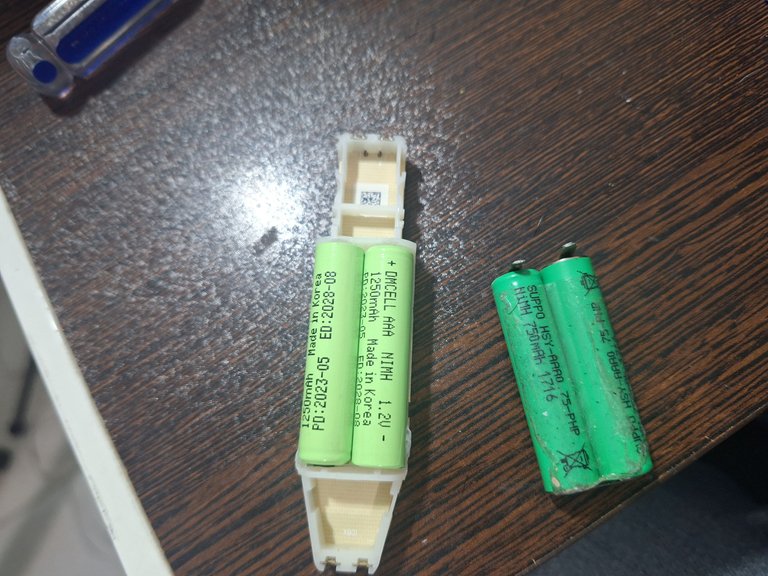
These batteries are common in most cheap trimmers, it's a pair of NiMH AAA 1.2v 750mAh batteries, but the more expensive machines always use Li Ion batteries.
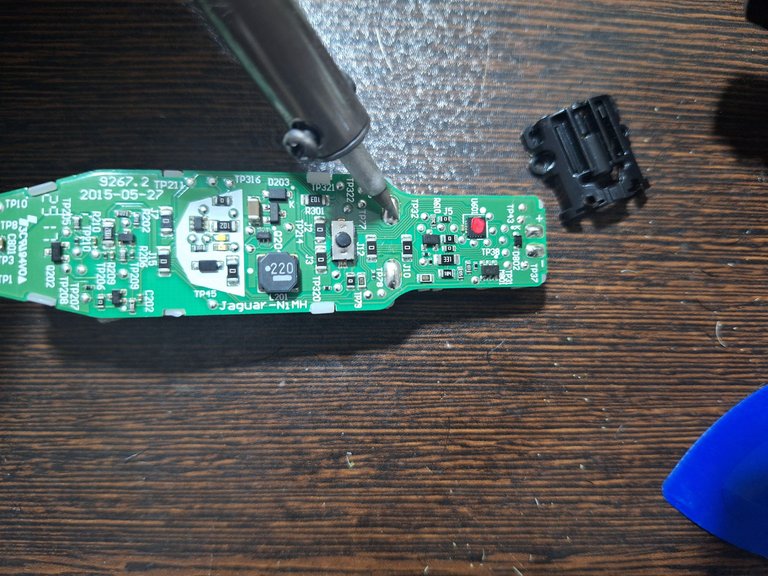
So to change these batteries you need to heat the solders that attached these batteries to the board right here:
6. Reaching the Battery Compartment
After removing the outer layers, you’ll find the battery compartment. Heat the solder joints holding the batteries to the circuit board while gently pulling the batteries free. Be cautious, as the batteries are also glued to the base. Use a hair dryer or heat gun to loosen the glue, ensuring you don’t overheat and damage the plastic parts.
The batteries should come off like this:
7. Replacing the Batteries
Once removed, replace the old batteries with new NiMH AAA batteries of the same voltage (1.2V) but with a higher mAh rating for longer usage (e.g., 1000mAh or 1200mAh). Ensure the size matches perfectly. Solder the new batteries securely onto the board.
Final Tips
- Take your time while disassembling the trimmer to avoid breaking fragile parts.
- Use the right tools, including precision screwdrivers and a soldering kit.
- Ensure proper insulation after replacing the batteries to prevent short circuits.
- WARNING: Avoid plugging the trimmer into the adapter while the batteries are removed, as this could damage the internal circuitry.
With this guide, your Philips BT5200 should work like new. If you have questions or run into issues, feel free to ask in the comments. Good luck with your repair!
Pretty cool! usually when this type of stuff breaks I just buy another one!! good that you could fix it!
Thanks for your comment! It can definitely be a bit risky without the right tools or proper preparation, but everyone starts somewhere. I find activities like this incredibly enjoyable—each repair is a challenge that teaches me something new. The more people bring me things to fix, the more fun I have and the more I learn.
I’m also working on various electronics, IoT, and DIY projects, which I plan to share on my YouTube channel. I’ve really enjoyed being part of this community, so I’ll keep posting my projects here as well. Feel free to follow along!