Step by step guide to associate a domain or sub domain to your Hive Engine RPC node using Caddy
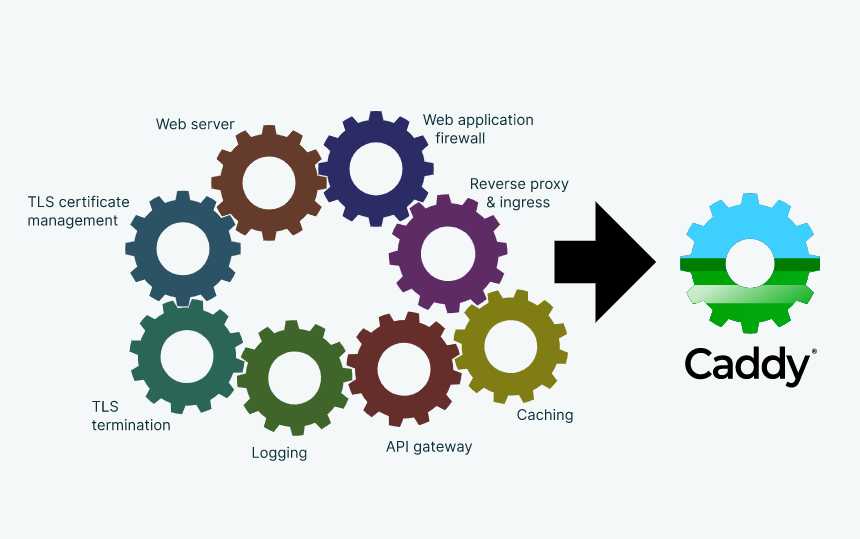
I started using Caddy recently to serve my sites from the server. I find it a very comfortable solution because it takes care of SSL certification automatically without me setting it up manually. In fact, that was one of the reasons why I wanted to try Caddy in the first place. I have been using Caddy to serve my sites and have slowly switched from NGINX. I'm not going to discuss which one is best here. Maybe that's a topic for a different article.
I recently associated a domain\subdomain to my Hive Engine RPC node using a caddy. The steps were very simple and straightforward. I would like to take you through the process step by step.
Step 1: Install Caddy on the server
The steps are very simple to install Caddy on the server. If you are using an NGINX instance already, you can stop it and then install Caddy. Below are the commands to get started. All my servers are Ubuntu 20.4 and this worked well for me and I'm sure this should work on other versions of Linux as well.

curl -fsSL https://apt.privex.io/add-repo.sh | bash
apt update
apt install -y caddy
I'm using a Virtual machine box from @privex so I used their repo to get the package. You can also use a different package link to the repo. The steps were very simple.
Step 2: Edit the Caddyfile
Caddyfile is the configuration file that has all the information about the sites we are hosting. It is one place where we do all the configurations required for the domain association. The below command can be used to access the Cadyfile
sudo nano /etc/caddy/Caddyfile
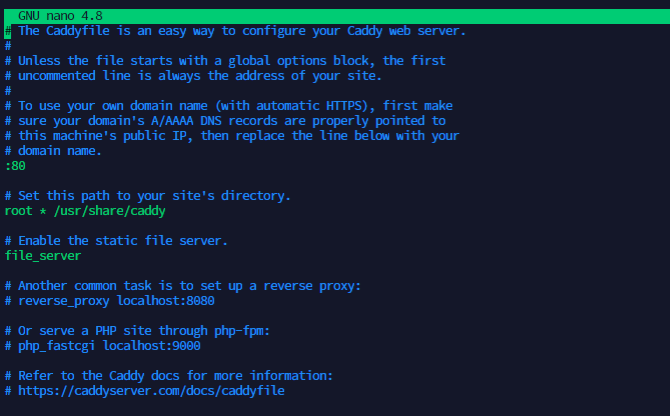
The default caddyfile contents looks like the below:
Once the file is opened, you can make changes in such a way that domain\subdomain is set. I commented out all the existing lines in the file and just added the reverse_proxy line alone. You can also remove all the existing contents of the file and just have the active content alone. That also works. My final Caddyfile looked similar to below.
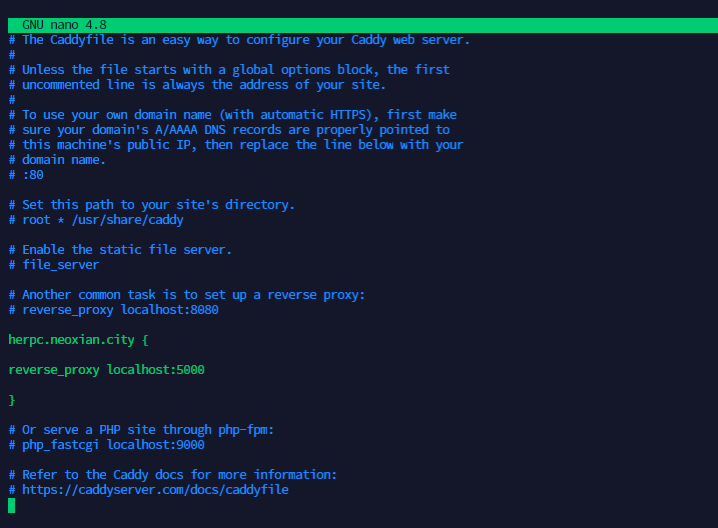
herpc.neoxian.city {

reverse_proxy localhost:5000

}
The RPC node of Hive Engine is in port 5000. The reverse_proxy configuration will redirect all the requests coming to the domain\subdomain to the 5000 port in your server. In my example, I have added a subdomain called herpc. You can also directly associate a domain as well.
Step3: Enable your Caddy service
You can either go to the directory of the Caddyfile and run the service manually with the below command.
caddy run
Or enable it as a service. In my case, I enabled it as a service with the below commands.
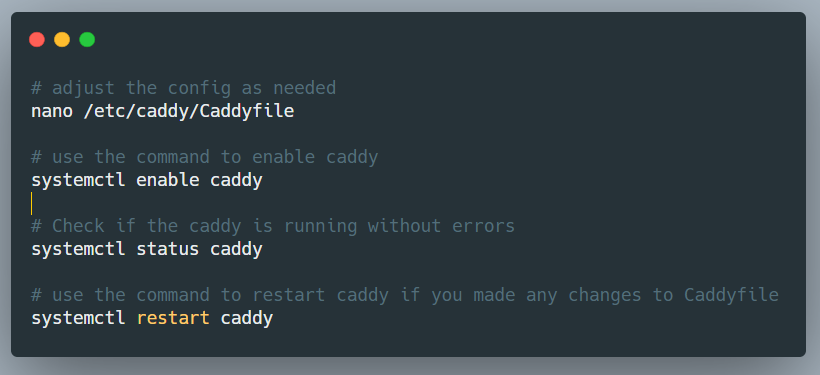
systemctl enable caddy
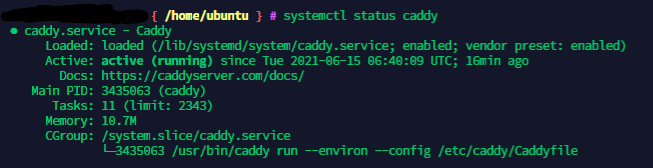
systemctl status caddy
systemctl restart caddy
The status check command will tell you if the service is running fine or not. In some cases if the configuration is incorrect or if there are unwanted characters in the Caddyfile, the service may fail to run. The status command will show you an active (running) status similar to the below.
Step 4: Point your domain to the IP address of the server
This is the last step to complete your setup. We have to point the domain\subdomain to the IP address of the server so that all the requests coming to the domain are redirected to the server and caddy is able to serve those requests.
In my case, I have my domains on Namecheap and as I was adding a subdomain, it was very simple to just add an A record in the domain's DNS configuration and point it to the IP address of my witness server.
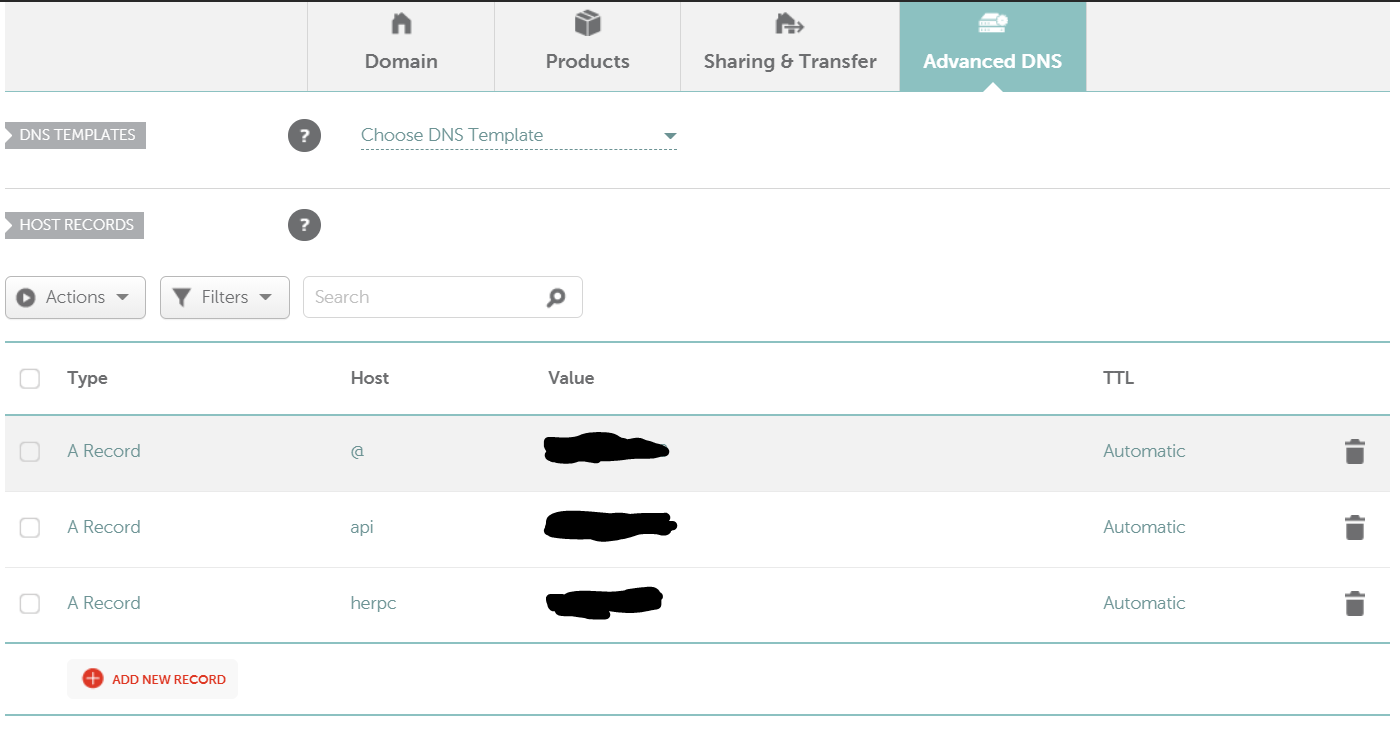
The configuration page looks similar to the above and it will vary from one service provider to another. In the Value field, you will have to enter the IP address of your witness server.
You can do this step 4 before all the other steps as well. It doesn't really matter if you add the A record before or after.
Note: If you have a firewall enabled, make sure you have allowed the requests to your port 5000 from the outside world. You can adjust the firewall settings accordingly. In my case, I have enabled both port 5000 as well as 5001 in the witness server.
Step 5: Test if our configuration worked
This is the final step where we can test if this worked or not. We can do this with the help of a simple curl command or by writing a script in Node Js or Python to make some requests through the RPC node and get the output.
curl https://herpc.neoxian.city/blockchain -d '{"jsonrpc":"2.0", "method": "getLatestBlockInfo", "id":1}' -H "Content-Type: application/json"
If we execute the above command, we should be able to get the output. Sometimes it doesn't work the first time. I had to restart my caddy server for the new settings to take effect. The second time it worked.
Caddy is best for serving sites like this and there are also advanced options available in configuring your sites. Their website has more information. One best thing that I like about Caddy is the fact that they take care of SSL. I don't have to break my head to run a script to add SSL and also make sure it updates regularly.
Hope this article helps you in associating a domain or a subdomain to your witness node.
 |
 |
 |
 |
 |
 |
Posted with STEMGeeks
This post has been manually curated by @bhattg from Indiaunited community. Join us on our Discord Server.
Do you know that you can earn a passive income by delegating to @indiaunited. We share 80 % of the curation rewards with the delegators.
Here are some handy links for delegations: 100HP, 250HP, 500HP, 1000HP.
Read our latest announcement post to get more information.
Please contribute to the community by upvoting this comment and posts made by @indiaunited.
Your content has been voted as a part of Encouragement program. Keep up the good work!
Use Ecency daily to boost your growth on platform!
Support Ecency
Vote for Proposal
Delegate HP and earn more
!PIZZA
@bala41288! I sent you a slice of $PIZZA on behalf of @eturnerx.
Learn more about $PIZZA Token at hive.pizza (1/20)
Thanks for the tutorial! I have tried to implement it, but I have probably messed something up as it doesn't work... Will send you DM on Discord for help, if you don't mind?
Cheers!
!PIZZA
@bala41288! I sent you a slice of $PIZZA on behalf of @ph1102.
Learn more about $PIZZA Token at hive.pizza (1/10)
Yeah absolutely. Reach out to me. We can check it together to see if I can crack it. 👍
I have found the solution... Ports 80 and 443 have to be opened too... SSL didn't want to go through without that... ;)
Thanks again!
Electronic-terrorism, voice to skull and neuro monitoring on Hive and Steem. You can ignore this, but your going to wish you didnt soon. This is happening whether you believe it or not. https://ecency.com/fyrstikken/@fairandbalanced/i-am-the-only-motherfucker-on-the-internet-pointing-to-a-direct-source-for-voice-to-skull-electronic-terrorism