A new guitar amplifier project, the PE-30, part 1
Hello, and welcome to my page!
About a week or so ago, I started on a new guitar amplifier project. This project will be the rebuilding of a late 1950s Lafayette public address amplifier into a tube powered guitar amplifier. This amp is the model PE-30, and was originally built by Precision Electronics in Franklin Park, IL. These amplifiers were usually used as a public address amplifier in places such as retail stores, schools, or churchs, for background music and announcements.
From what I've read in various forums online, these amps have a reputation for having high quality transformers in them, which makes them quite suitable to rebuild as a guitar amp. That seems to be the most common thing that's done with these amplifiers now.
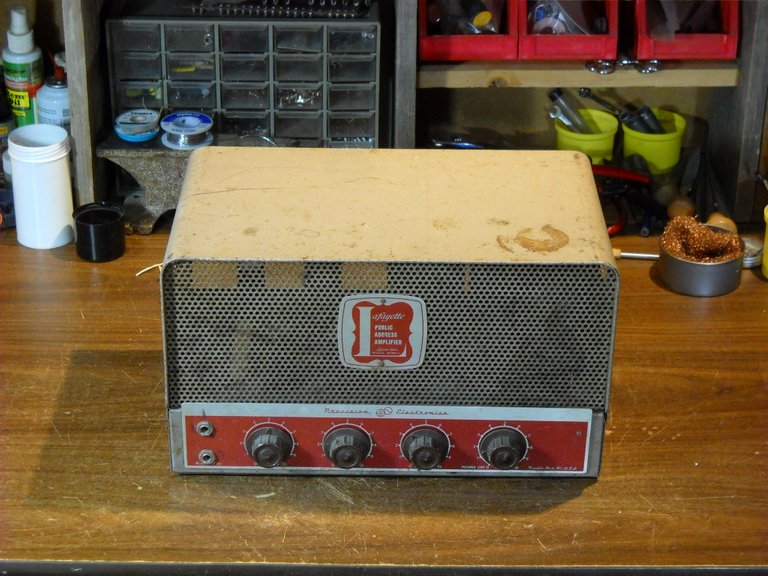
This is what the amplifier looked like when I got it.
The amp has 2 microphone volume controls, a phono volume control, and a tone control, which also has the power switch on it. These amplifiers didn't come with the 1/4 inch jacks in the faceplate, all the hookups are on the back, so someone must have put them in at some point before it was given to me to work on.
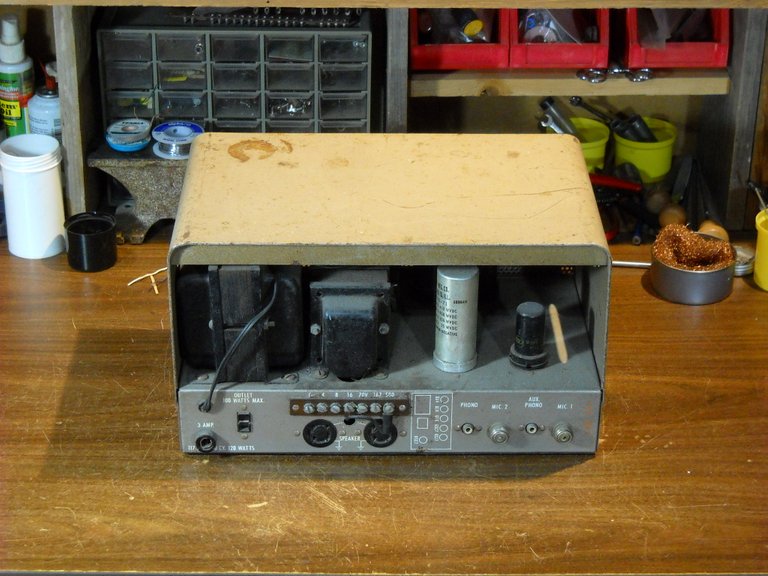
This is the back of the amp. You can see all the various connections on the back. There are 2 microphone connectors, a phono connector, an auxiliary connector, and 2 large speaker connectors. The brown strip with all the screws on it is for selecting the impedance of the speaker load.
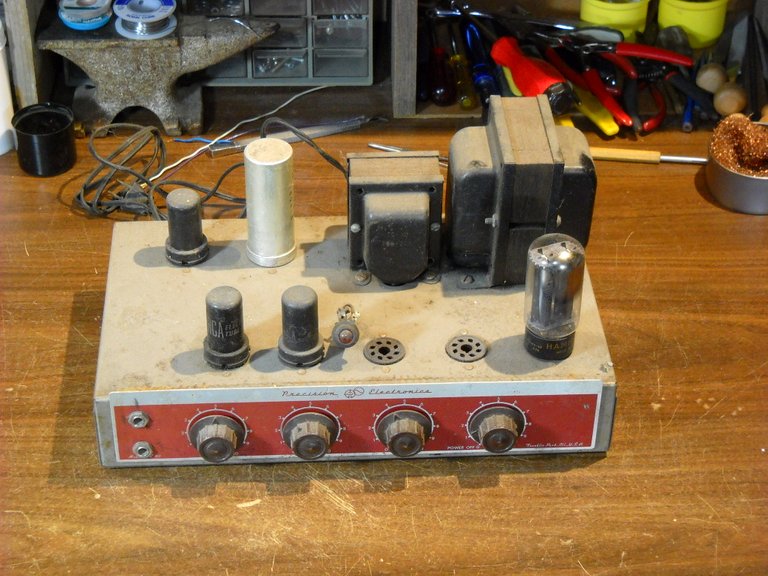
Here's a look at the amp with the cover off. You can see the remaining tubes, the transformers, and the silver filter capacitor can.
This amplifier used 6 tubes. The glass tube on the right side of the chassis is the rectifier tube, a 5U4GB. The 3 black tubes are old type metal case tubes. Those are the preamplifier tubes, two 6SC7 dual triode tubes, and a 6SJ7 pentode tube. The 2 empty sockets are for the power output tubes. This amp uses the 6L6 type tube. The original 6L6 type tube had a metal case, but the newer 6L6GB and 6L6GC tubes are a glass tube. The glass tubes are just improved tubes of the same type, with better ratings. Because of the ratings of the original 6L6 tube, and the way the output tubes are biased, this amplifier probably was rated at about 30 watts power output. With the newer glass type output tubes, the amp might put out a bit more power, but the circuit design and the power supply voltage both limit the output power capability. I'm not expecting much more than the rated power output with this amp. Still, 30 watts of tube power gets plenty loud enough with the right speakers.
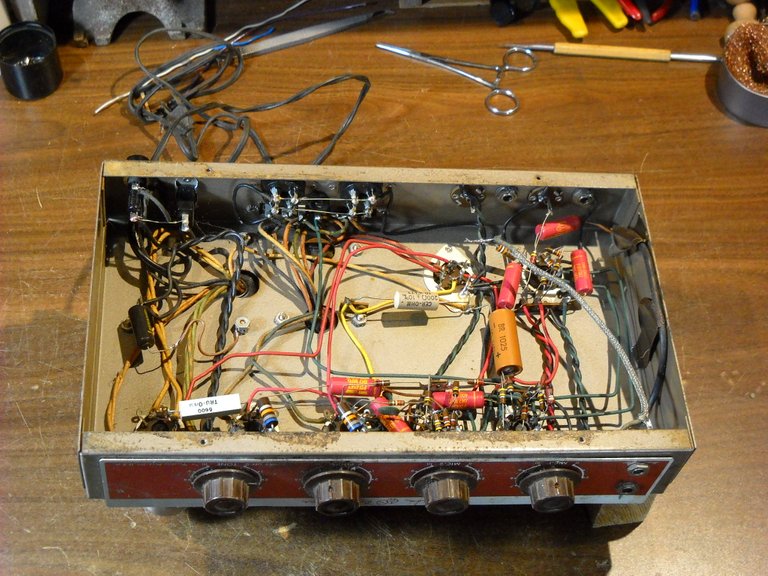
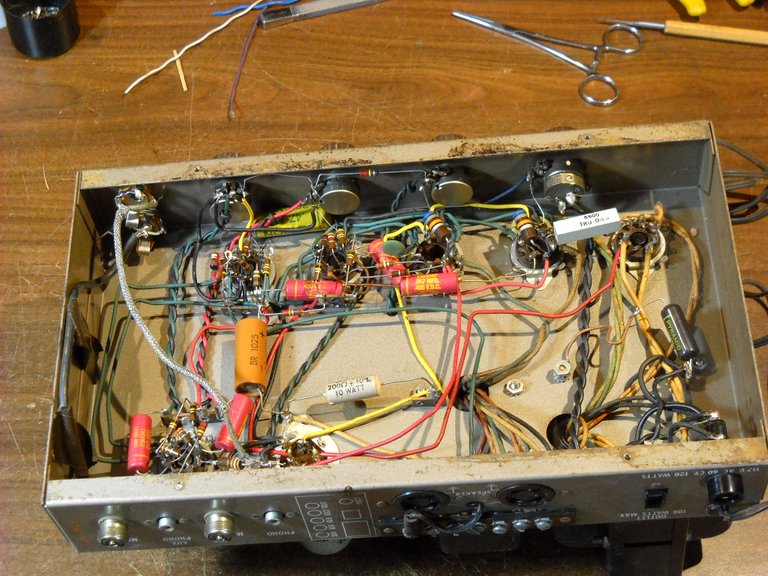
Here's a look at the inside of the chassis and all the circuits and wiring. Looking from the front, you can see all the rear panel wiring, and one of the preamp tube sockets.
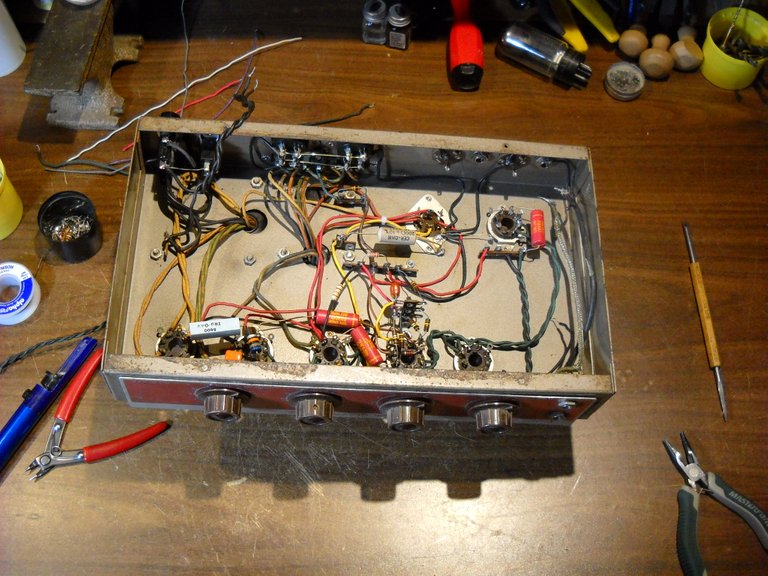
Looking from the back, you can see the rest of the tube sockets and the wires and components for them.
In order to rebuild this amplifier into a guitar amp, the first thing that I need to do is strip out most of the parts in the amplifier. I will be changing the circuits to use a type of preamp tube that was more common in guitar amps of the late 1950s and early 1960s, especially the Ampeg amplifiers. This amp is wired for the 6SC7 dual triode tube, and the only guitar amp that I know of that used that tube was the very early Fender amps. The 6SL7 type tube is the tube type that I'll be using for this amp. They use the same 8 pin octal socket as the 6SC7, but the internal connections in these 2 tubes are different, so the socket connections have to be changed to match the 6SL7 tube. Also, the circuits are different for a guitar amp, so it has to be changed for that reason also. I will be rebuilding this amp to resemble the circuits of several of the early Ampeg amplifiers.
There's a fair amount of work involved with stripping the parts out of one of these amps. You don't want to just cut the old parts out, that leaves behind all the ends of the wires that would have to be removed before you can put the new parts in. You basically have to unsolder all the parts that you want to remove, which includes removing most of the old solder that held the parts in place.
This is what the chassis looks like once most of the parts have been removed. In this picture, I've already added a couple of connector strips to the chassis and rerouted a few of the wires for the power supply.
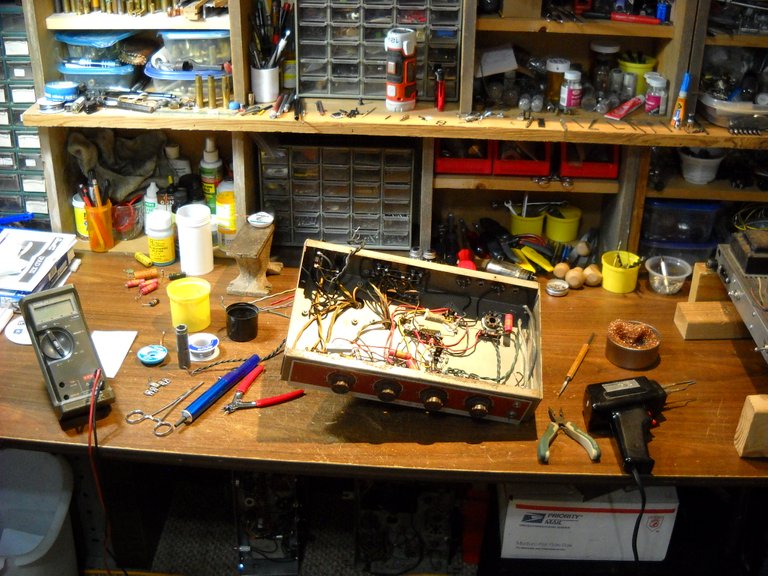
Here's a wider look at the work bench. It gets a bit cluttered when working on these amp projects.
In part 2 of this series, I'll be starting the rebuilding of the amplifier. I have to build a guitar type preamplifier, tone controls, and the driver circuits for the output tubes. Since the output tubes will be the same, I don't have to do much rewiring of that section.
That's all I have for this post, thanks for stopping by to check it out!

Hello,
Your post has been manually curated by a @stem.curate curator.
We are dedicated to supporting great content, like yours on the STEMGeeks tribe.
If you like what we are doing, please show your support as well by following our Steem Auto curation trail.
Please join us on discord.
cool project, is this something you are doing for your own use or for someone else/eventual resale?
I'm doing this for a friend of mine. He brings me these old amps and I've been converting a couple of them for him. I've built a couple of amps for myself, but how many amps does a person really need before they run out of places to put them... :-)
This post was shared in the Curation Collective Discord community for curators, and upvoted and resteemed by the @c-squared community account after manual review.
@c-squared runs a community witness. Please consider using one of your witness votes on us here